DIY Hammock Stand 2.0 | Woodbrew
This post is sponsored by The Home Depot.
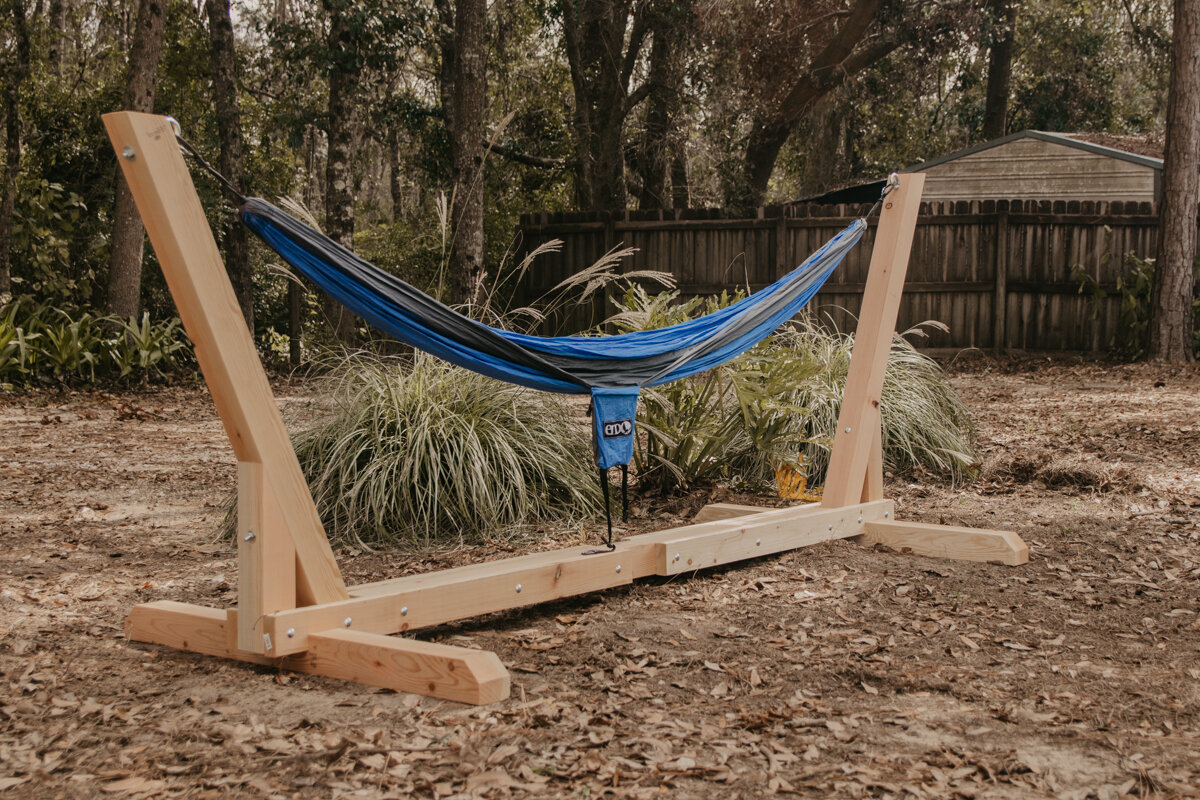
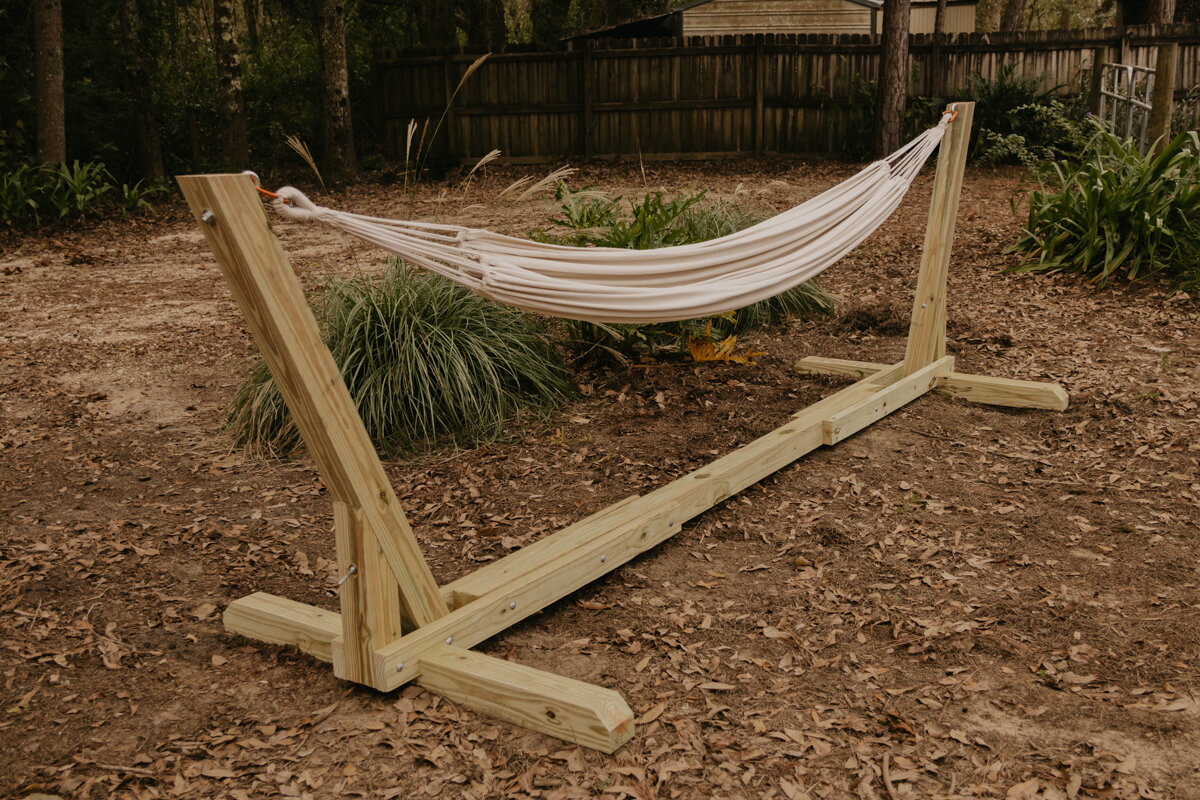
We built a hammock stand years ago, I’m talking the 2017 era. We were just getting our channel started and this was our first video that really took off. We made and sold plans for that hammock stand that did really well, but we always got customer emails about their hammock being much larger than the stand. We used our Eno hammock to build out the stand to that hammock’s dimensions but didn’t really take into consideration that normal hammocks are much longer. This DIY Hammock Stand 2.0 is fixing that issue, as well as just building it better!
You can get your set of plans here: https://www.woodbrew.tv/store/p/adjustable-hammock-stand-plans

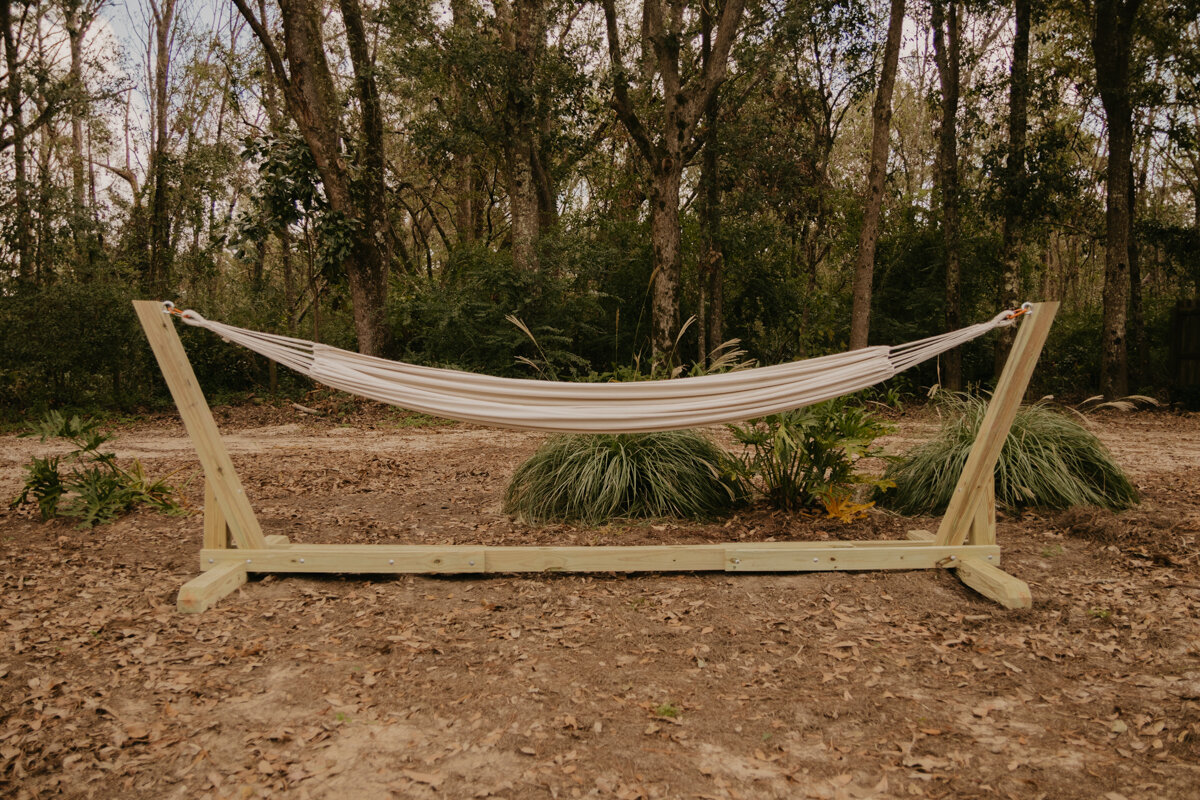
This time around, we actually built 2 hammock stands! One is out of untreated wood because you can do this project with untreated wood, and another is with treated wood. They are different dimensions, but the best part about this design is that you can make either stand the size you need for your hammock! We will show you how in this blog post!
Materials
This is for 1 stand:
(4) 4x4x8
(2) 2x4x8
(12) 3/8x8” bolts (Will want galvanized if going directly outside)
(12) 3/8 nuts
(12) 3/8 washers
(8) 3” screws
Tools Needed
miter saw or circular saw
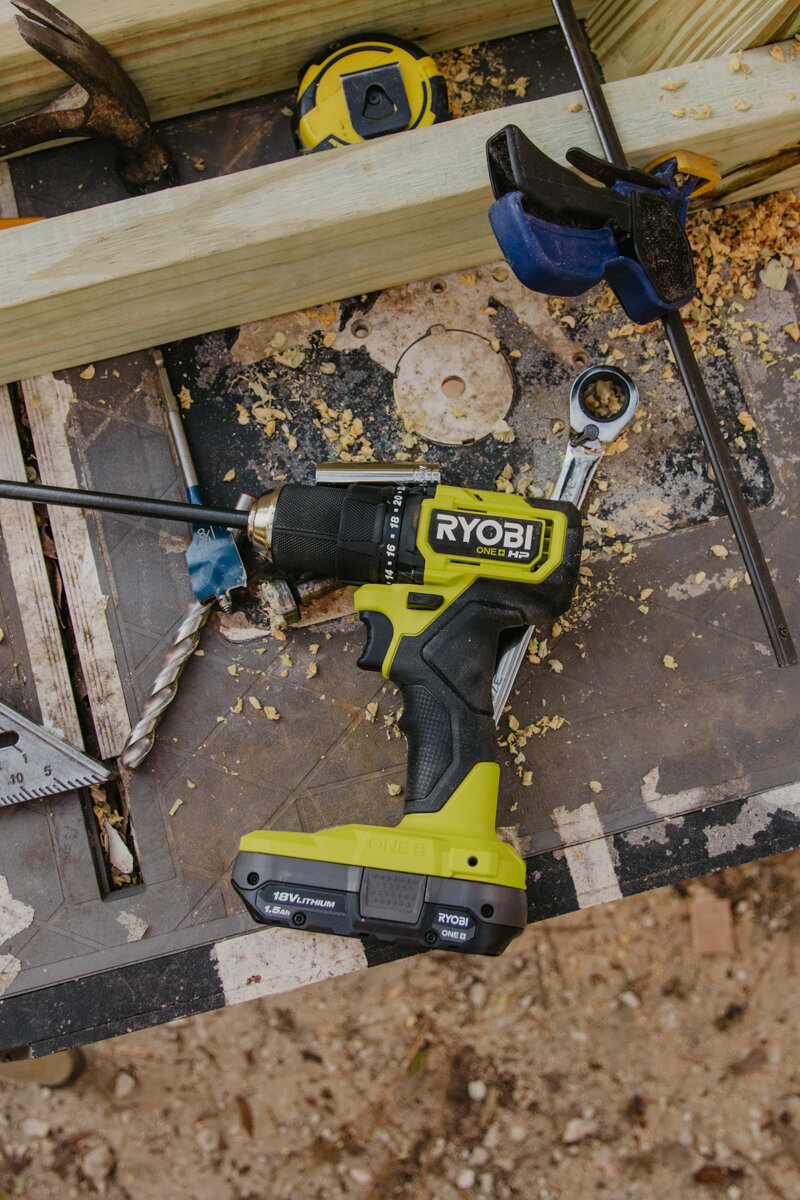
3/8“ drill bit. The one we used was 12”, but you just need a long one.
Cut Materials to Length
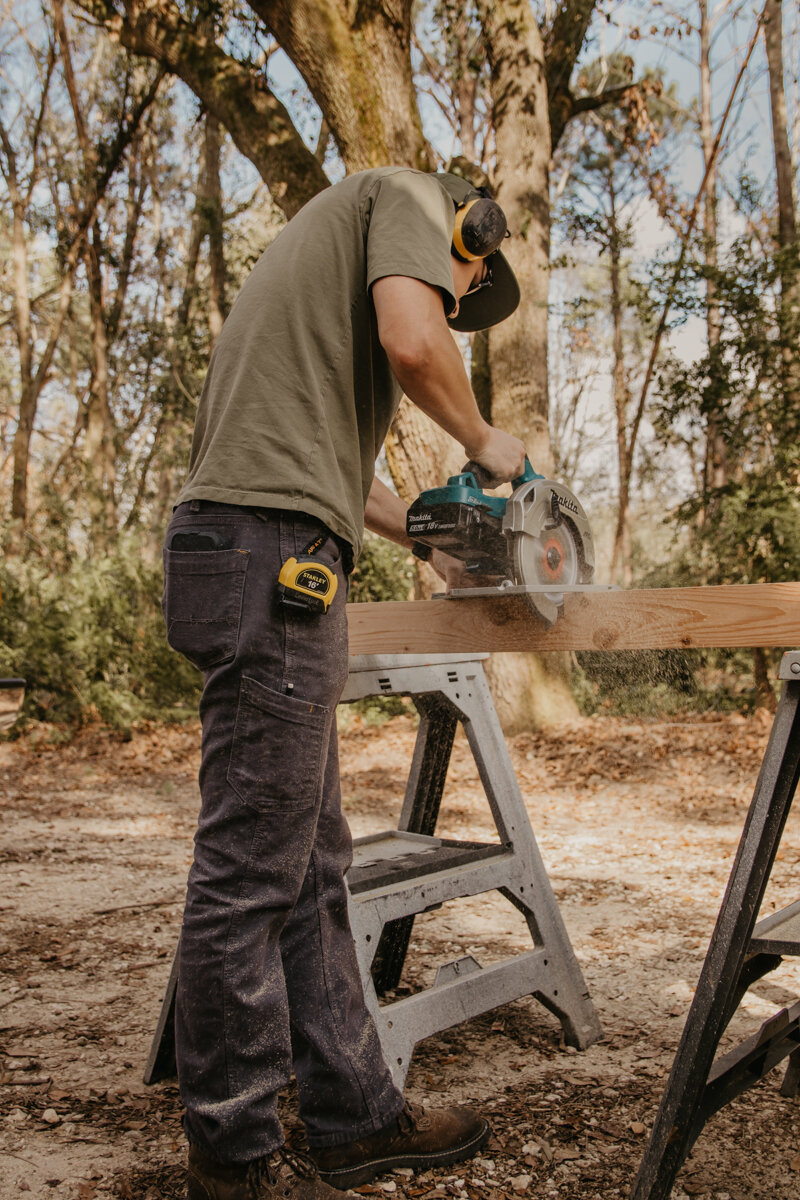
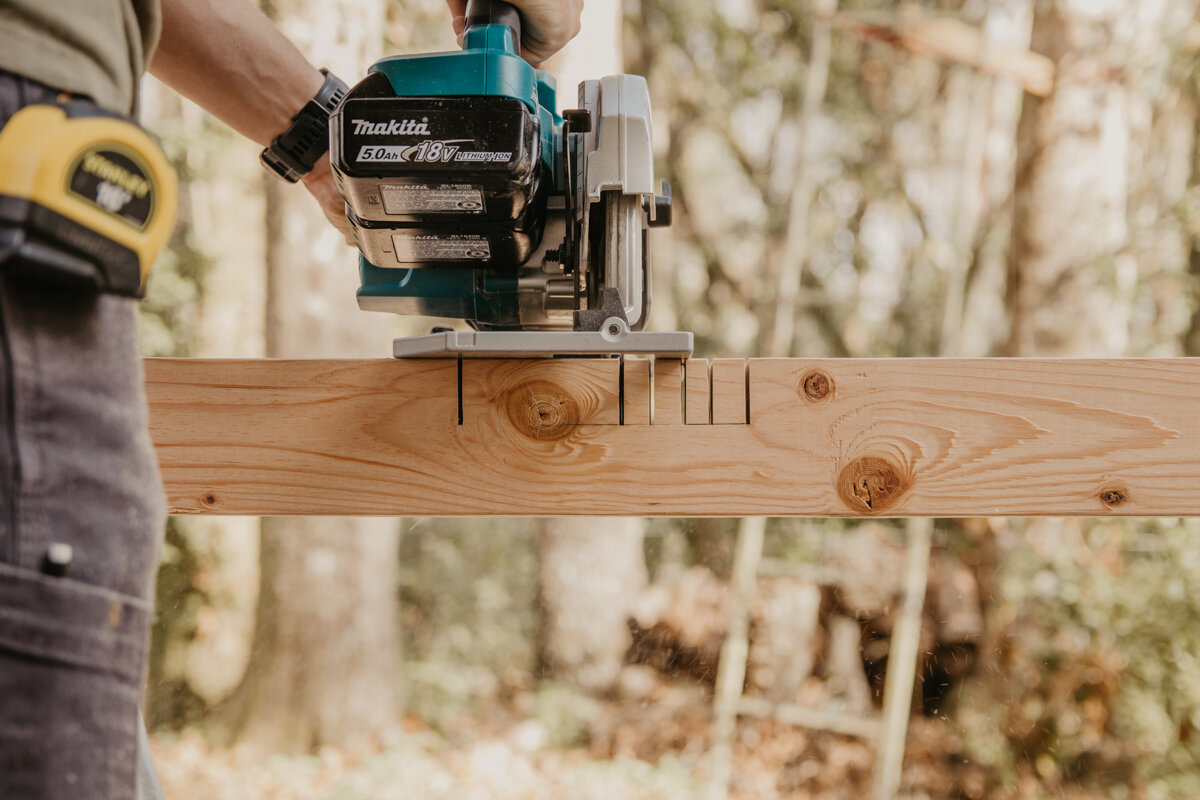

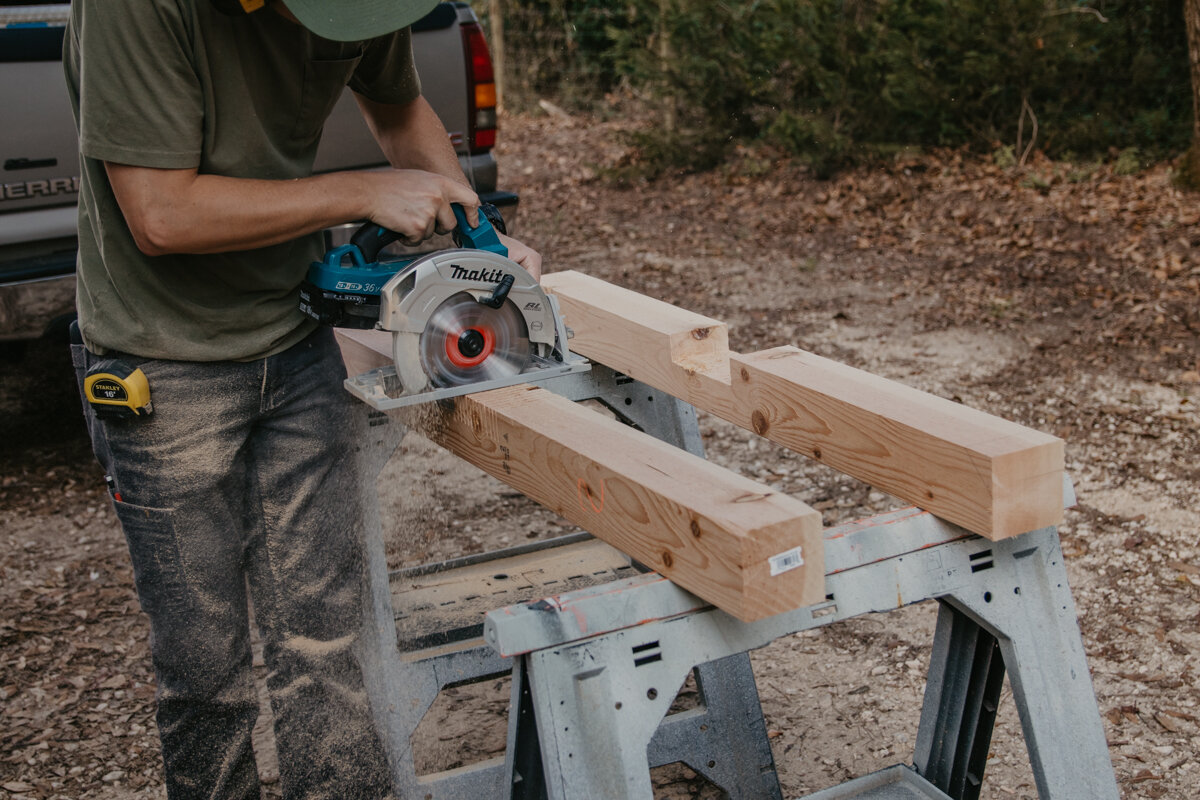
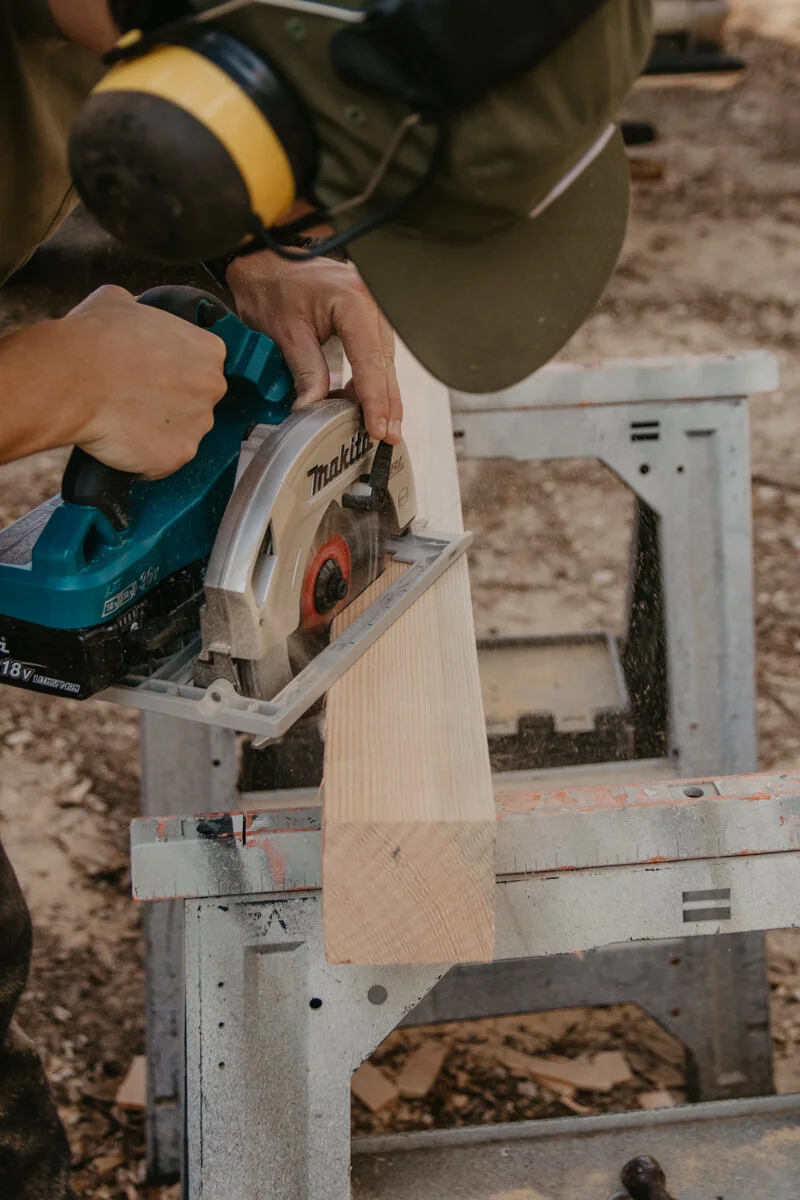
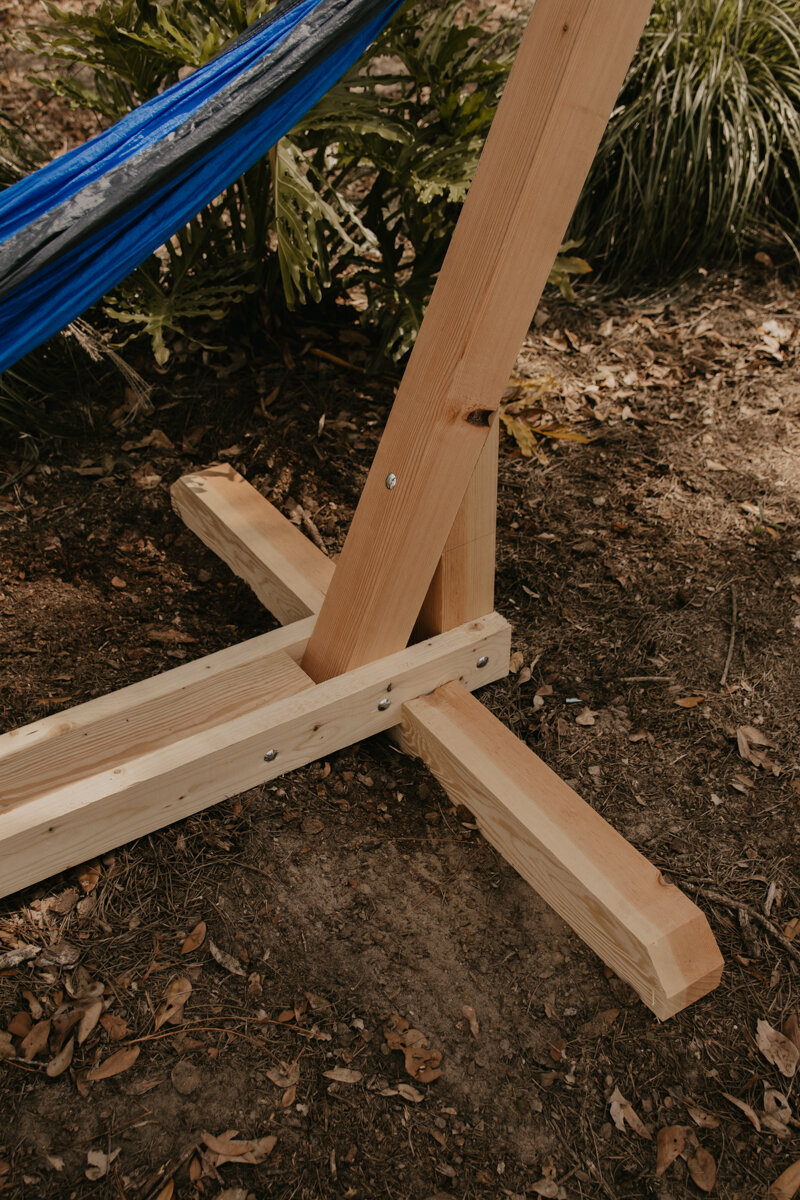
You can use a miter saw or a circular saw for this, whichever you have, both will work. Out of the 4x4s, you’ll need the two sides, angled support pieces, stretcher, and feet. The feet will need half-laps cut into them and there is a real easy way to achieve that. When using a circular saw, set your depth to half the material. Then, mark out your lines based on the width of the material going into the half lap. In this case, and usually, it’s the same material, so mark out 6 1/2 inches and cut inside those lines. Then make several cuts between those 2 and you’ll be able to knock out those pieces with a hammer to create the gap.
Out of the 2x4s you’ll need the rails that will come around the stretcher.
Assembly
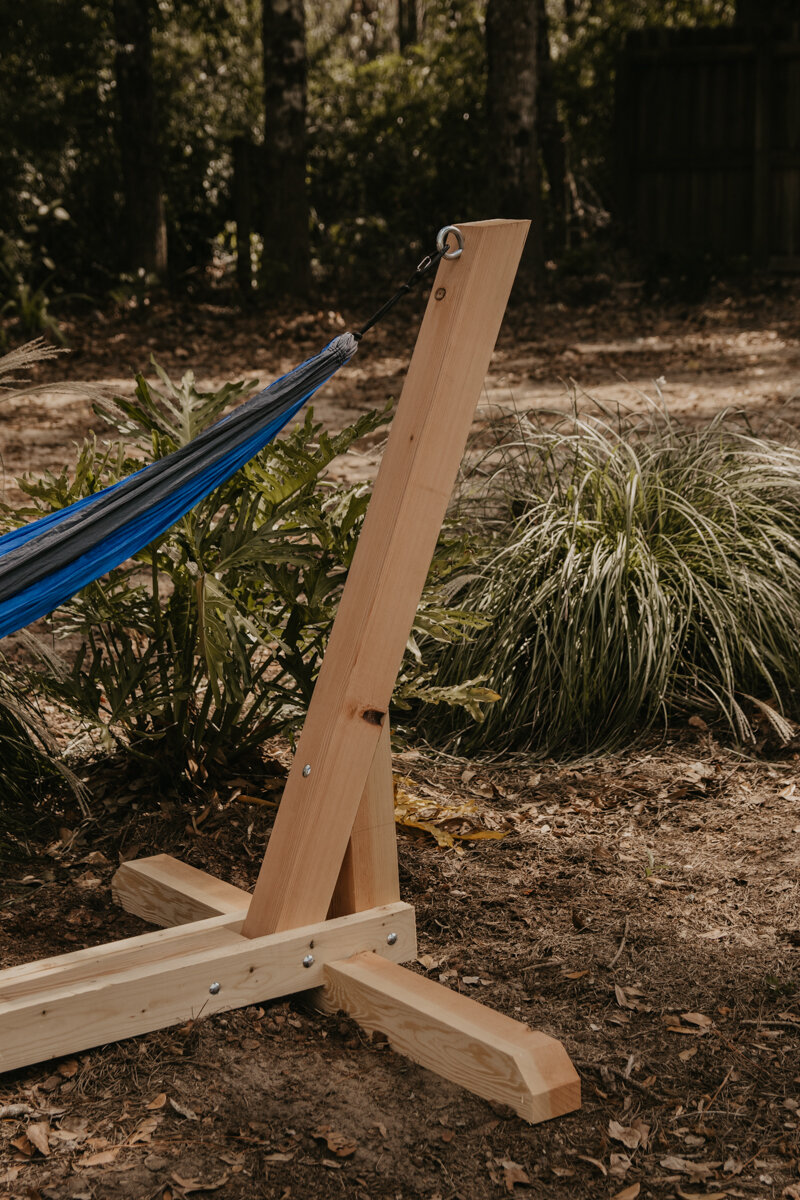
Now, in order for this to be adjustable, we built this into two sides. This way you can move the sides closer together or further apart depending on the length of your hammock. So, the 2x4s will pretty much be cut in half and technically a full board will be used for each side.
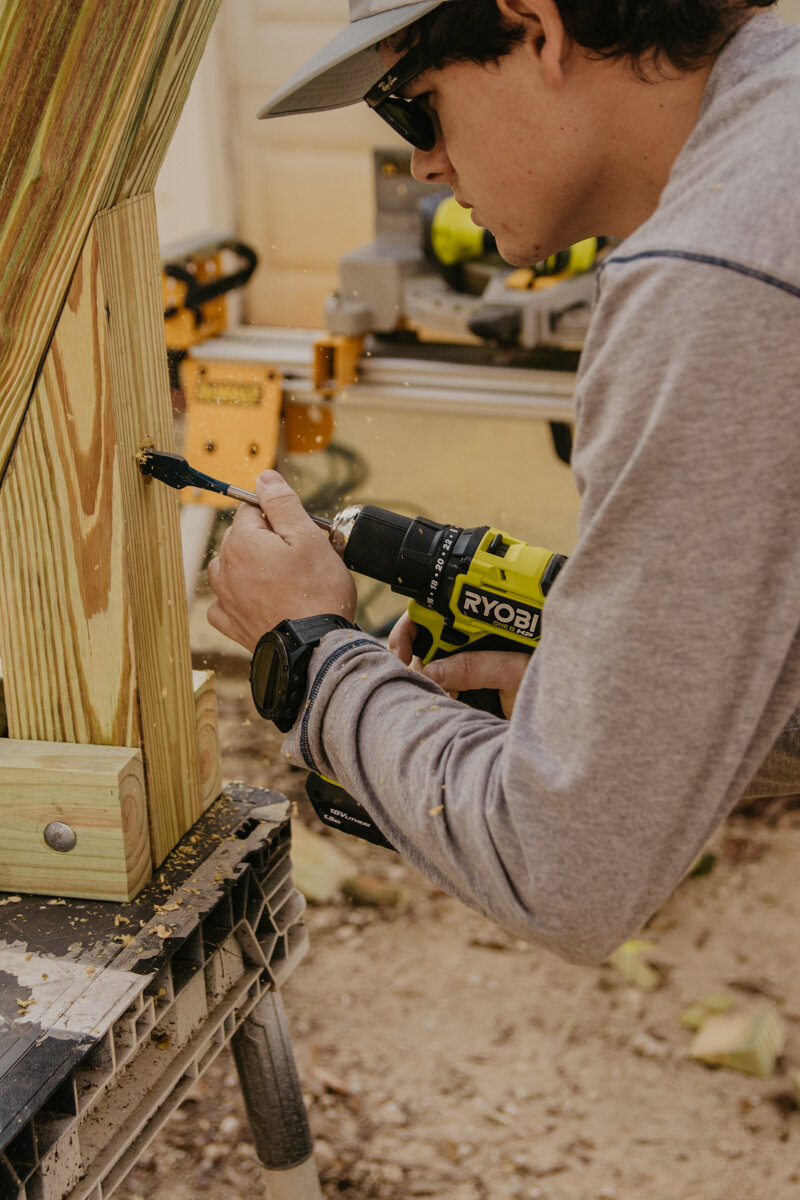
We went ahead and pre-drilled the 2x4s with the Forstner bit and 3/8” drill bit. Need to drill 2 holes on each 2x4 for now.
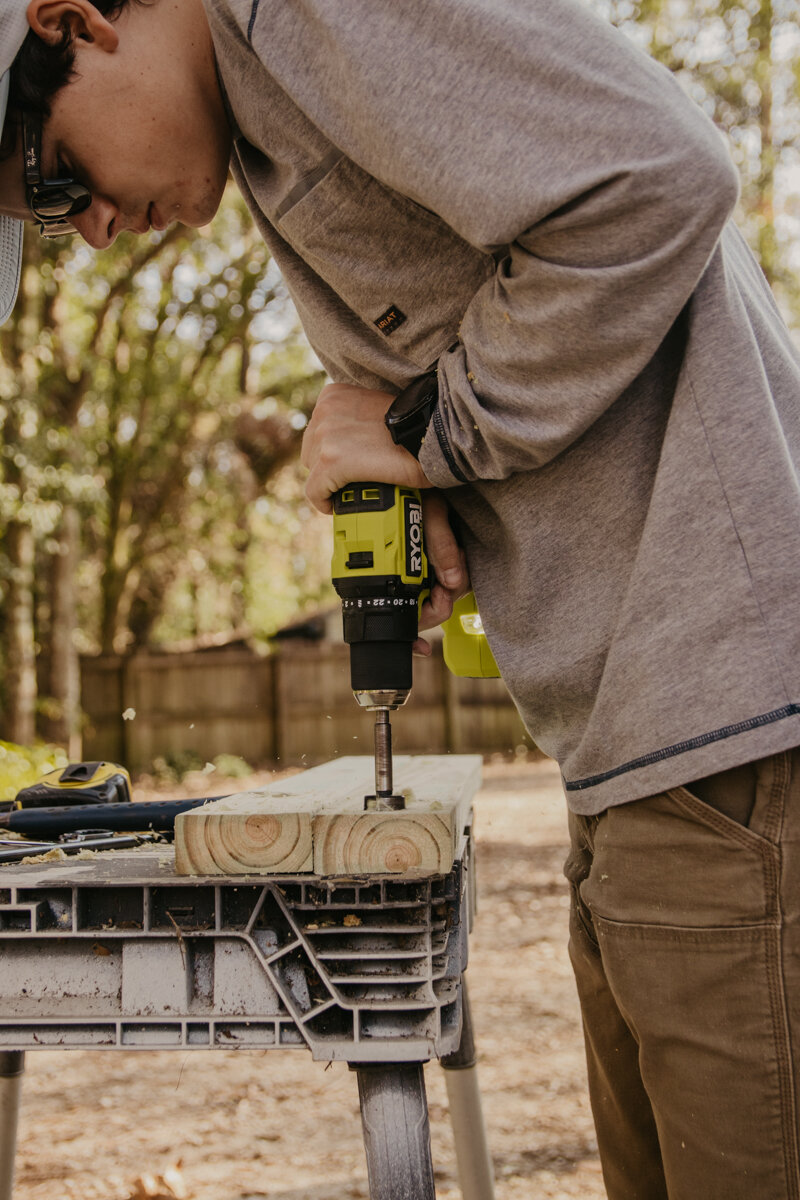
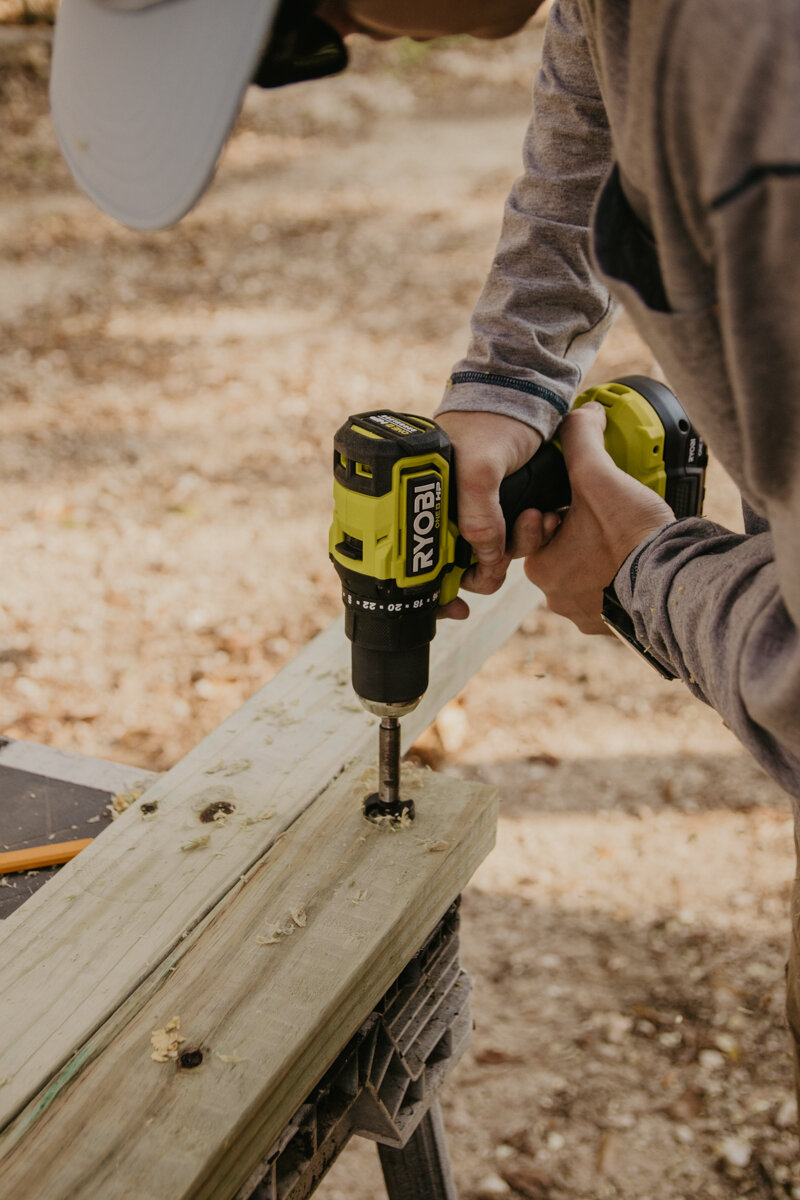
Then, clamping up the angled 4x4 in between those 2x4s, we used the extra-long drill bit to drill all the way through and attach our first bolt.
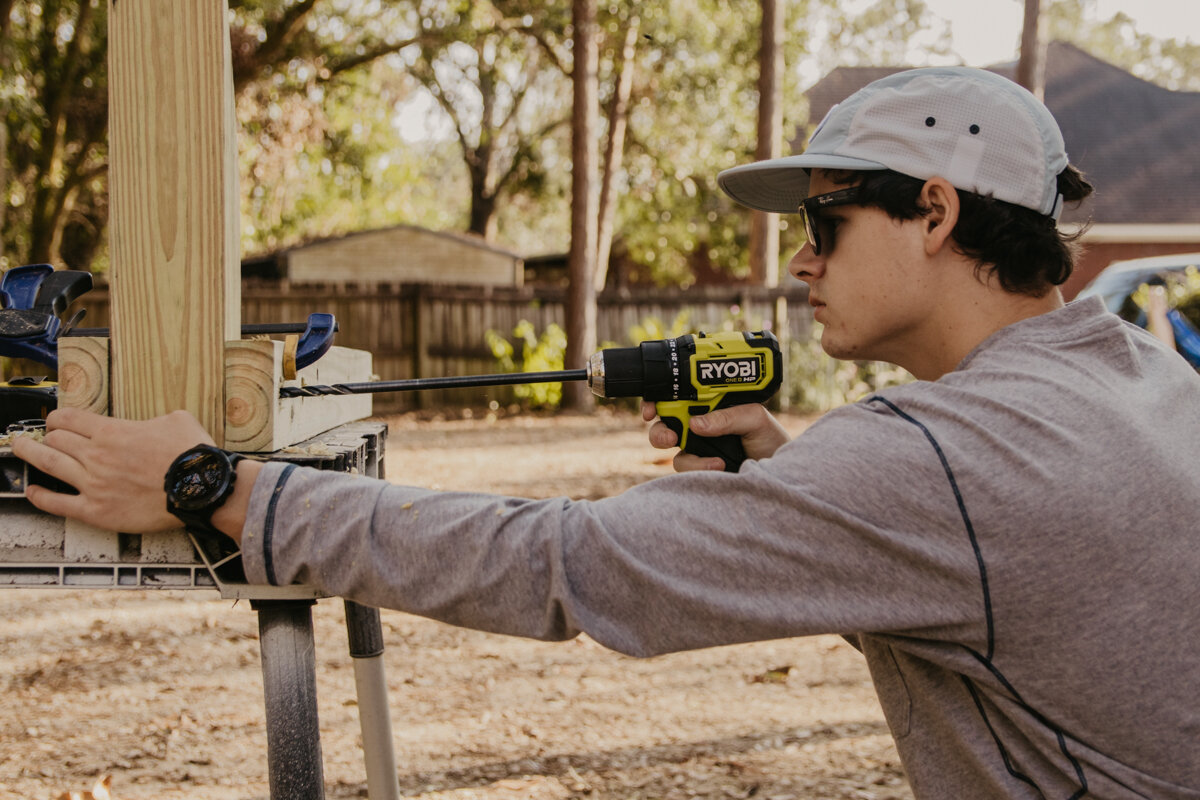
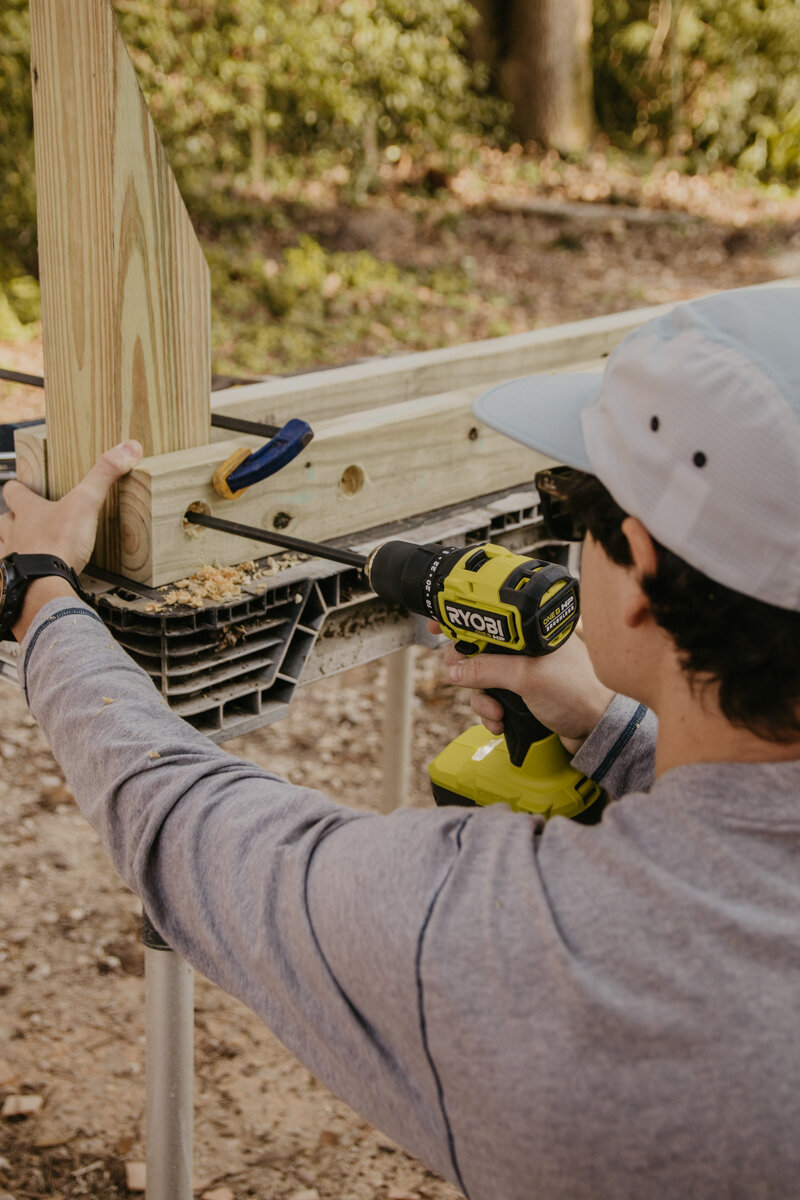
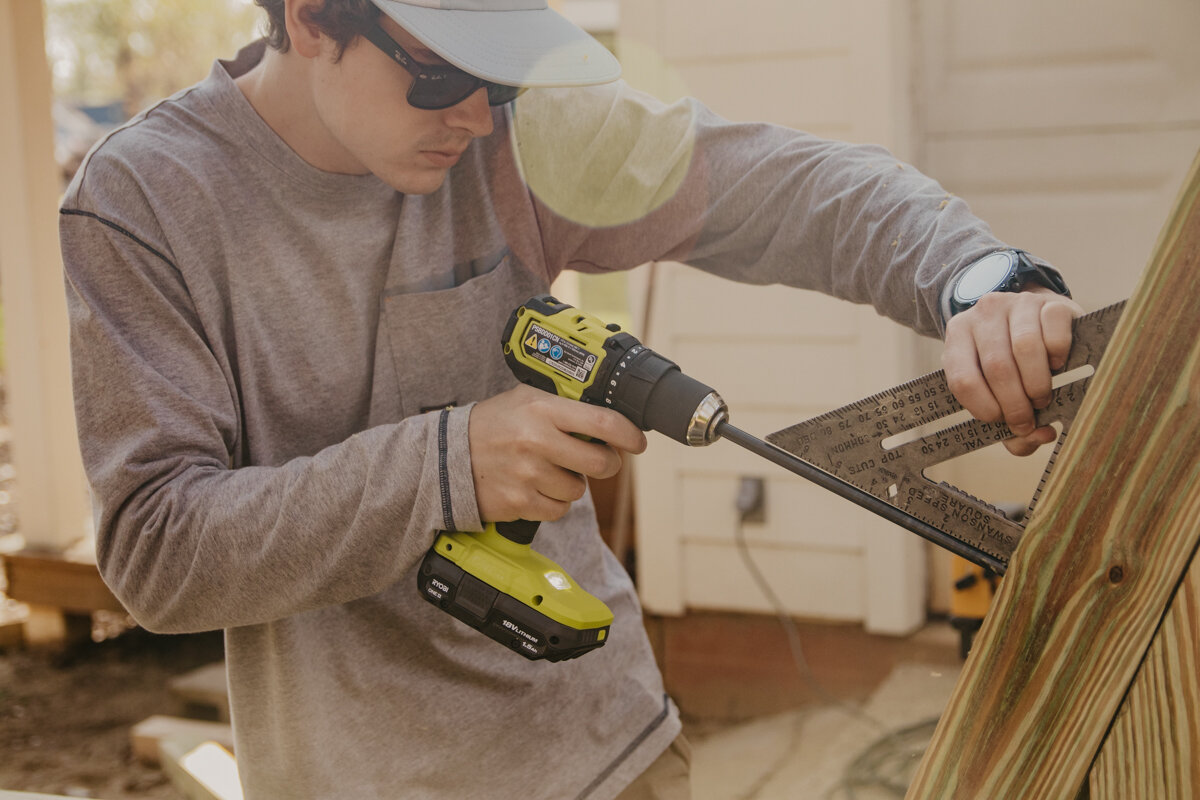
Next, is when you’ll want to grab your square. Get your 4x4 side and place that up against the angled side and use your square to drill 90° into that side piece with your extra long bit again. Once that is all the way through, we used a spade bit in order to angle the hole right for the washer to sit inset. Put your second bolt through.
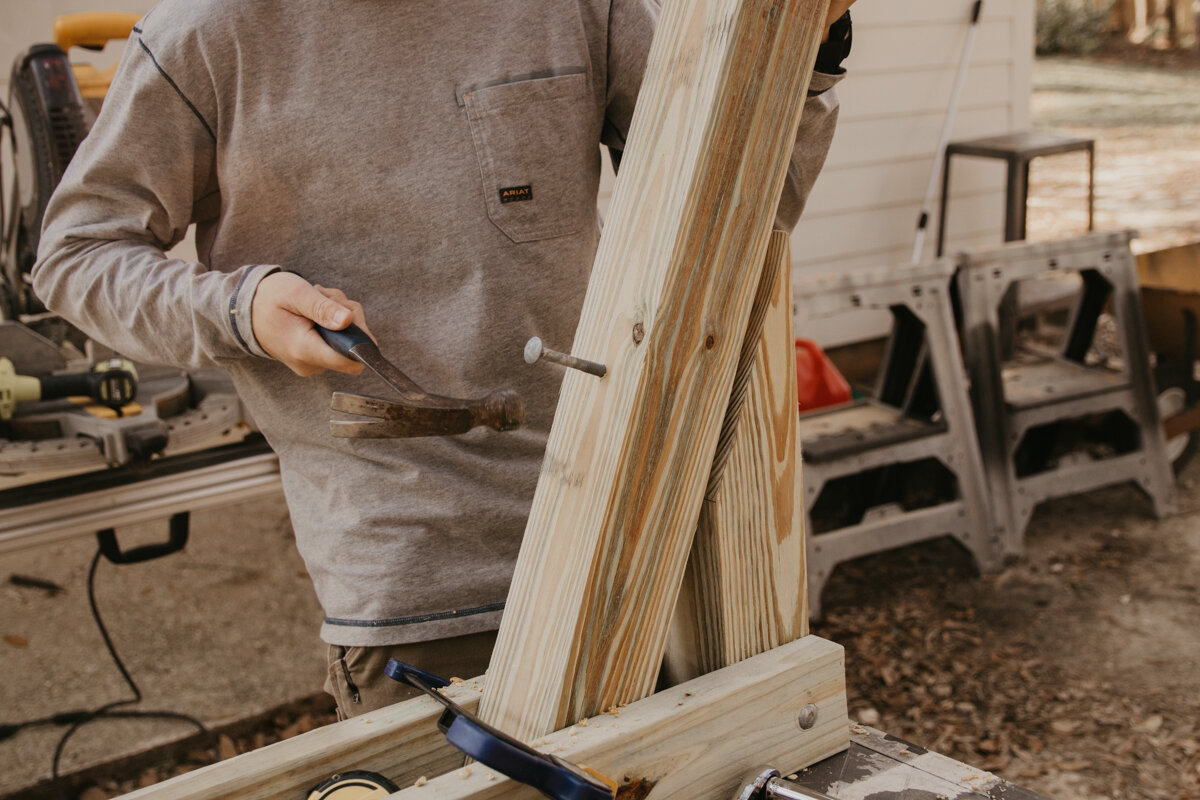
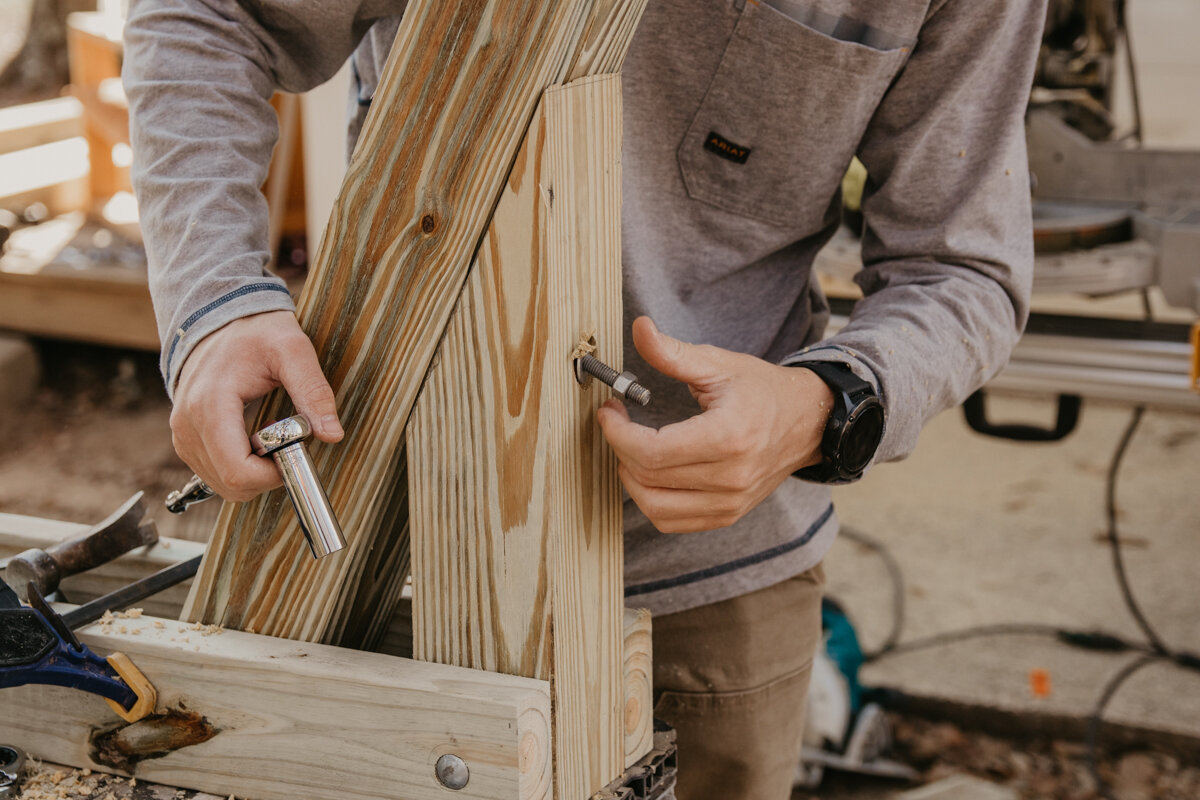
The next step is adding your third bolt into the bottom of the 4x4 side and you can move that over and work on the next side. Make sure you mirror each side with the bolts, so they are all facing the same way.

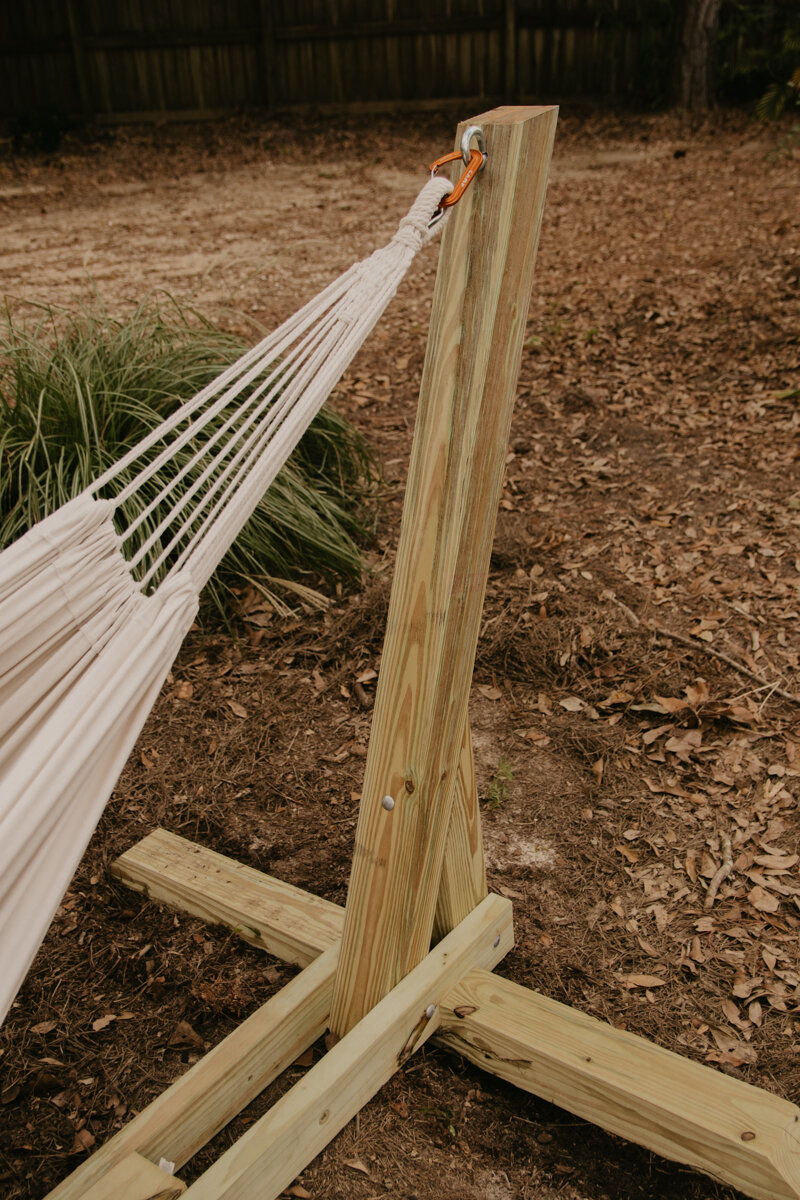
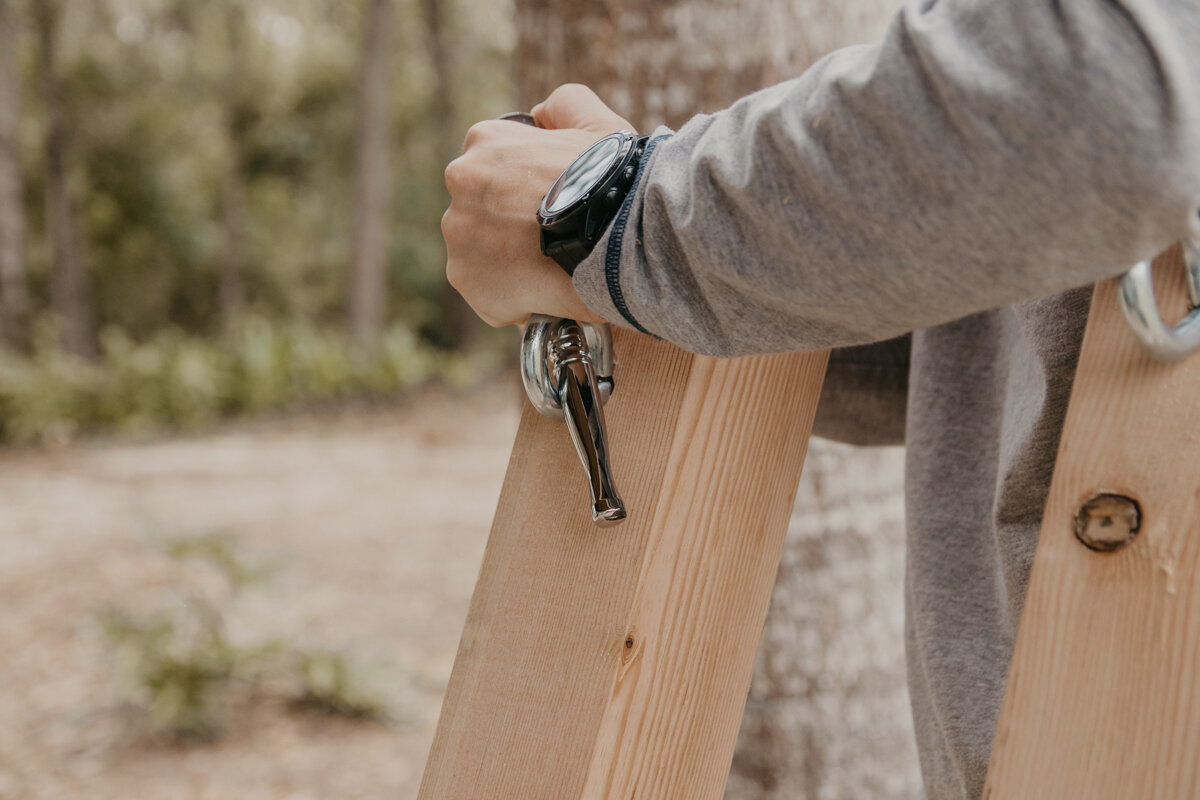
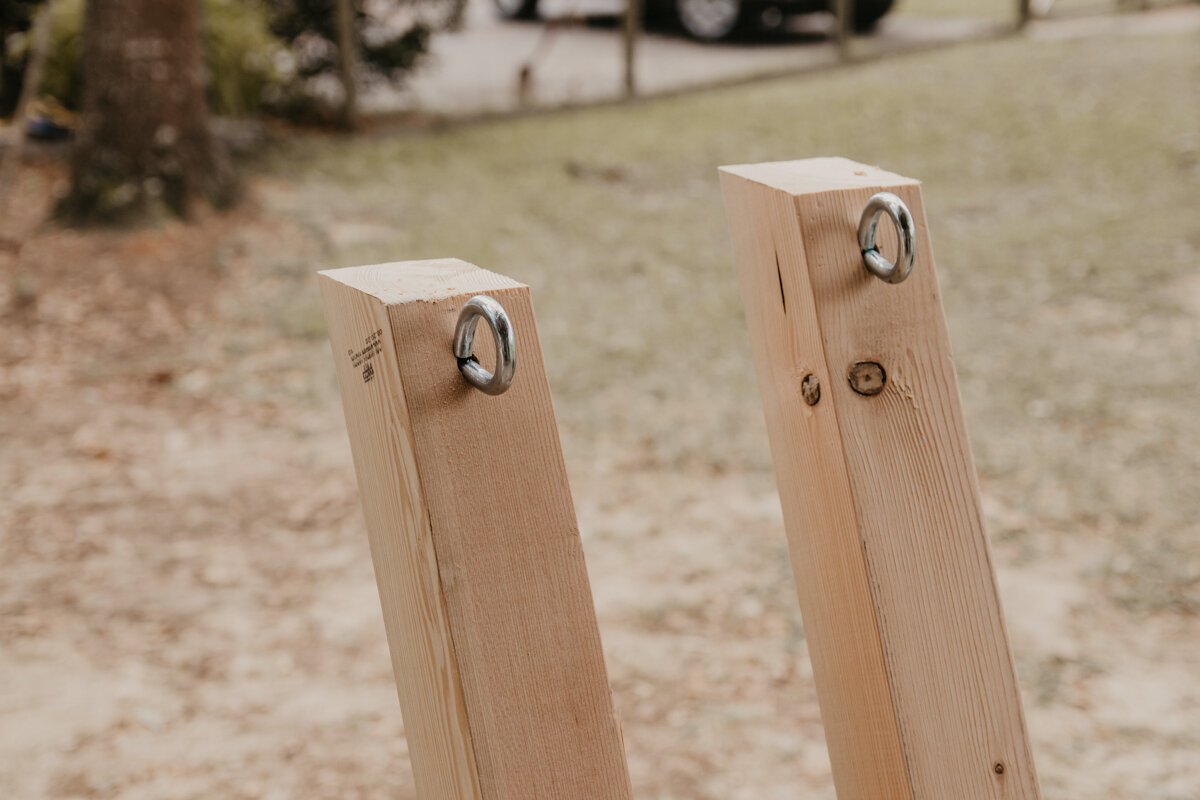
Now just get that 1/2” bit and drill at the top of the sides for your eye bolts and set those in place.
Let’s talk drill and impact driver real quick!
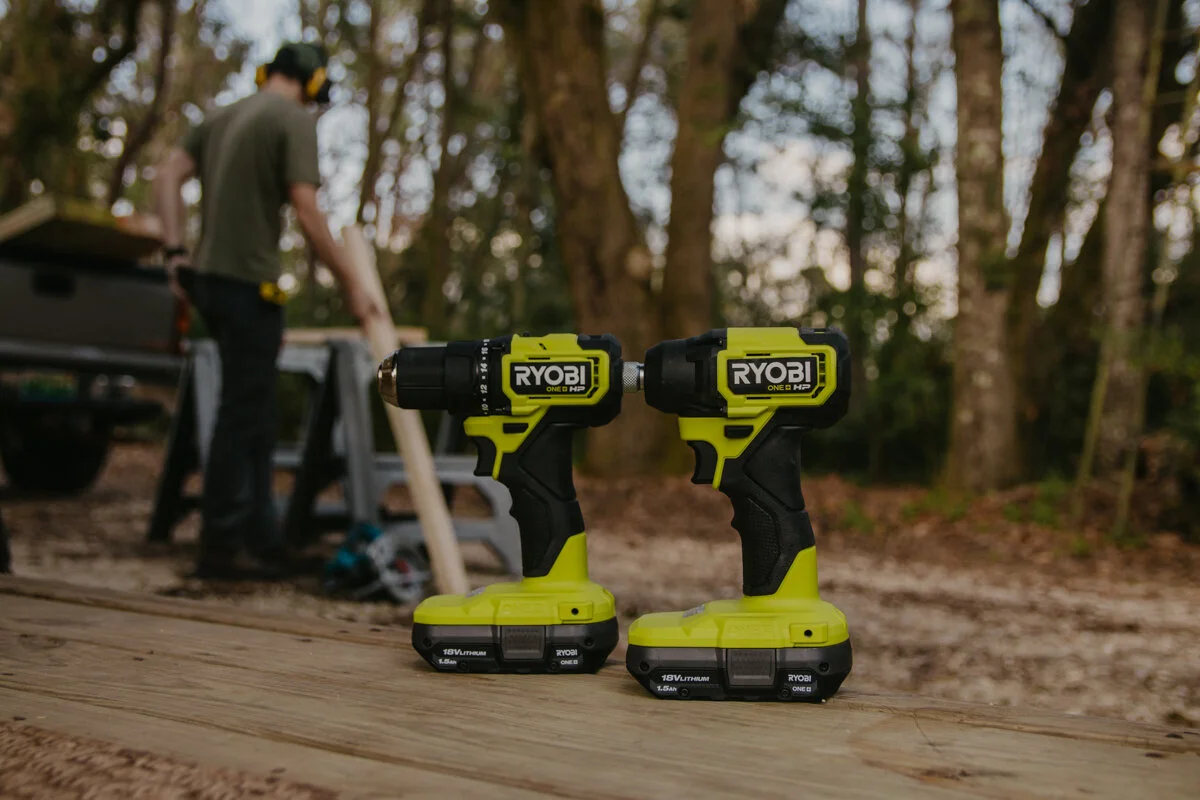
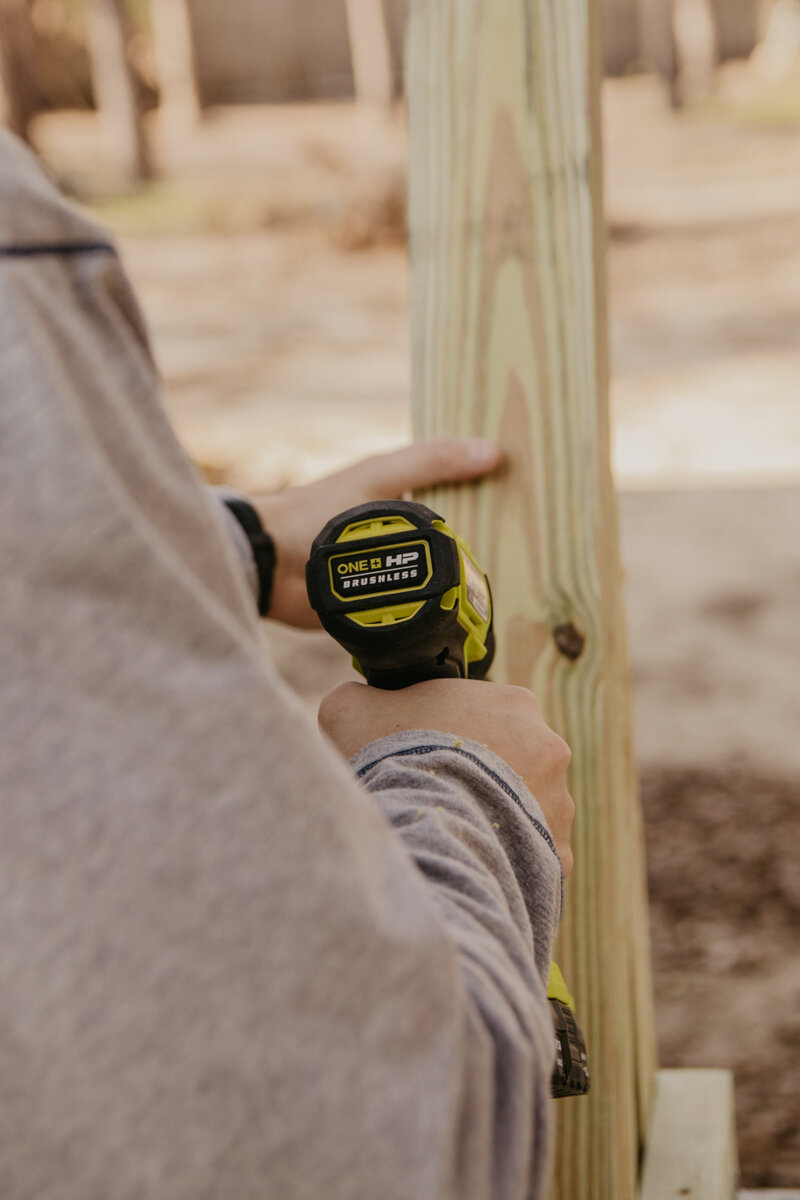
In this build, we are using the new Ryobi HP One+ 18V Brushless Drill and Impact Driver (affiliate link)! This is new to the market and the lightest set of drills we’ve ever picked up! In fact, 23% more lighter! Not only are they lighter, but they are also 30% more compact as well. I can’t tell you how awful it is to get be working and you just need one screw in a certain place, but your drill doesn’t fit. This one is perfect for that job! The impact is 5.3 in. length and the drill is 6.4 in. length.
These do have a brushless motor and what that means is they have a longer runtime, longer motor life, and more power.
The drill provides 400in./lbs. of torque while the impact provides 1,700 in./lbs. of torque.
The kit that we have linked to comes with 2 all new 1.5 Ah batters with charger and carrying bag.
All in all, these might the best Ryobi drill and impact yet, and couldn’t recommend enough!
Attach Your Hammock and Get Sides Perfect
It’s finally the time where you can attach your gorgeous hammock and set the sides the perfect distance apart. You’ll want the hammock to be pretty straight across when no one is sitting in it. I’ll let you in on a little secret. We messed up and had to take apart one side of the hammock and make all new bolt holes because once everything was done and we sat in the hammock for the first time, it stretched….ugh! So, stretch out your hammock beforehand!
Once you get your sides where you want, then grab that 4x4 stretcher and set that into place between the two sides. You might have to force it in with a hammer and I would suggest keeping the hammock on so you can still keep an eye on the distance.
Measure and drill out for the next three bolts going through the 2x4 rails and 4x4 stretcher. Same thing with the Forstner bit as well here to inset the washer on the backside.
We didn’t forget about those feet! Grab a helper and flip the hammock upside down so you can place the feet on. We placed them right in-between the bottom of the 4x4s. Get your 3” screws and screw into place at the bottom of the 2x4 rails.

You are done!! Move the hammock stand to where you where you’d like and enjoy! You earned it. We love having this around for a different kind of seating outside, not to mention to be able to rock back and forth. Perfect for around a fire pit in the fall or by the pool in the summer. Don’t forget about the set of plans we have available here!