
DIY Outdoor Coffee Table
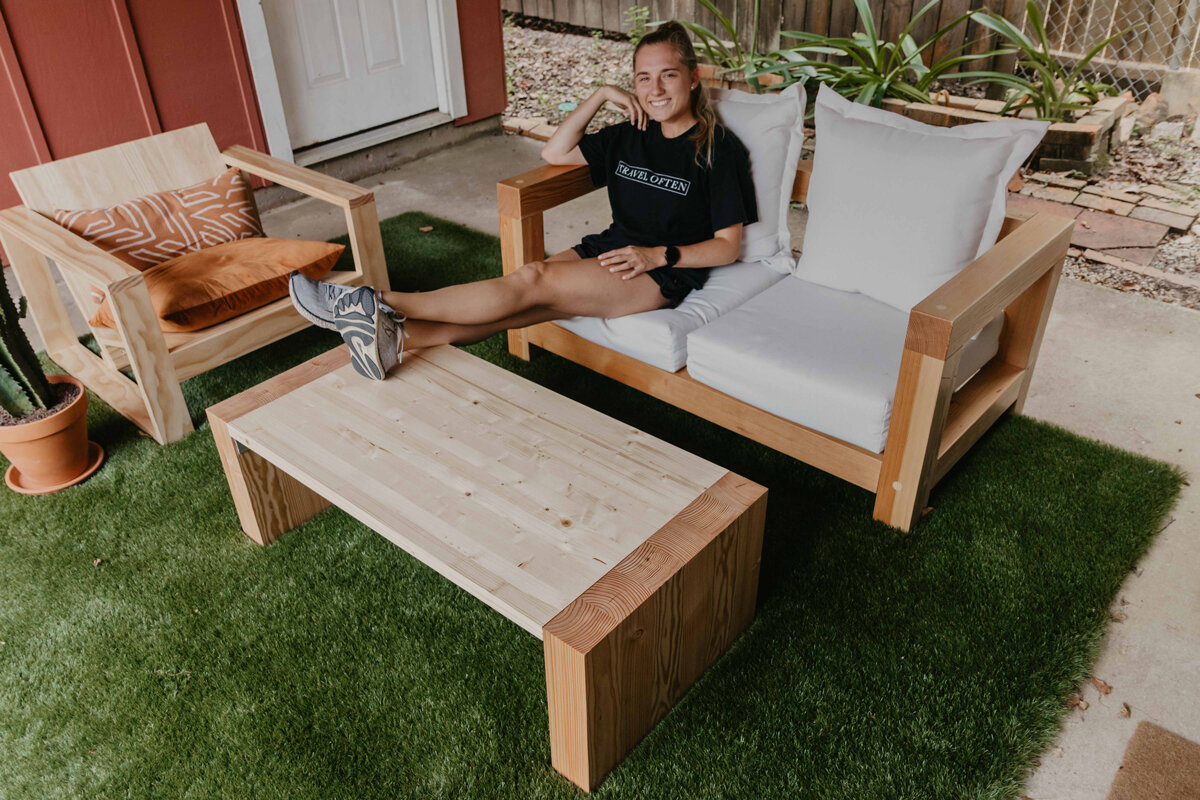
Next up for the outdoor furniture series, DIY coffee table!
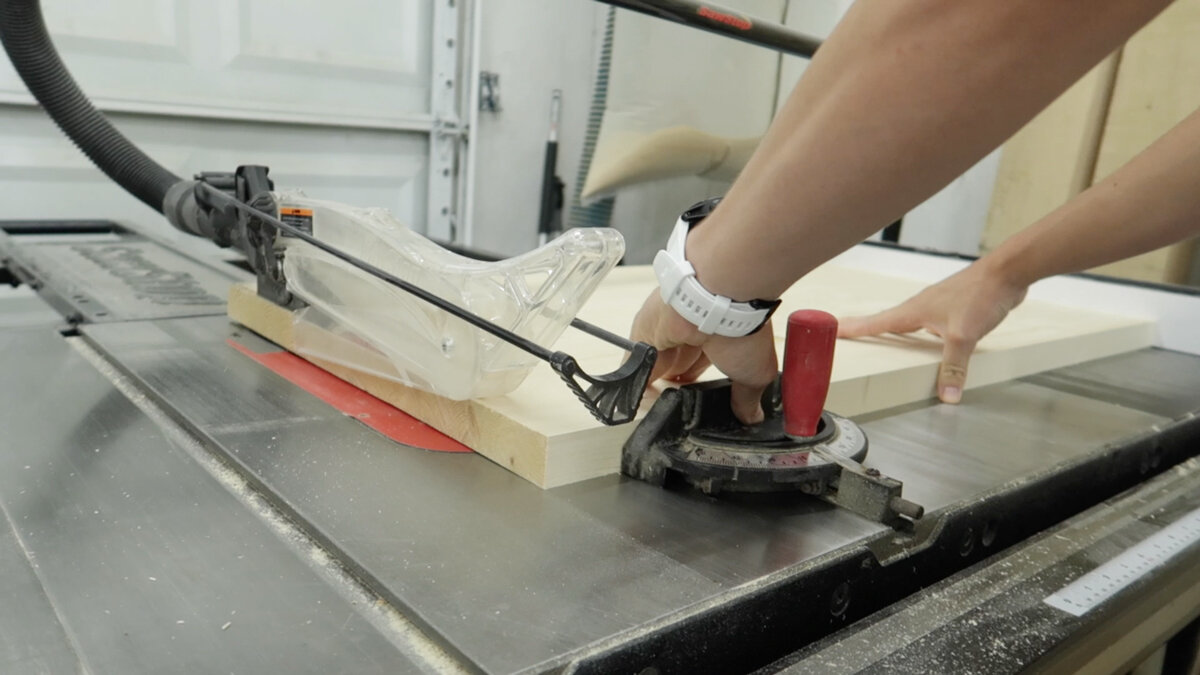
Materials are super simple for this project. We need (2) 8ft 4x4’s and a 2x4ft project panel, we will get to that in a minute. As always, first cut material down to length. We cut the 4x4s in half first, just so it’s a bit easier to manage. Then, we put up a stop block so we can make repeating cuts. We need 12 of these pieces.

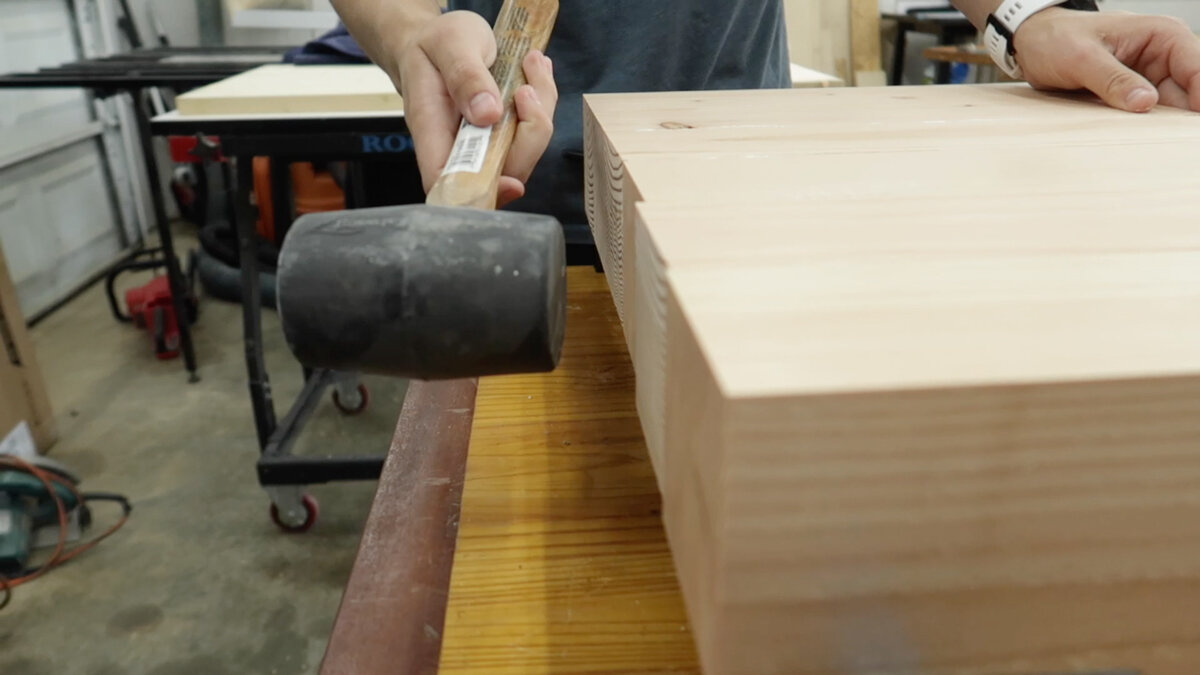
We are gluing these pieces together, so we want to plane them down just enough to get the rounded edges gone. Now, time for the glue up. We need two glue ups here for each of the coffee table legs, and we glued them up separately.

We didn’t leave much room for error, so using a rubber mallet, just lightly tap the ends to make sure each piece is even with the next.
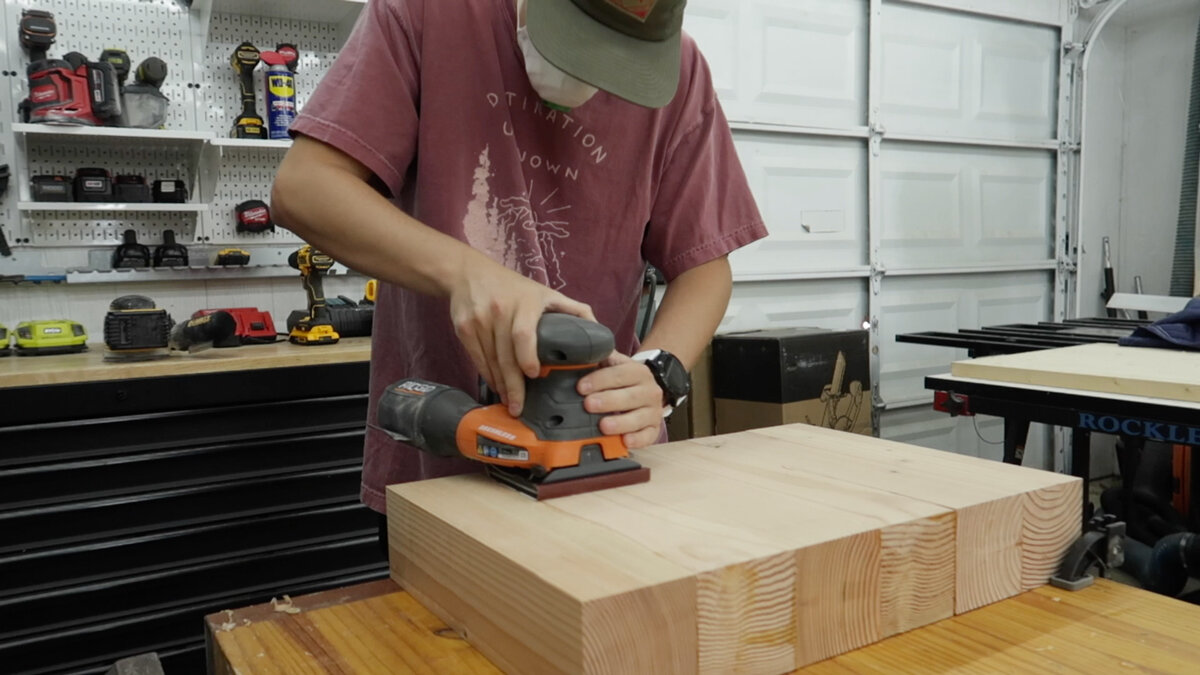
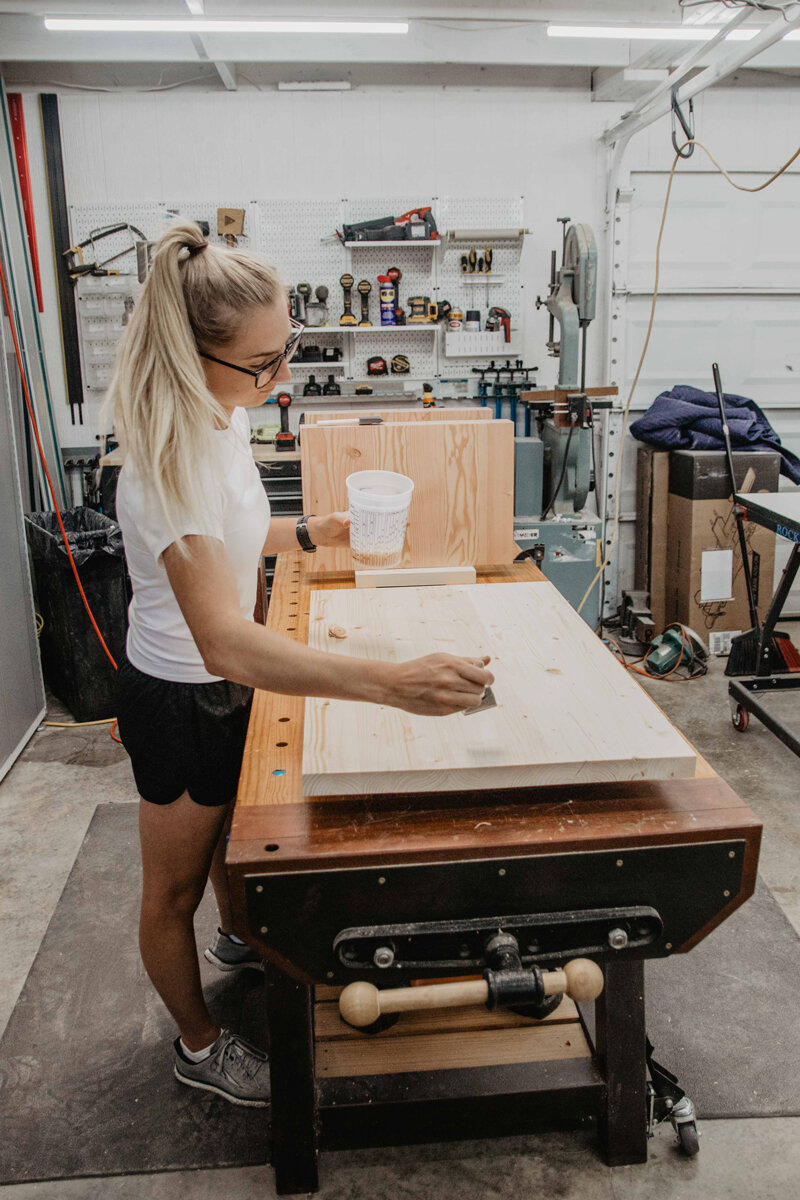
Once that dried over night, we could come in, scrape the squeeze out off, and do some sanding to flatten it all out. Our belt sander broke, so we used a sheet sander (affiliate link) that actually worked out really well!
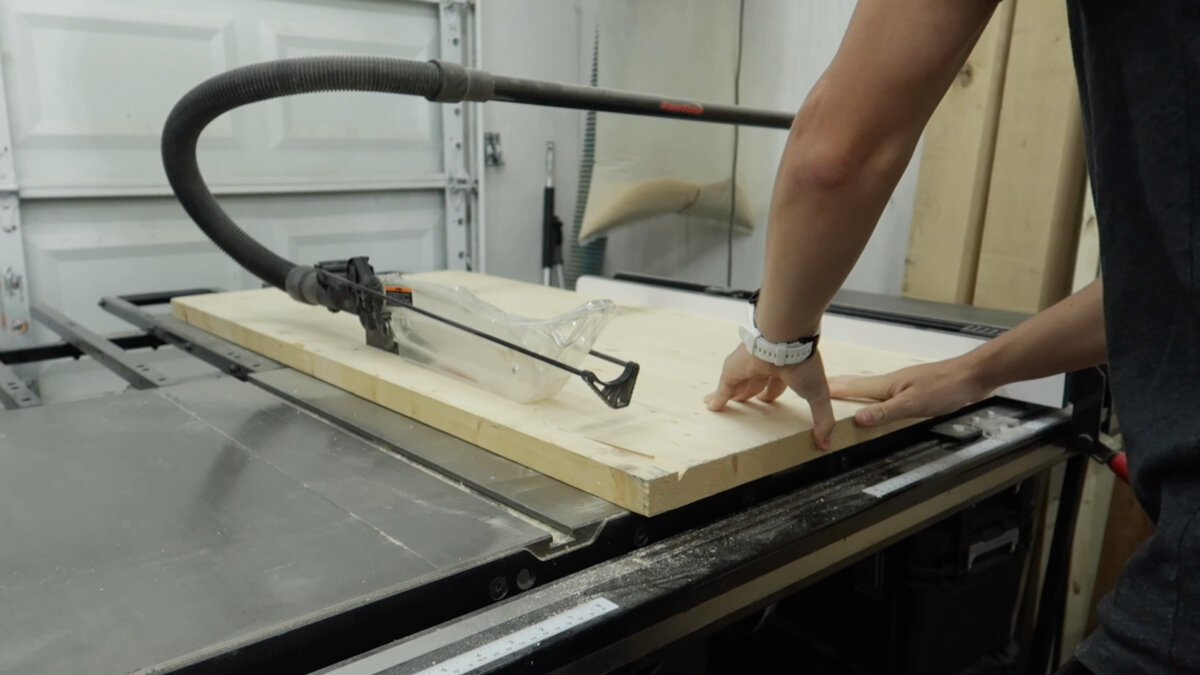
Now we can cut down our project panel to length and width. First, we want to just cut off a little bit of the rough edge on one side. Then, flipping it over to the other side, we cut it to our desired width. Same with the length, we cut roughly where we needed it to be, so we can cut off the rough edge on the other side. Sanding it down with 220 and we can get to finishing.
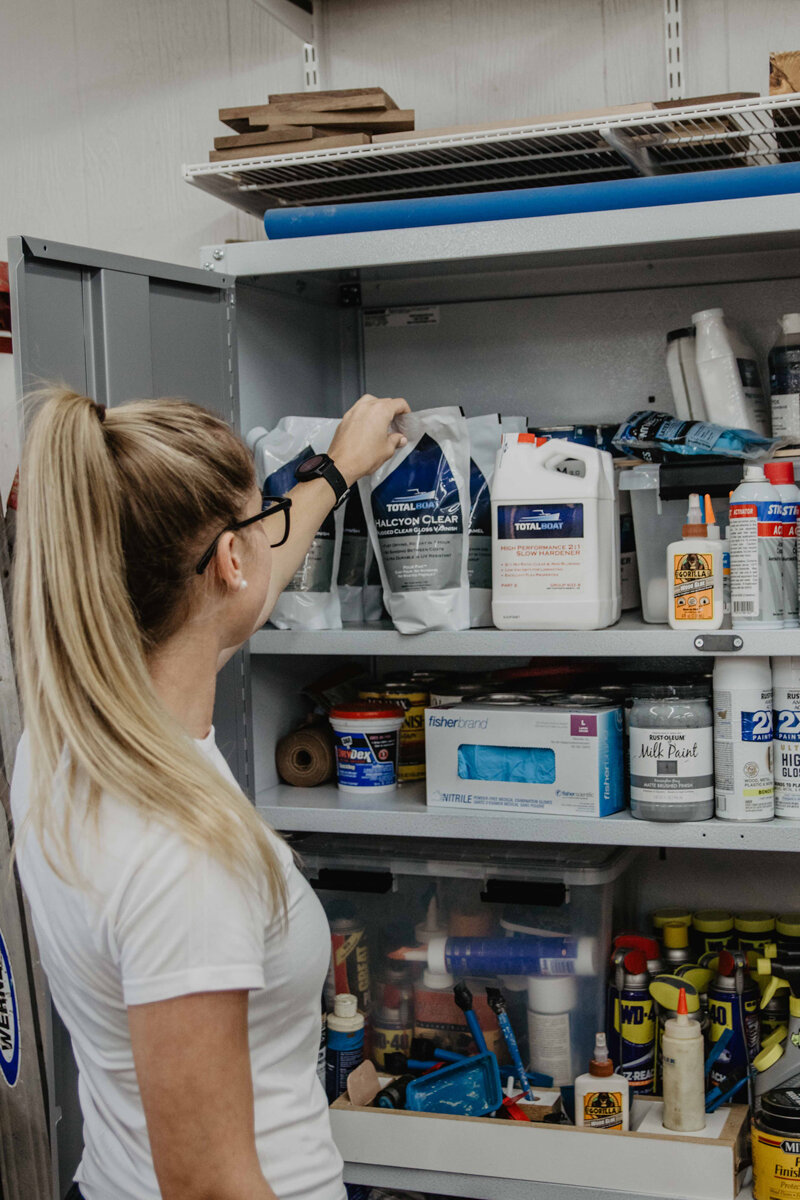
Once again using the Total Boat Halcyon Clear Varnish. This stuff is amazing and we will talk more about this in just a minute, but we did a total of 4 coats and the best part is, you don’t have to sand in between coats with this stuff. Life saver right here.
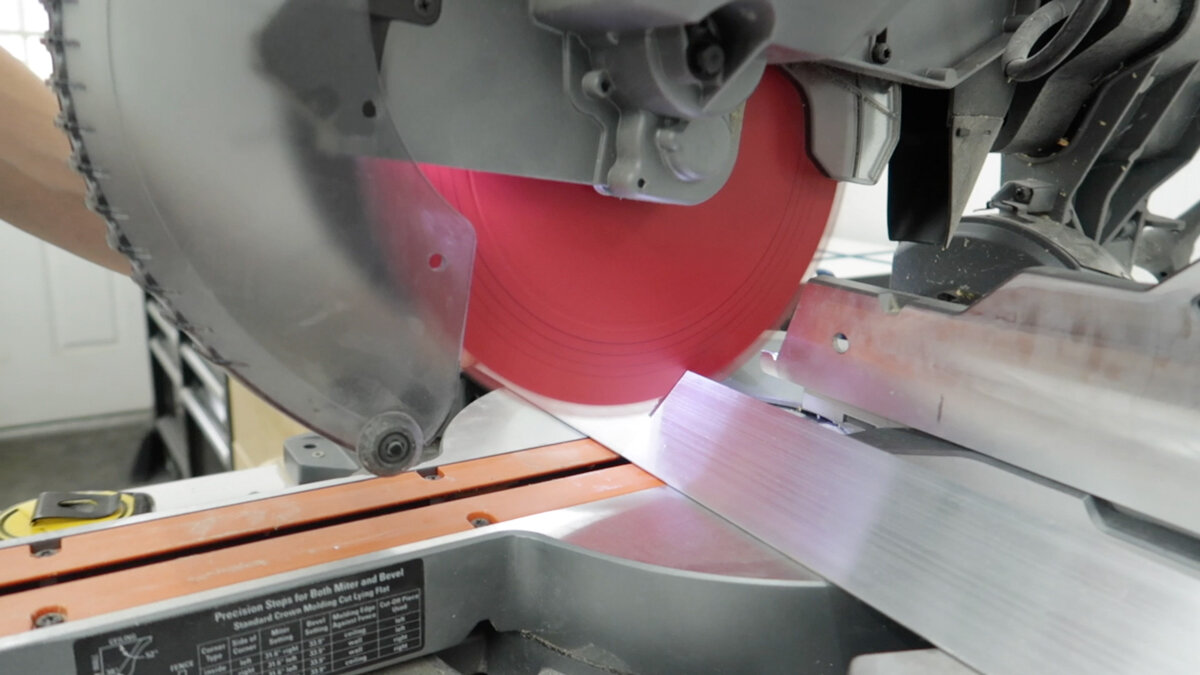
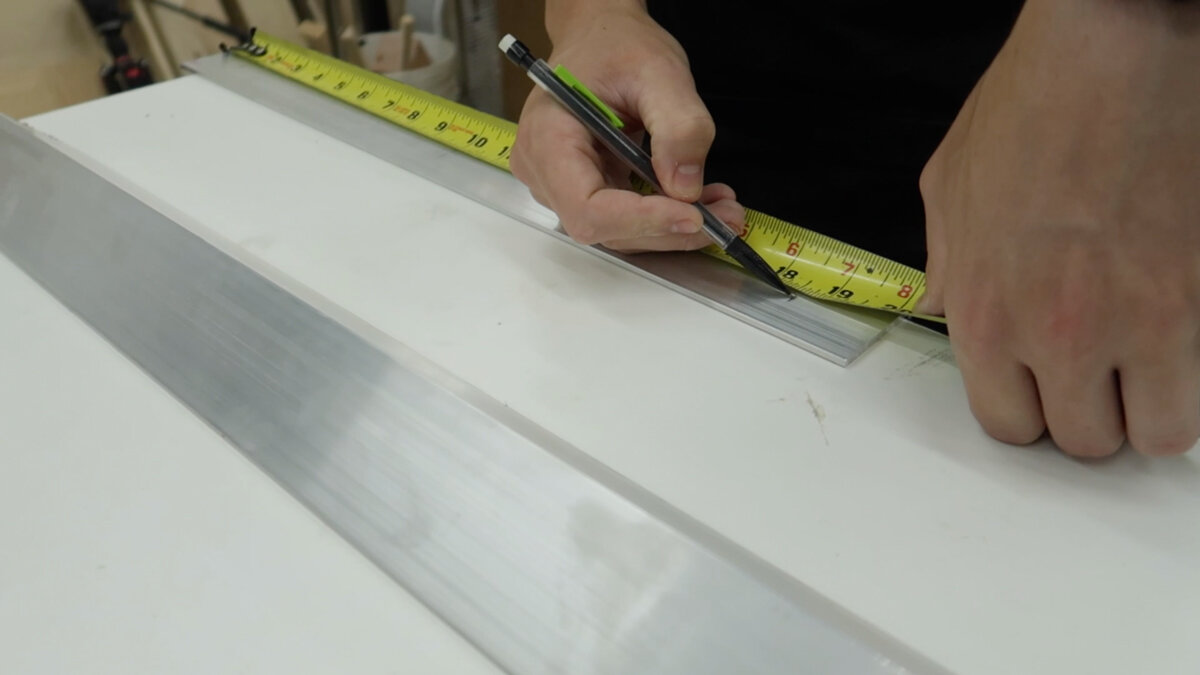
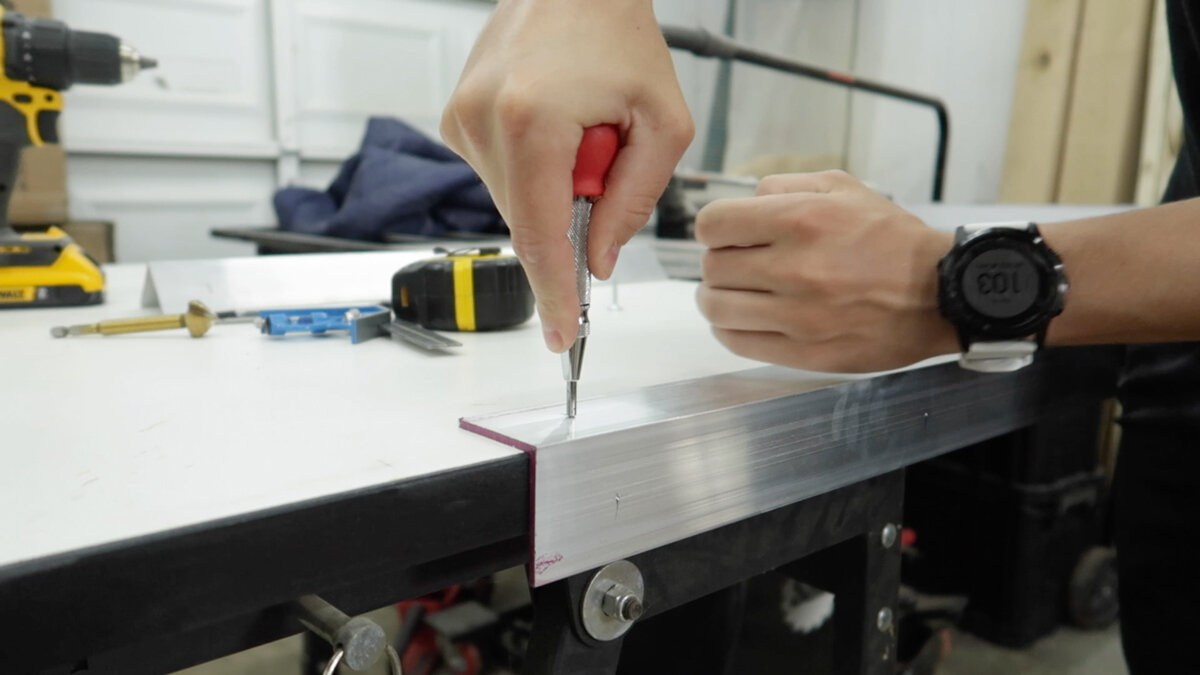
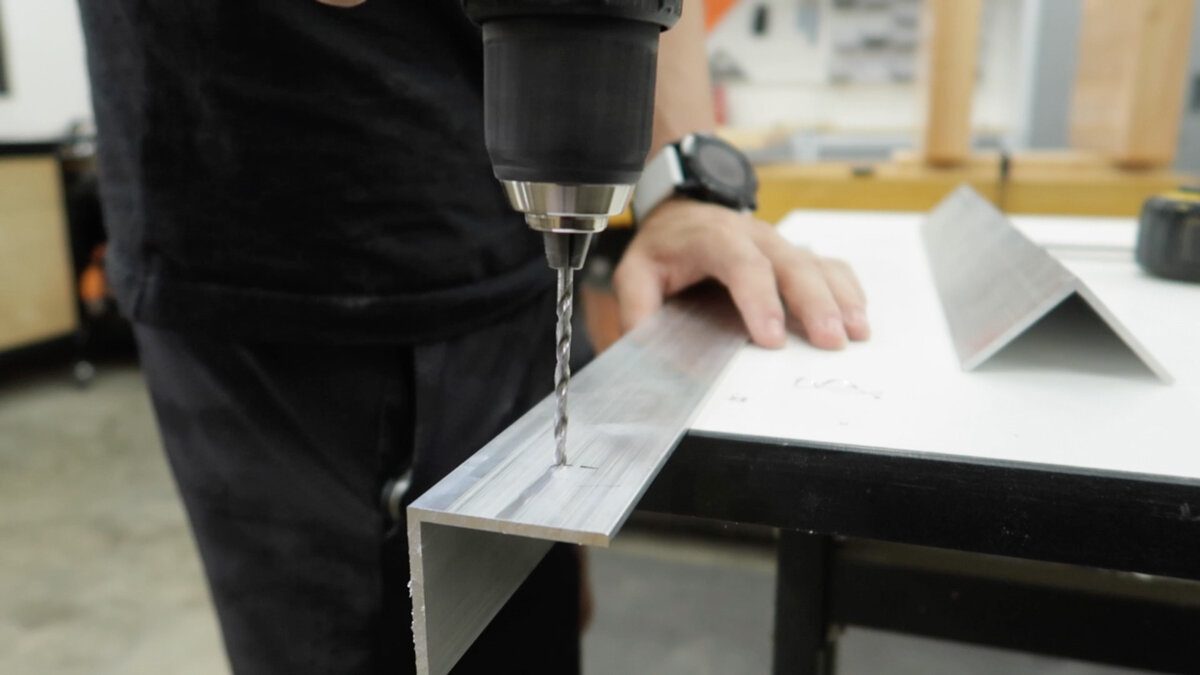
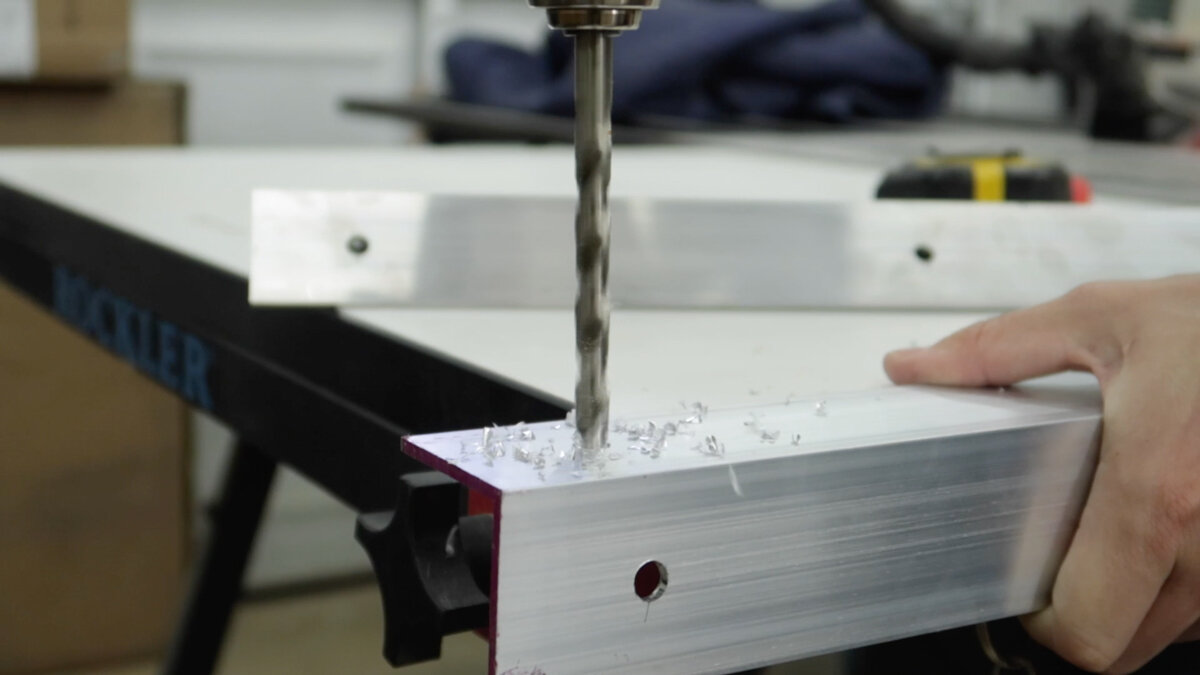
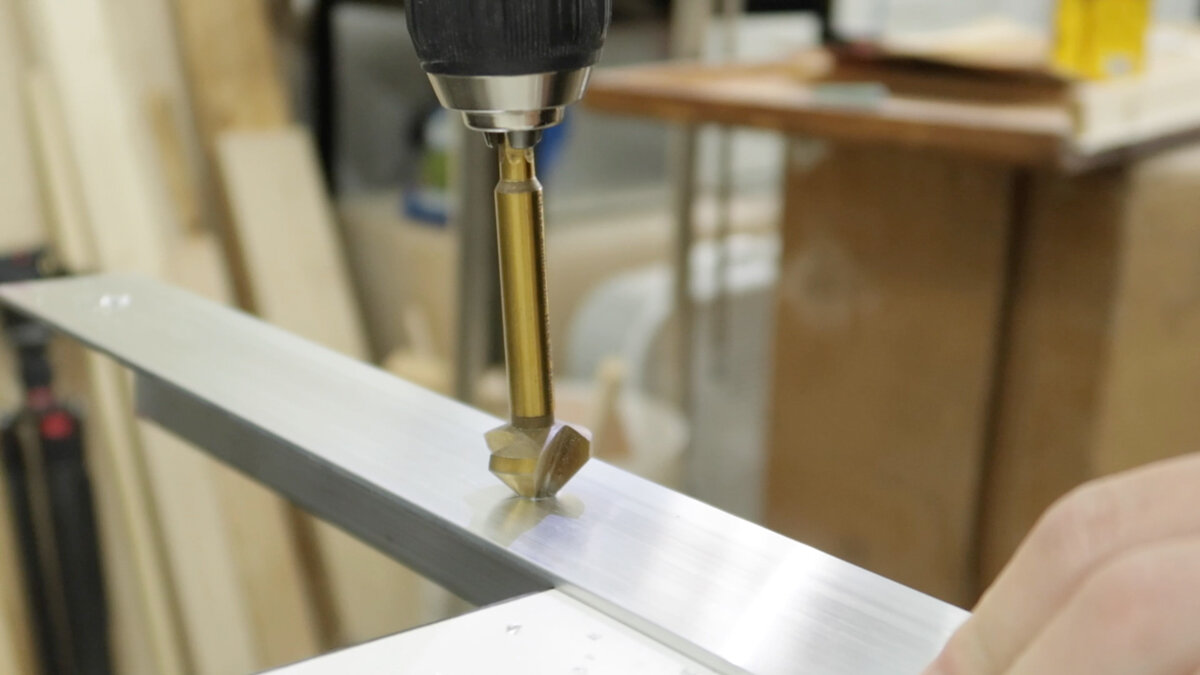
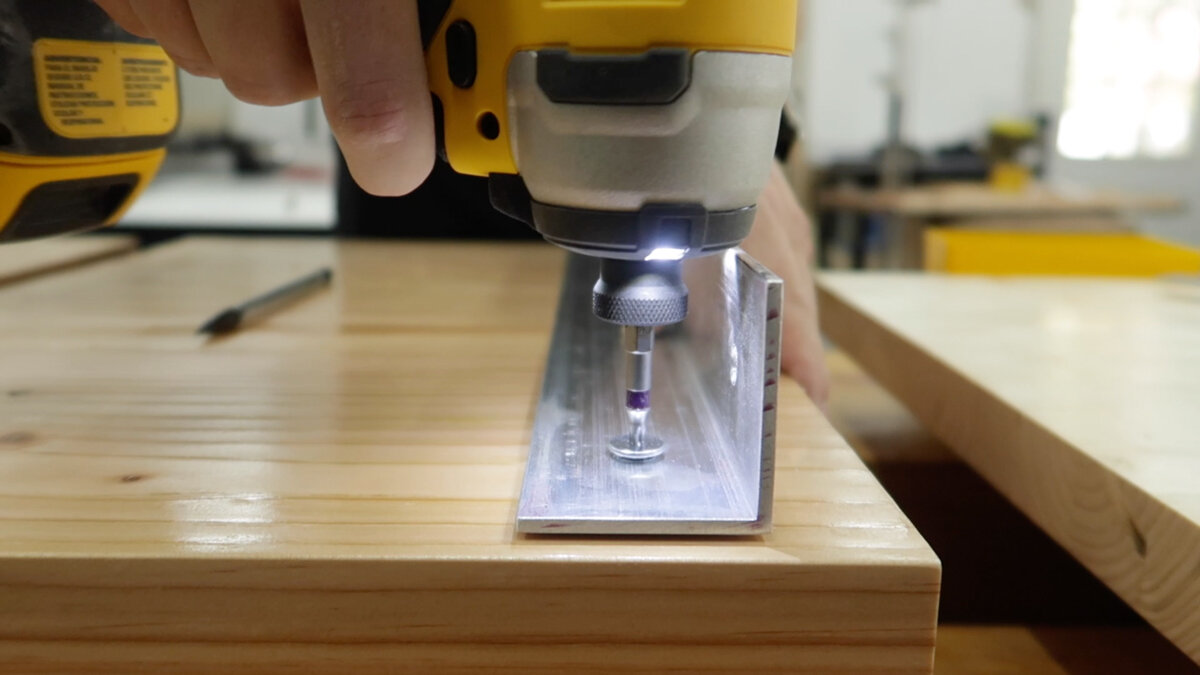
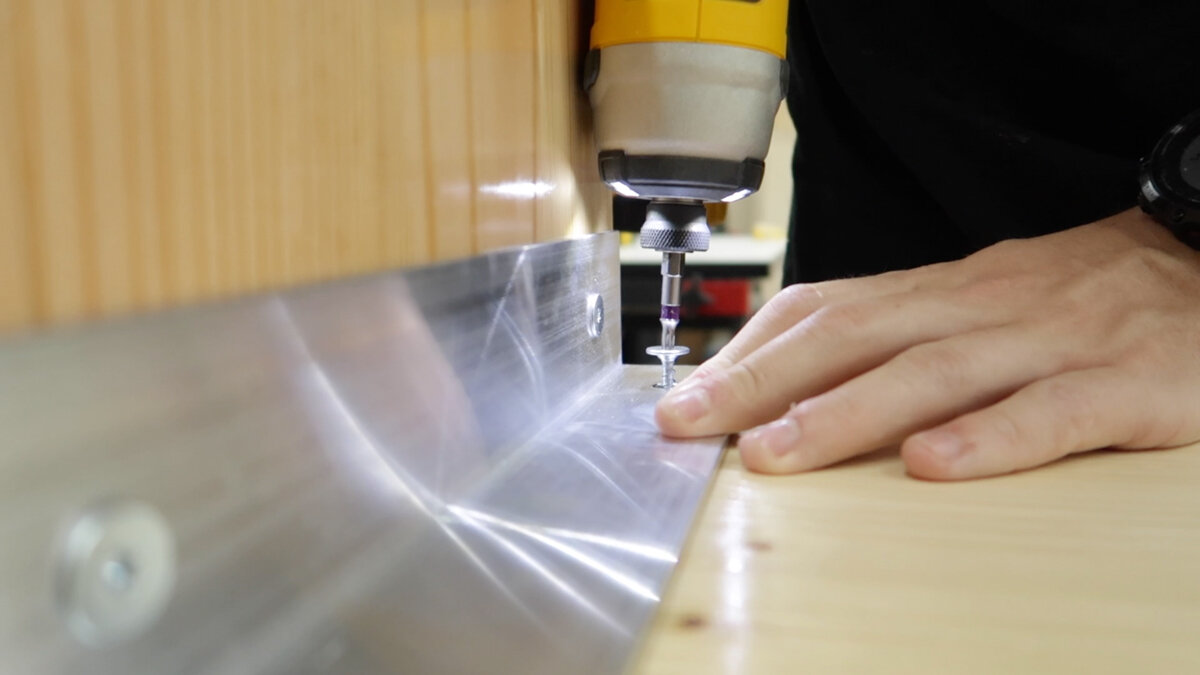
Last little bit is cutting 2 pieces of aluminum angle for a bracket, so the top can sit on top of it and get attached to the legs. Getting ready to pre drill, we spaced out 3 marks where each screw needs to go. Using a punch puts a little divot into the aluminum so it’s really easy to start drilling and your bit can’t slide over. Started out with a smaller bit and then came back around with a larger one a little bit bigger than the screw, to allow for wood movement. We need to do this on both sides of the angle. Next, is just adding a small countersink. Last thing is hitting the edges with some sand paper to take the burr off and there was a little bit of paint left over from the store.
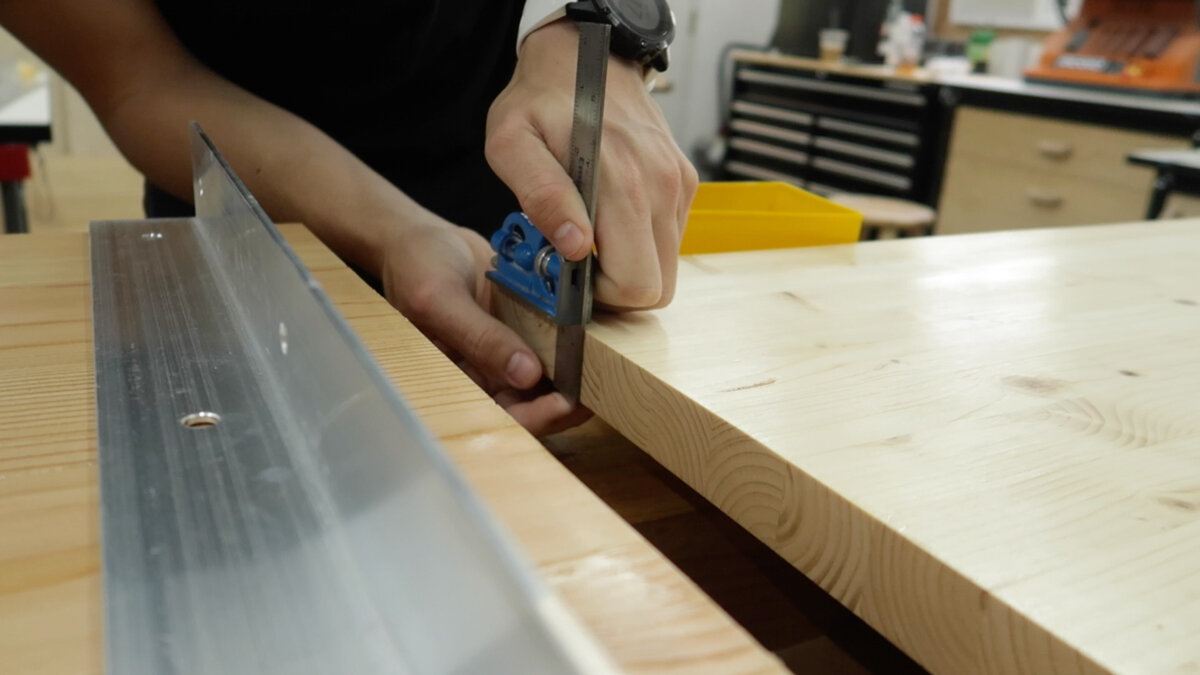
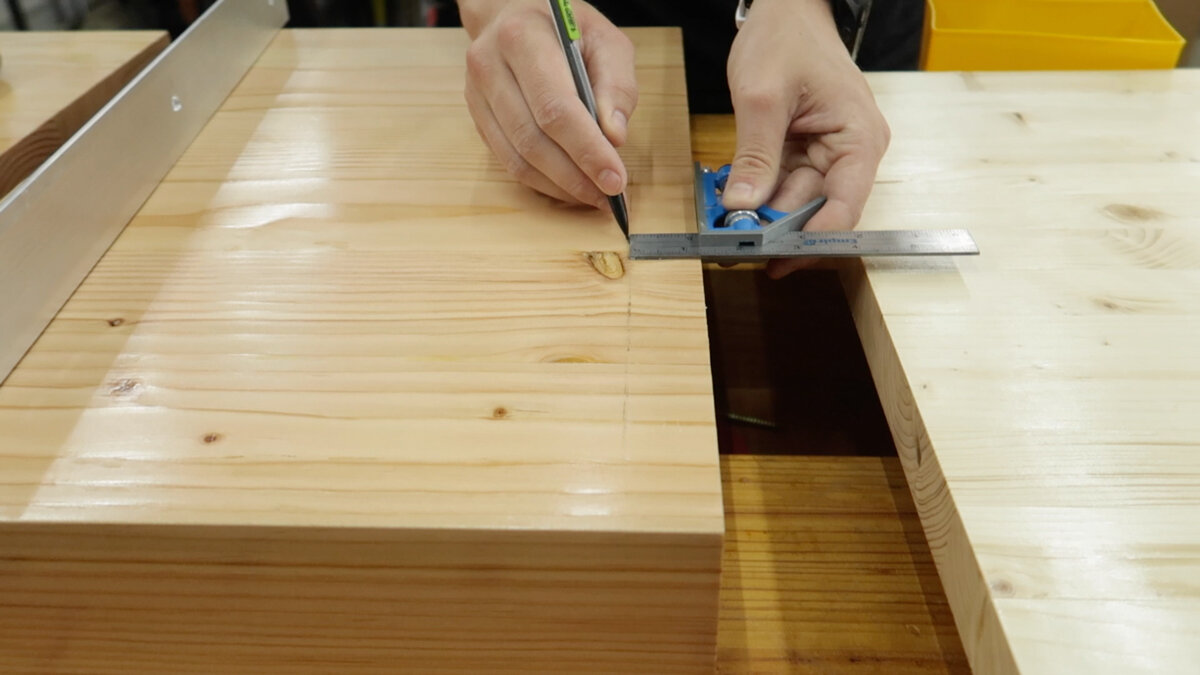
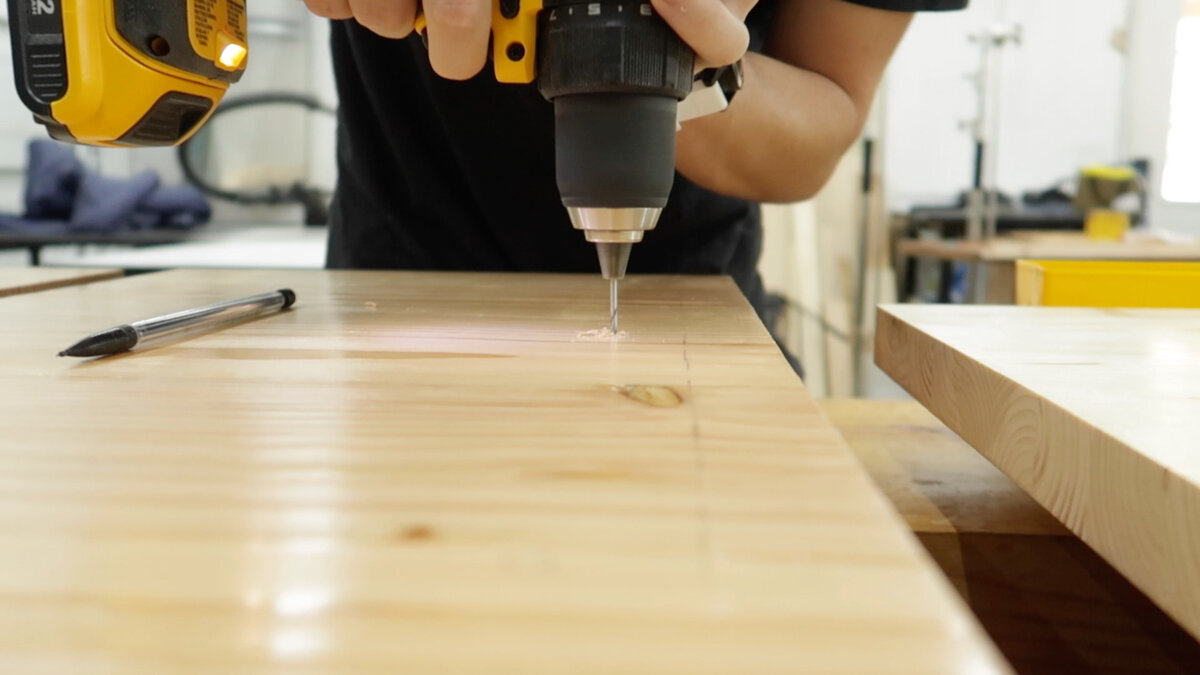
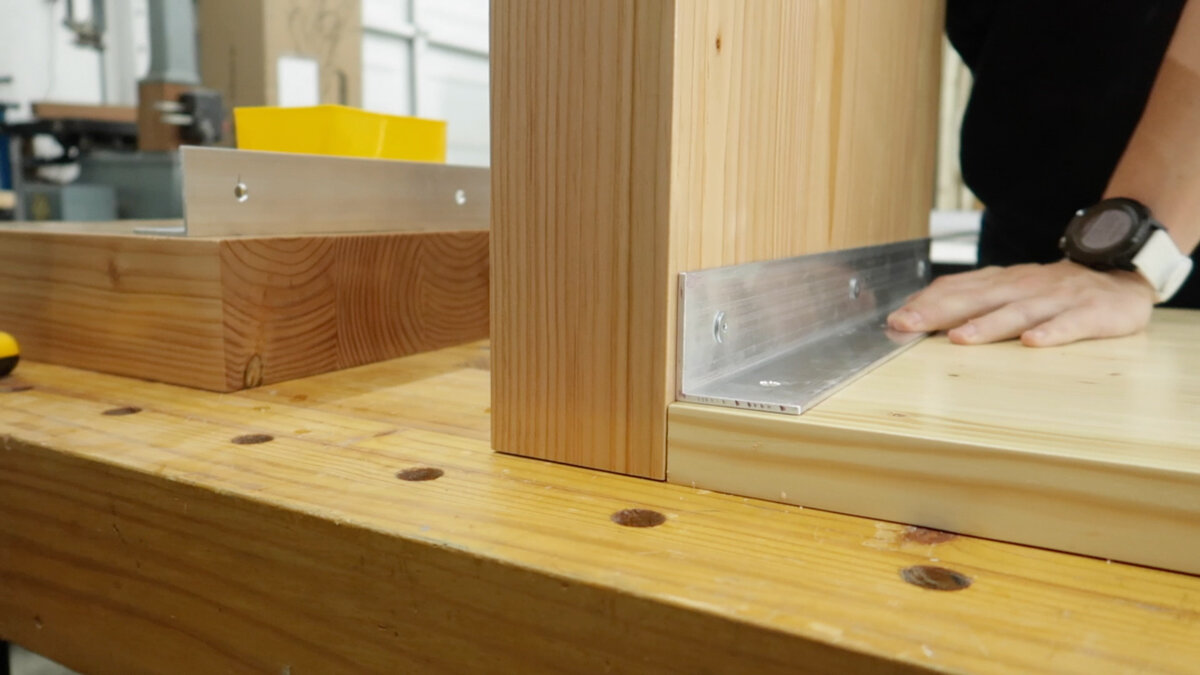
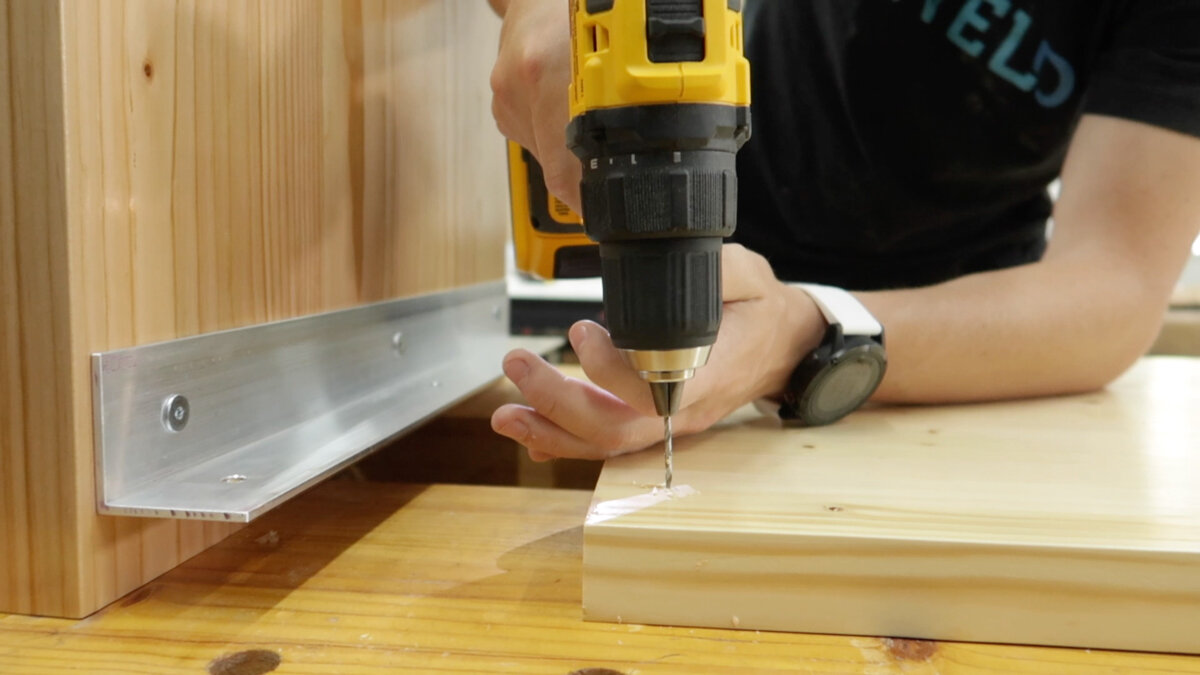
The top is going to be set in-between the two legs, so we measured the exact thickness of the top and then marked a line where the top of the bracket needs to sit. Now, just trace the holes so we can move the bracket out of the way while we pre drill. Next is just sliding the leg over and repeating that process for the screws.
Absolutely love how this patio is turning out! I think we need to add a few more potted plants and maybe some cute lights out here. We only have a few more things to add and this patio will be a wrap!
