
DIY Planter Box
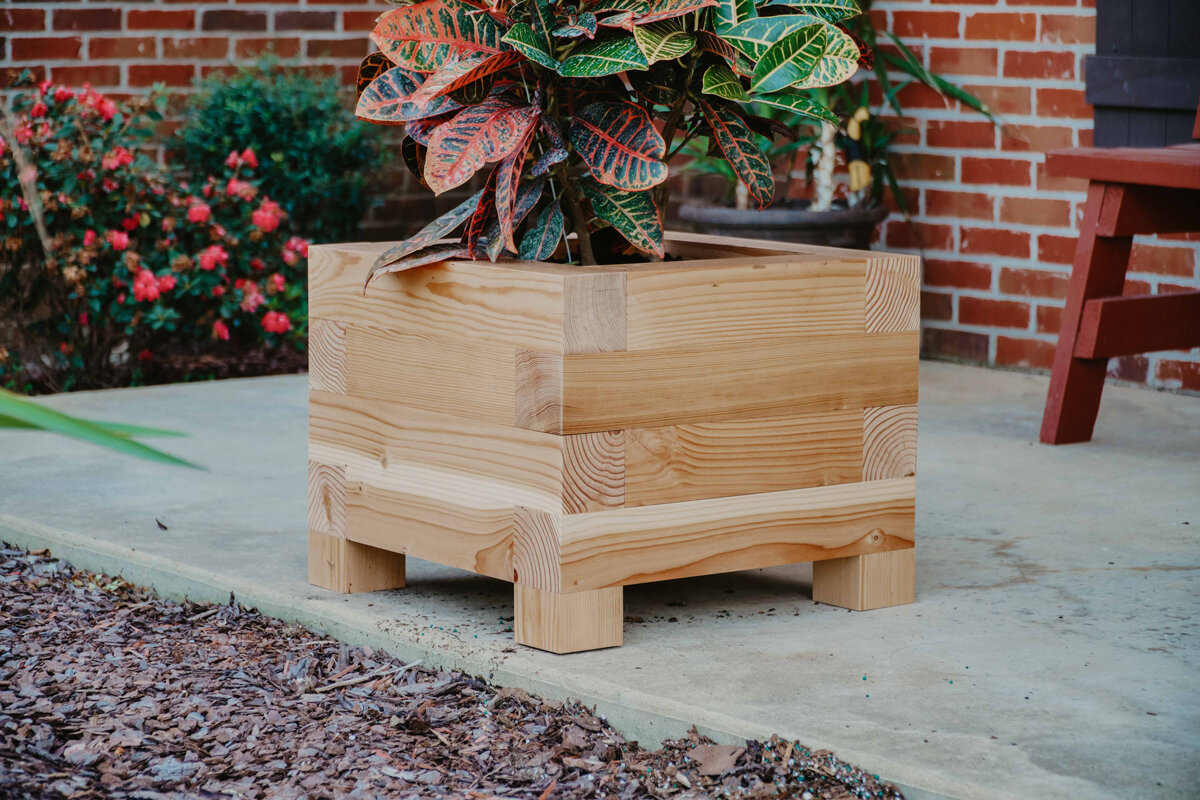
This place we are in might look a little different than usual. That's because we visited Jay Bates' house and did a one day build with him! We built this outdoor planter for him and then he made this really awesome nesting chair for us! You can check out that video here!
Okay, I know we always say super simple when it comes to materials, but this time I mean it. All we need are (4) 8ft 4x4s and some screws.
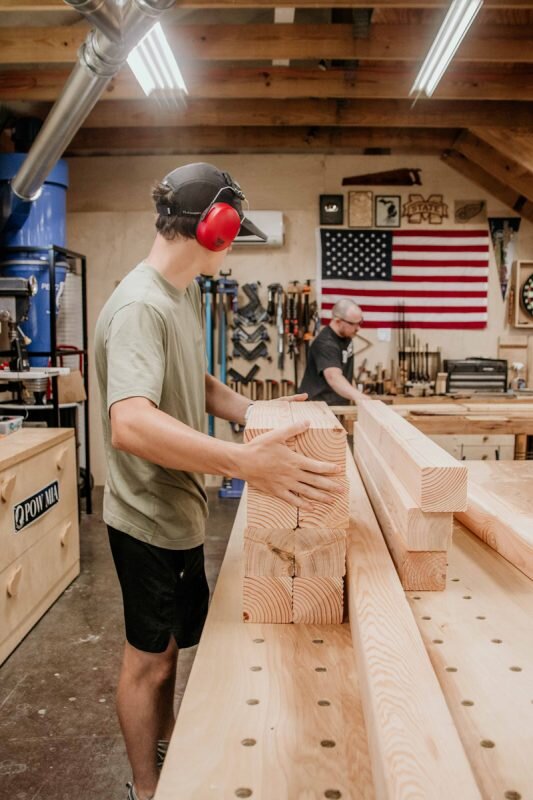
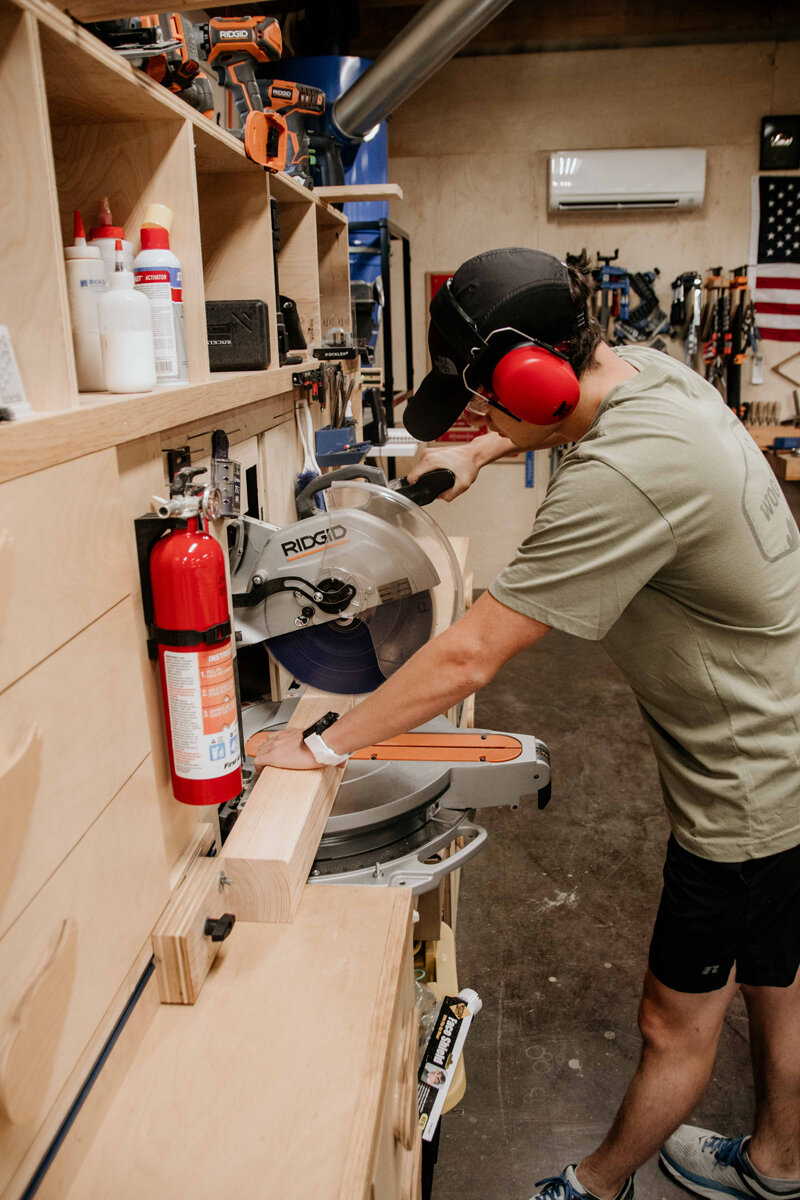
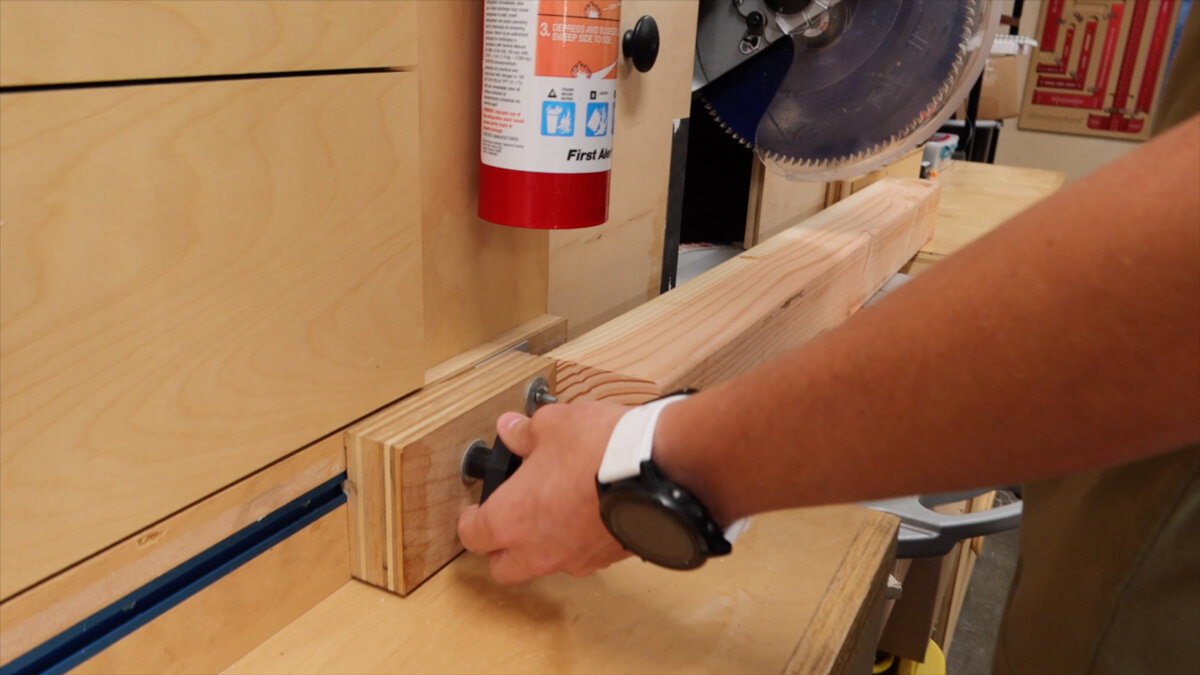
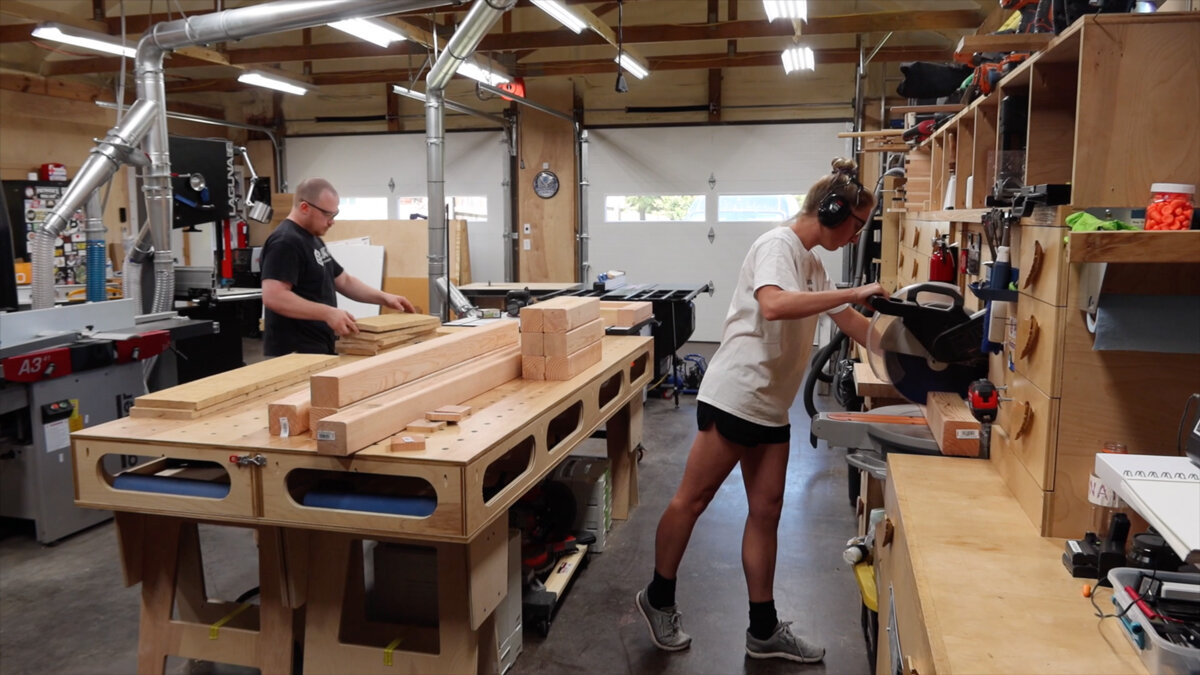
Cutting material to length is also super simple. We need 2 different lengths and about 8 of each, so 16 boards total. While we are building this planter, Jay is building his project at the same time, so that meant we had to share tools. It’s so fun watching others work in their space and seeing their flow. For all of these repeating cuts, we did use a stop block to make the process a lot faster.
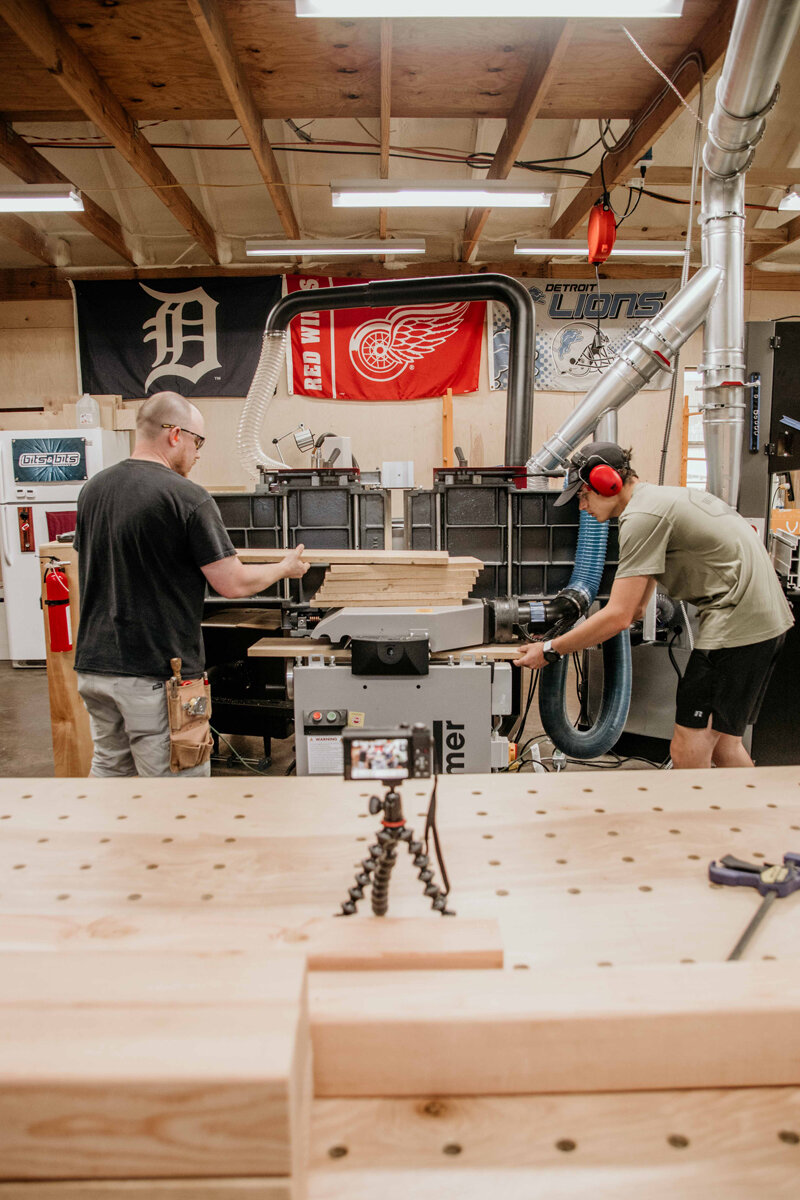
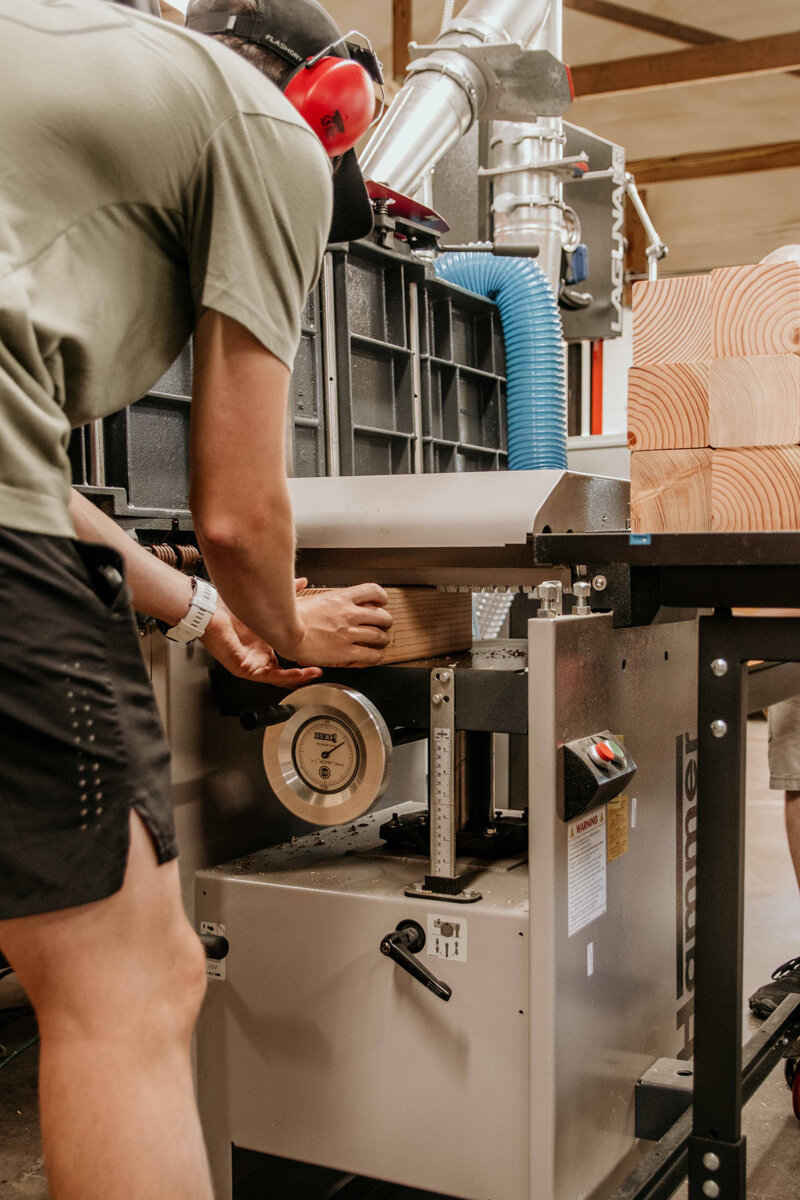
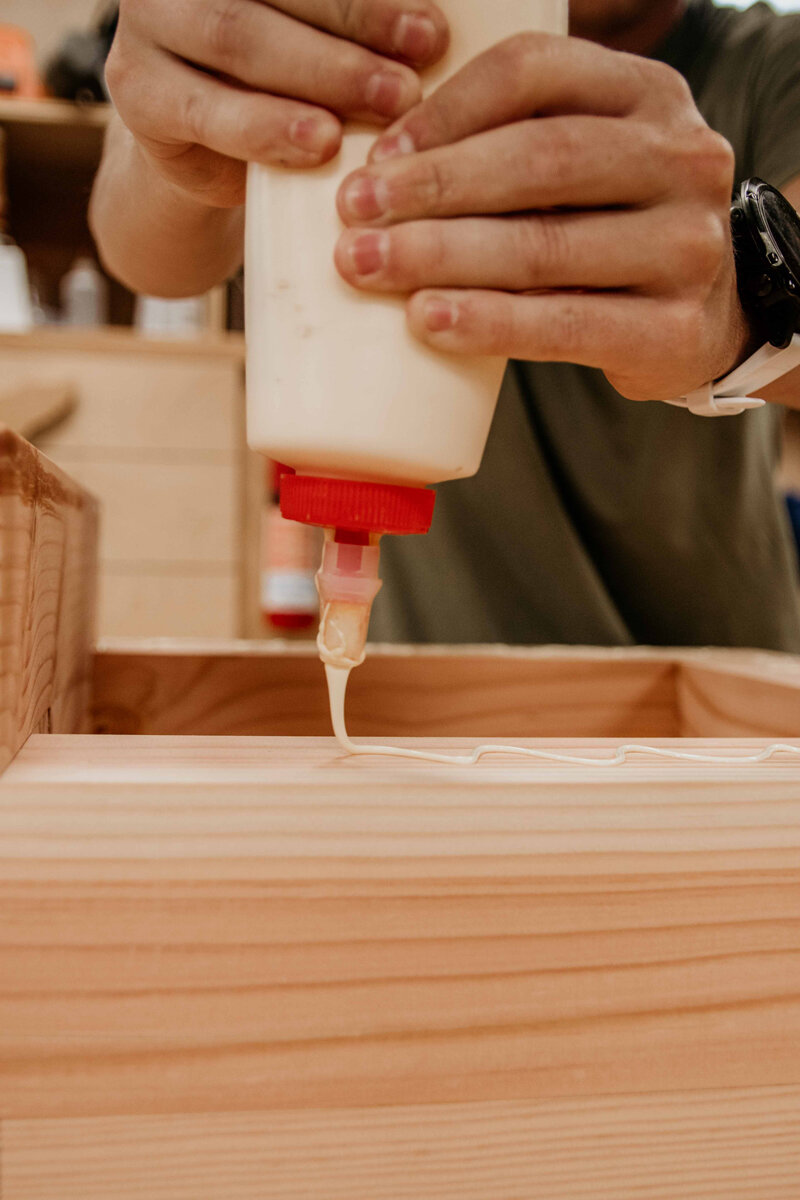
Jay was using the planer, a very nice planer might I add, before us, so we stepped in and helped him out until it was our turn. We are planning down each side of the boards so we can glue them up without that rounded curve.
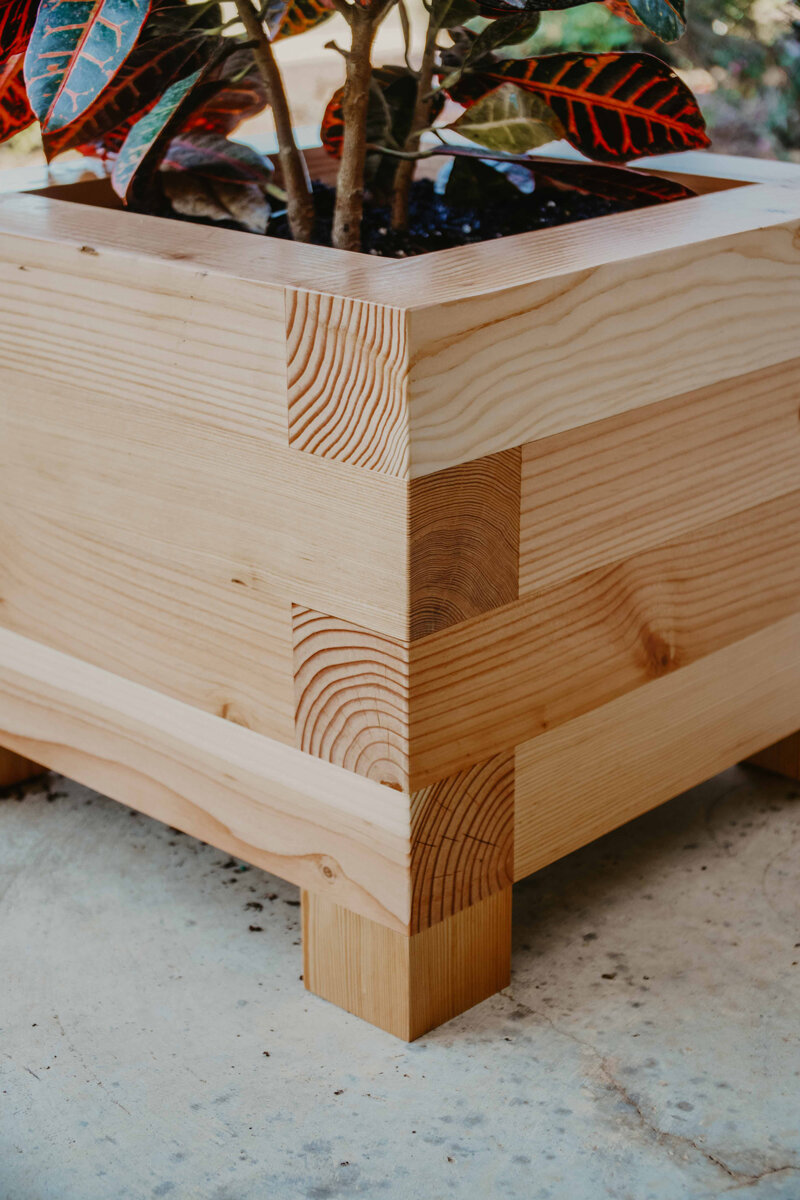
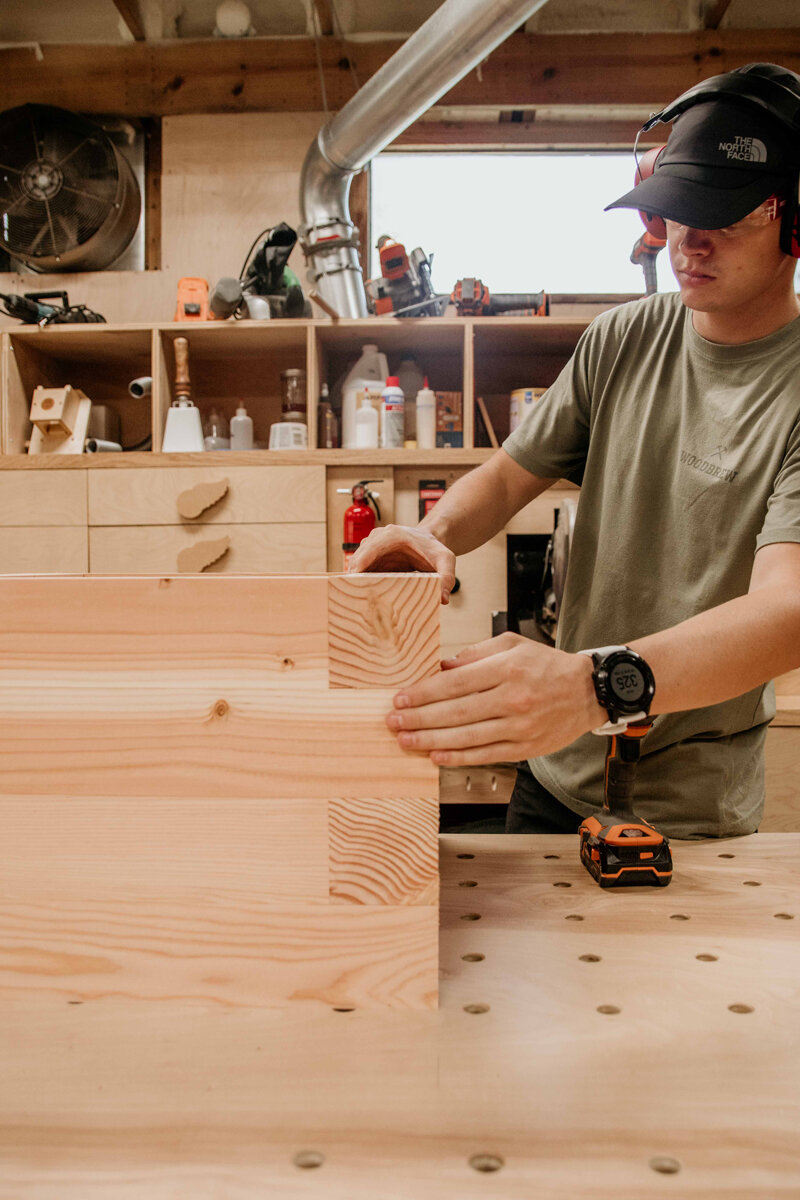
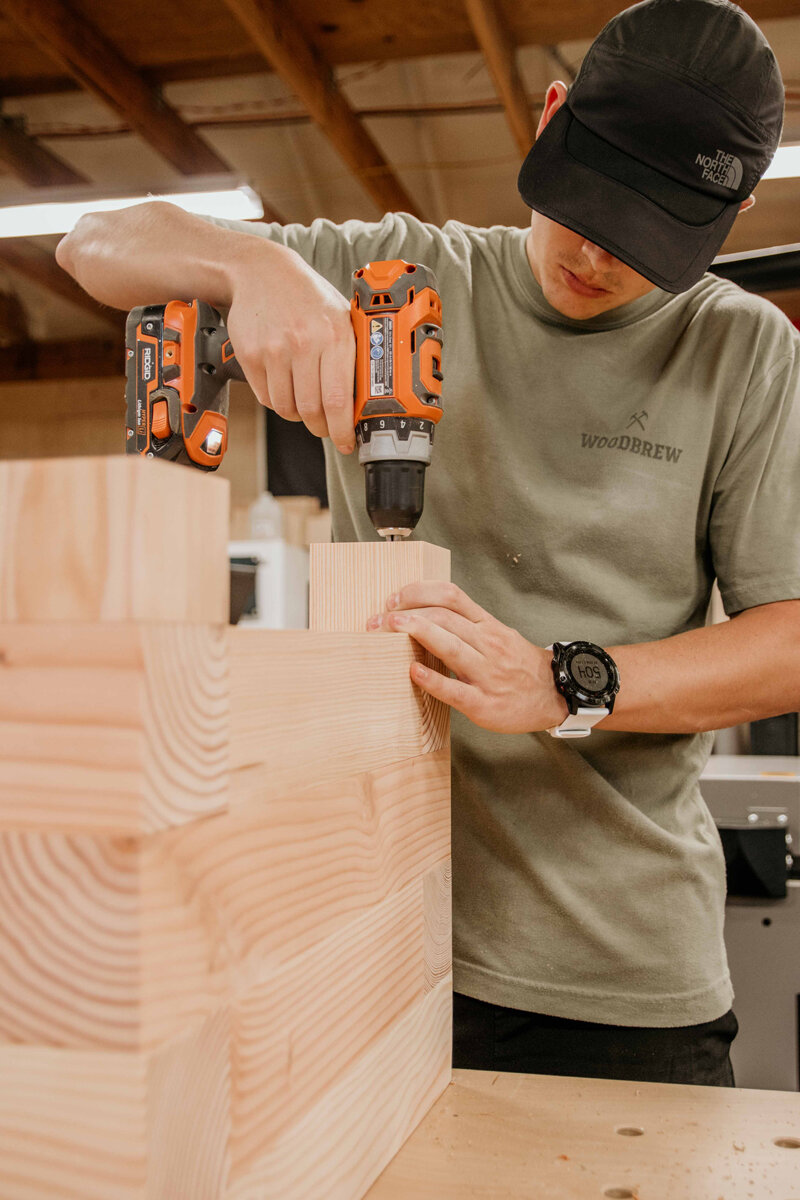
Right when we got to assembly, we forgot to cut the 4 feet, so we planed another board and cut (4) 4” pieces. Now we can assemble. We are layering 4 layers and alternating long pieces and short pieces. So, the first layer has the short pieces on the sides and long pieces top and bottom. The next layer will have long pieces on the sides and short pieces on top and bottom. Each pieces is getting screwed to the pieces below and then we can flip it over and all the screw holes will be on the bottom.
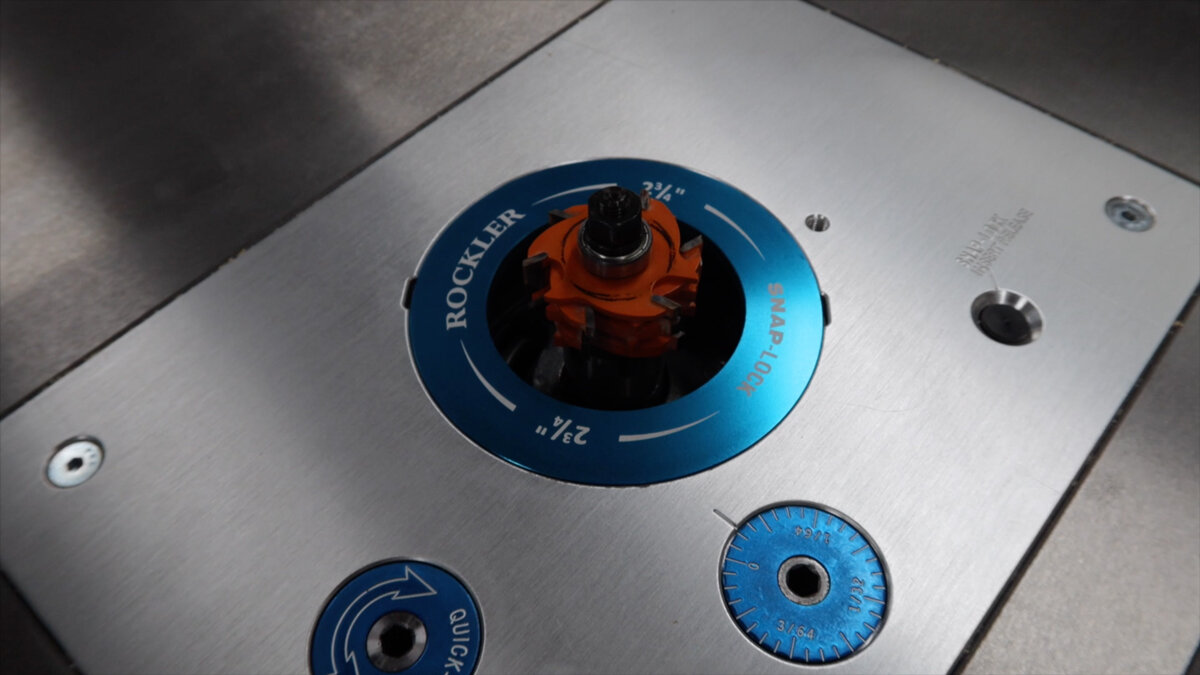
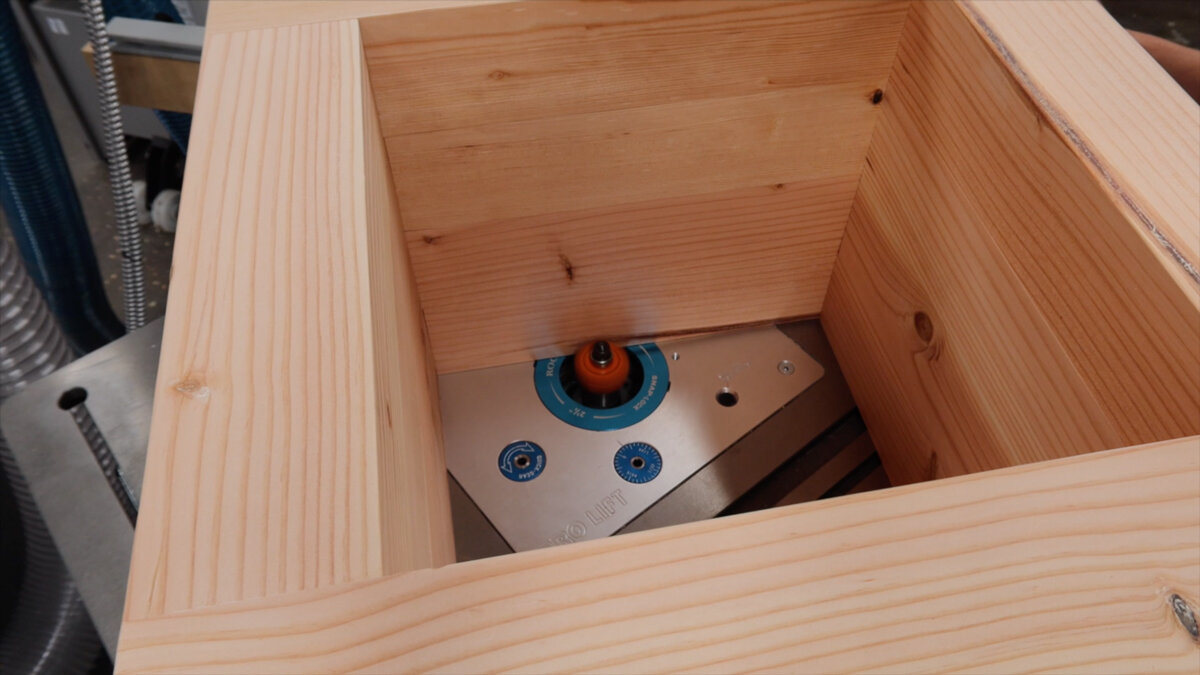
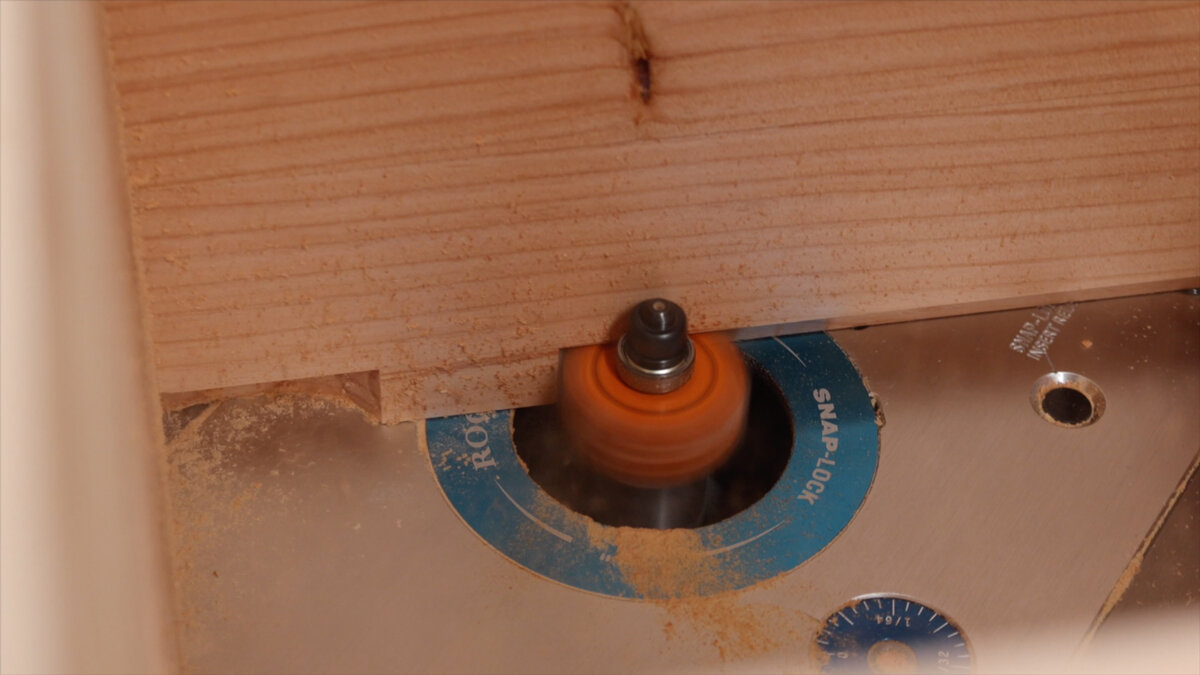
After a quick sanding, we moved the planter over to the router table and routered out a dado in the inside of the square. This will be for the bottom piece of plywood to sit into.

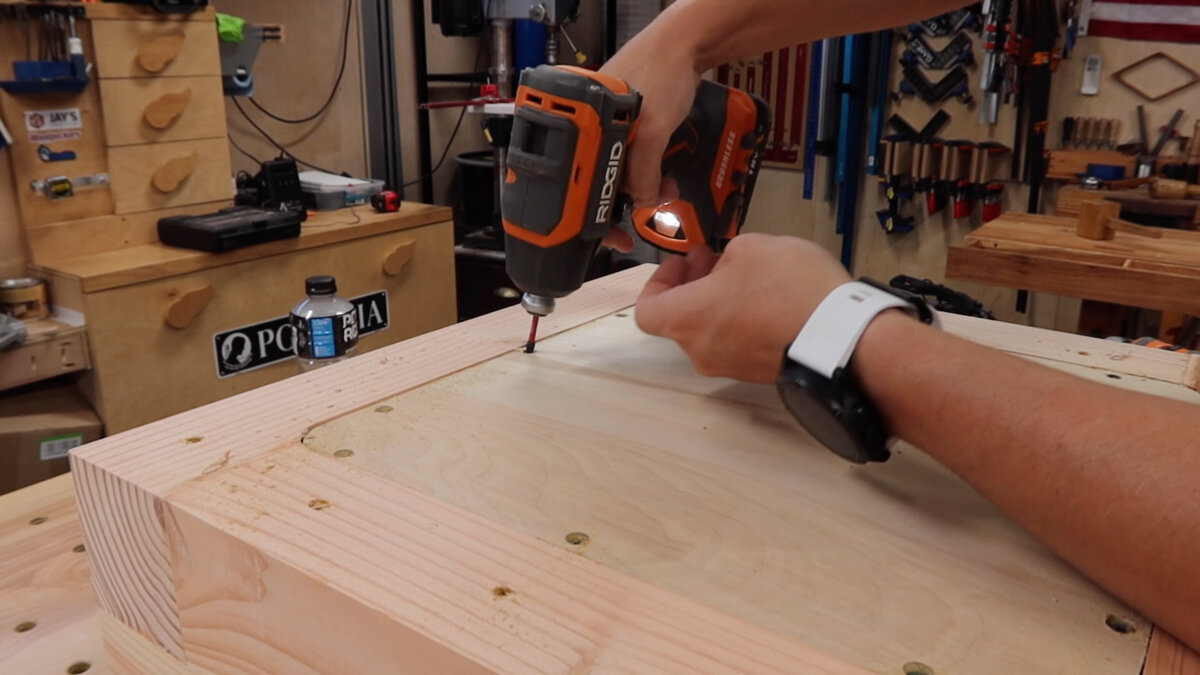
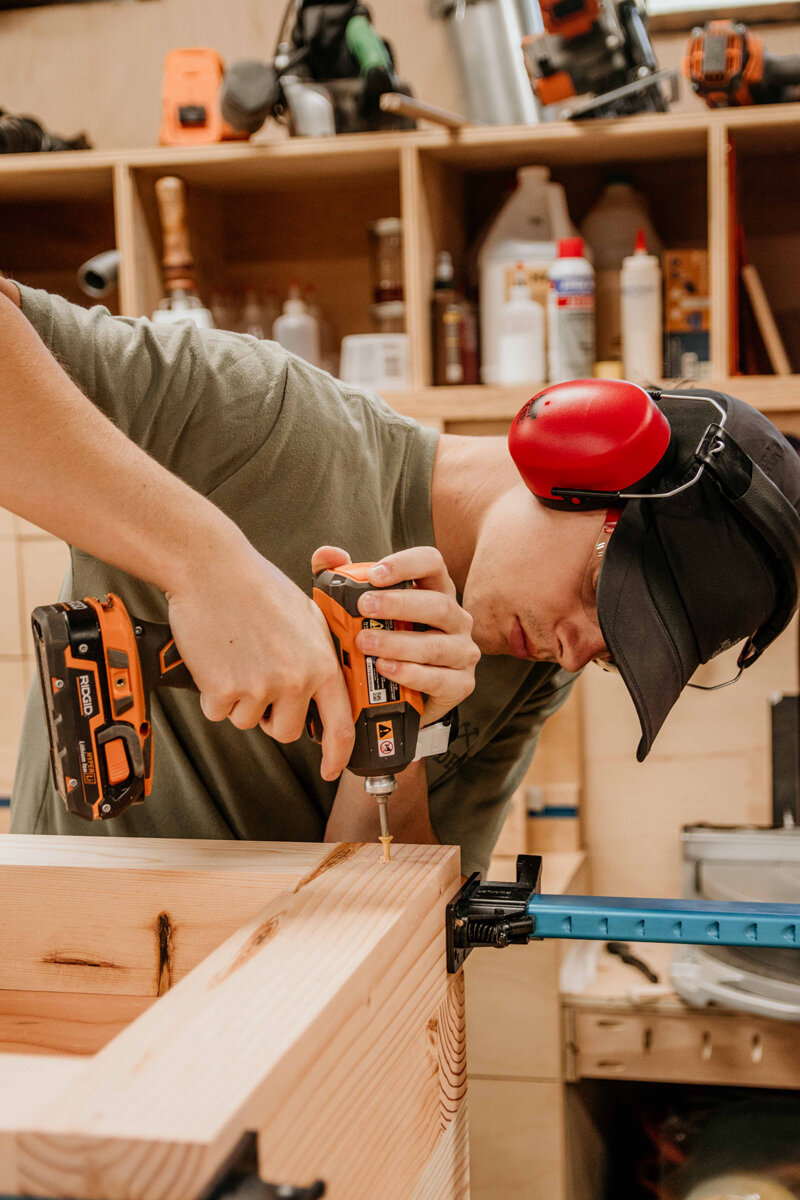
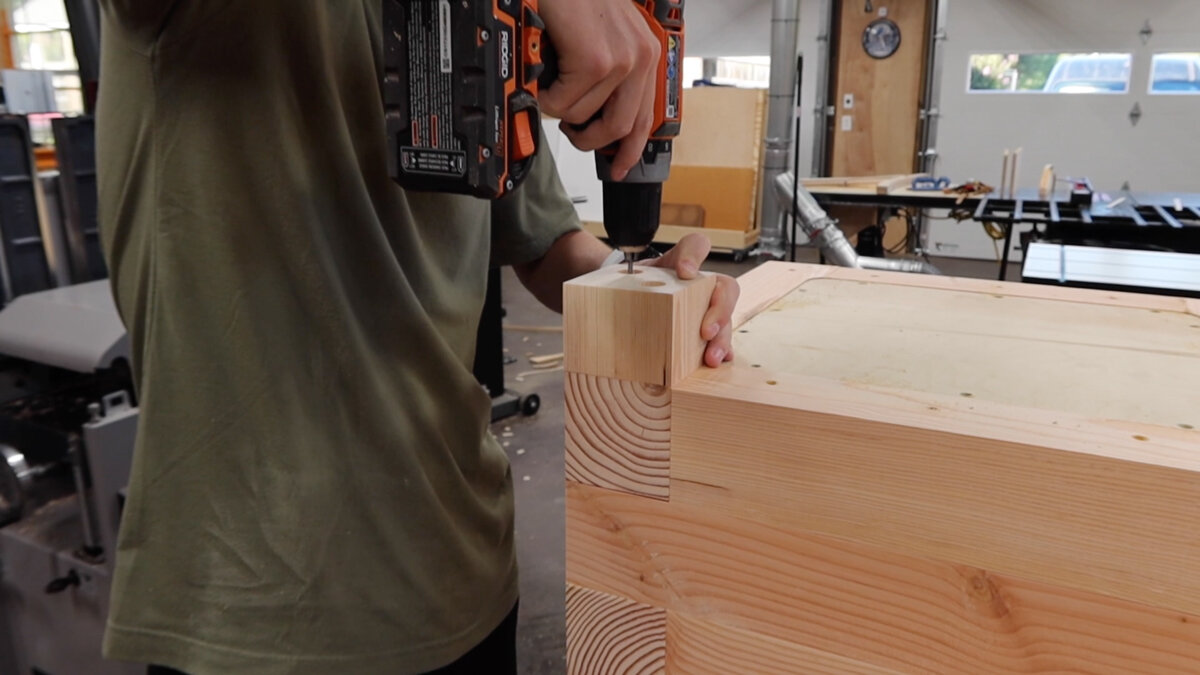
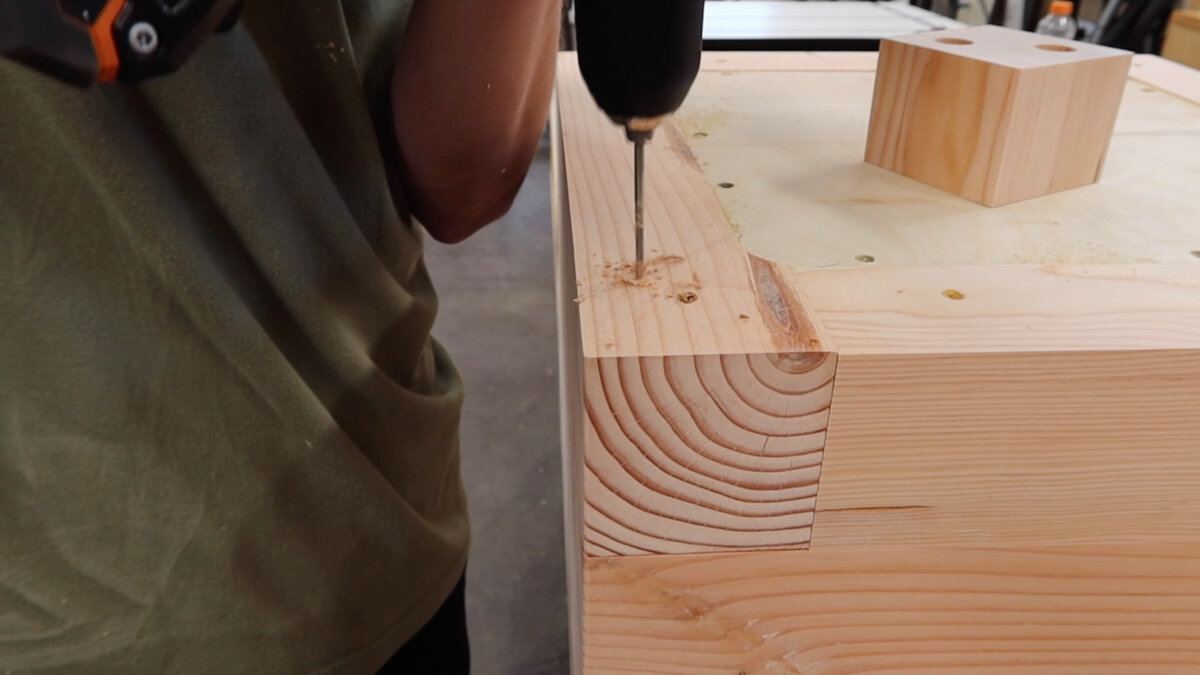
We counter sunk holes for the screws for the feet to keep the screws up off the ground.

To pre-drill for those feet screws, we lined up the feet on the planter, drilled just a little bit, enough to mark the holes to the next board, and then removed the foot, and pre-drilled the rest of the way.
Second to the last thing is making several holes for water drainage. For finish we are of course using the Total Boat Halcyon Gloss Varnish.

That is going to do it for this week's project, other than getting a plant, which Jay's wife took that job and found the most beautiful one! We hope you enjoyed reading about this project!
