Build an Outdoor Grill Station That Closes!
This project is sponsored by The Home Depot.
When you have a grill, why not make it a feature of your back patio space?! This is something that will truly elevate your outdoor living and make it a space you’ll enjoy for the grilling seasons.
We live in southern Alabama where it’s hot, rainy, and humid and we hated that our grill sat through it all. That was the inspiration for this project and now it is truly a staple piece on our back patio and we love hosting grill nights now!
We have a set of BUILD PLANs for this project that include step-by-step instructions, very detailed 3D models and material and cut lists: https://www.woodbrew.tv/store/p/grill-shed-station-plans

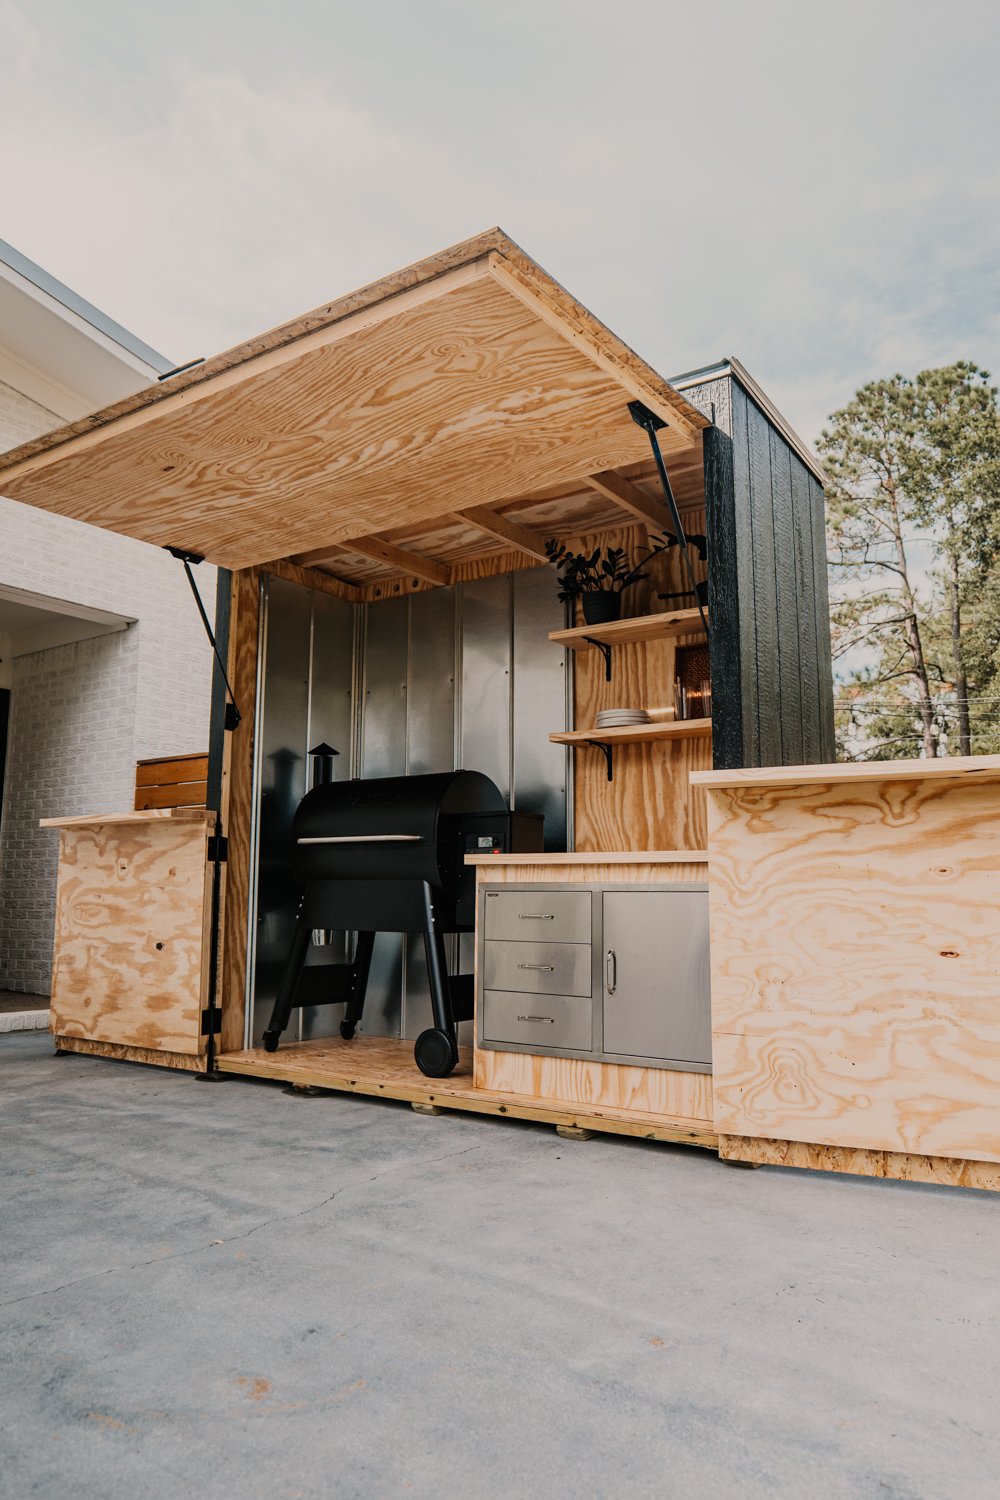
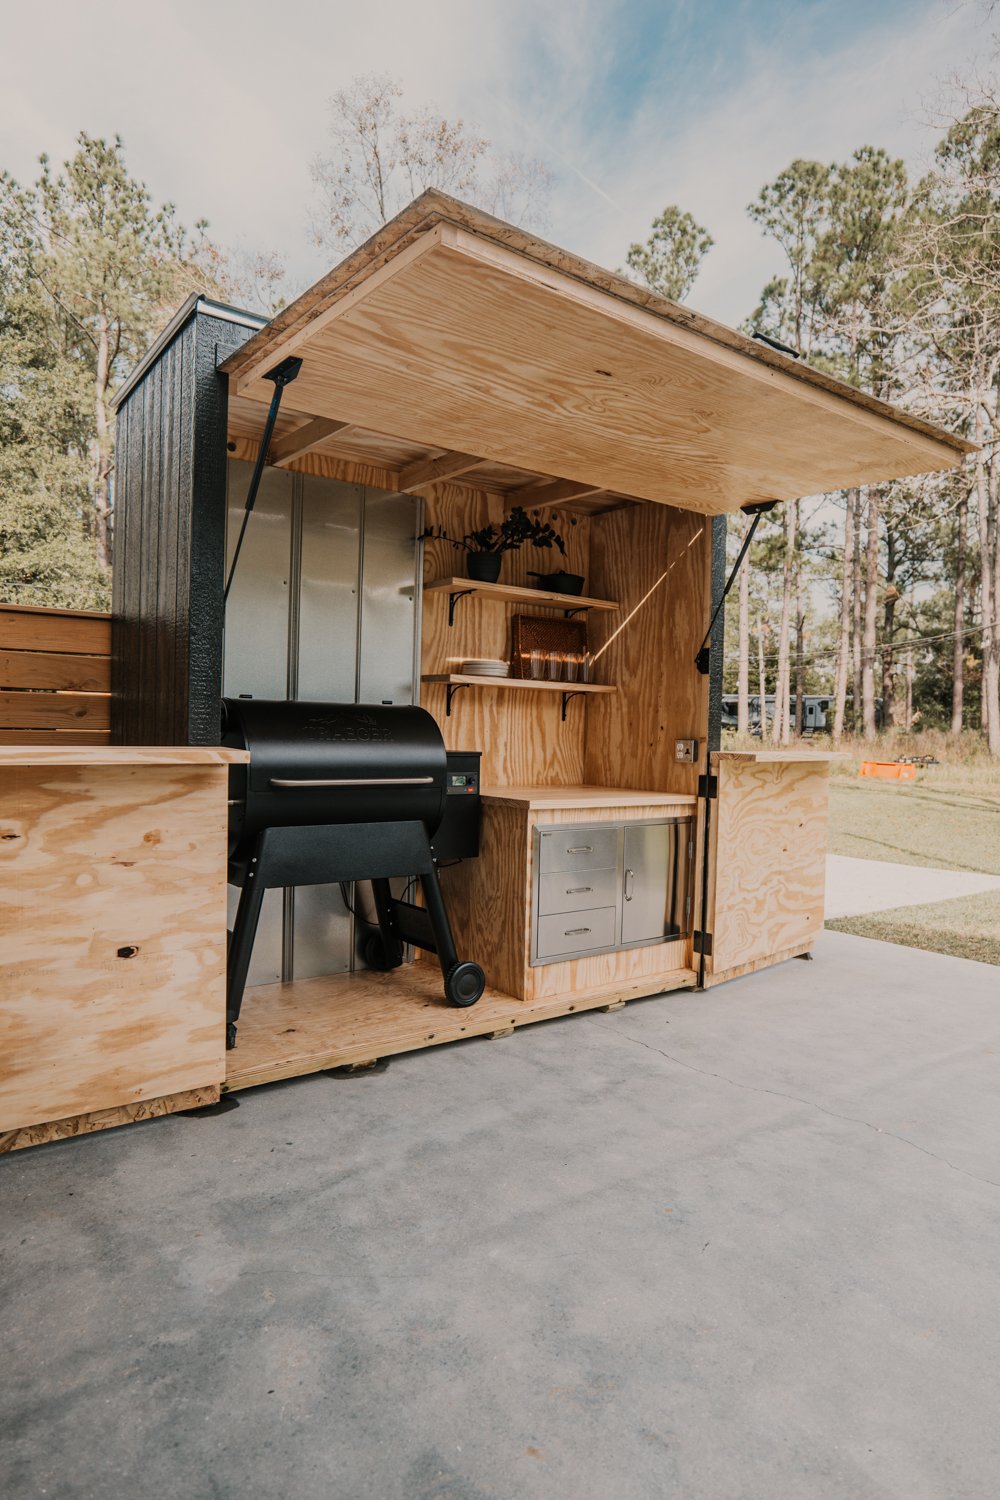
We did build a grill station last year, and while we loved it so much, it was open to the elements 100% of the time. We don’t have a patio cover, pergola, or screened porch, so whatever is outside must be equipped to handle the harsh Southern Alabama summer. The grill cover we kept over it did it’s very best, but because we treasure our Traeger Pro 780 so much, we need to build it a better home.
Materials:
Tools:
Table Saw (not required, can just use circular saw)
Miter Saw (not required, can just use circular saw)
Pneumatic Stapler (not required, can just use screws or nails) and Air Compressor
Angle Grinder with Metal Cutting Wheel
Build the Frame
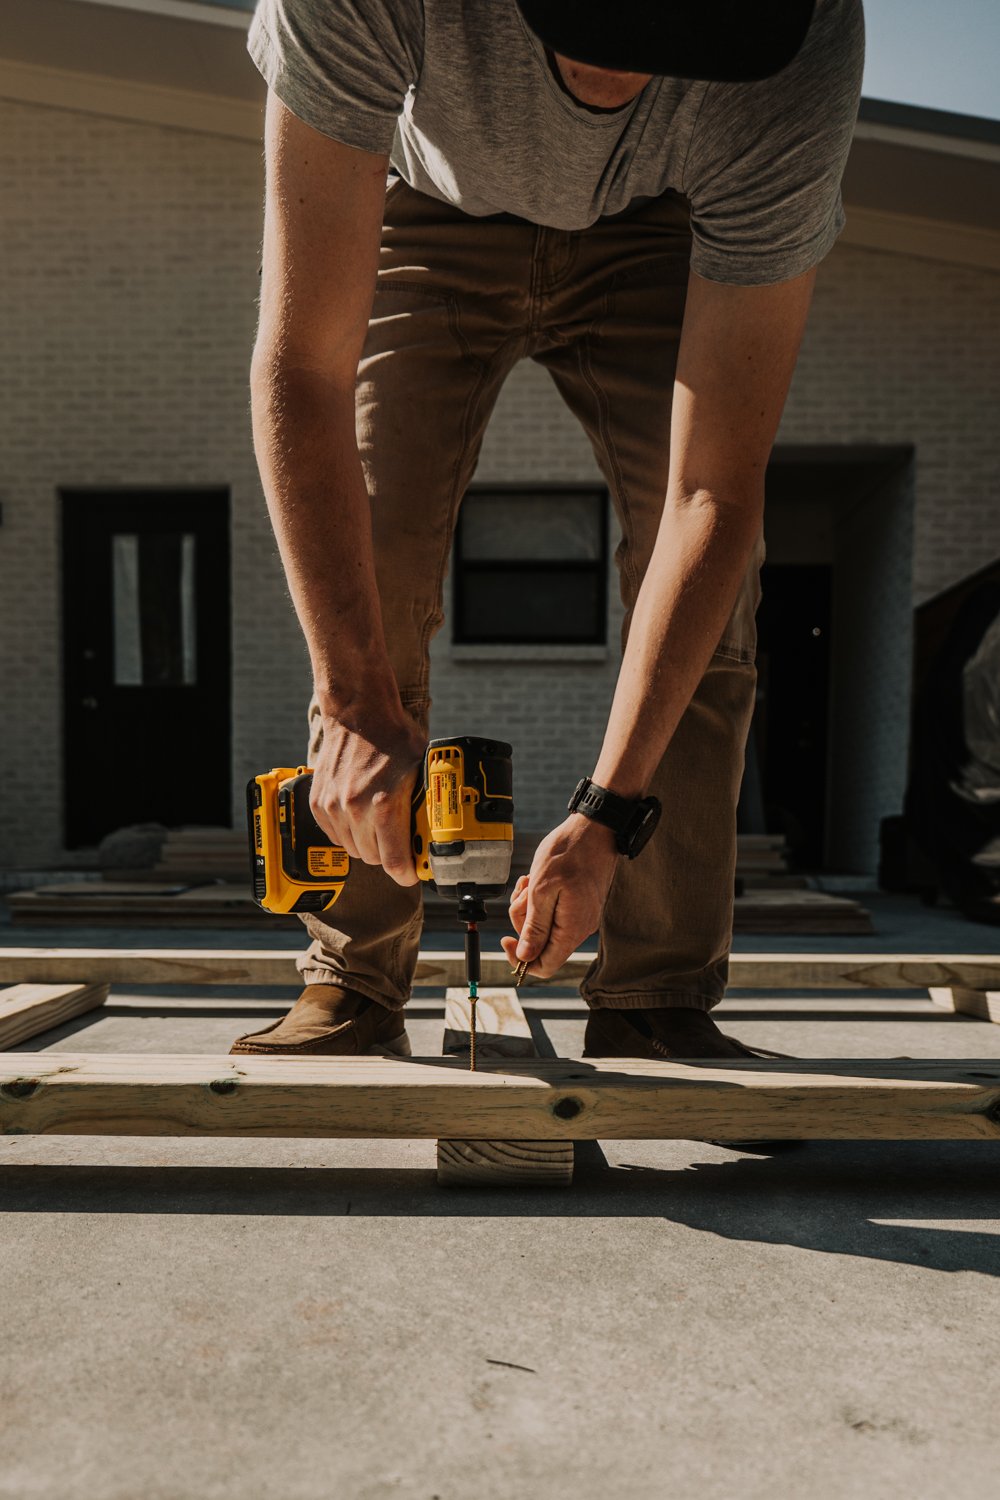
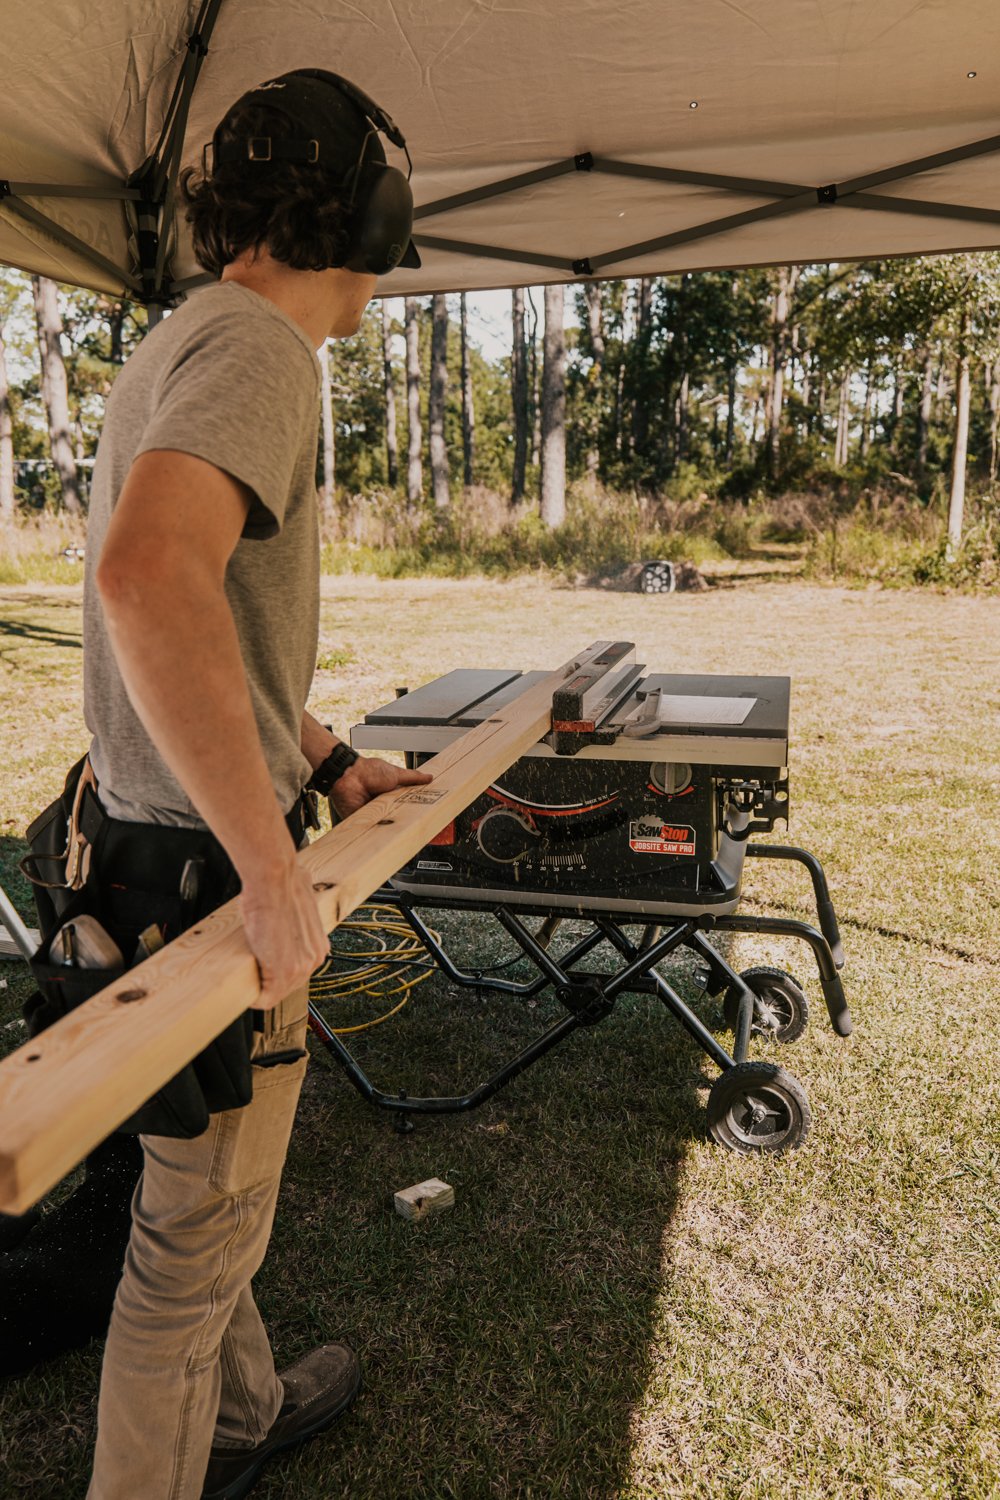
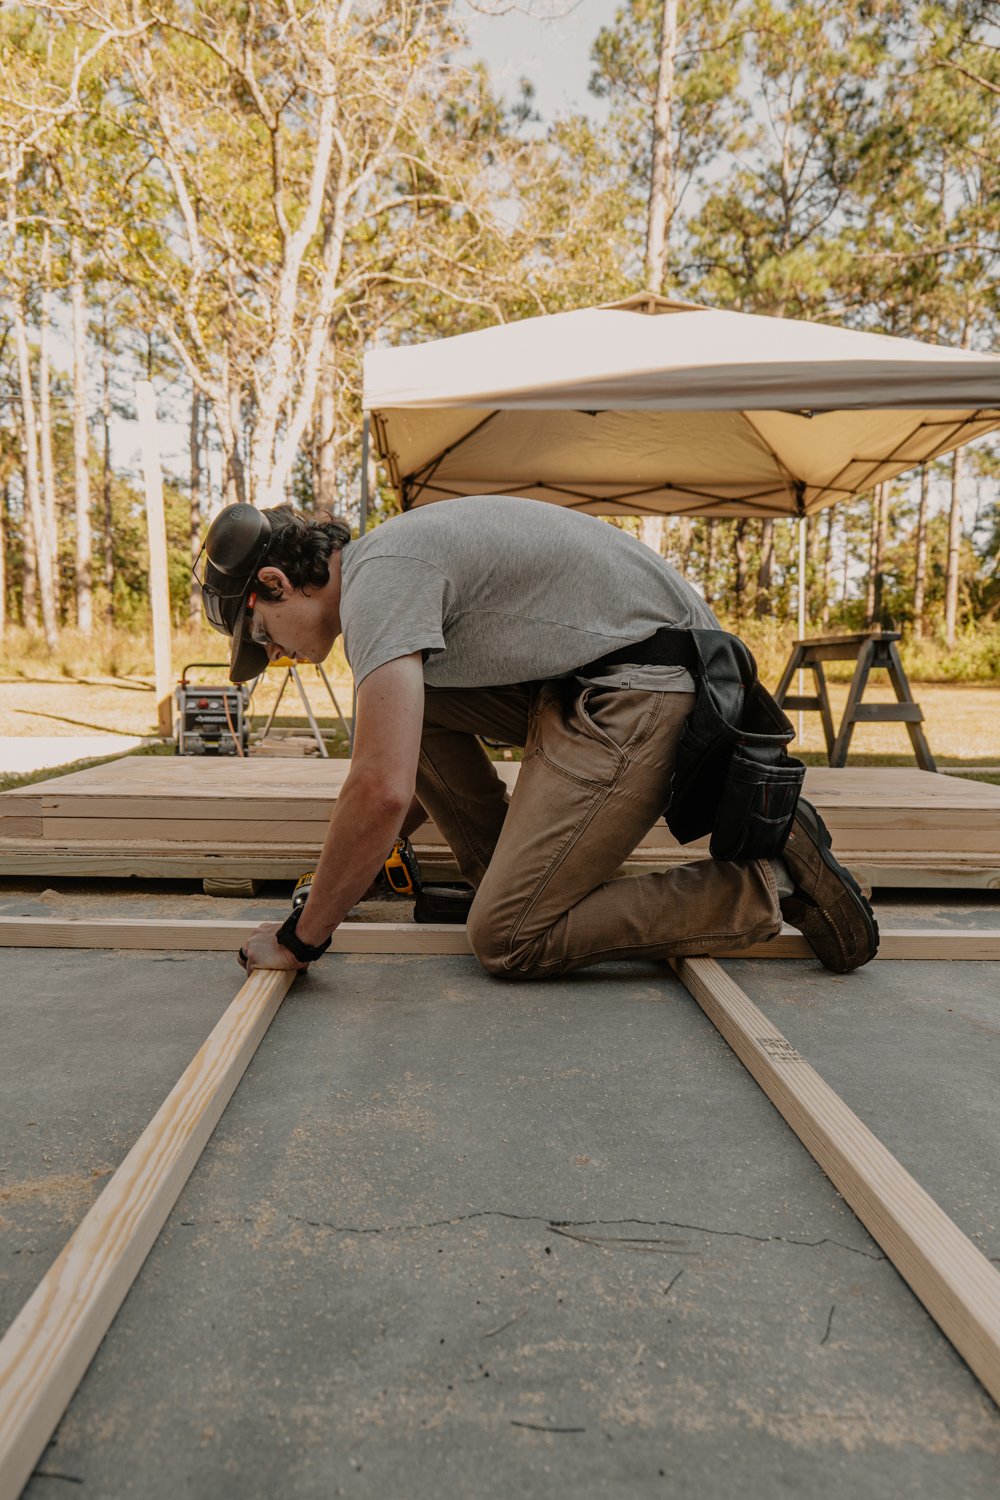
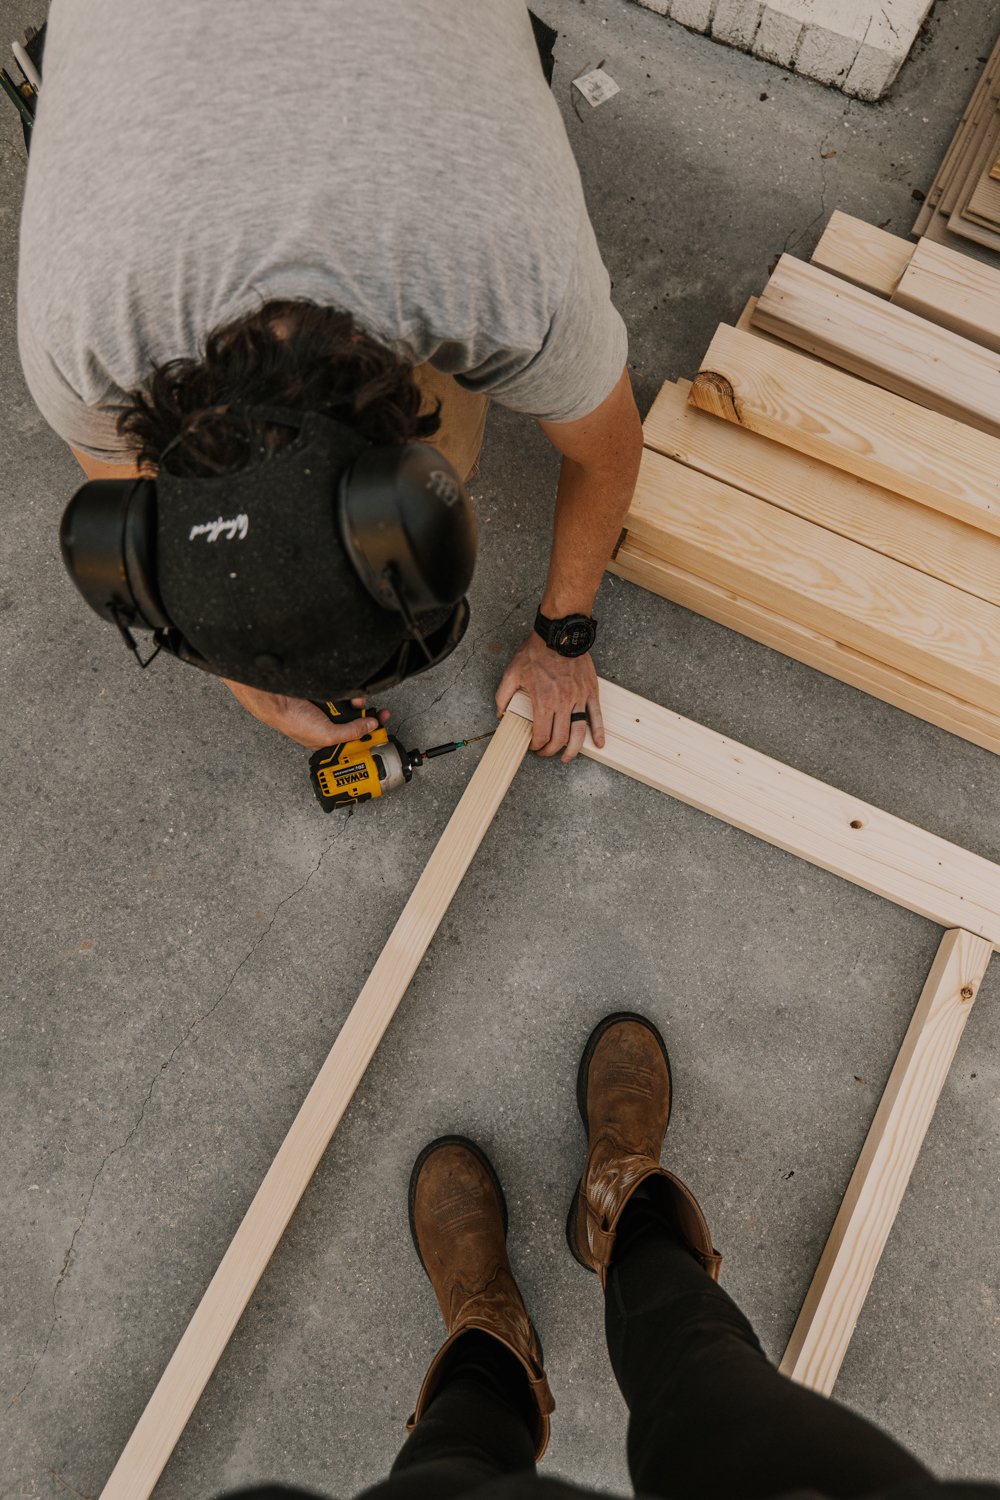
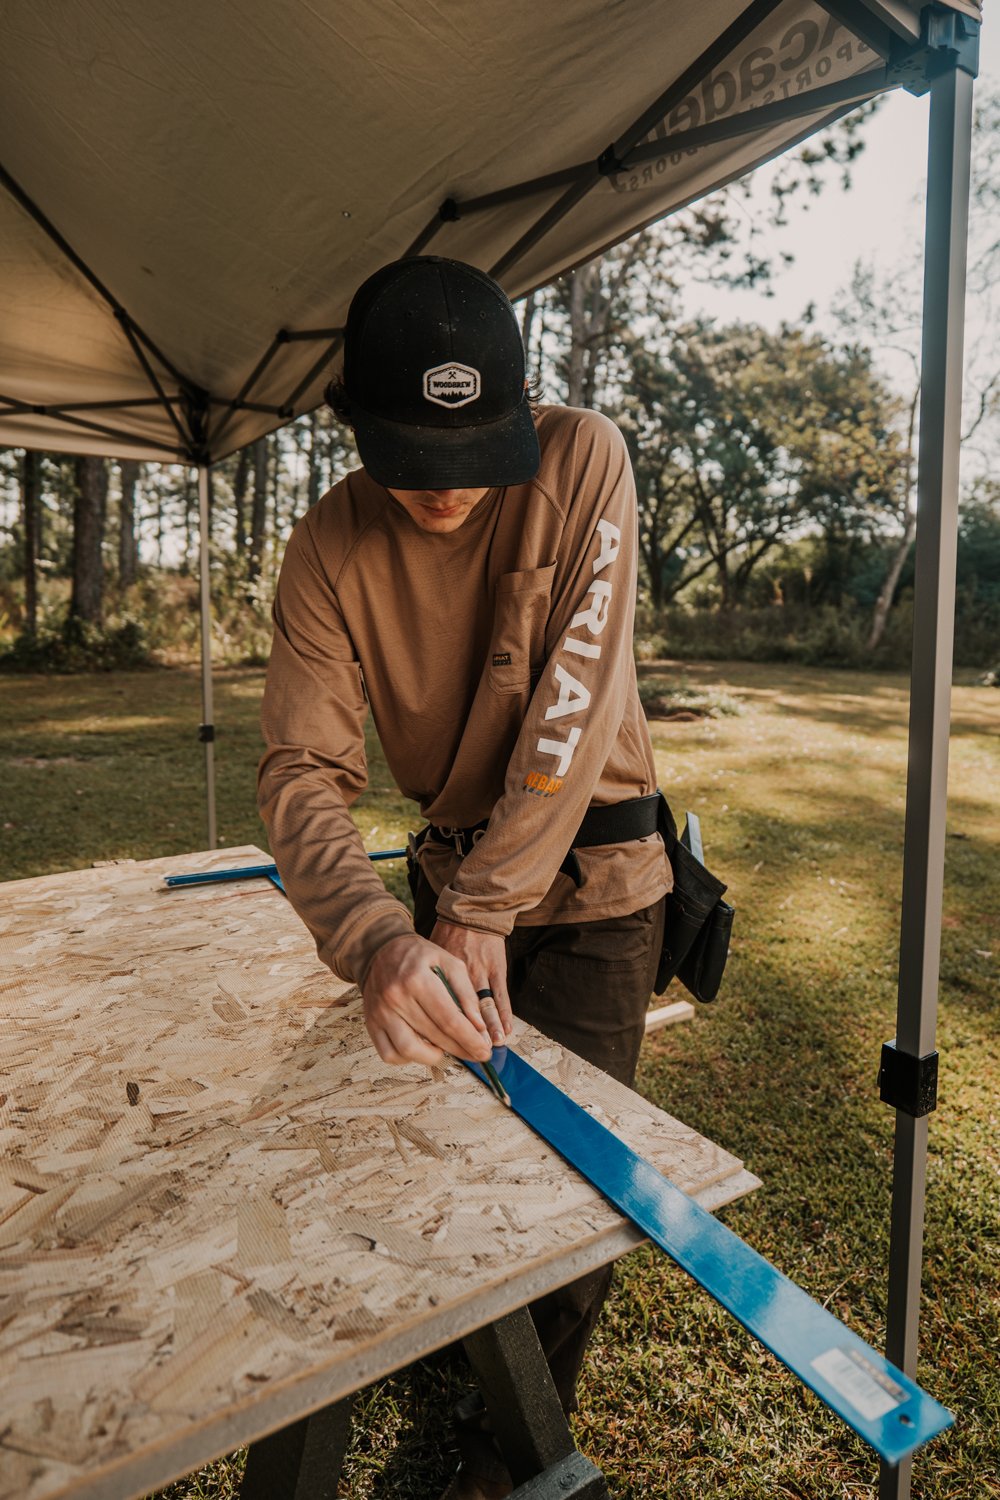
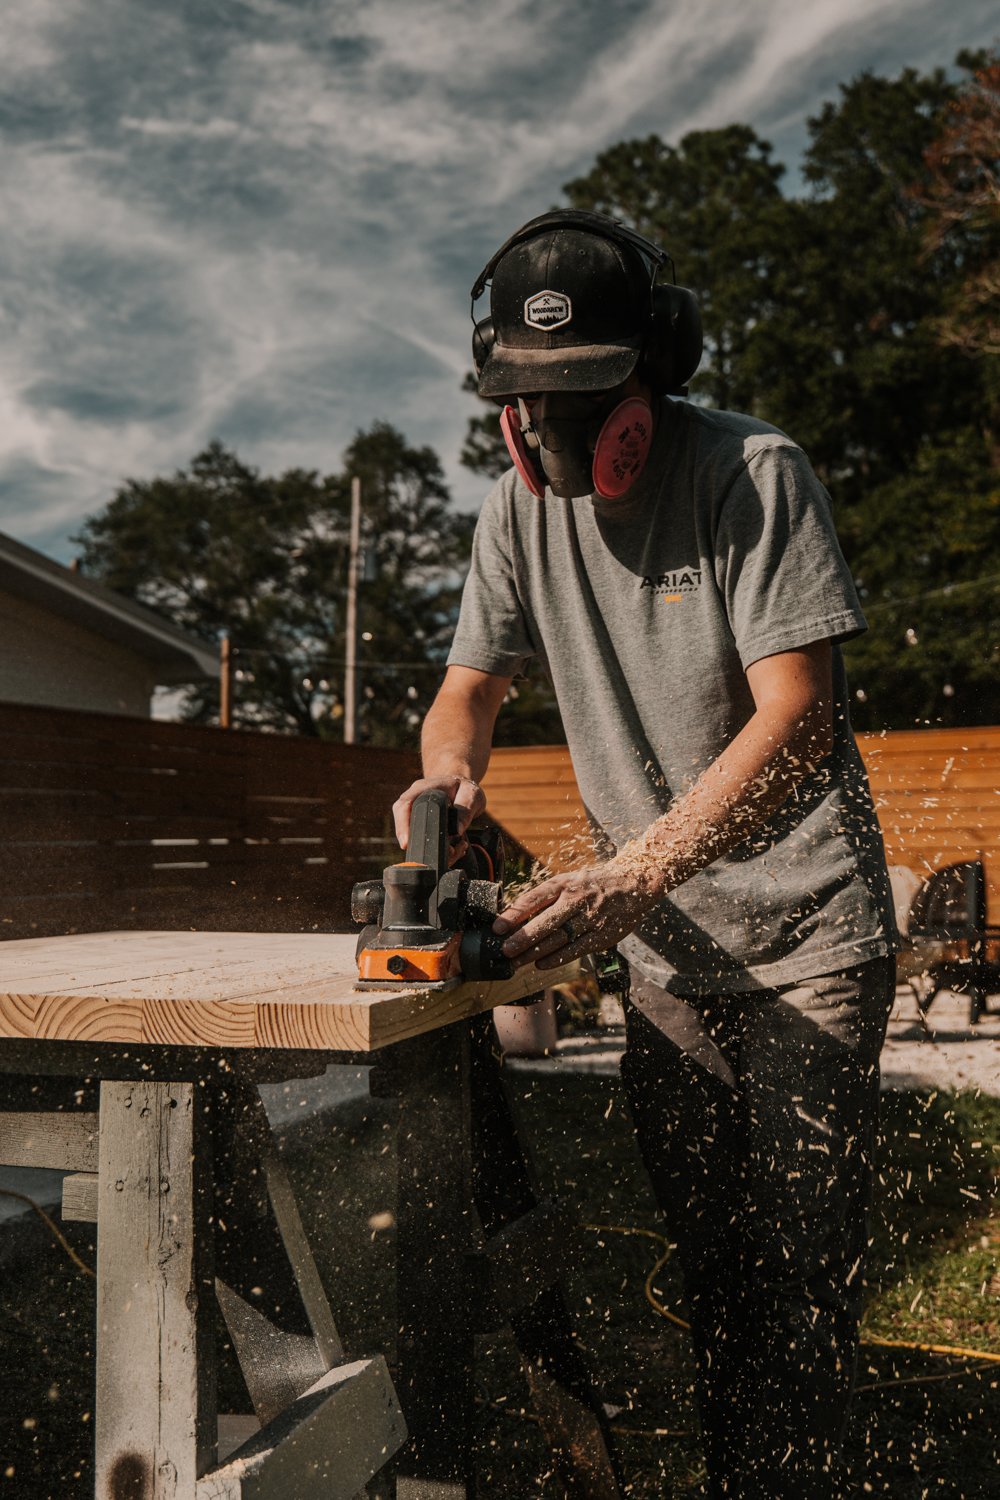
The first thing we need to do is build the bottom frame. We made sure to use treated lumber for this because water will run up under this where it’ll be placed on the patio and we want that water to be able to escape. The rest of the construction materials are not treated lumber. We used construction adhesive between the frames and plywood to help with the potential bowing of the plywood and to give the fasteners some help. Once the bottom was done we could move on to building the walls the same way except for we ripped down the 2x4s for the frame to be as cost-effective as possible.
Add Exterior Siding
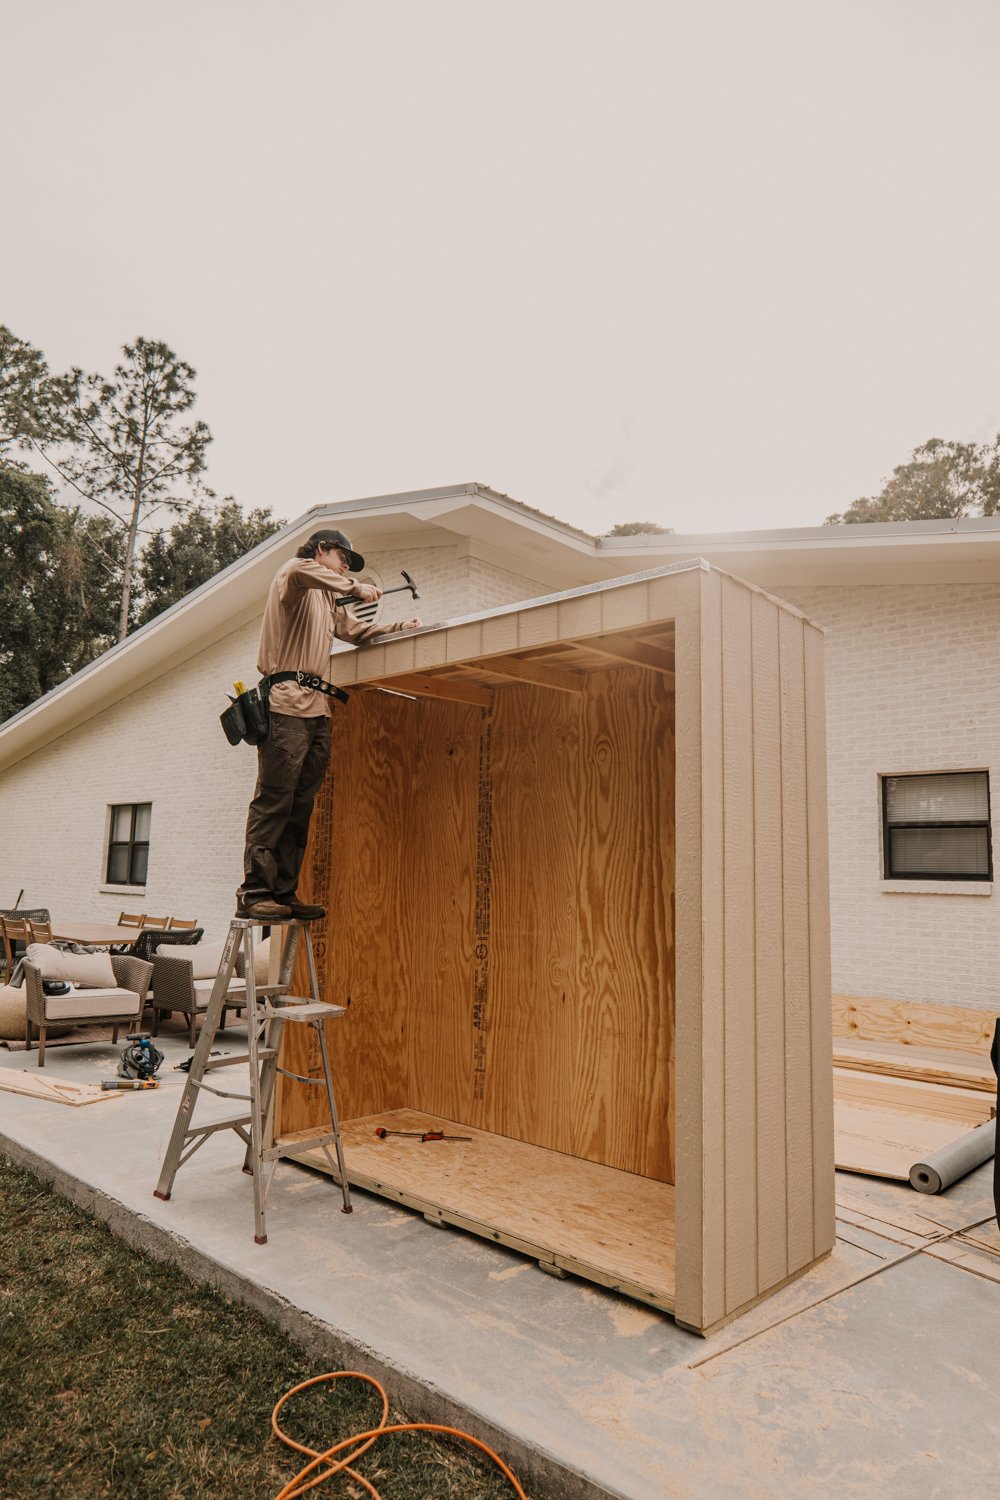
Have a helper help you with standing up the walls on top of the bottom frame and then nail each one together. When all the walls were up, it was time for siding. We choose this smart siding and it’s actually the same material we used for the previous grill station and it has held up perfectly. It’s a great material to use because of the vertical grooves and the lap joints it has on each end give it a seamless finish. Meaning, you can’t tell where one panel stops and the next starts. We used construction adhesive behind these as well.
You could add the siding while the walls are still on the ground, however, we wanted to get as flush as possible edges, so when that siding got put on, we ran down the sides with a flush trim router bit and it made everything so perfect.
Cut Roofing Material to Length and Screw Down
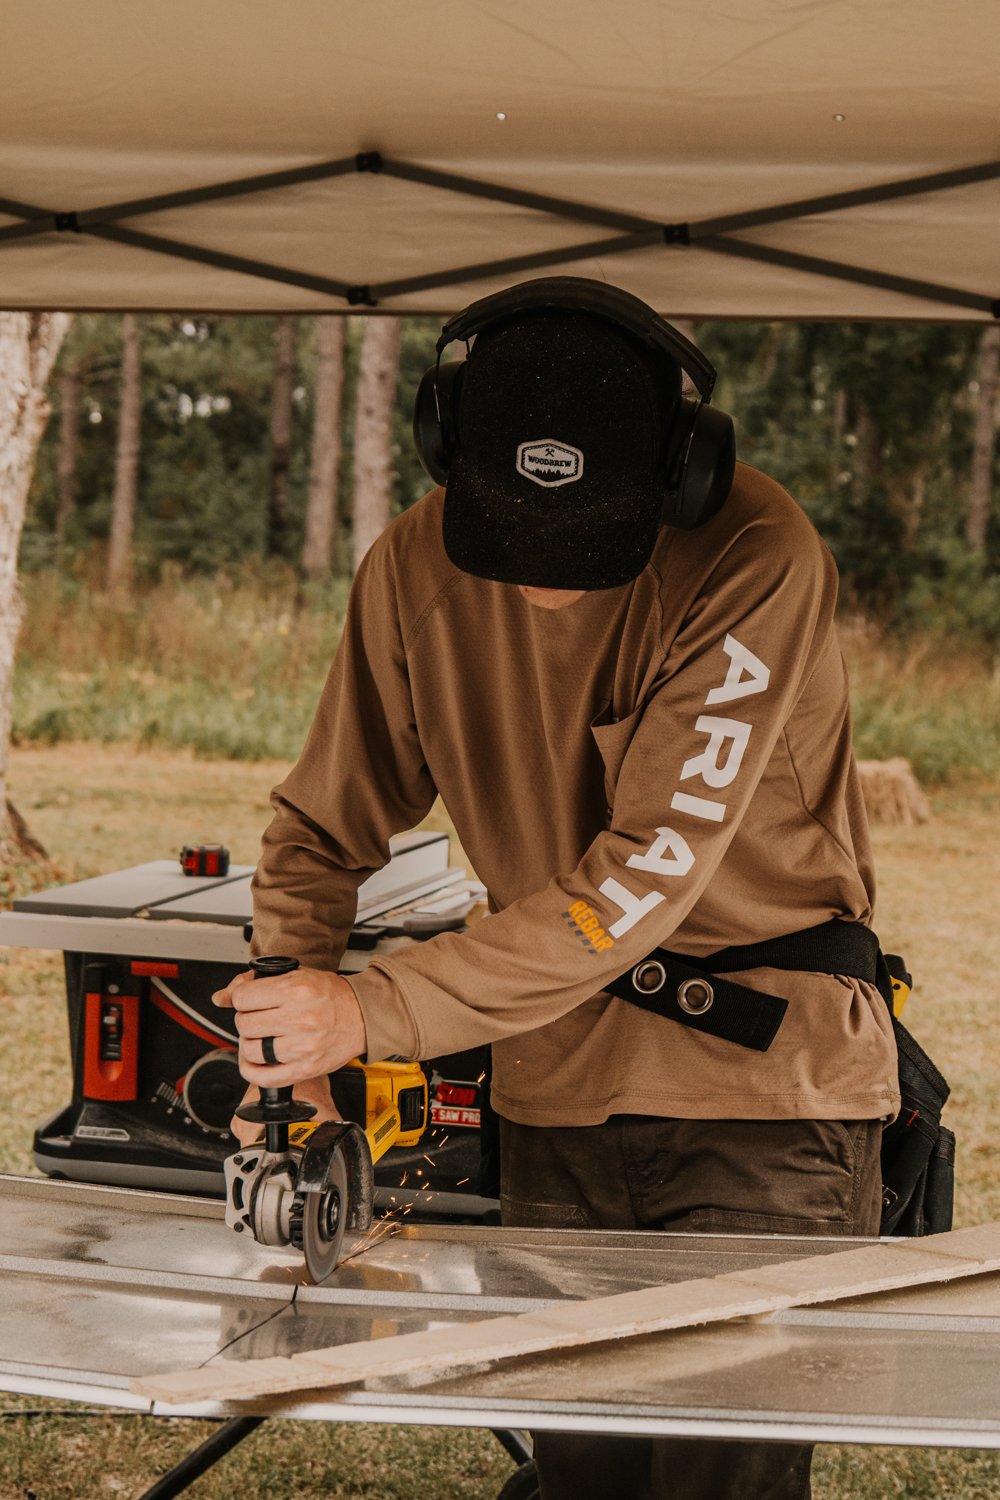
The roof is up next! We had some roofing membrane left over, so stapled some of that down before putting up the galvanized drip edge. A pro tip for the metal roof is to pre-drill before installing and with the sheets stacked on top of each other. This makes it so that all the screws are in the same place throughout the entire roof!
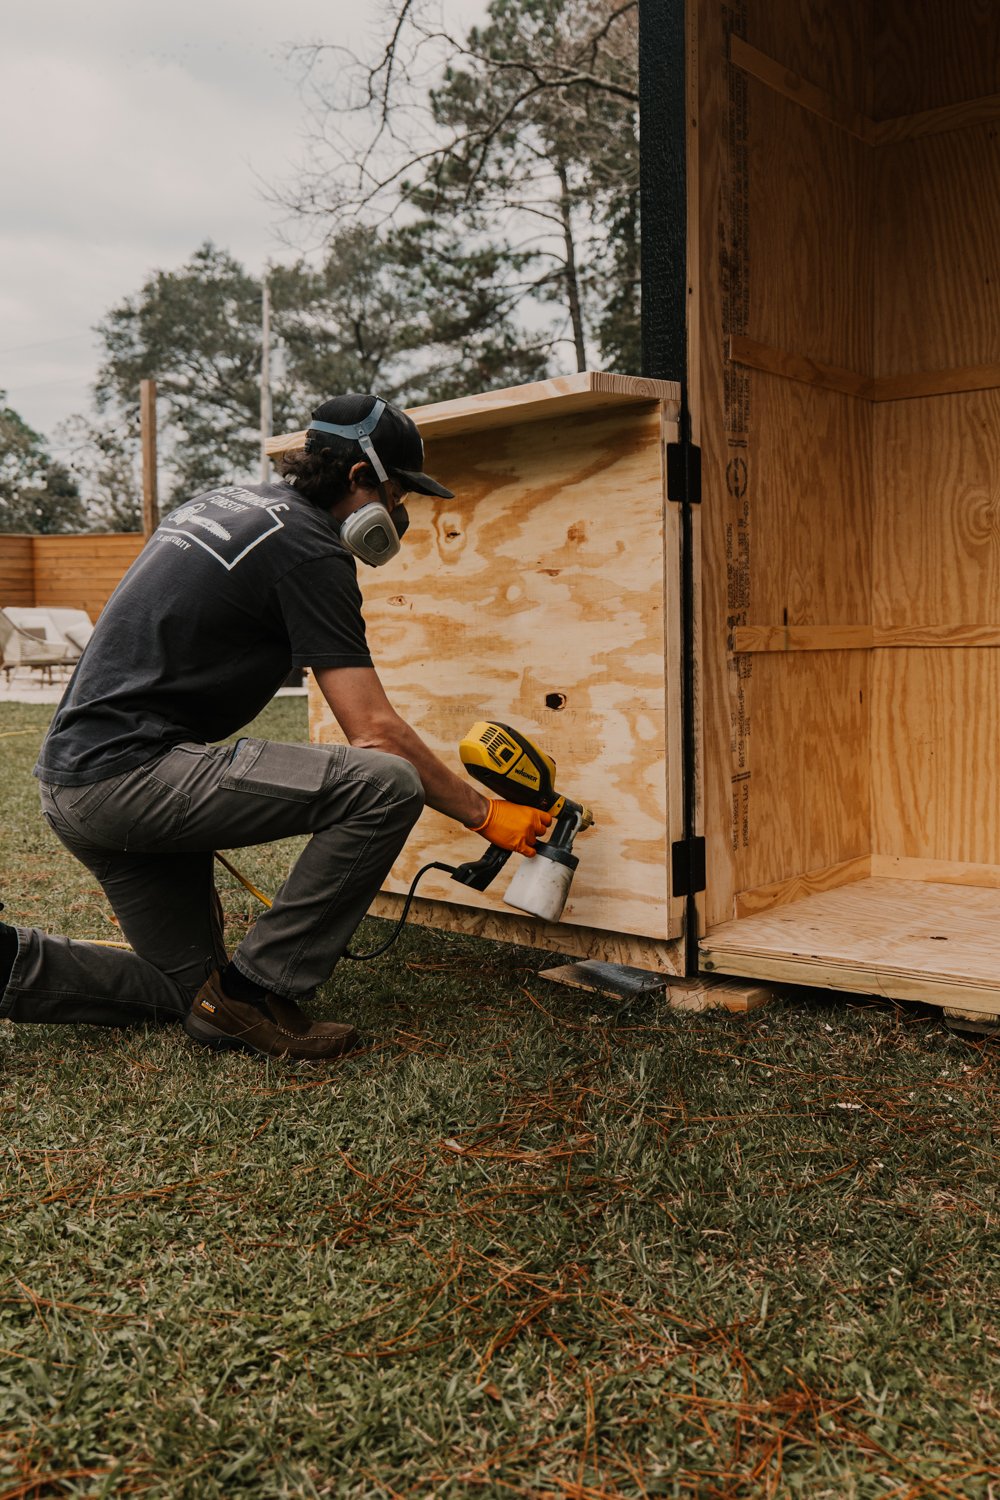
Build and Install the Doors
The three doors are built the same way as the walls. Ripped down 2x4s, construction adhesive, plywood. When we got those hung, then we put up the siding. We waited until they were installed so we could ensure the siding grooves match up perfectly to the siding that is already installed. We used scraps to make the trim that goes around the big door and down the center on the bottom doors.
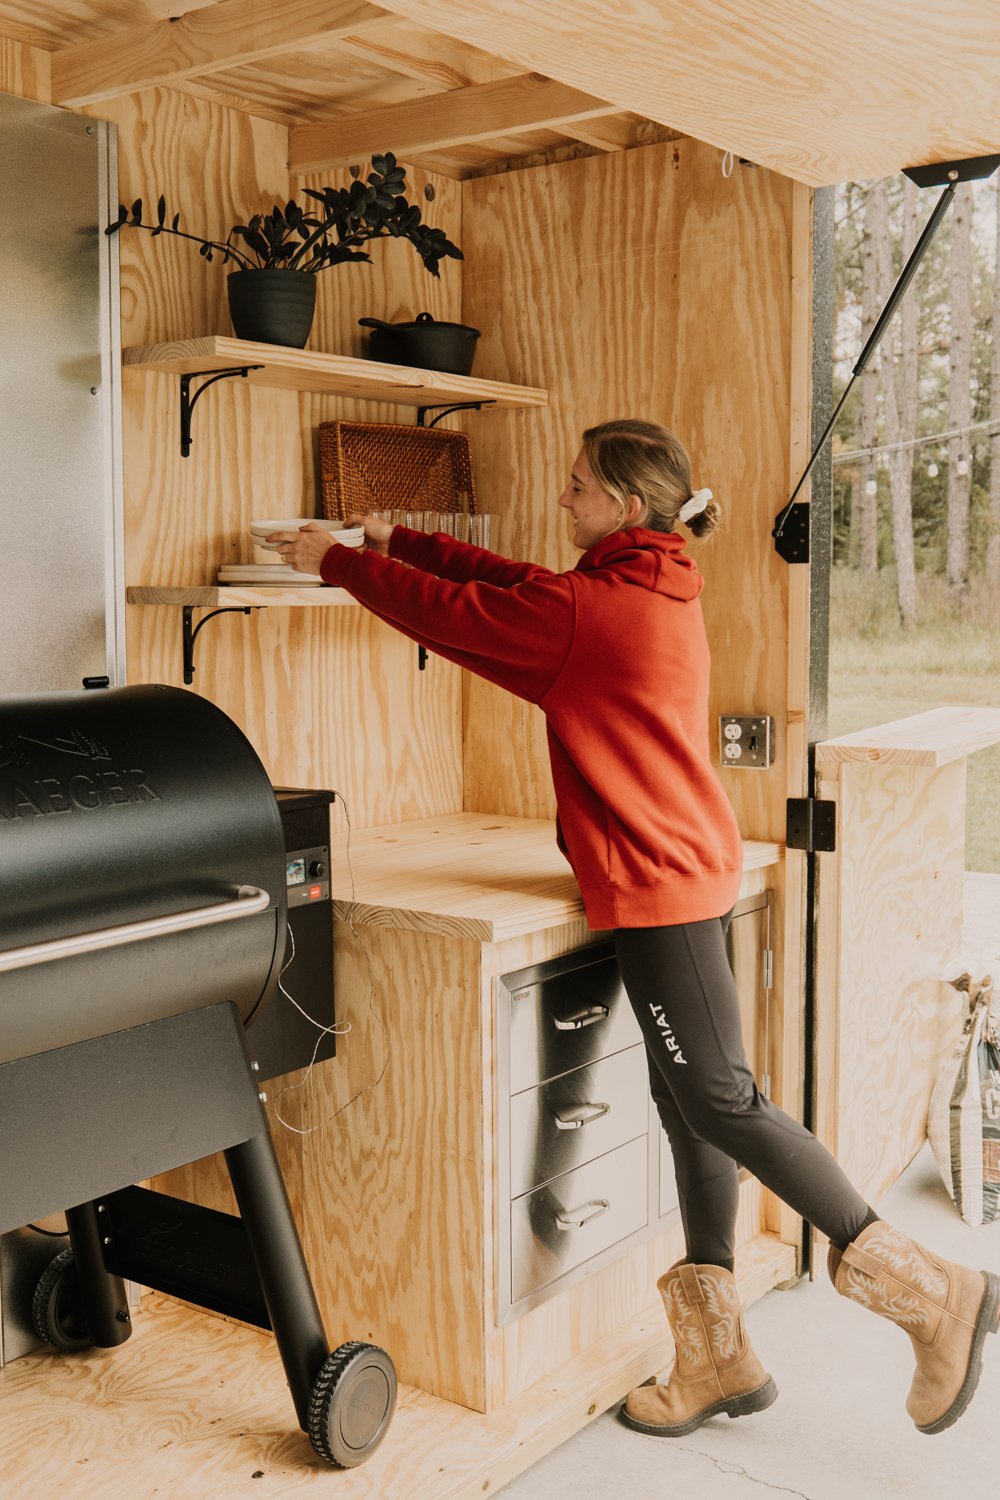
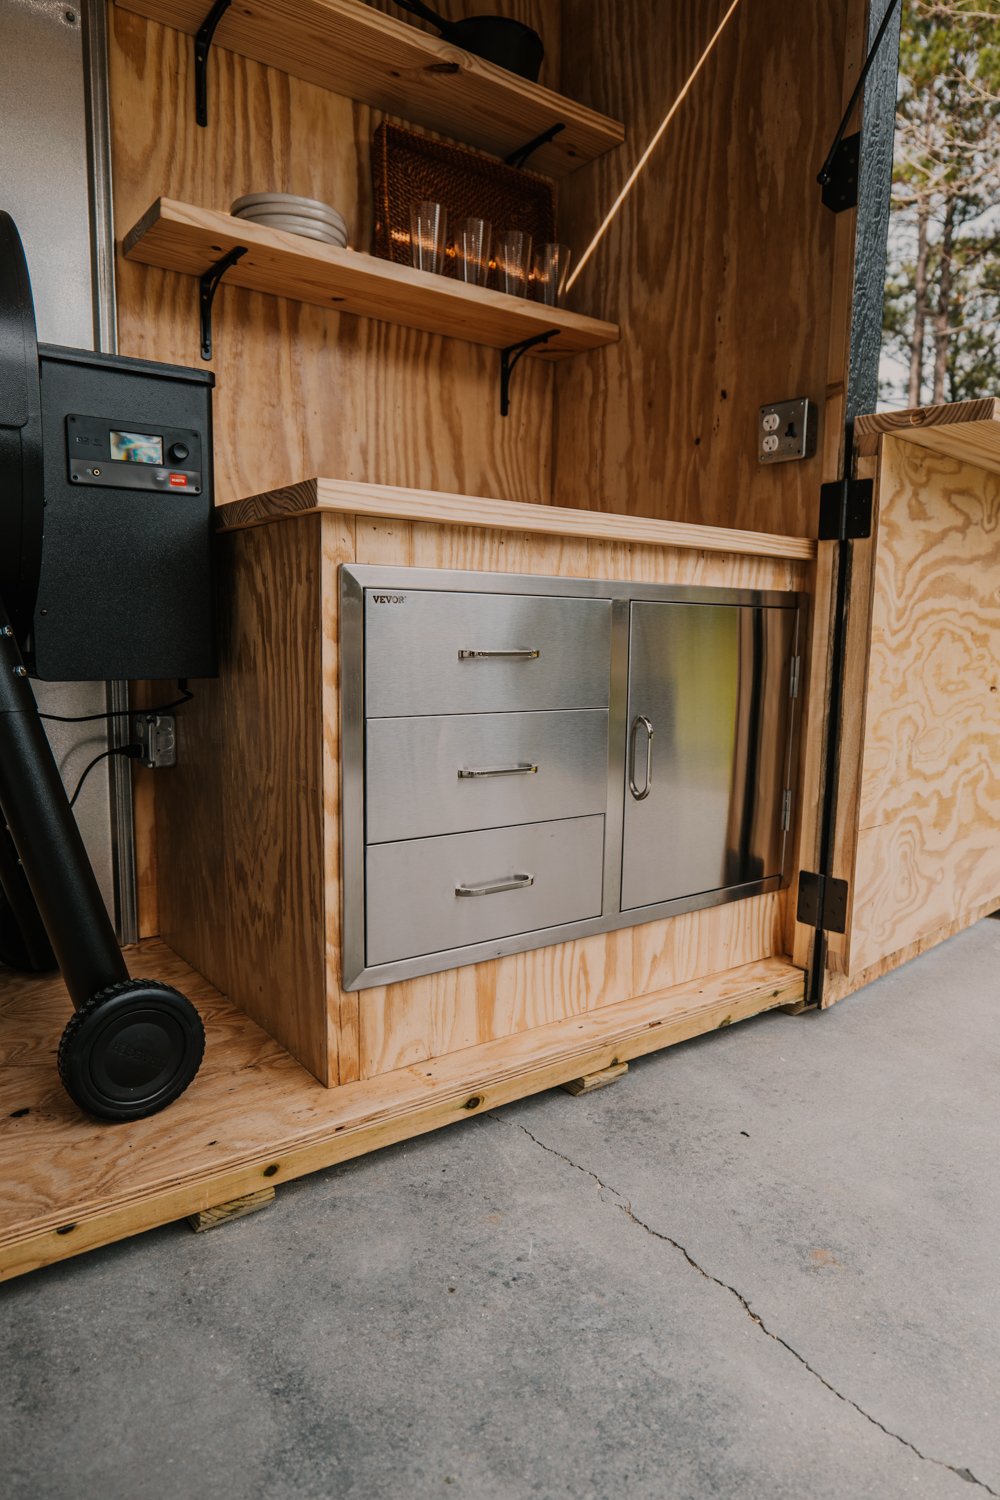
Add Interior Walls and Counter Space
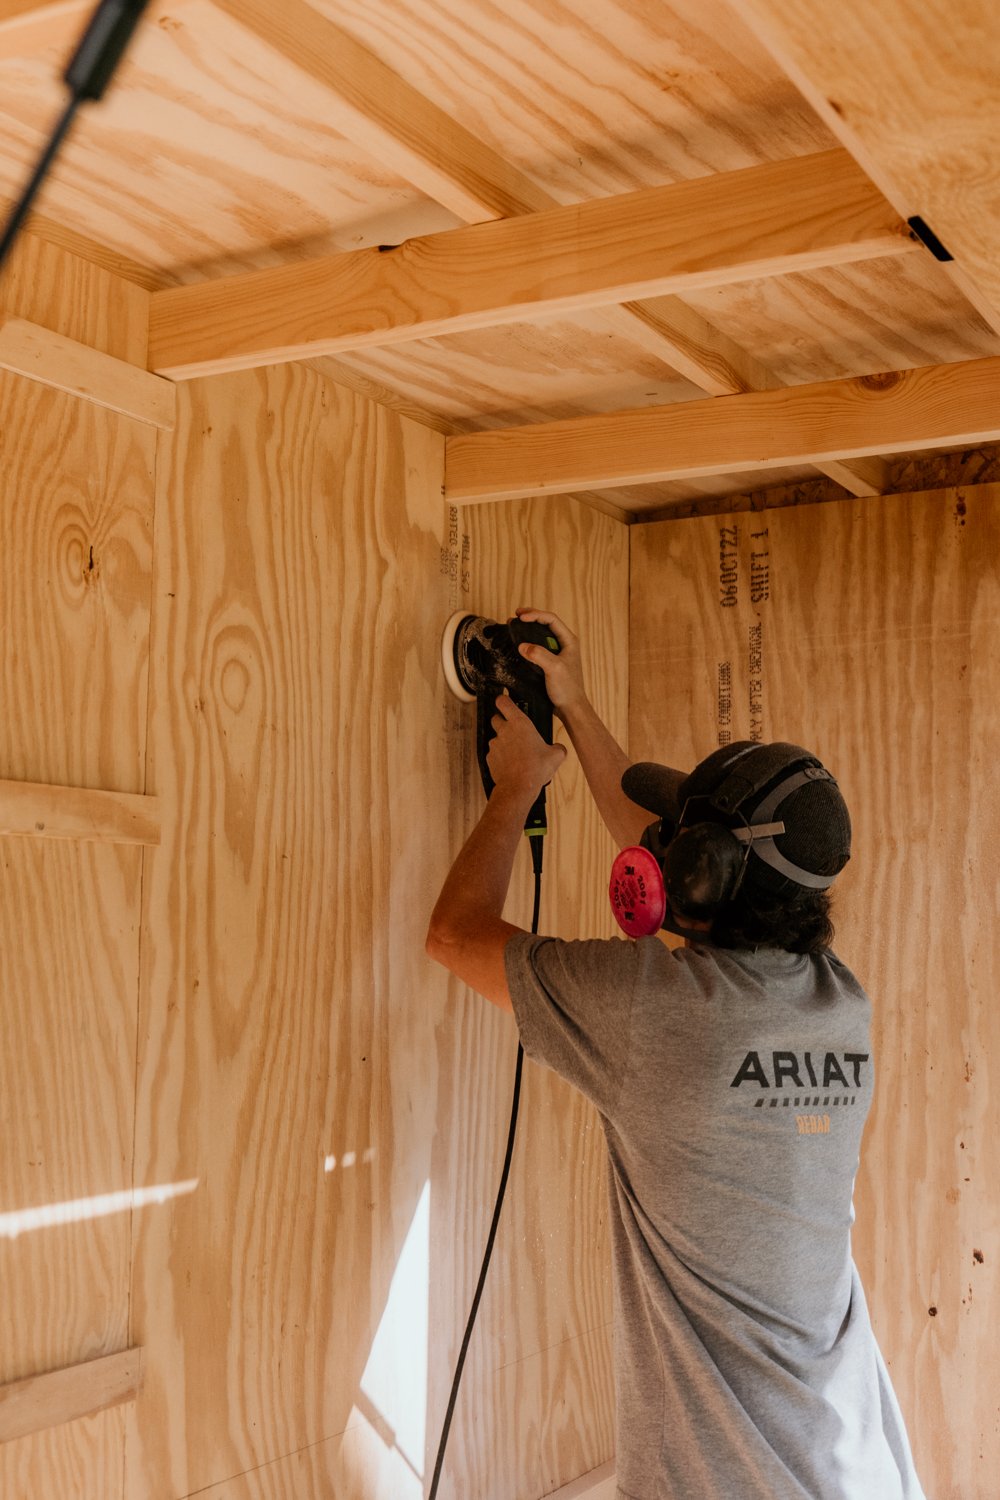
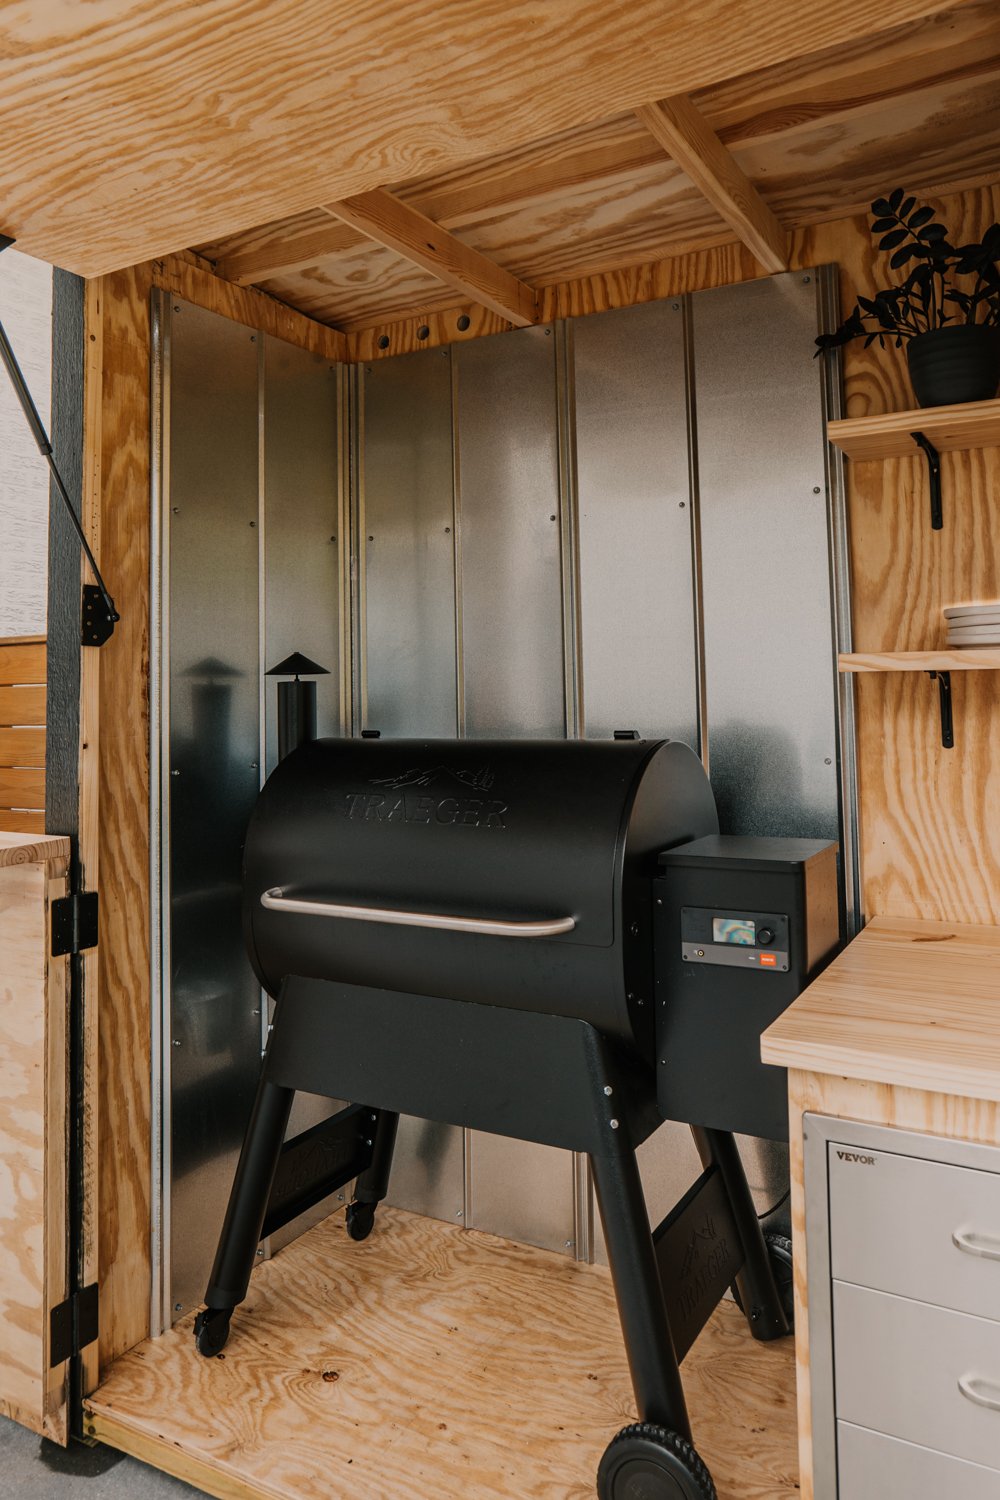
Let’s move on to the interior! We completely sanded the interior walls before moving onto the rest of the interior. We bought a stainless steel drawer insert online from The Home Depot. The drawers are going to be perfect for all the grill utensils and accessories and inside the door can hold the wood pellets and maybe even a trash can. We made the butcher block tops for the cabinet as well as the tops for the swing out doors. Having a ledge on the doors utilizes the space to the max and will be a great spot for friends to lean against when hanging out or a spot to place a drink.
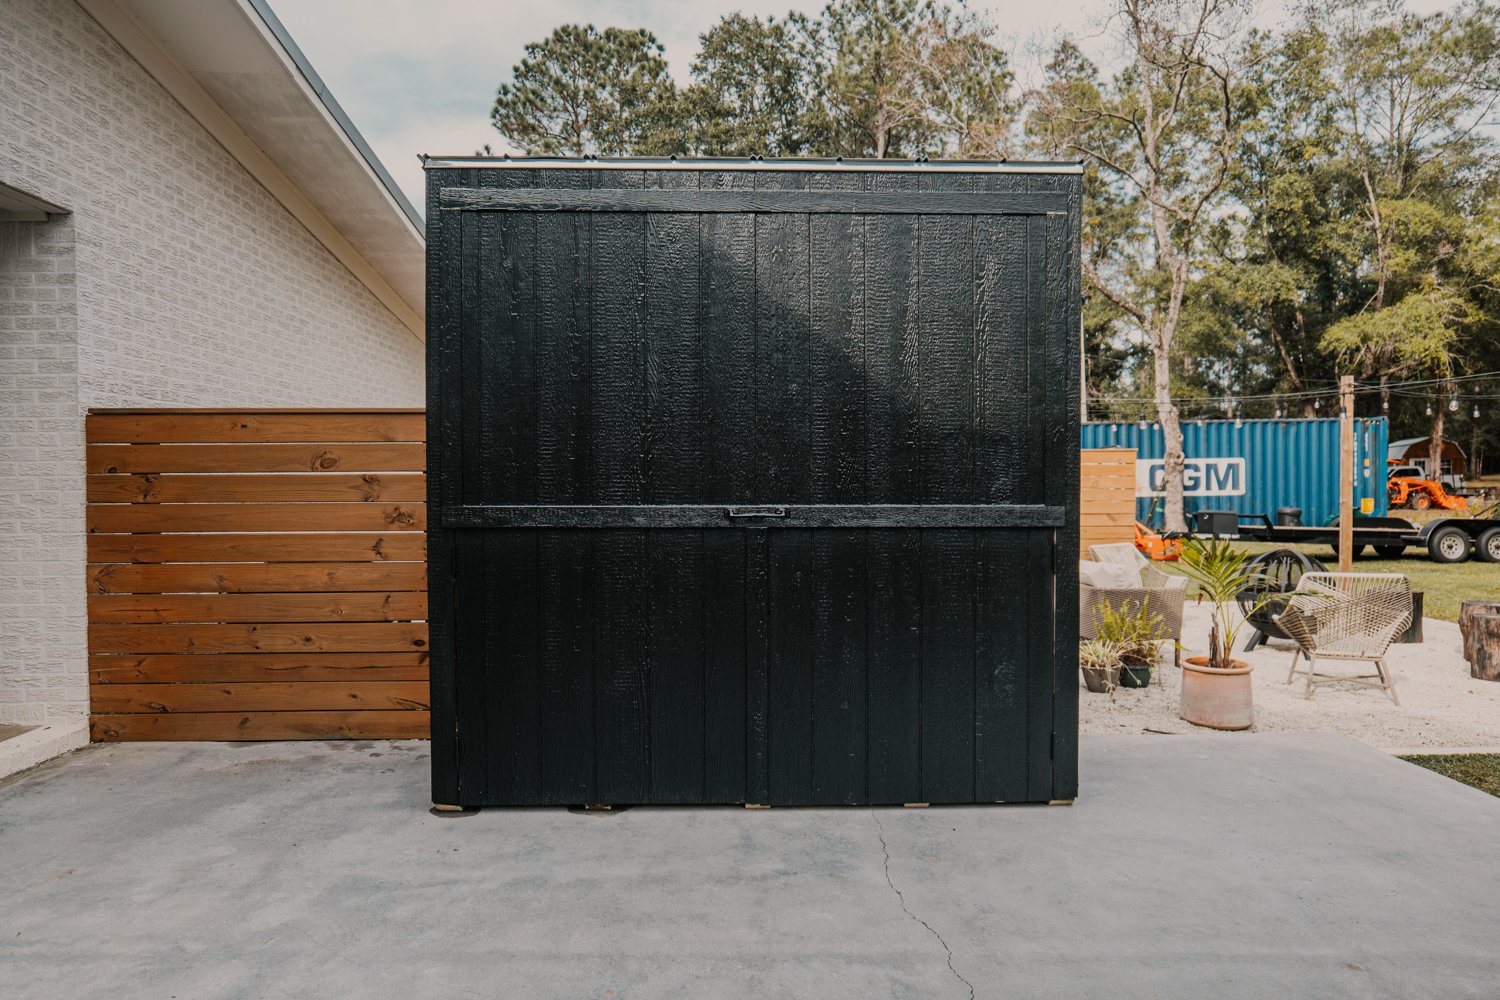
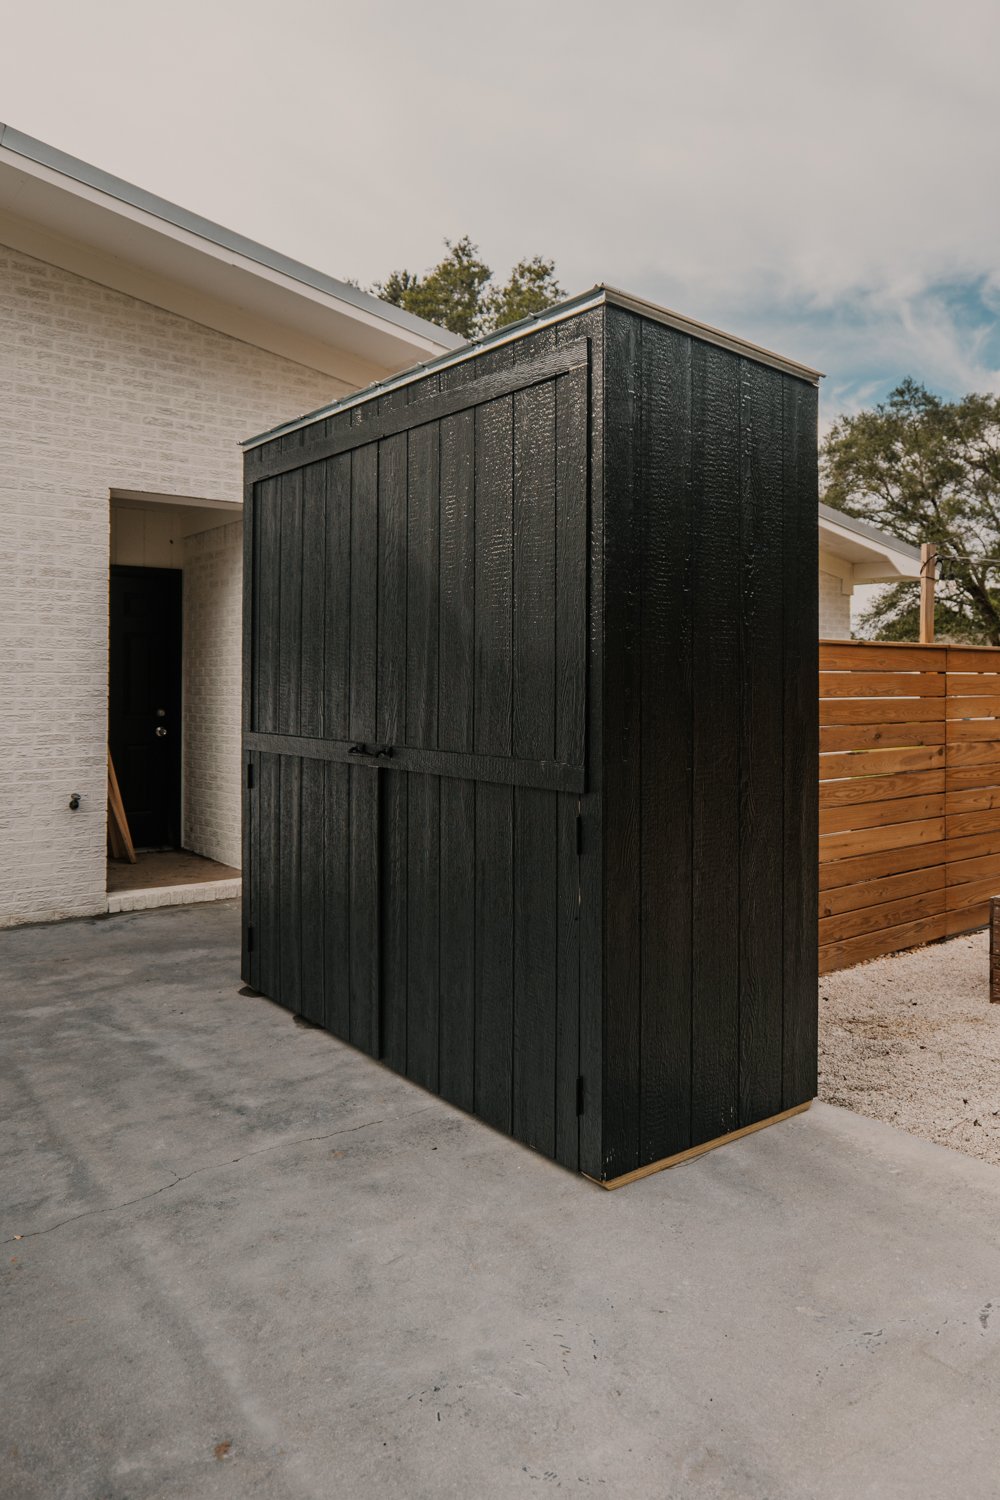
Paint the Exterior
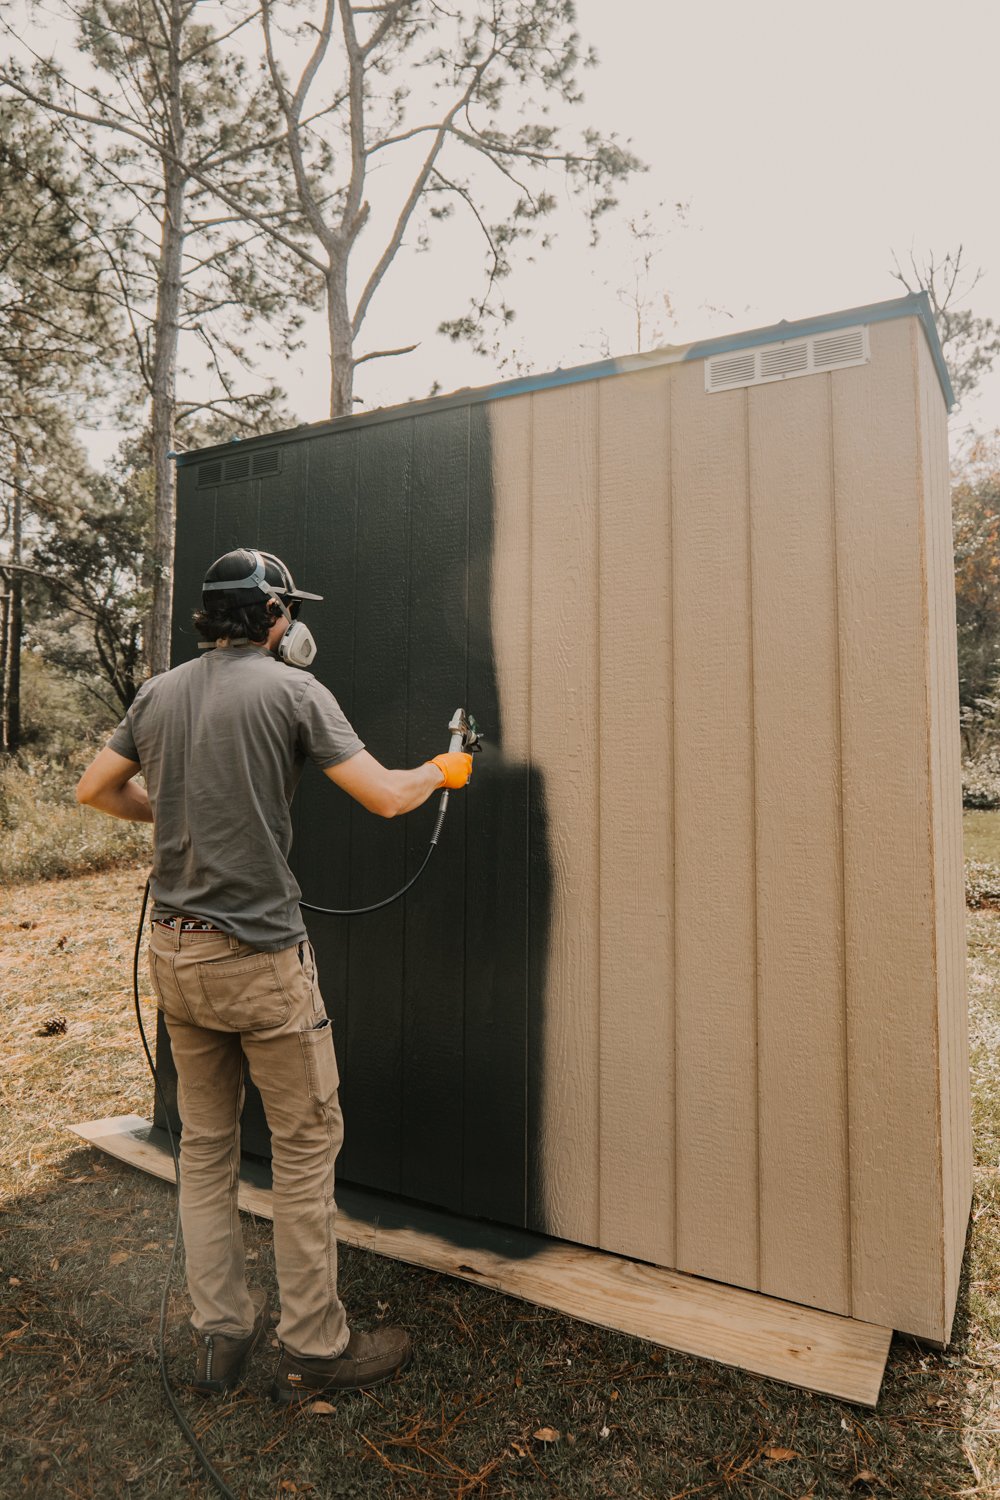
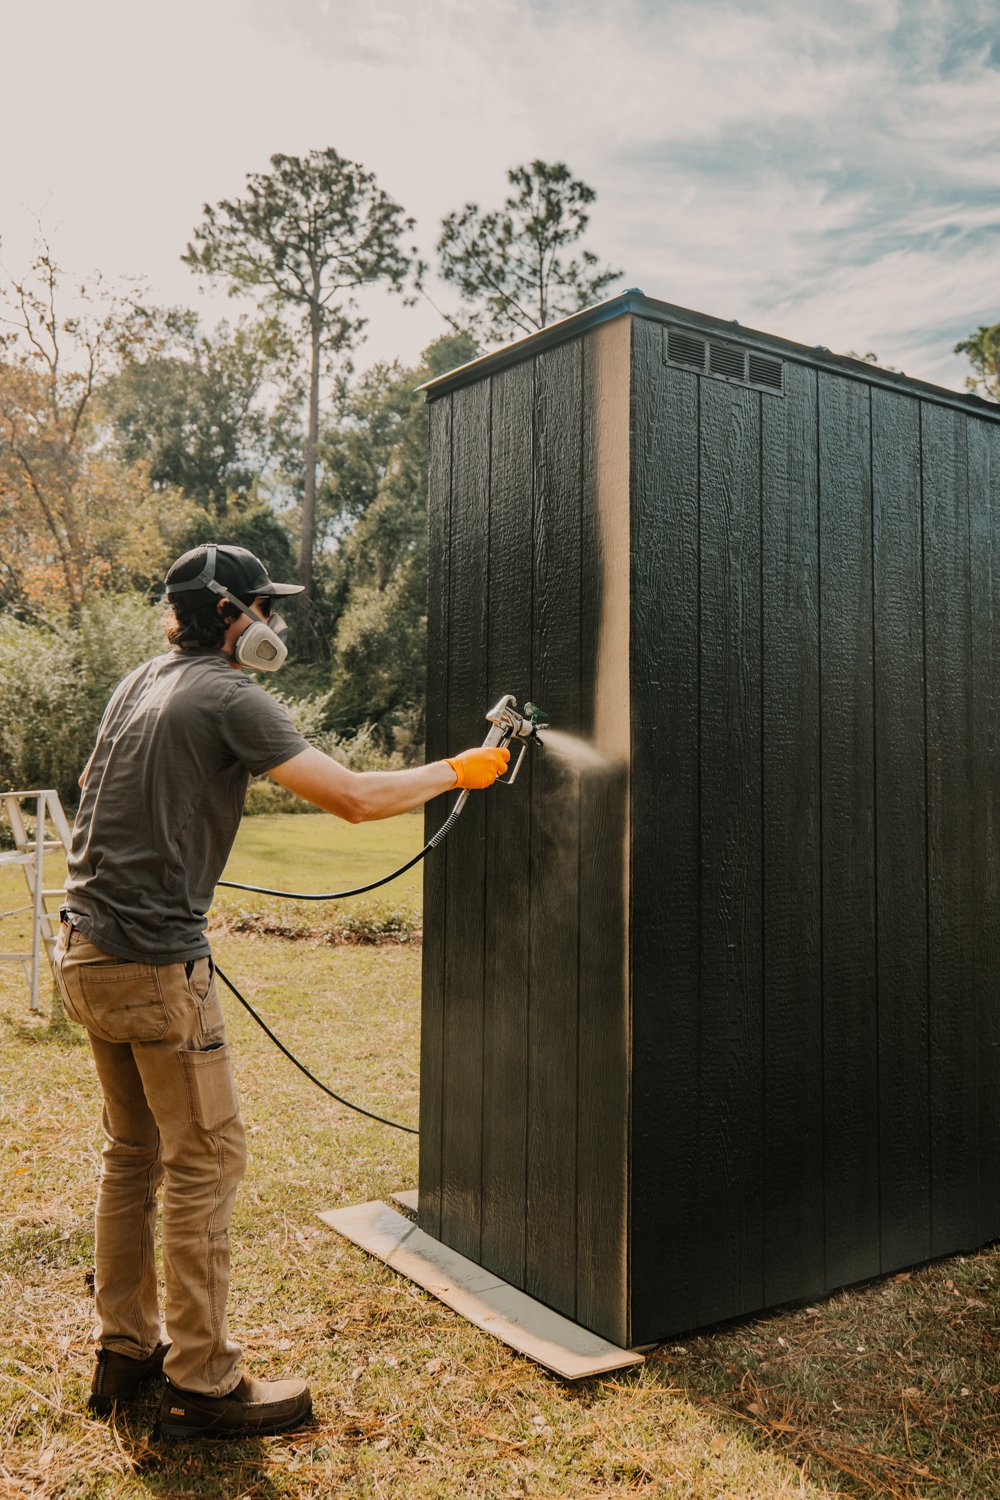
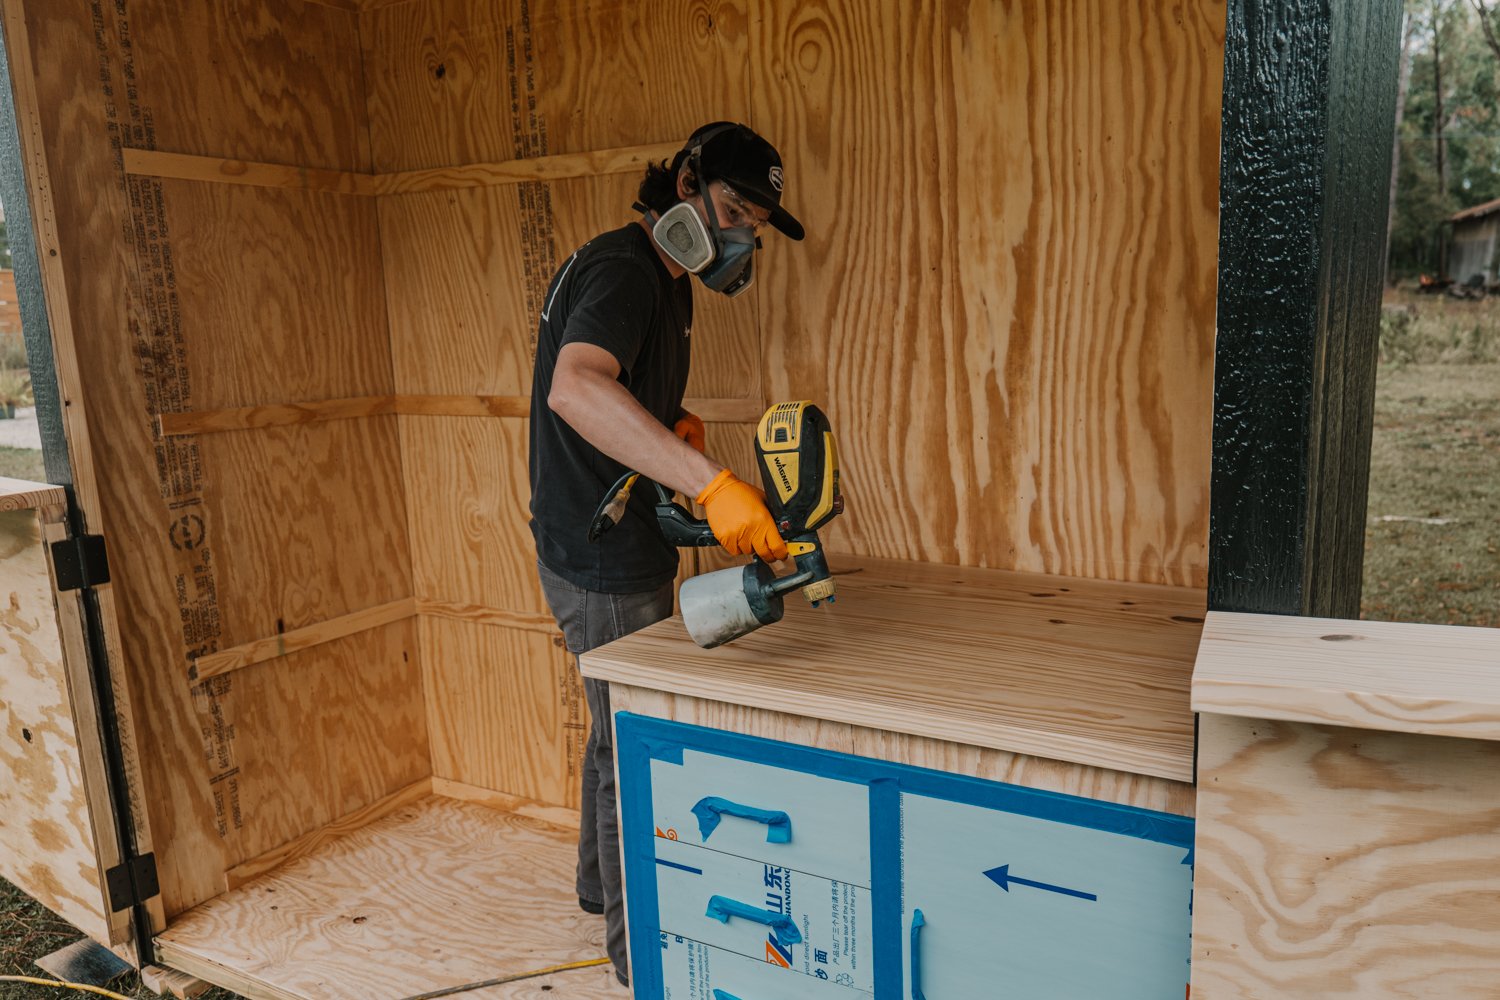
For paint, we used the color Broadway from Behr. This is actually the same color we used on the previous grill station as well as on all our exterior doors. The urethane alkyd enamel is such a good paint for these exterior projects and have held up so well on all our other things. We finished the interior off with a semi gloss clear coat.
Add Heat Shielding
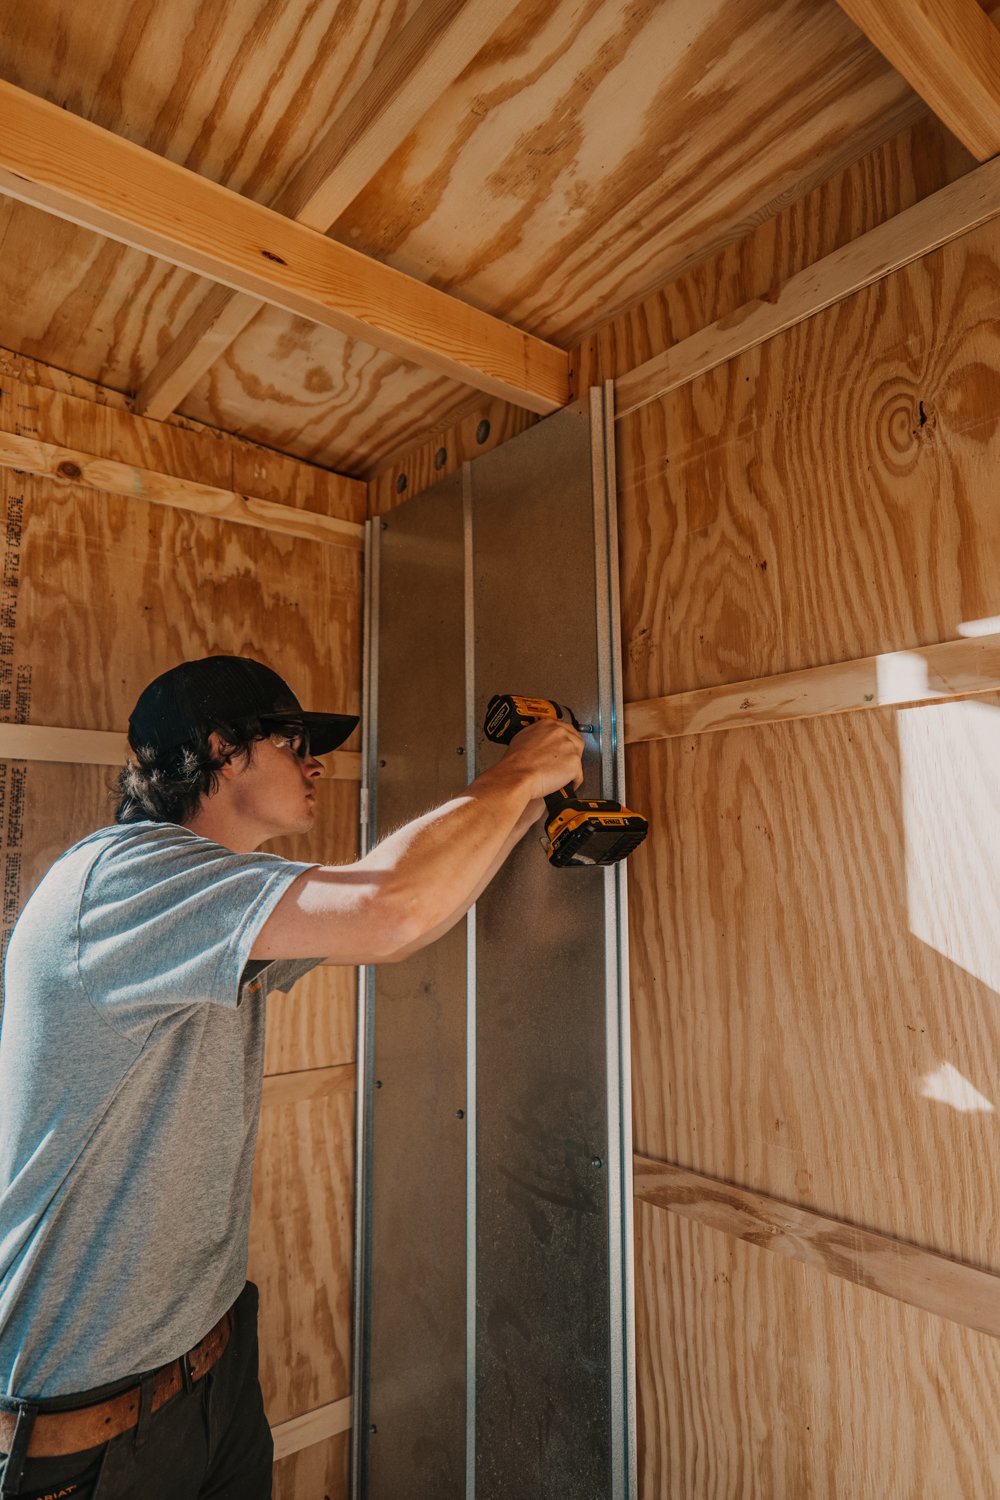
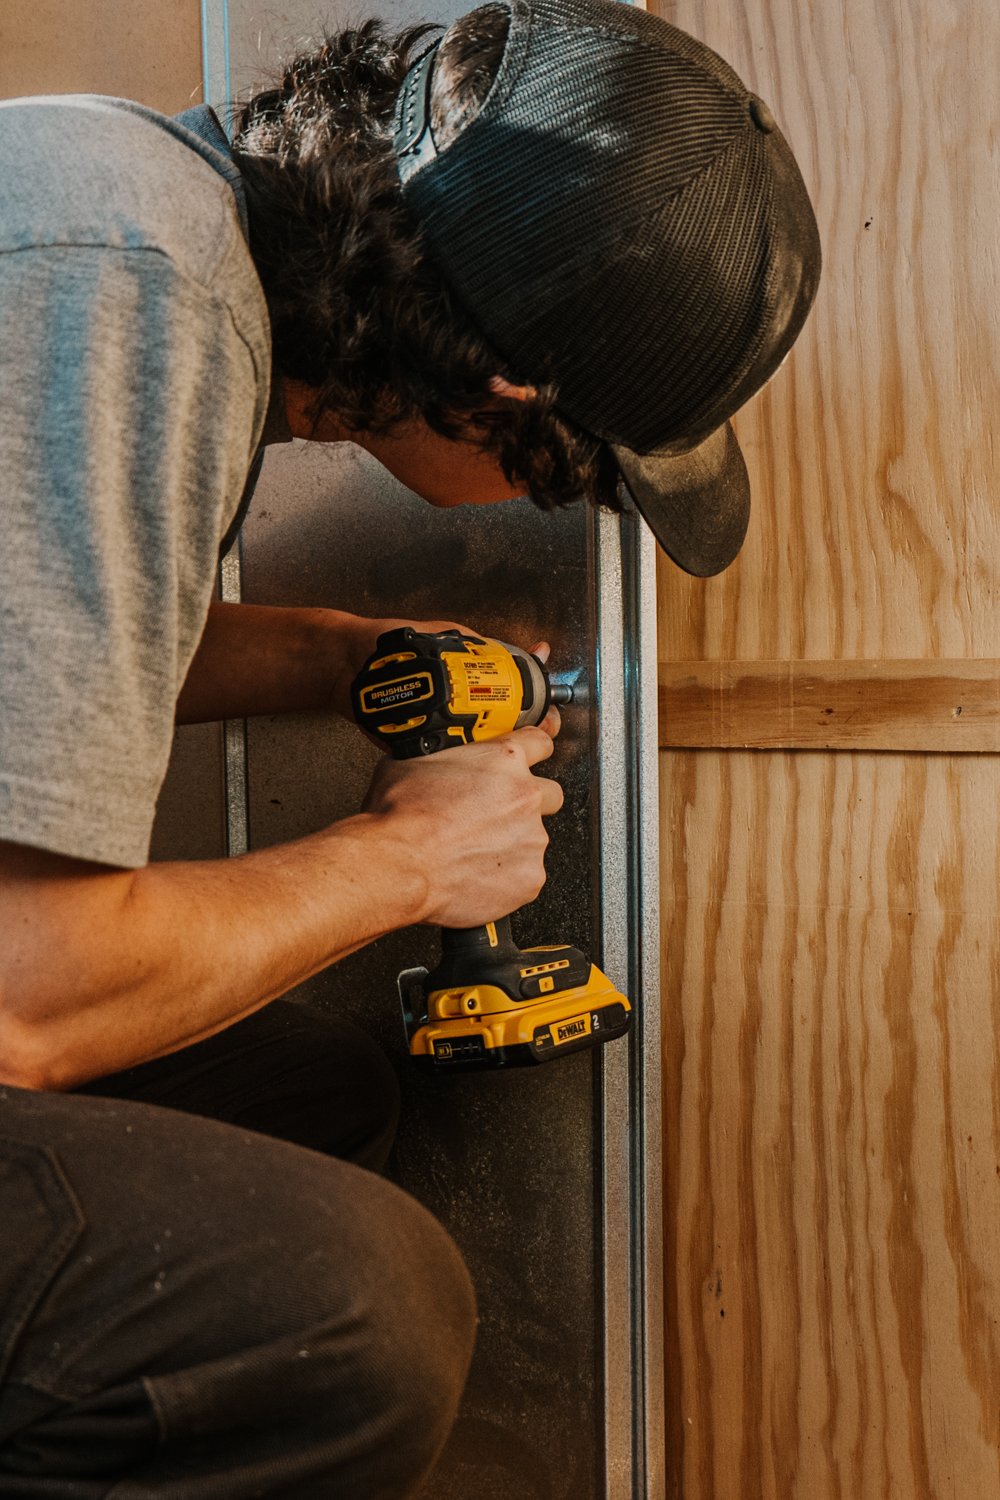
Dylan screwed in the same metal roofing material to the walls to go behind the grill for heat protection while leaving an air gap behind them so the plywood won’t get extremely hot. You can see the strips nailed to the back wall to create that air gap when the metal goes on. Luckily, after we have experimented and used this a few times, the metal doesn’t even get hot! We have seen so many comments about this particular part and how we should have added a vent for the smoke to go out. What we keep going back to is this is no different than grilling next to your home or under a covered porch. You absolutely can pull your grill out of this shed when you need to and use this as a storage space for your grill. We also rarely smoke with this grill, but when we do, there isn’t a lot of smoke that comes out that we have noticed.
Decorate
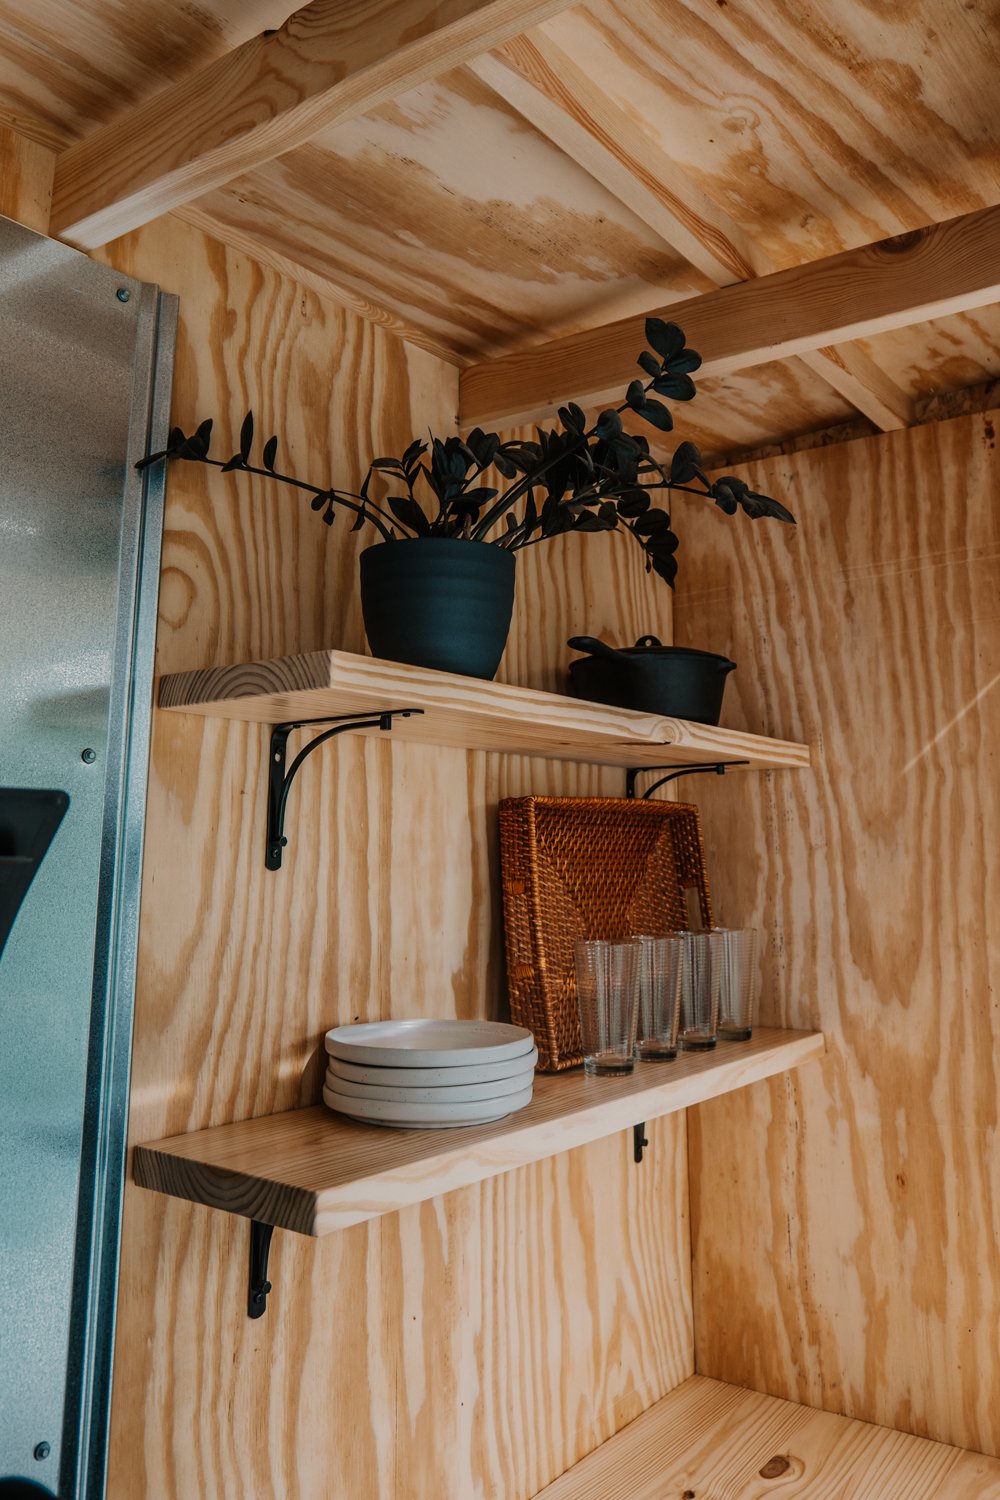
Now we can add some open shelving by using some pretty and simple brackets. I love to keep some plates and a cast iron pot or skillet out here the most for convenience (and because it fits the vibe). The shelves are your typical construction 2x boards that are sanded and sealed with Halcyon as well.