Round Coffee Table with Storage
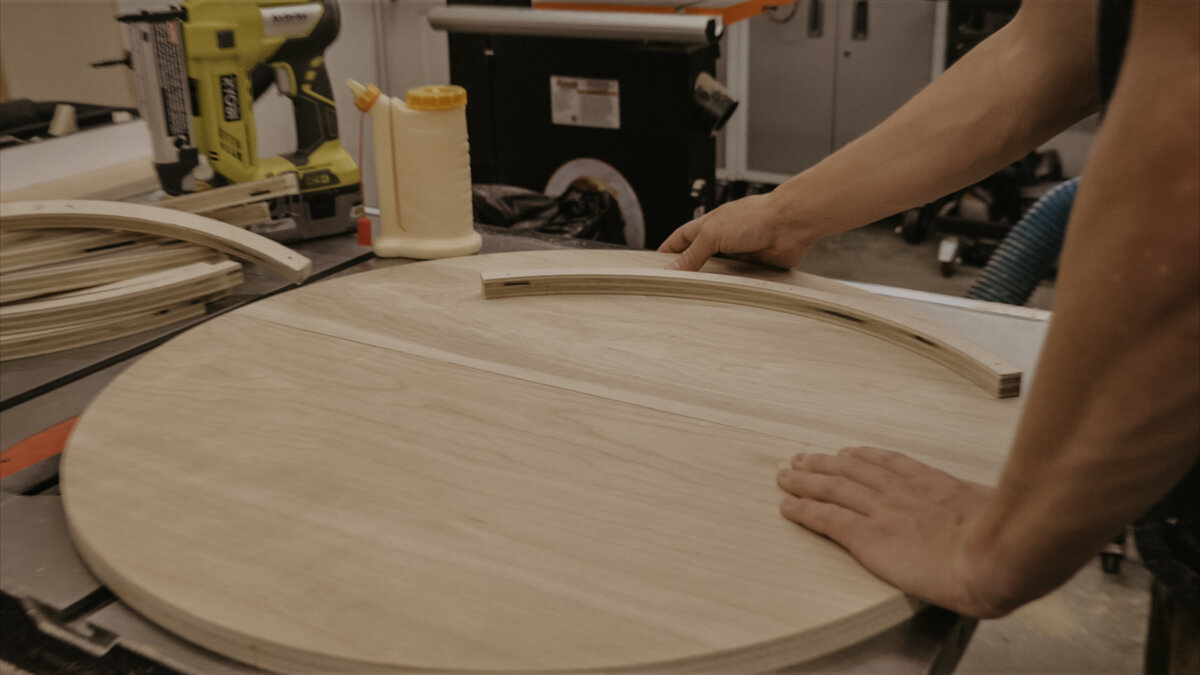
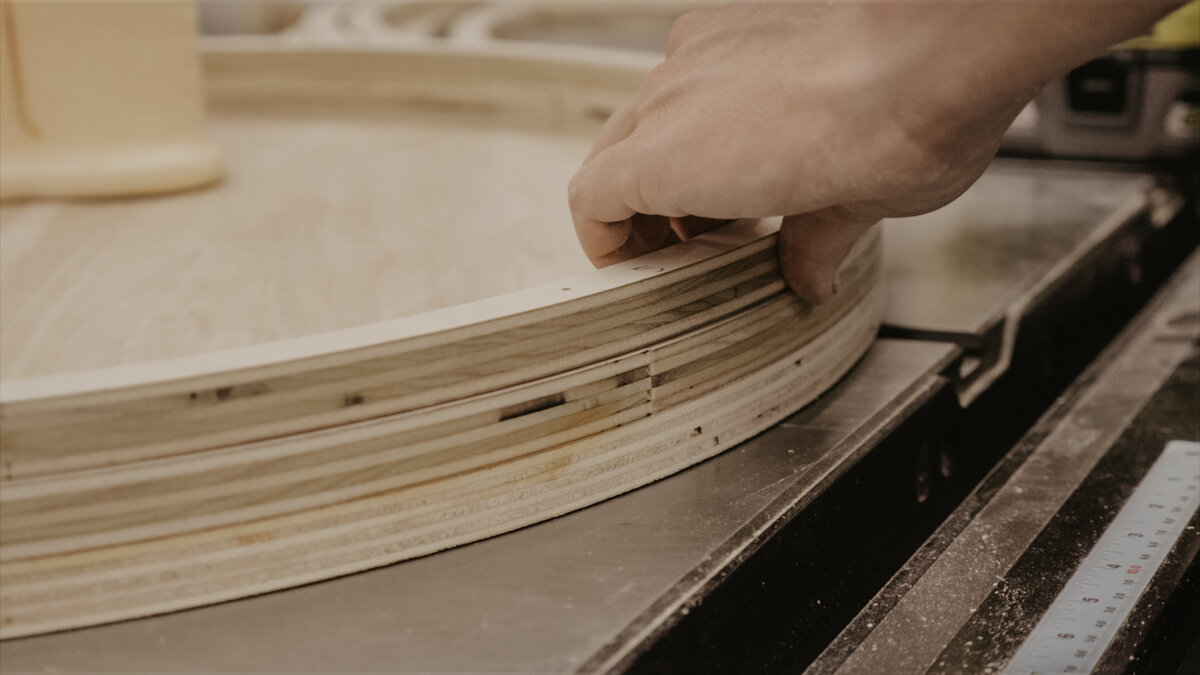
You all know how much we love our X-Carve, and this is going to help us tremendously with this Round Coffee Table with Storage. The entire base of the coffee table is going to be stacked 3/4" plywood pieces, and each piece is a quarter circle.
Project Plans: https://www.woodbrew.tv/store/p/coffee-table-with-storage-plans
Making Templates
First, we are using the X-Carve (http://bit.ly/2NtYwQm (affiliate link)) to make templates out of MDF for those quarter circles and the tops.
Trace out Base Template and Cut Pieces Out
While the machine was actually running, cutting those templates, we cut the 3/4" plywood down to manageable sizes for all the work that's about to happen. Grabbing the base template, we could trace out as many as possible onto the sheets of plywood. We really needed 28 total, so we filled up the sheets until we had that many.
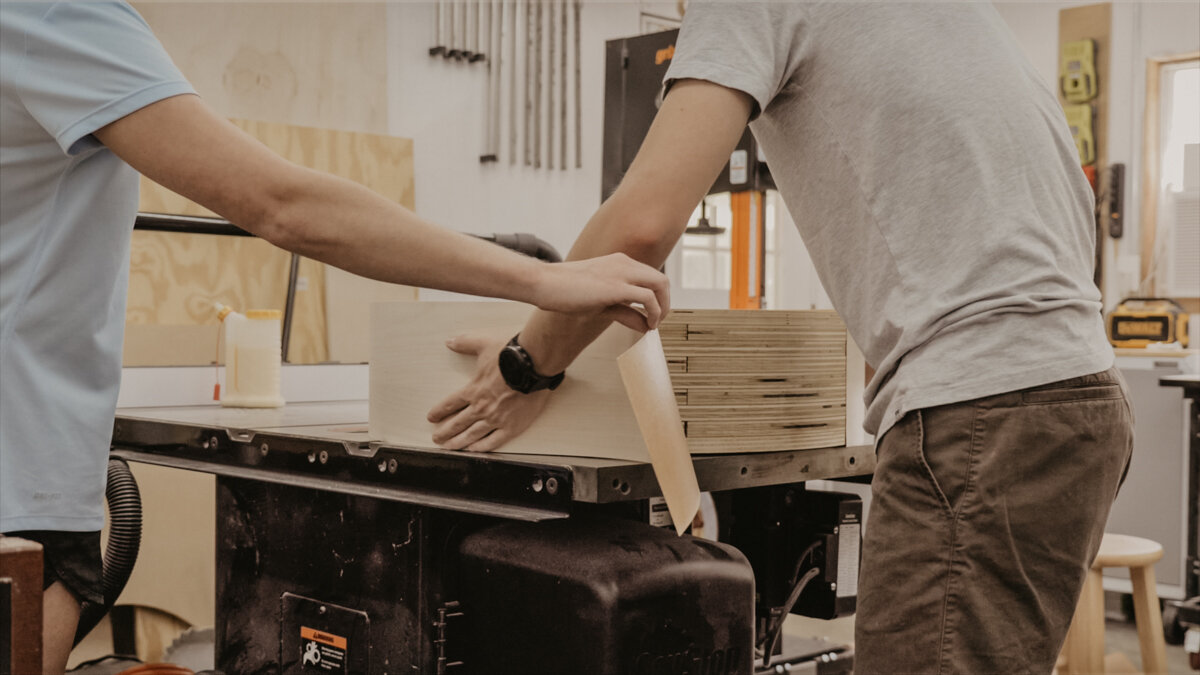
Moving to the band saw, Dylan roughly cut out each piece, we will be flush trimming them in just a minute. To save some time, we pre-drilled all of the holes to screw down the template to all the strips, I guess is what we could call these, when we go to flush-trim them.
Here is our band saw : https://bit.ly/3dPb669
You can use the code: "WOODBREW10" to get 10% off your order!
Flush Trim Base Pieces
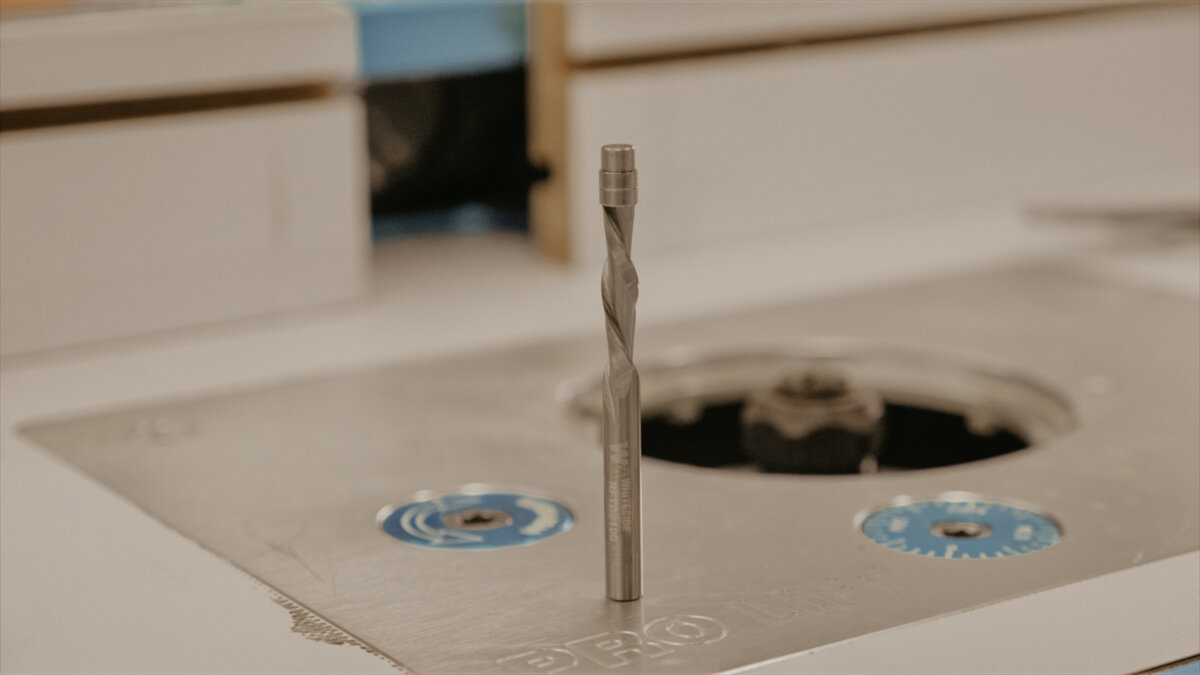
For our router bit, we are using an Astra-coated spiral flush-trim bit from Bits&Bits. Astra coated bits are great because they allow higher speed and feed rates, while not allowing the bit to overheat. That makes for a super good and accurate cut. So here's where the busy work starts, flush trimming and eventually sanding, every single strip.
You can use the code "WOODBREW15" for 15% off your Bits&Bits purchase!
Trace, Cut, Flush Trim Tops and Bottom
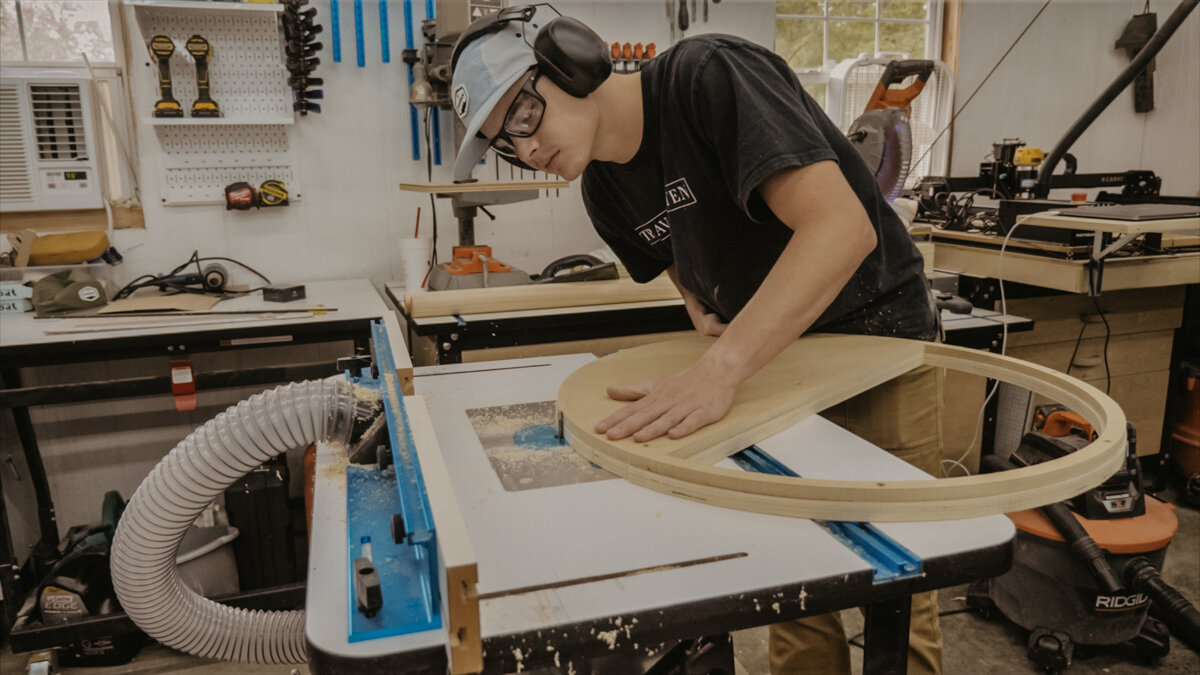
Next up, the top and bottom. We traced, band sawed, jigsawed, and flush trimmed the top. For the bottom, however, we didn't have enough plywood, so we put two sheets together, screwed the template down and traced it, which is the same as the top, we just won't be cutting out the middle. Then, we took the template off and cut out the half-circle on each piece on the band saw, put the template back on and flush trimmed it. Now, we can glue the two bottom pieces together and start attaching the strips. The strips get glued and pin nailed to the layer below each one, but each layer is alternating. Once they were all in place, we just laid the top down to clamp them together.
While the glue was drying, we moved onto making the other top, the half-circle top. And then, of course, trace, cut, flush trim.
Make a Rabbet in the Base
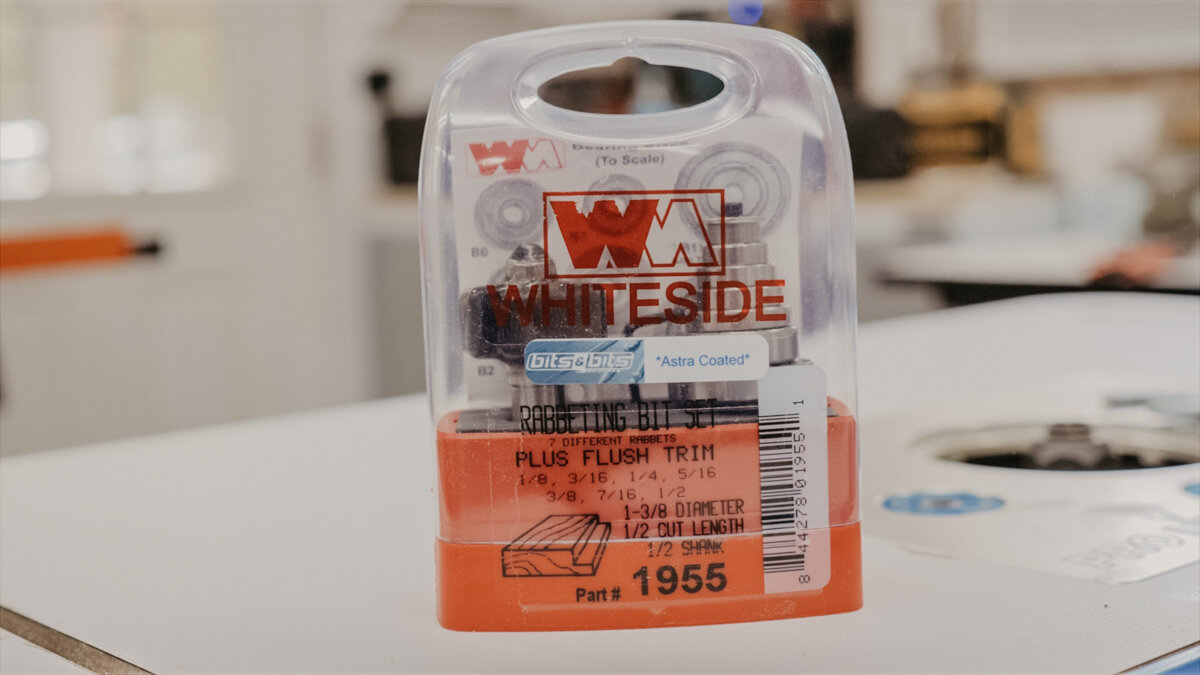
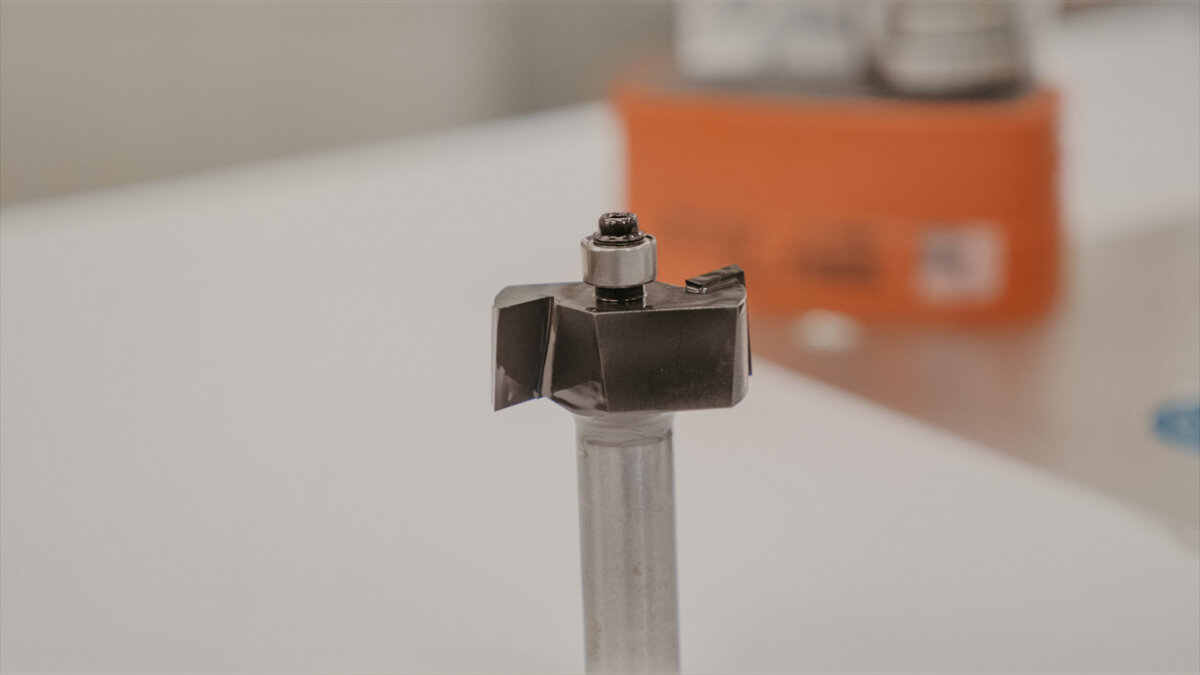
We need to cut a rabbet into the coffee table and then eventually into that second top. We are using another Astra coated bit from Bits&Bits. This one is the rabbeting bit set that comes with 7 different rabbet sizes, which is so nice. We are using the 3/16" bearing, so you just change that out and you're good to go. We put the entire coffee table upside down onto the router table because we need to router out the top for the sliding part to work.
Making a Pivot Point
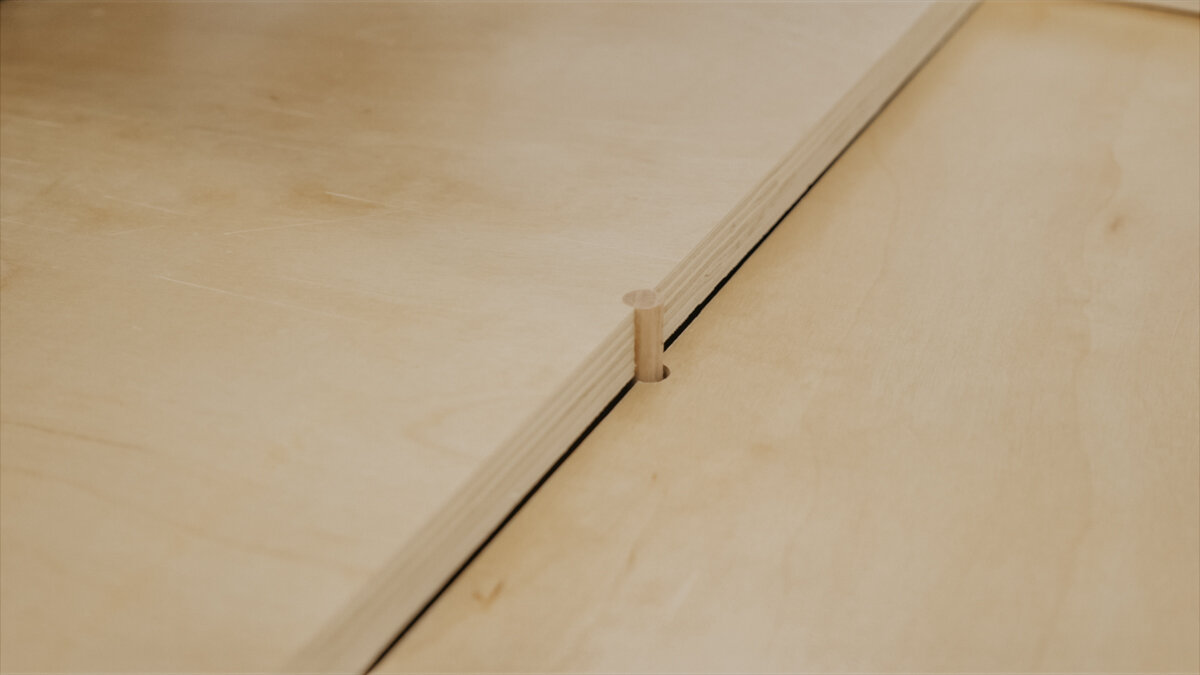
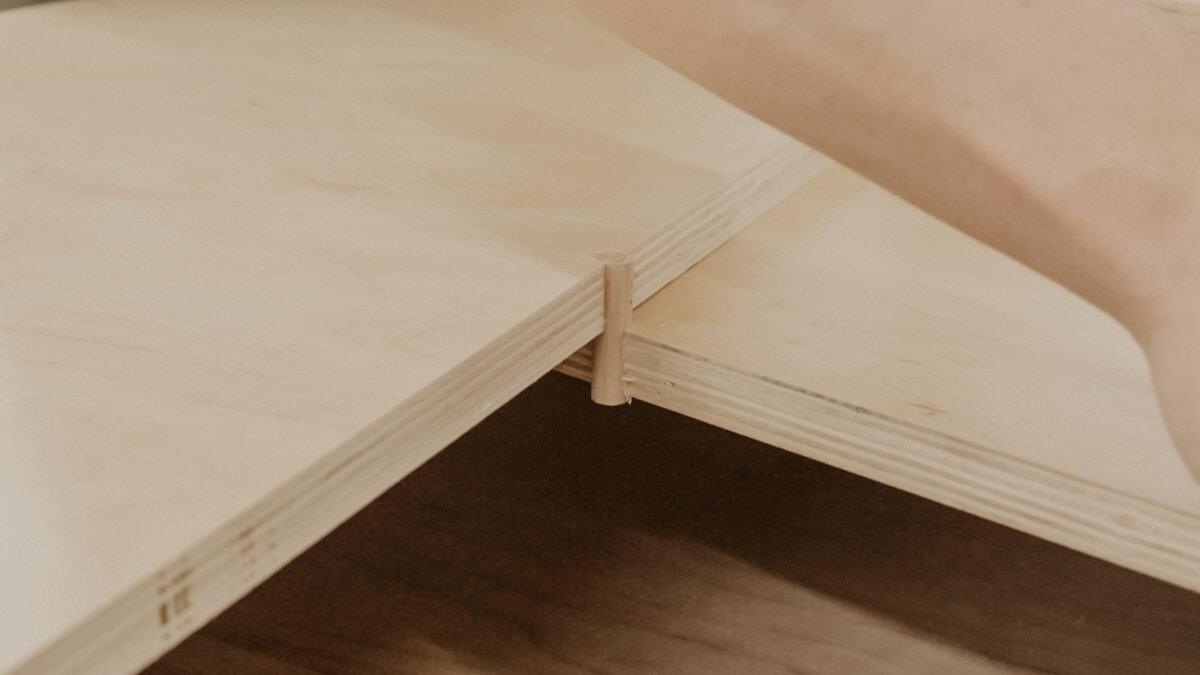
We were having trouble with the sliding top. Every time we wanted to pull it closed, it would just come off the rail. Pushing was fine it was the pulling. We think it was because it was a little too small, but we tried a few different methods, but the one that stuck was the dowel. We added a 1/4" dowel halfway into both tops, so the sliding top could move around the dowel. Worked like a charm. We also drilled out a finger pull into the sliding top.
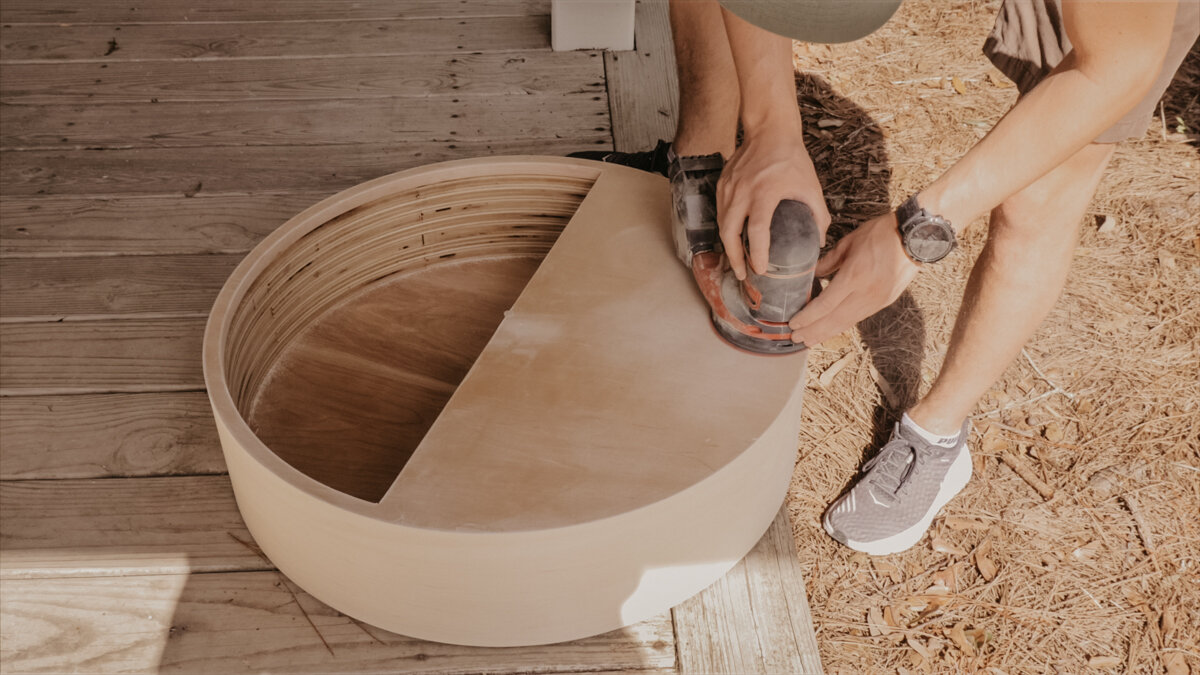
So we added edge banding to the exposed sides on the tops, sanded and put finish on the inside before we glued the top down. We also tested the finish we are using on the sliding top; you'll see more of the finishing here in a sec. When the top glue was dry, we sanded the rest of the table and it was time for veneer. We have never used veneer before, so this will be interesting.
Adding Veneer
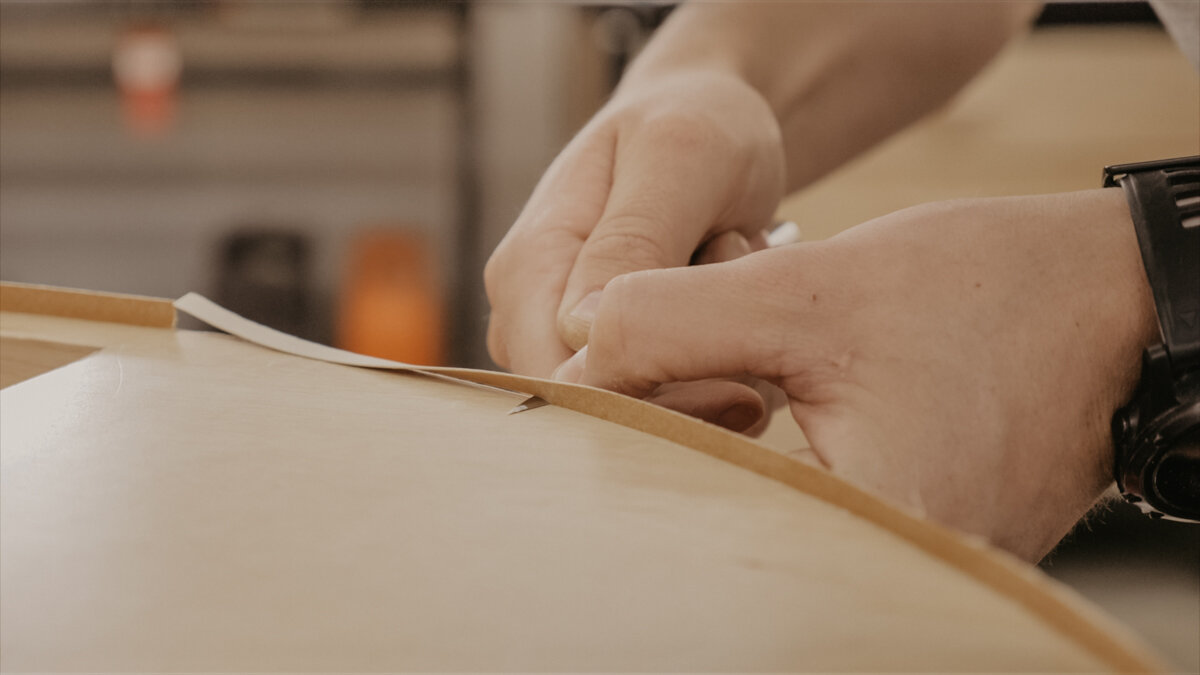
With contact cement, you put some on the veneer and then some on what you are putting it on. Then, you let it get tacky before you put it on, so give it a few minutes. It was pretty simple to put on. We raised the coffee table up 1/16" of an inch, so we lined up the veneer to the top of the table saw, where it was sitting. Then, just going around and pressing evenly, kind of like one big wipe around the thing. We didn't get air bubbles until the last bit, which we were so lucky and were able to pull it up and fix it. After that, we took an Exacto knife and trimmed up the edges.
Make The Legs
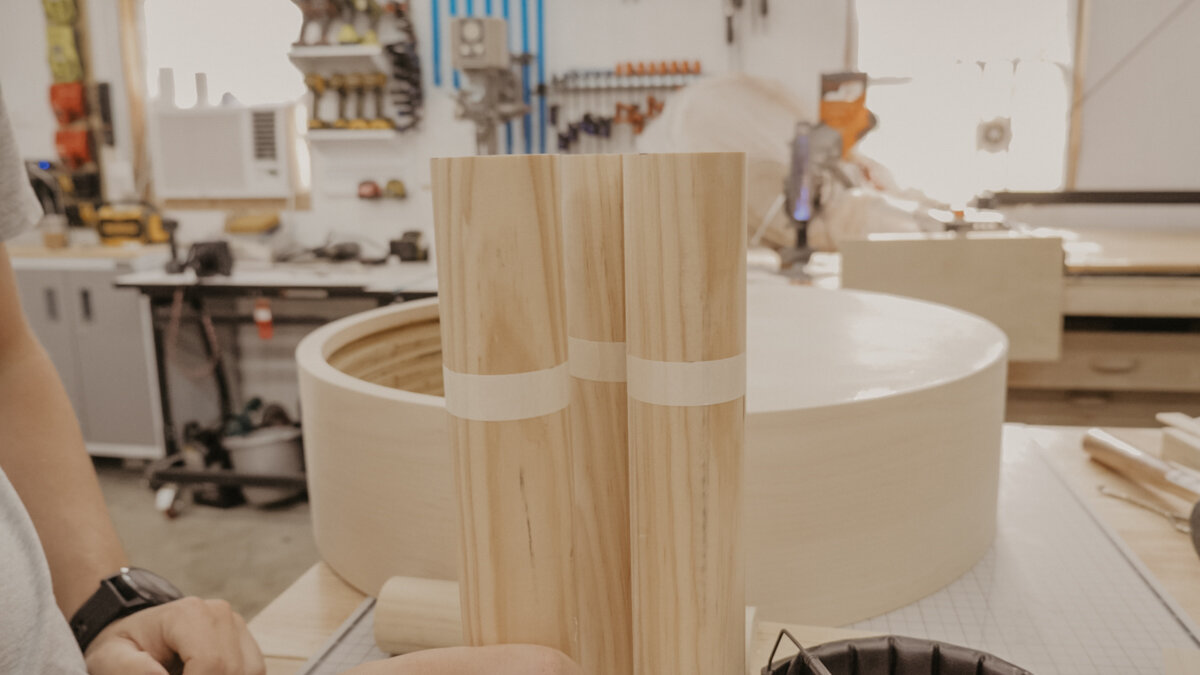
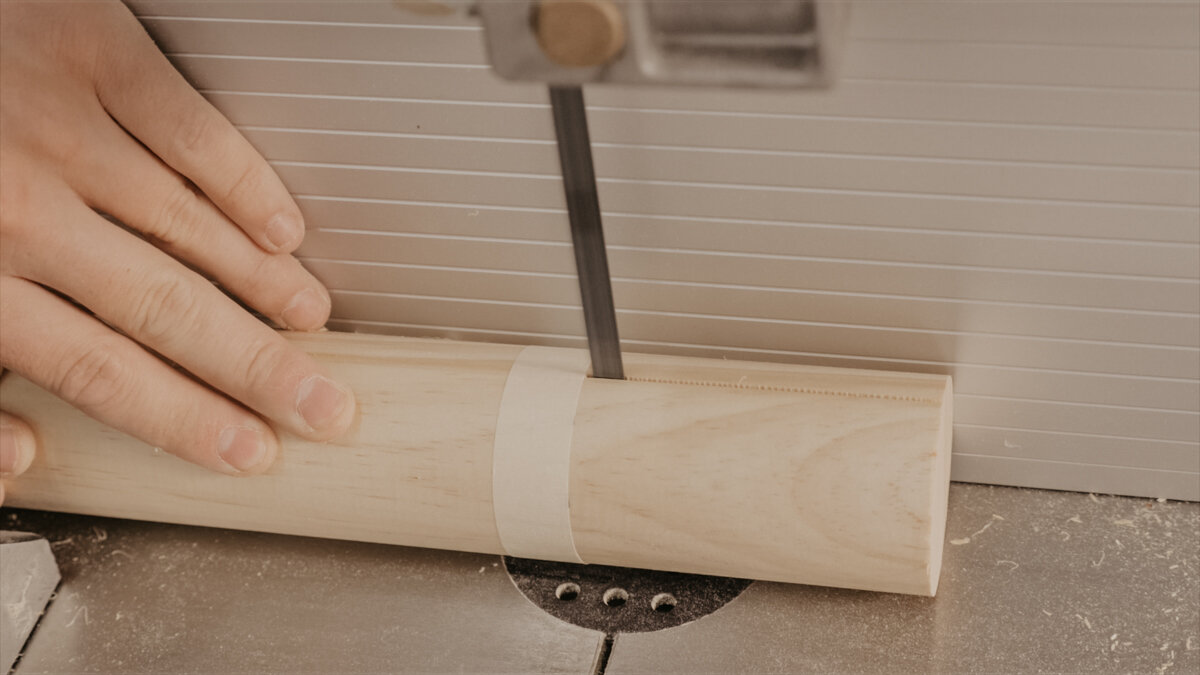
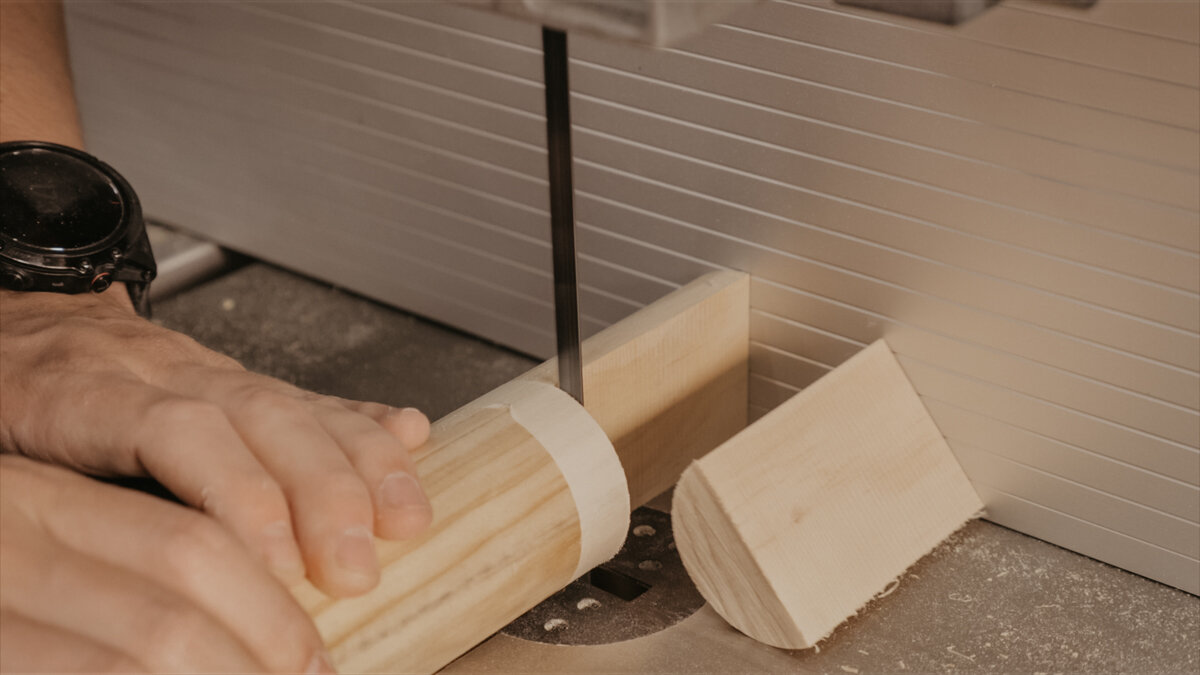
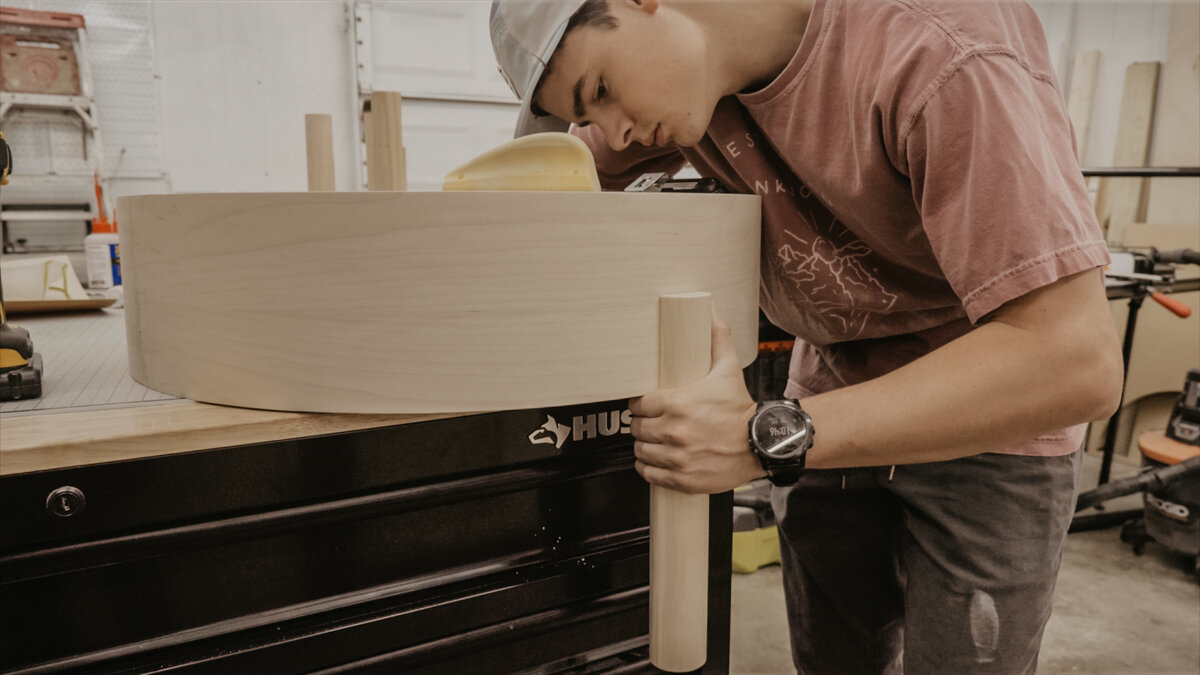
Once veneer was done, we could sand the entire round coffee table and start making the legs. For the legs, we are using 2" dowels, and they will run halfway up the side of the table. So, we marked how far that is and got to cutting. We used the band saw to cut the dowel halfway longways, and then perpendicular where we taped. The legs then get screwed on from the inside of the table and DONE.
Apply Finish
Brushing on Total Boat Lust High Gloss Marine Varnish
For finish, we did a few things. First, we used Total Boat's Lust High Gloss Marine Varnish to build up. This stuff is amazing, just like any other Total Product, but this you let dry for about an hour or an hour in a half, and then you can apply another coat! This finish shouldn't be tacky after an hour, but it definitely not cured yet. So that means you don't have to sand in between coats and you apply 4-6 coats in 48 hours. Then after 2 coats of the high gloss, we came in with the Lust again, but in matte and this truly sealed the deal. A matte finish is usually hard to come by that's super durable and this stuff is rock solid.
This Round Coffee Table with Storage turned out so cute. I love the sliding top, even if it is a bit different, it's cool how you can store stuff inside and still use the entire top of the table, but have it look interesting.


