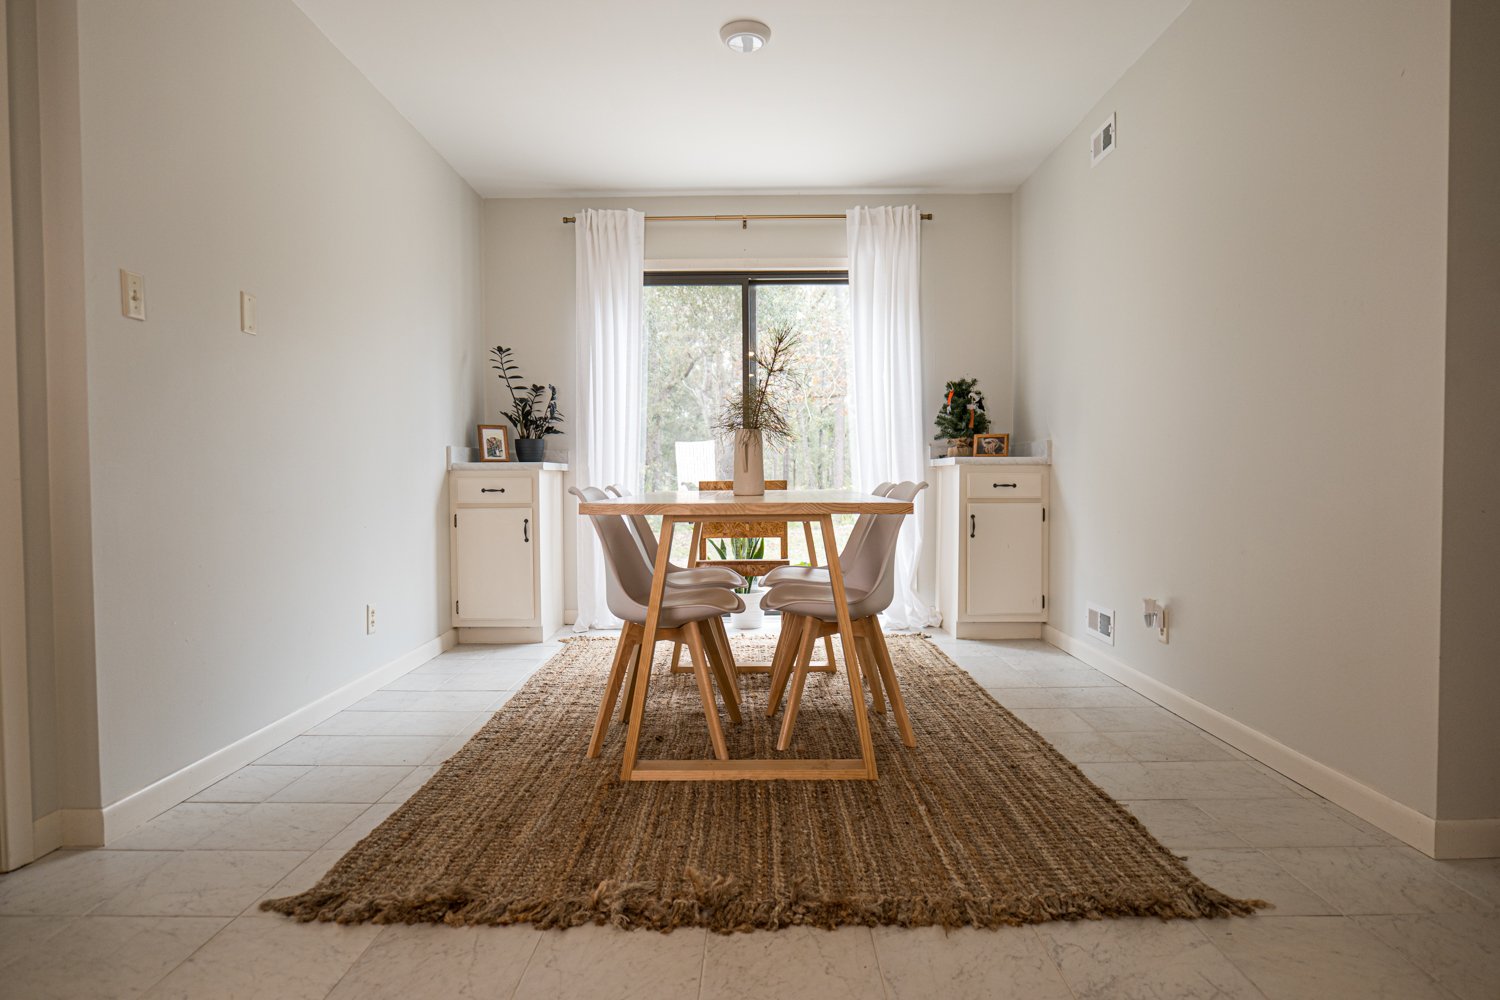
Modern Organic Dining Room Makeover

You scroll through Pinterest aimlessly dreaming of those beautifully curated dining rooms and wishing that was your home. We have news for you! You can absolutely make that dream a reality, and it might be less expensive than what you think! Honestly, I have had a hard time nailing down “my style”. I like a lot of styles and different things, so I got out of my head and did what makes ME happy. That’s exactly what this Dining Room Makeover is. I hope you love it as much as we do, but if not, maybe you liked a few parts of it and would love to incorporate into your home. Let us show you how!
Weekend room makeovers can be so fun! You might be thinking that you need to scrap and get rid of your furniture, or think you need to spend a ton of money. If you think that, you would be wrong! This Dining Room Makeover only needed a few tiles, paint, a curtain rod and some wood boards for a few shelves and faux beams for the ceiling.
We also decided in the middle of the project to replace and upgrade the trim, which was NOT cheap. This was a personal preference and because we will be upgrading the trim throughout our new home, we went ahead and started here while we are at it.
Let’s start off with the materials we used: (These are affiliate links, which means we get a small compensation when you purchase through this link, but at no more cost to you.)
Tile Morter: https://homedepot.sjv.io/5bzQqn
Tile Grout: https://homedepot.sjv.io/x9o3mO
Wall Paint: https://homedepot.sjv.io/n1g6EM (Simply White)
Trim Paint: https://homedepot.sjv.io/WDgQde (Simply White)
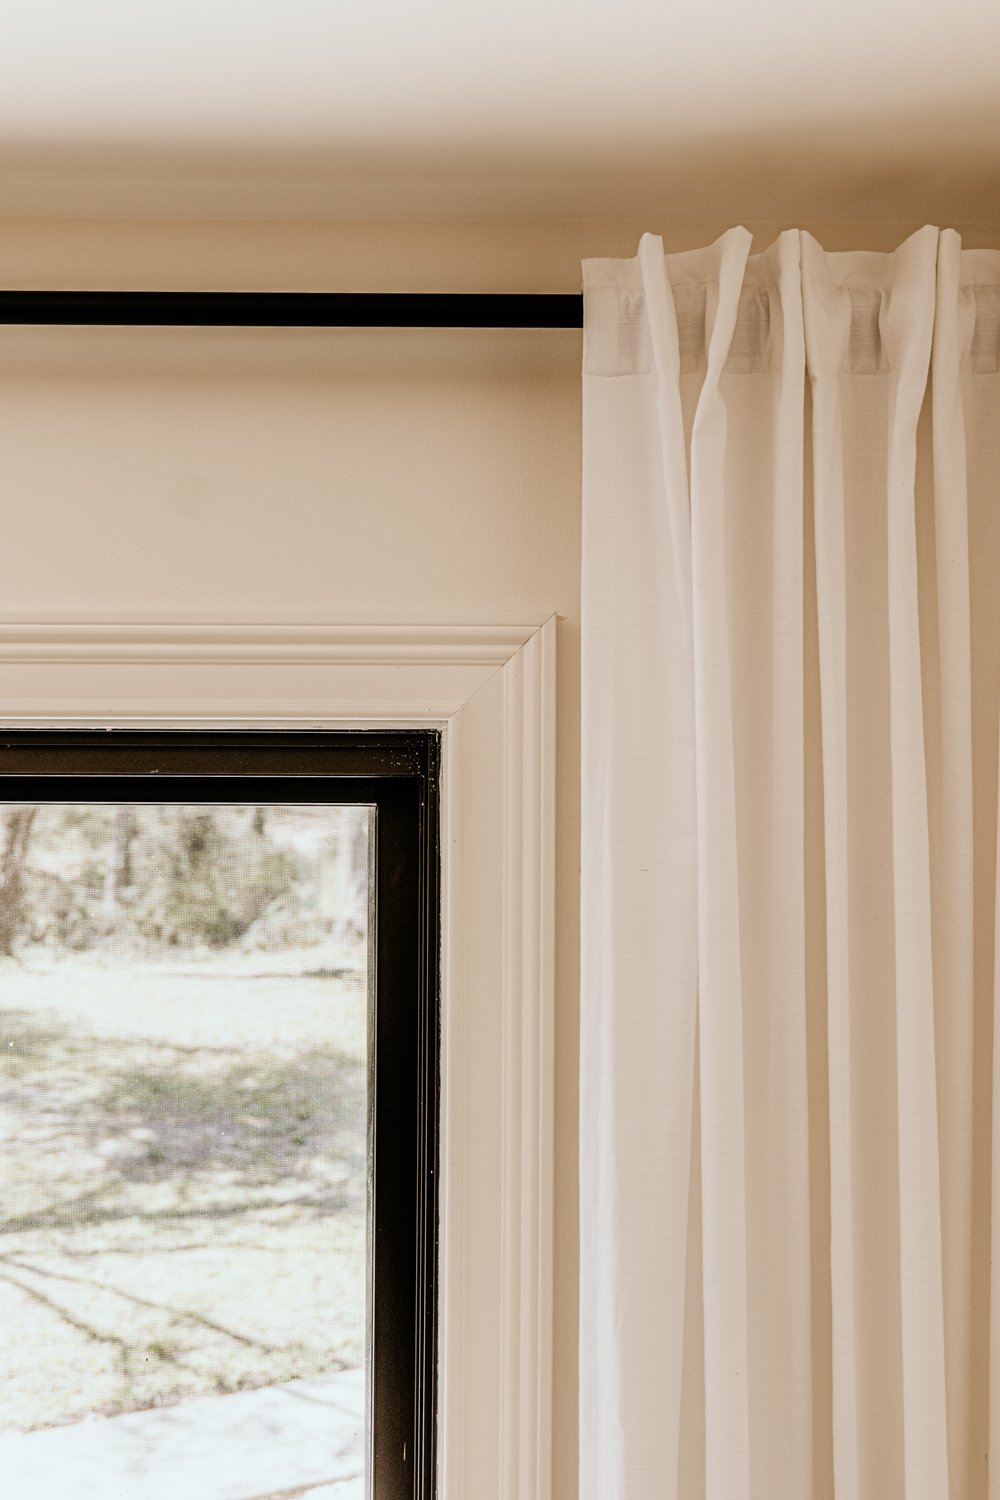
Curtain Rod: https://homedepot.sjv.io/yRW6bG
Curtains: https://amzn.to/3CZtG8I
Beam Pine Boards: https://homedepot.sjv.io/2r205A
Shelf Boards: https://homedepot.sjv.io/jWV6ZZ
Stain: https://homedepot.sjv.io/x9O6QR
Baseboards: https://homedepot.sjv.io/qnV6Zg
Stop Molding: https://homedepot.sjv.io/MXgdyn
Door Casing: https://homedepot.sjv.io/mgNyZO
Pendant Light: https://homedepot.sjv.io/vnW6jL
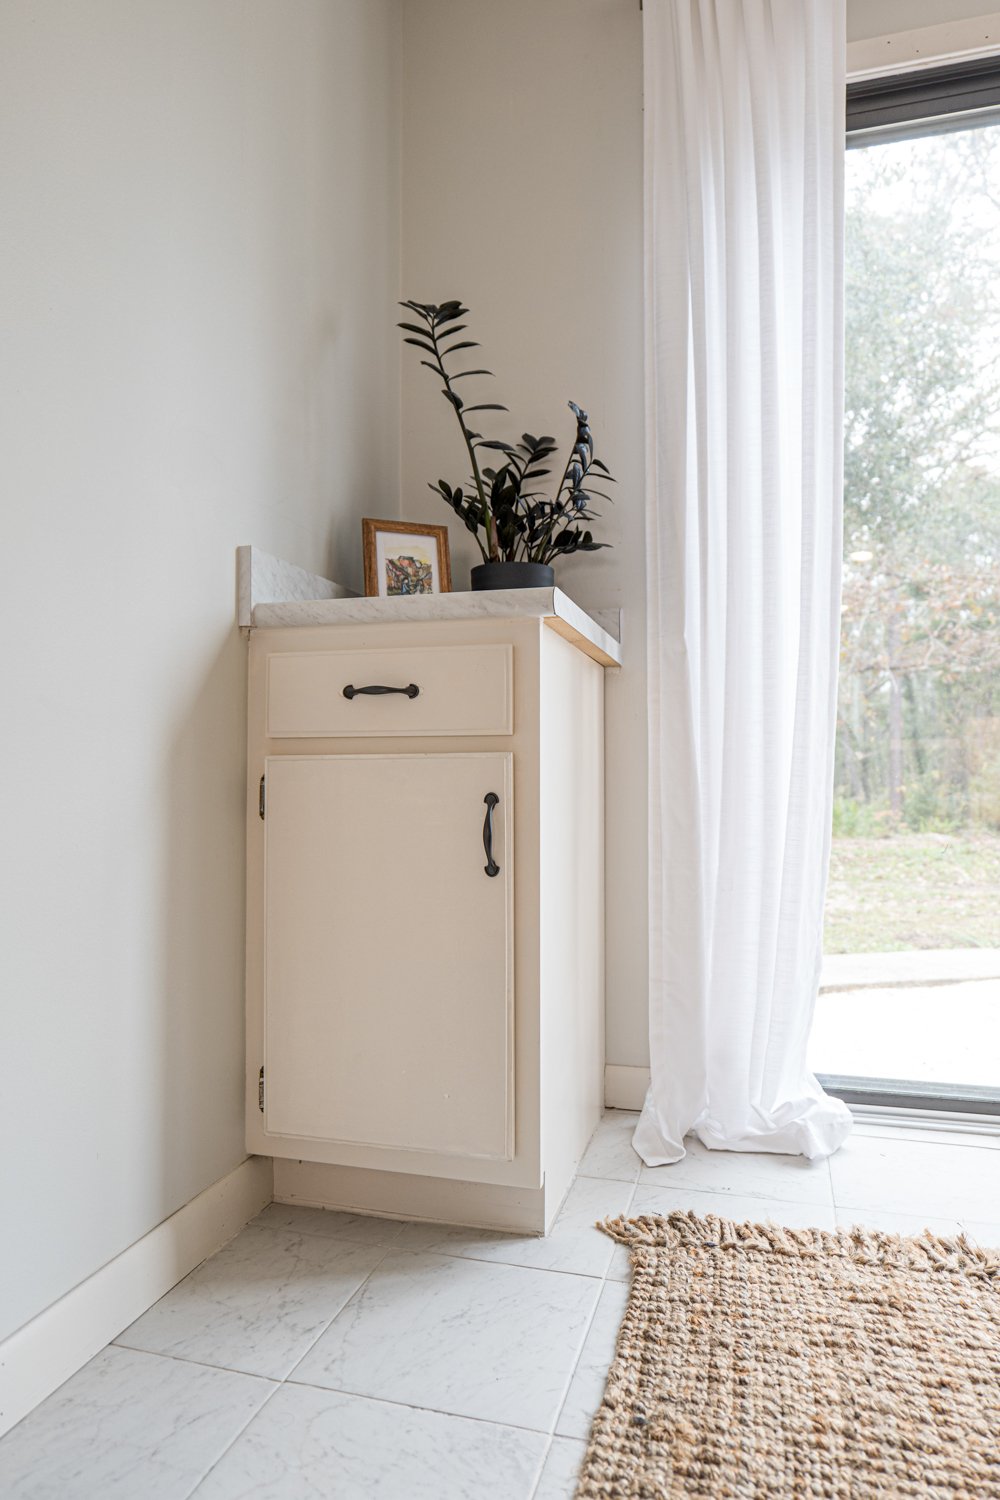
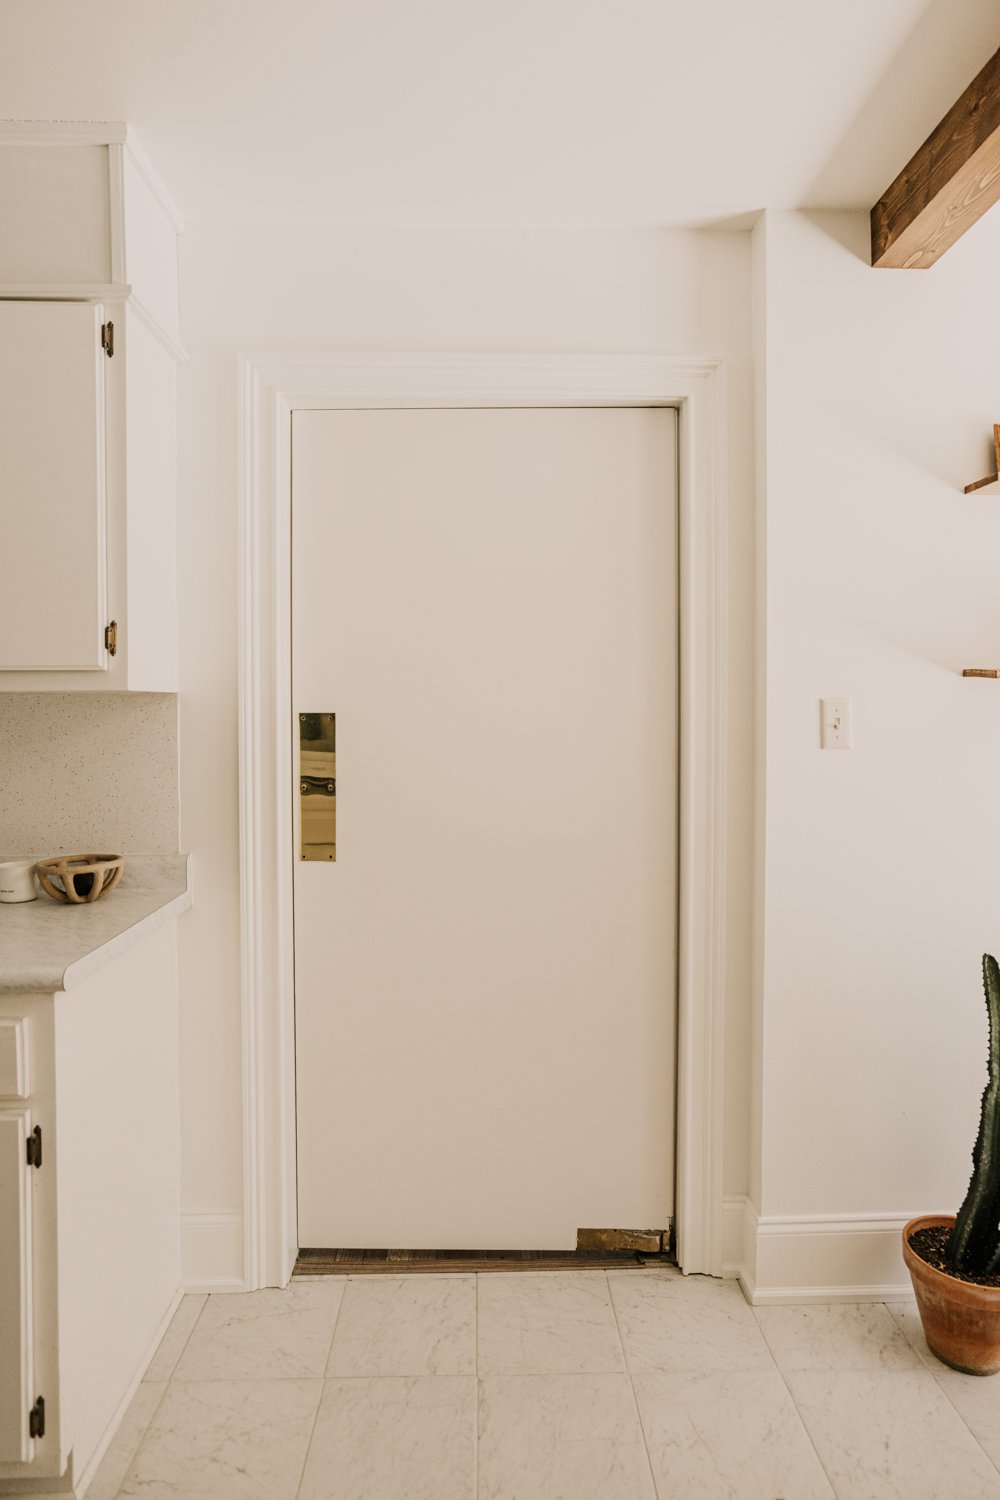
Before:
Here are the before photos. We have these pretty awkward cabinets in each corner. Sure, they are great for storage, but they will not go with what we are trying to do in the end. We actually ended up selling them on Facebook Marketplace for $40, so cha ching!
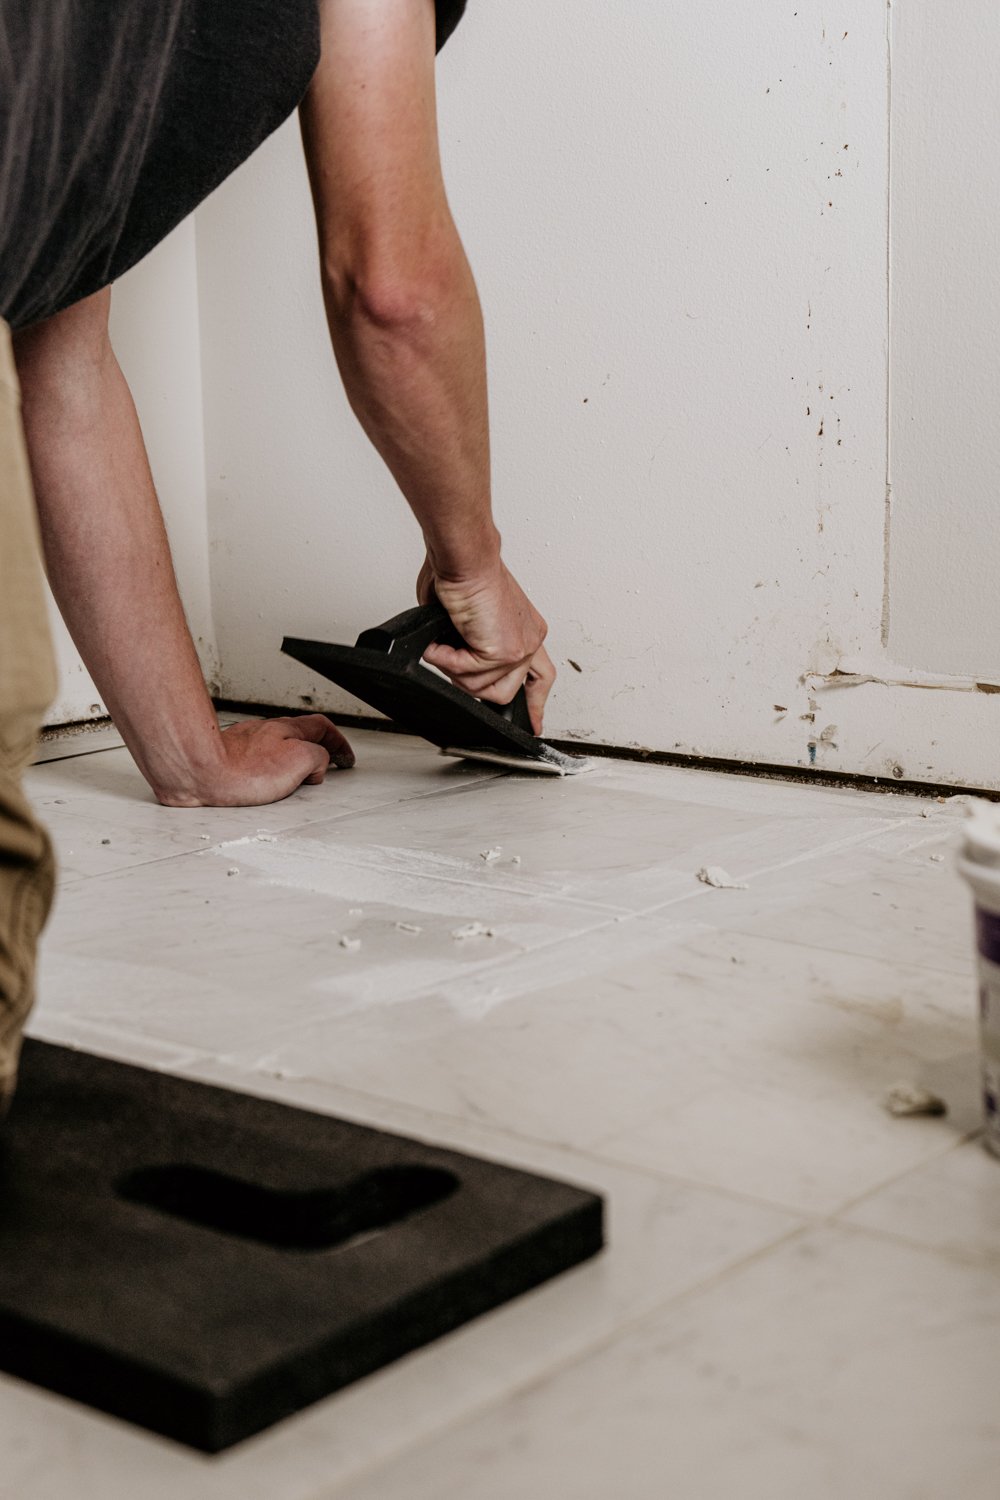
We had to repair some drywall with some joint compound and this is really what took the longest because of how long you have to wait for it to dry.
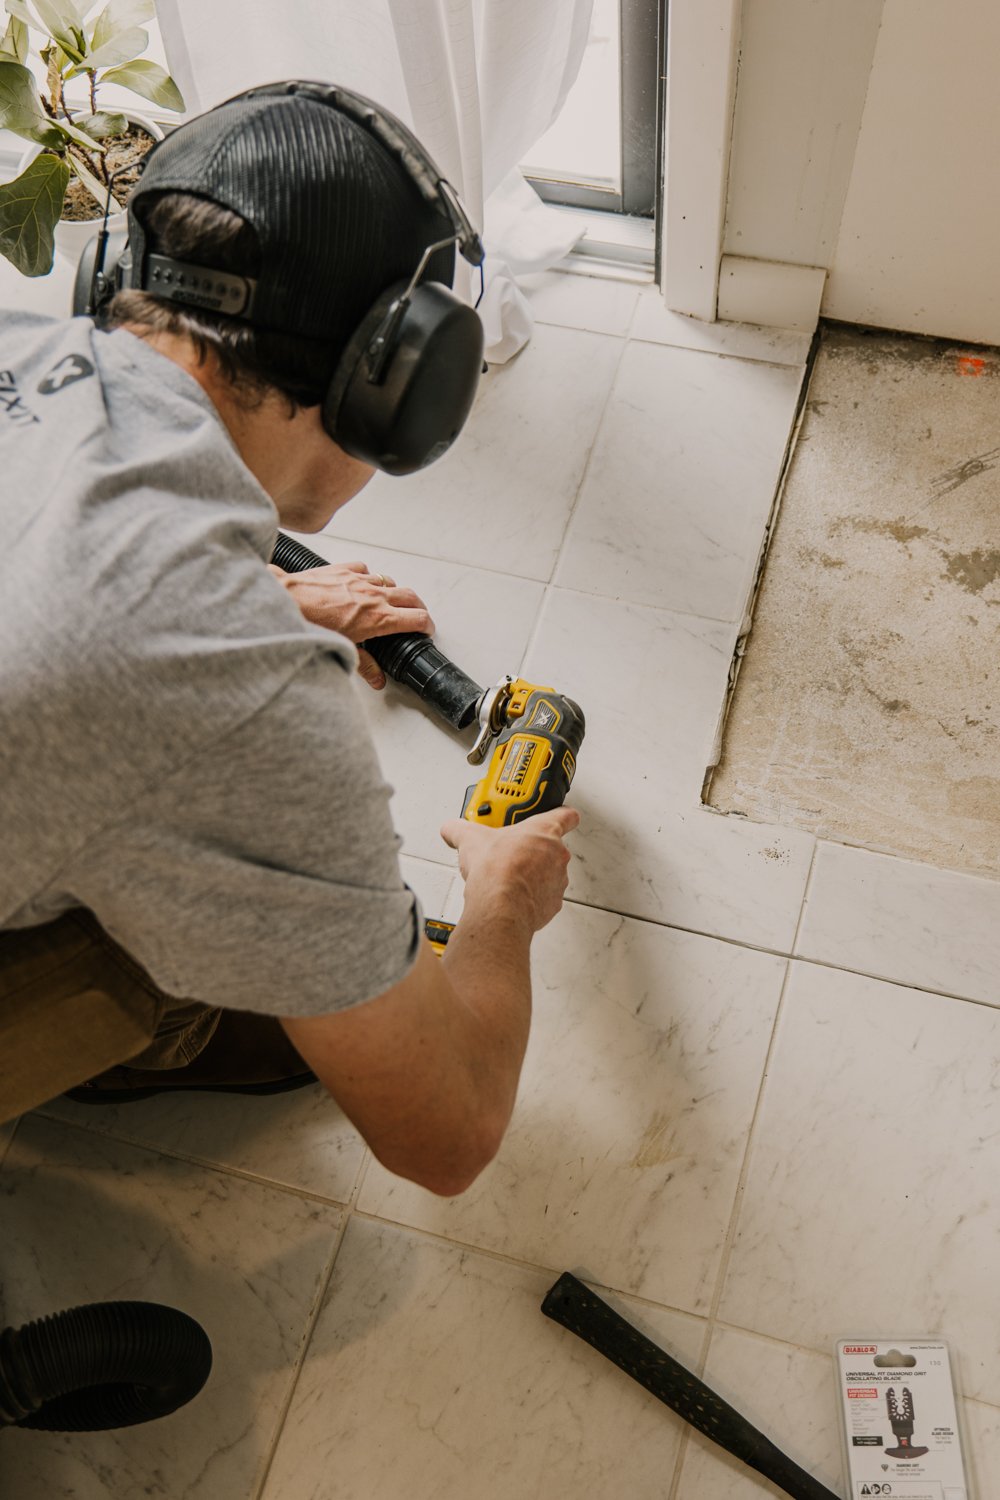
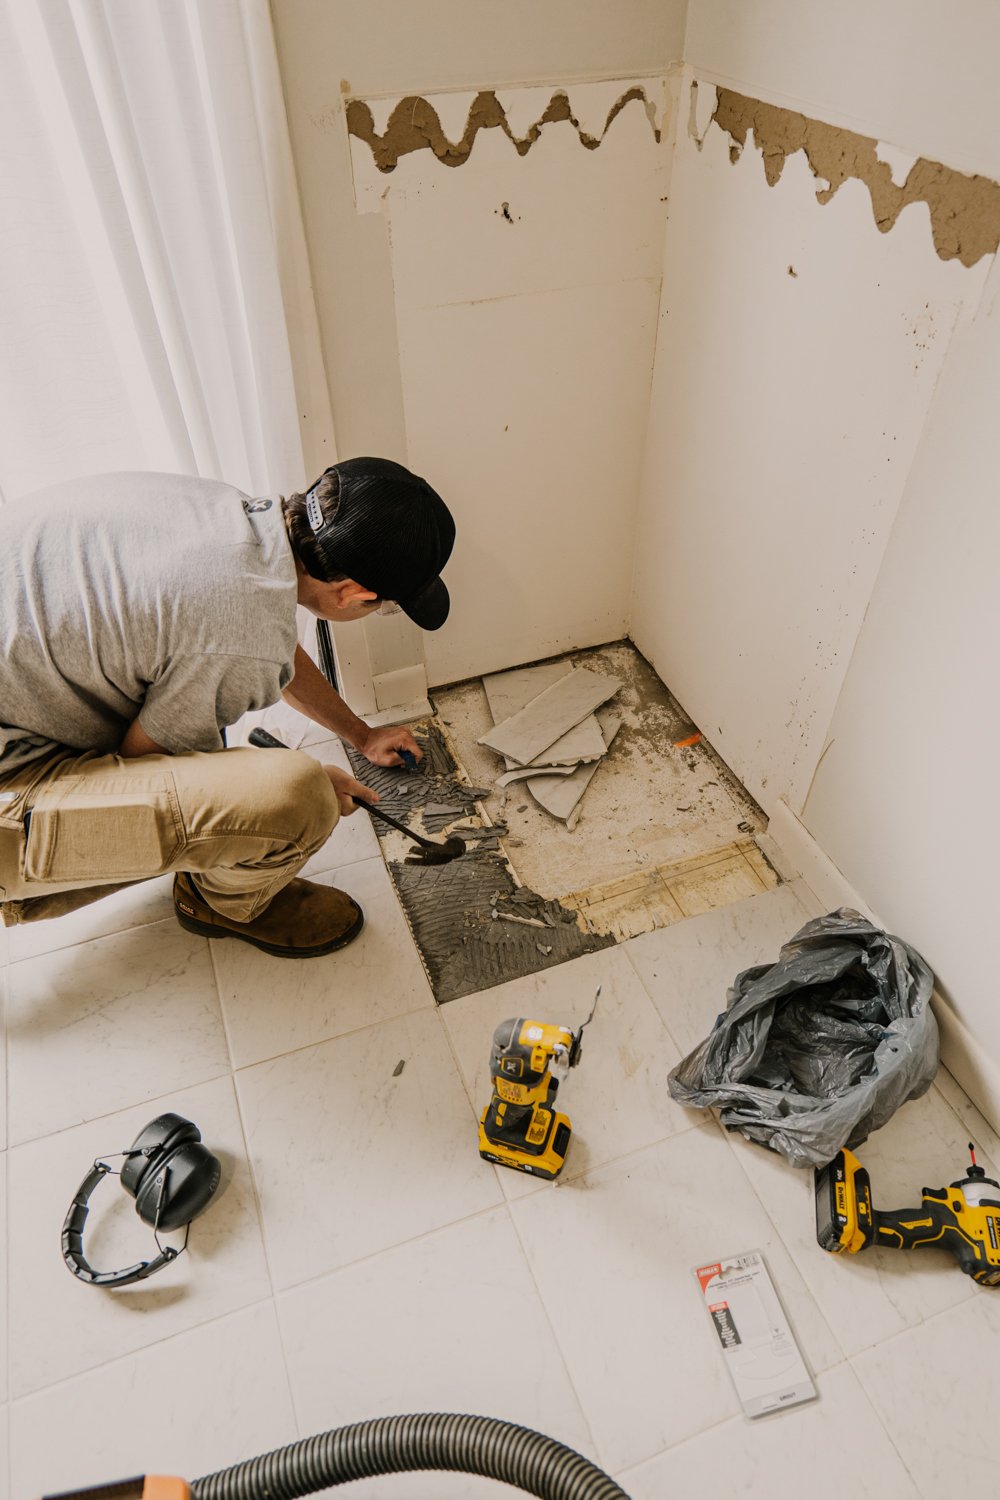
Tile:
There also wasn’t any tile under the cabinets, so luckily the previous owners left EXACTLY what we needed to fill in the space. We used this pre-mixed morter and tried to match the grout as best as we could.
Paint:
For the next step, this is where we started pulling off the trim so we could then paint. We used Wagner’s EZ Roller PaintStick and it was a DREAM to use! You can fill up the roller handle with paint and use a trigger to push the paint out to the roller as you went. This allowed for a mess free space because there is NO PAINT TRAY! Gosh, those waist so much paint and are a paint to clean. To clean the EZ Roller PaintStick, you can take the roller off and fill up the handle with water to push through system!


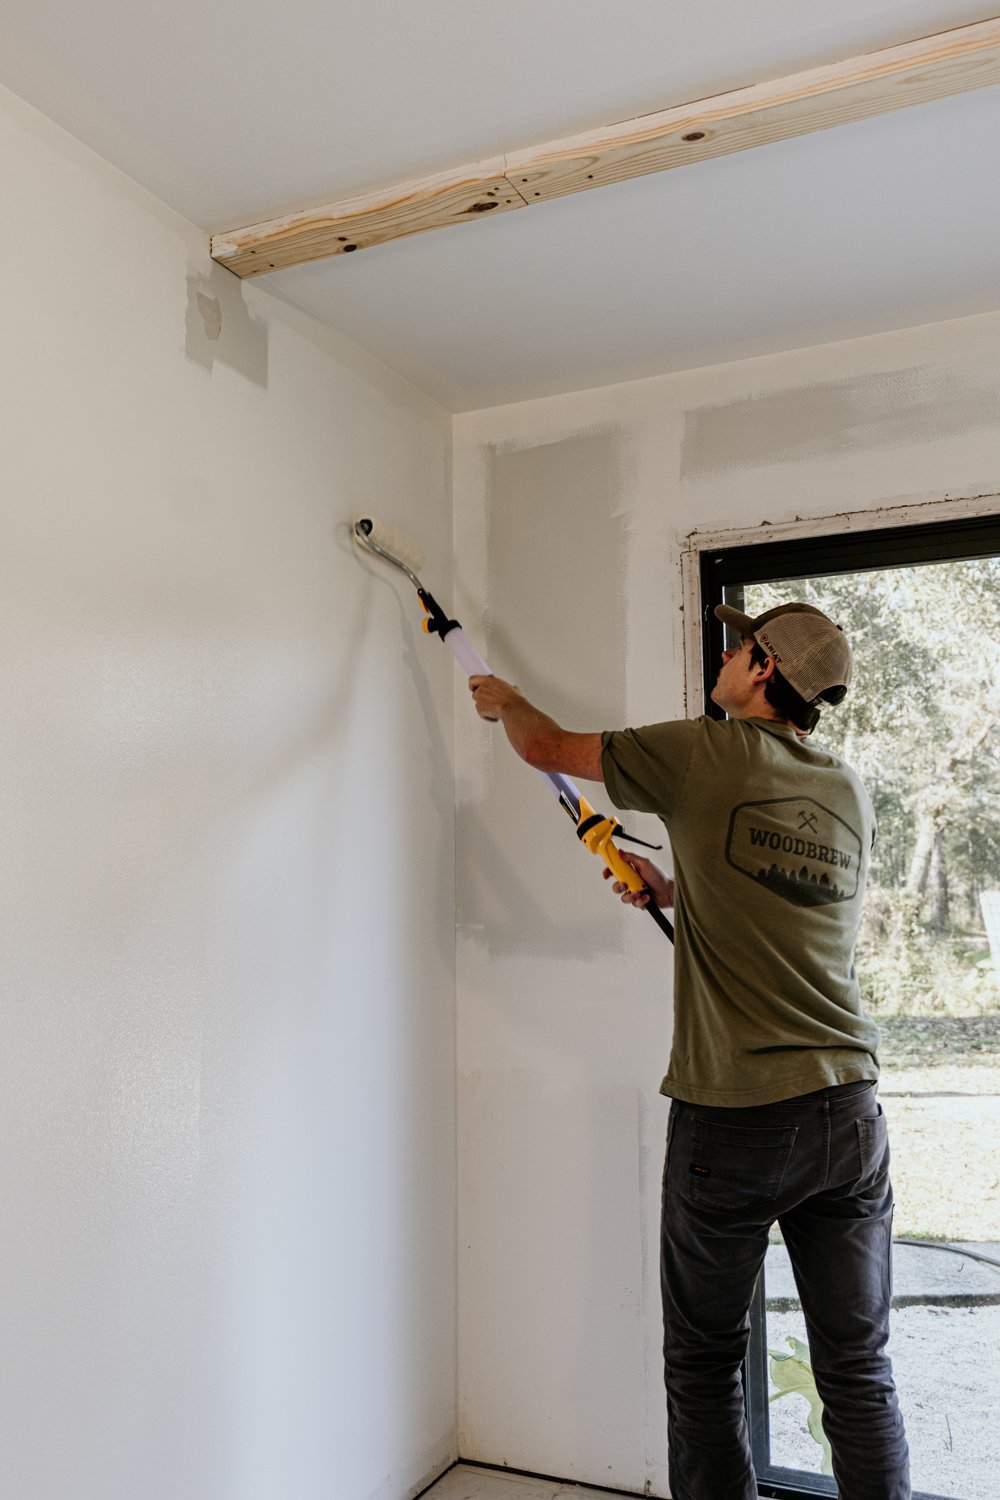
The walls were painted using Behr’s Marquee Enamel Paint and Primer in the sheen Eggshell and the color Simply White. The trim was painted separately, outside, in the same Behr Marquee paint, but in semi-gloss and also Simply White.
I have found that painted the walls, ceiling and trim the same color make the space a little bit more cohesive and an all around clean look. It feels cozy!
Trim:
To put the trim up in place, we used a finish nail gun and then patched all the wholes when done. Don’t forget to sand easily and come back with touch up paint.

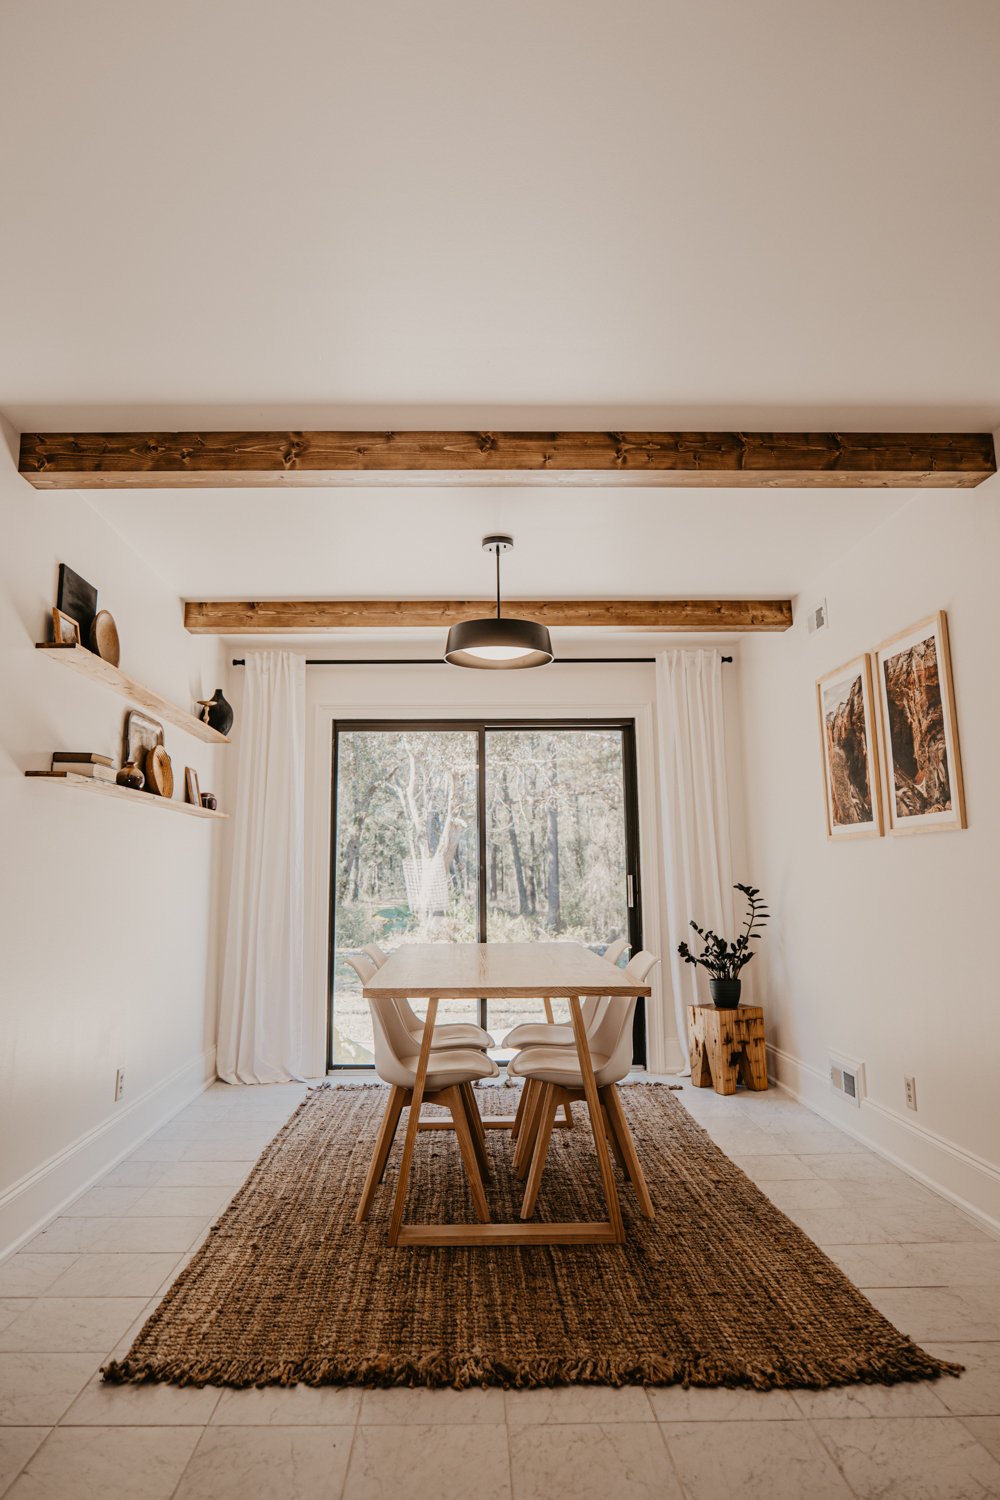
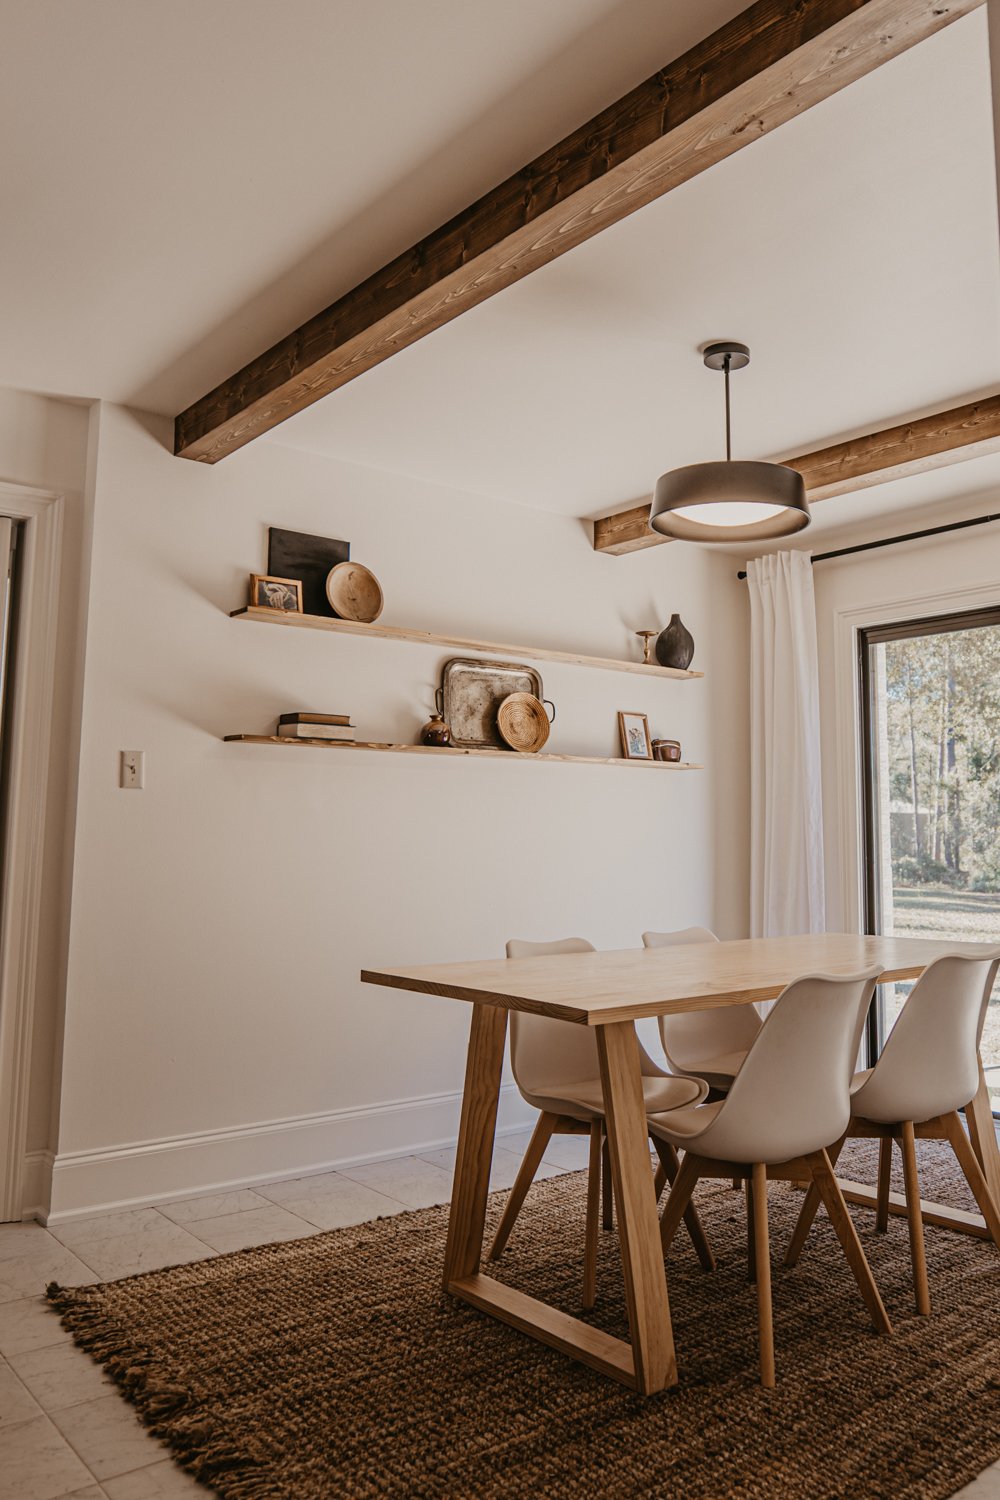
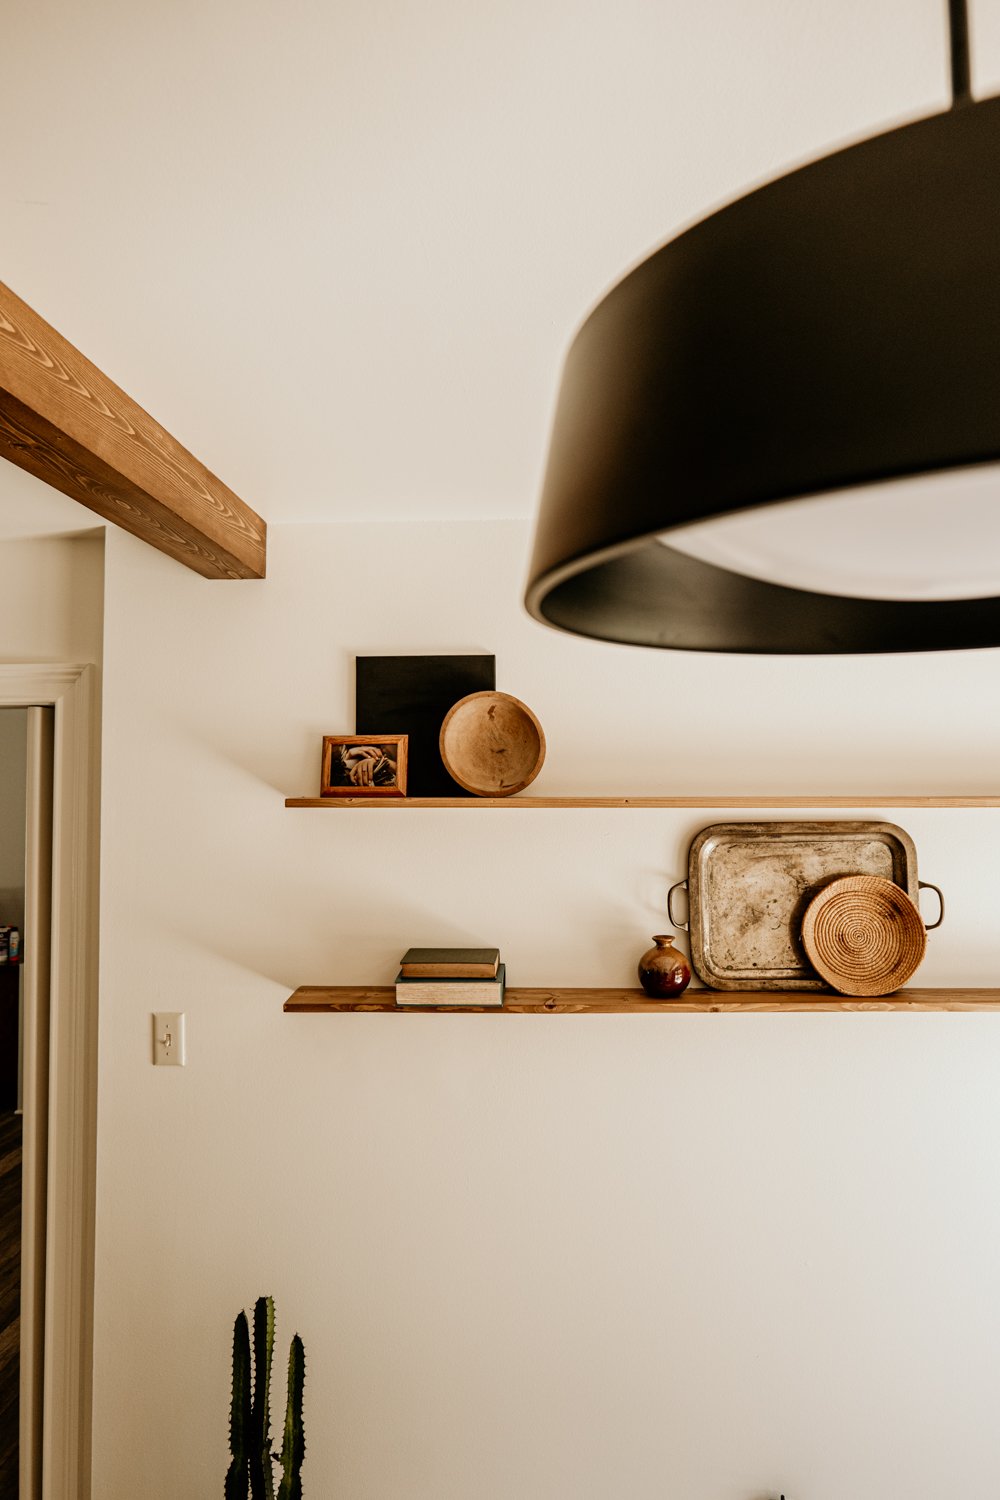
Faux Beams:
The beams are mostly the star of this makeover. We used 1x6x10 pine boards from Home Depot and we talk in depth about 2 techniques to use in the video above!
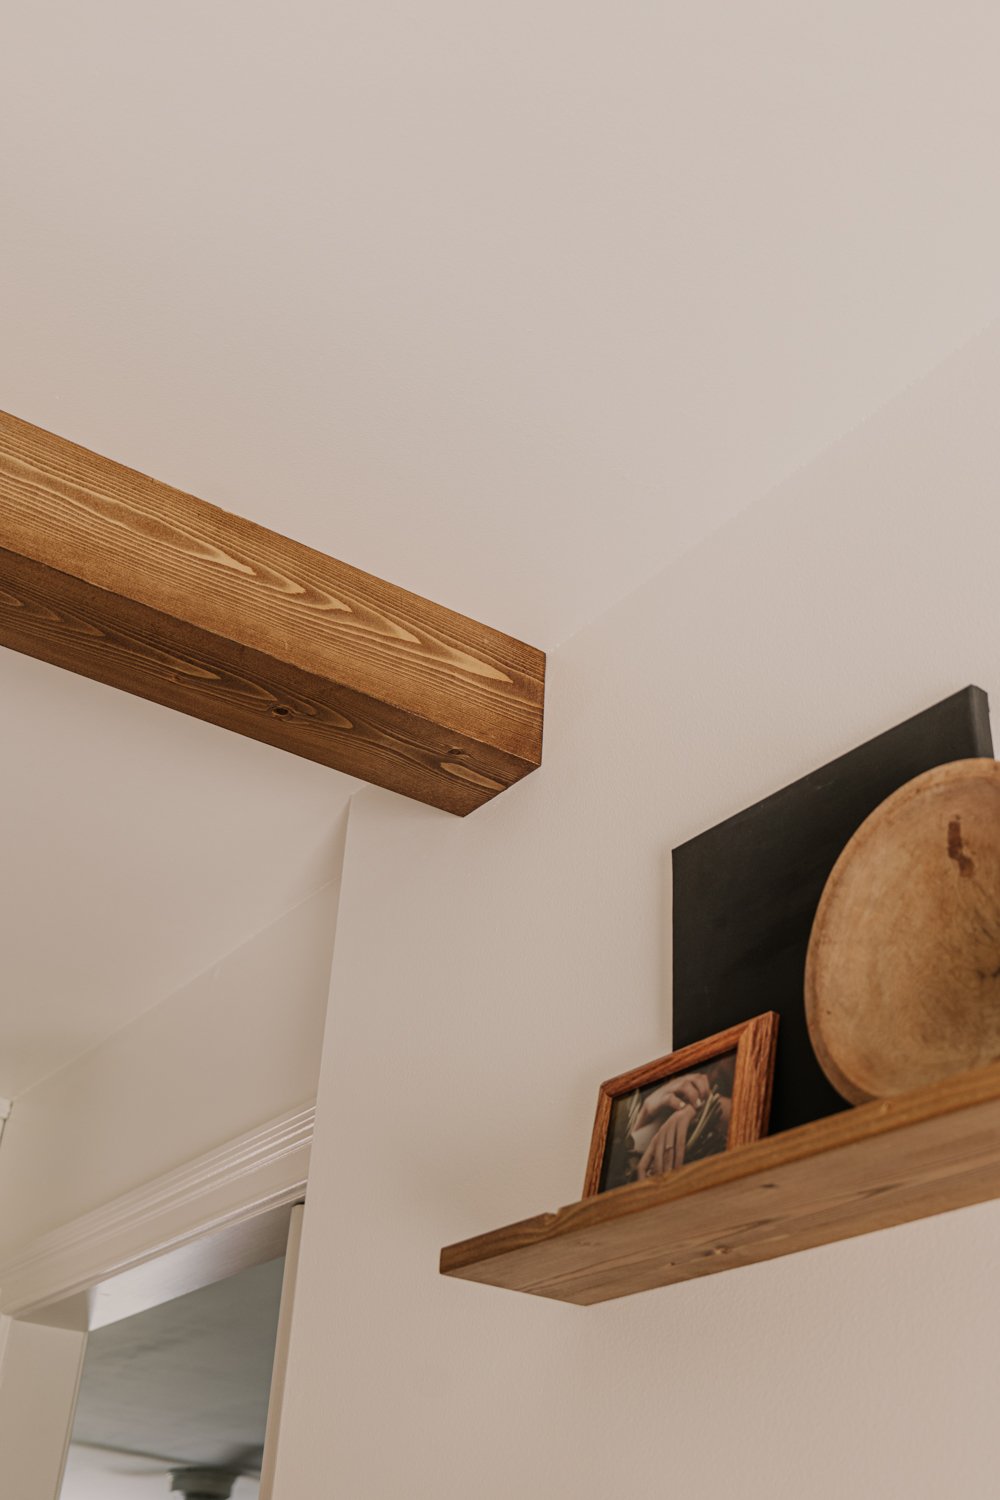
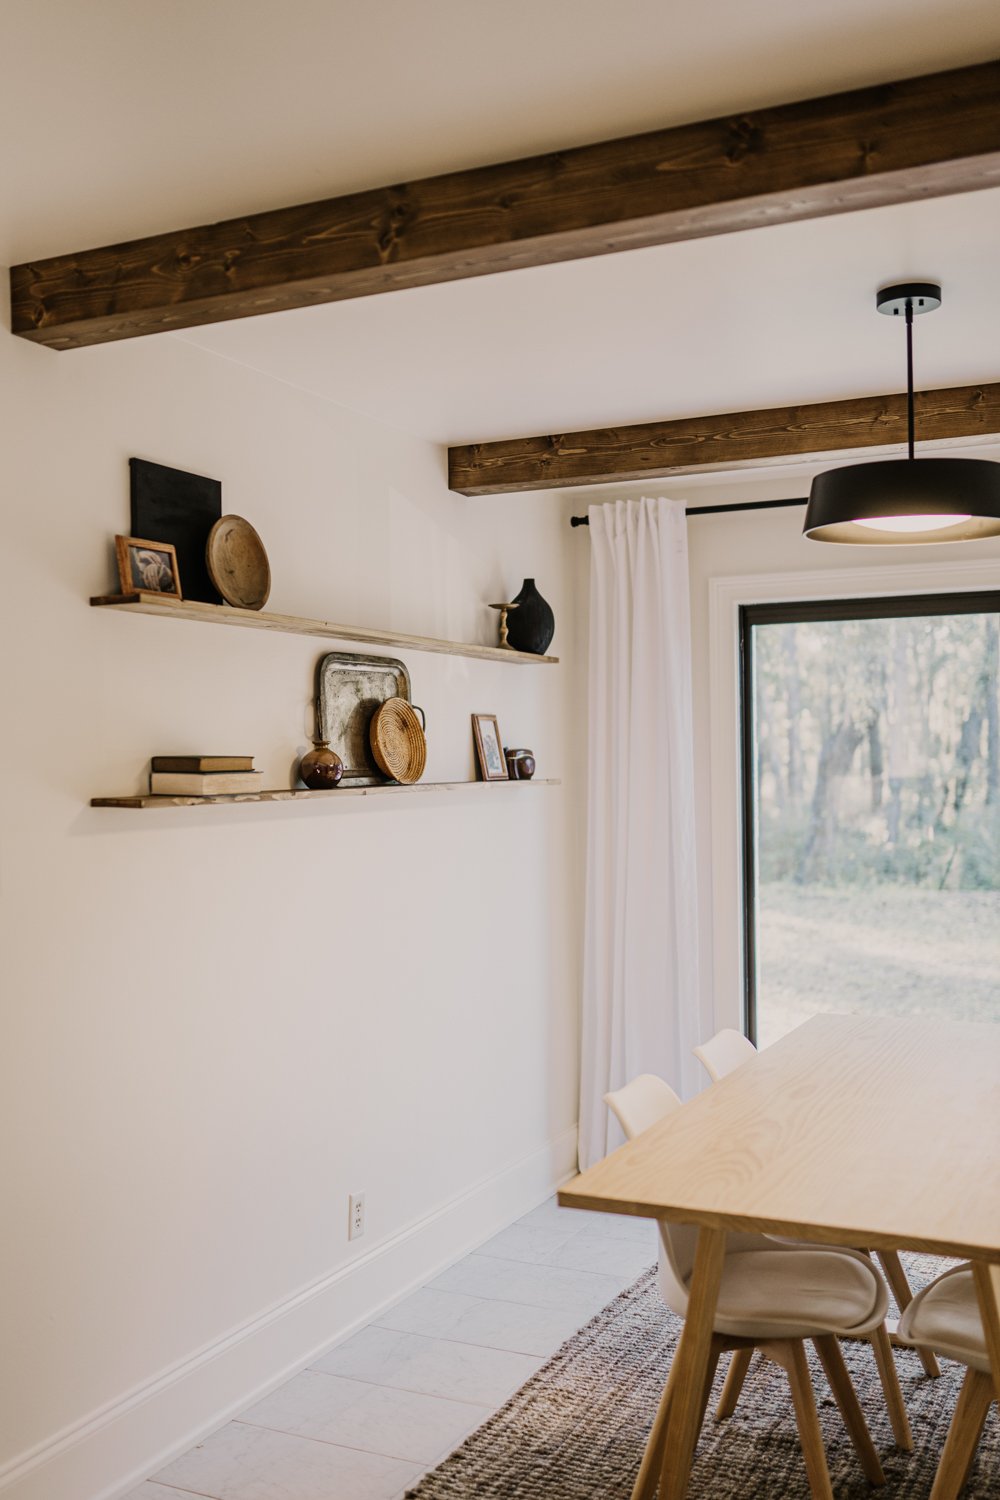
Shelves:
I fell in love with thin shelves. I knew I wasn’t going to be putting dishes or anything heavy on these, so we could get away with the thinner shelves. Now, there is no floating shelf hardware for something this thin. What we did was, rip about an inch and half off the board. Then, taking that ripped piece and added dowels down the length and marking on the other bigger size board where those dowels went. We can then drill out a spot for those dowels to slide into, making it seamless. Take the small, ripped piece with the dowels and screw that to the wall. Now the bigger side will slide right over and into place, add glue!
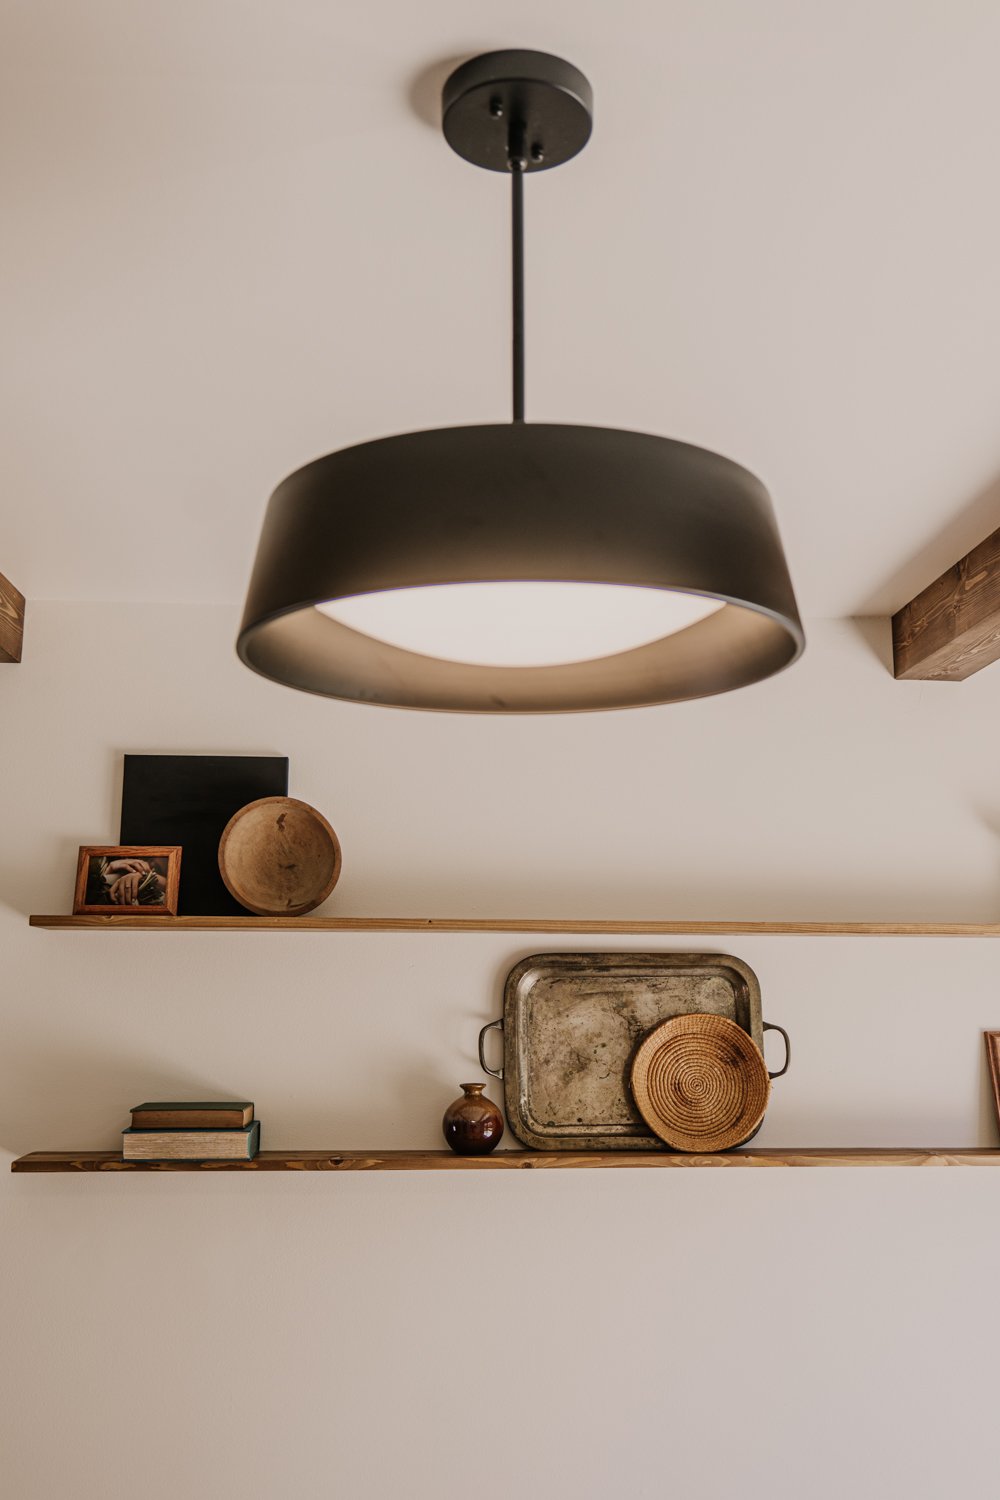
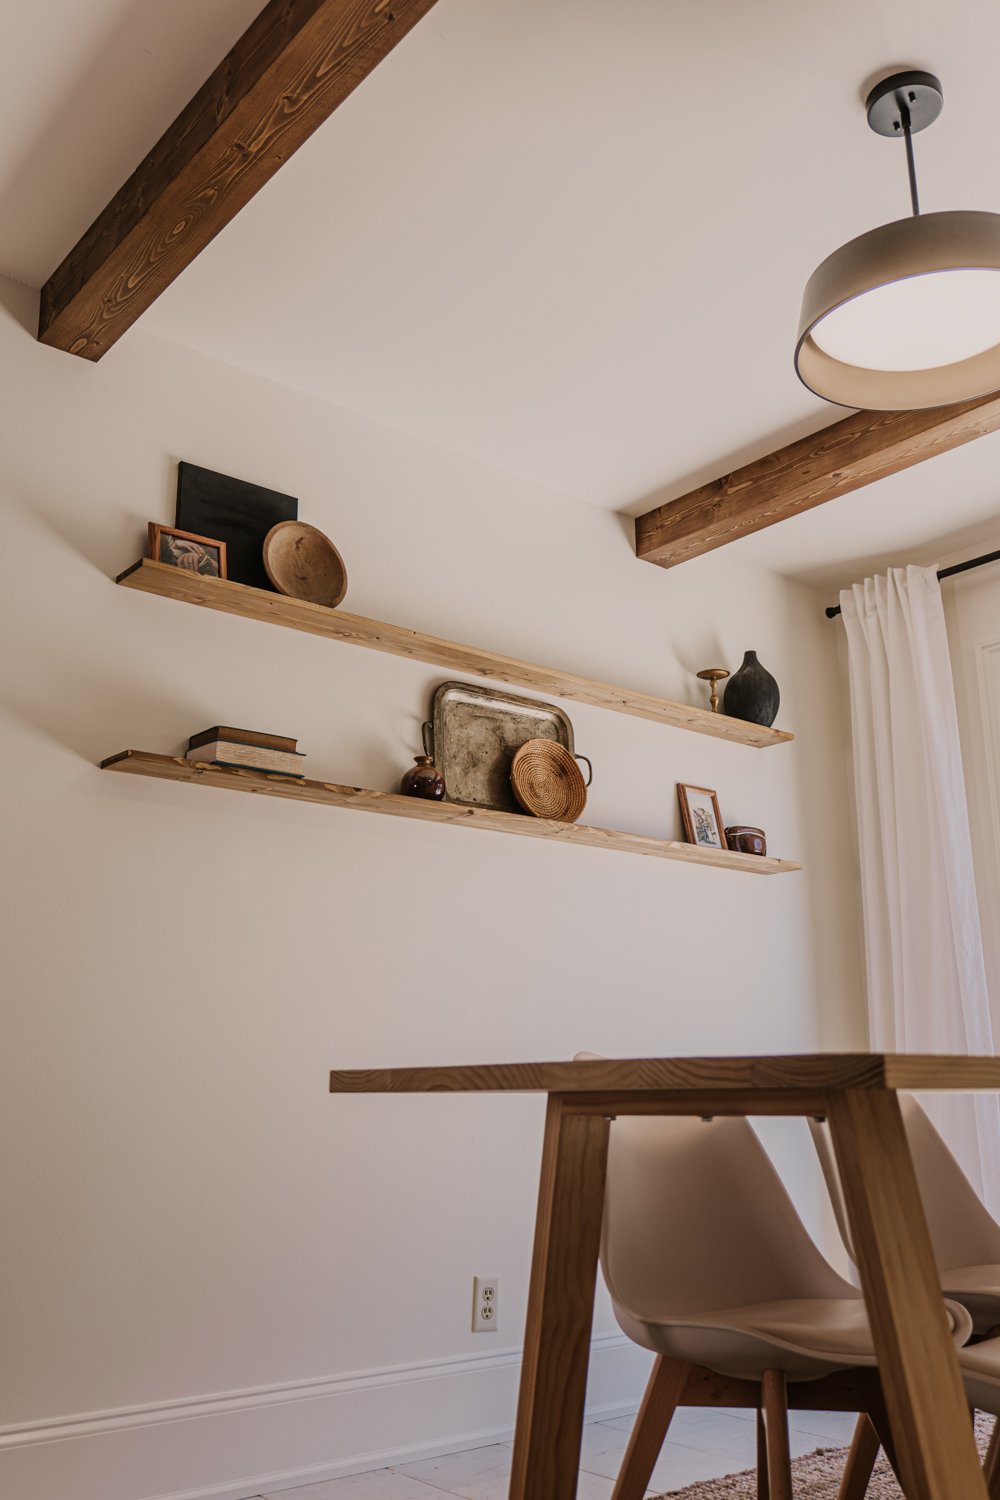
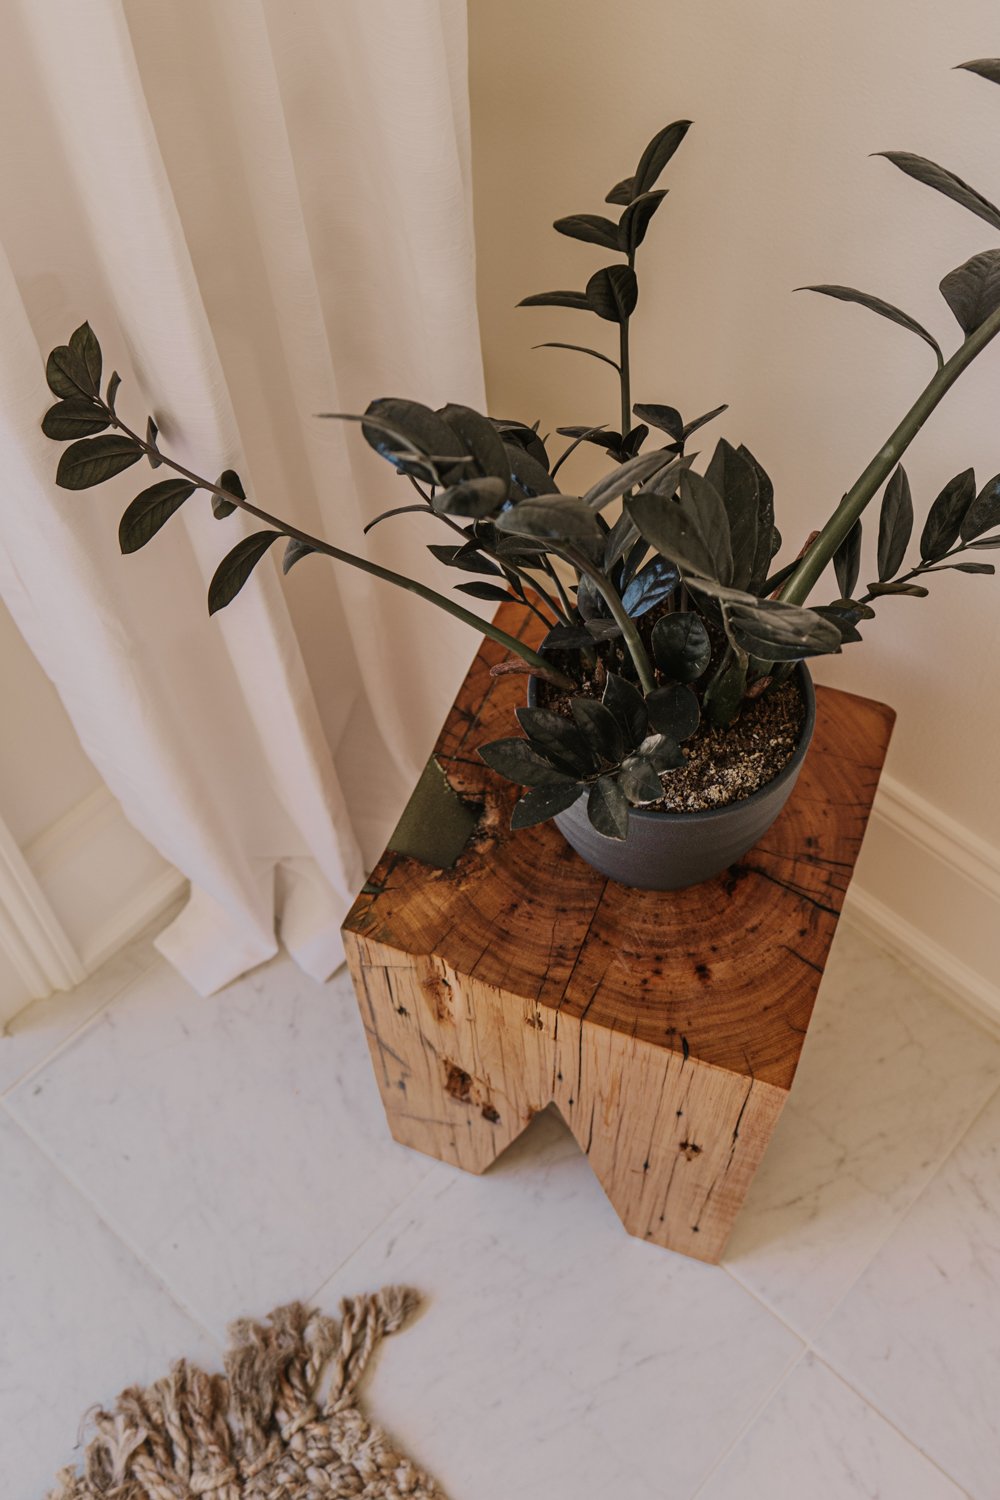
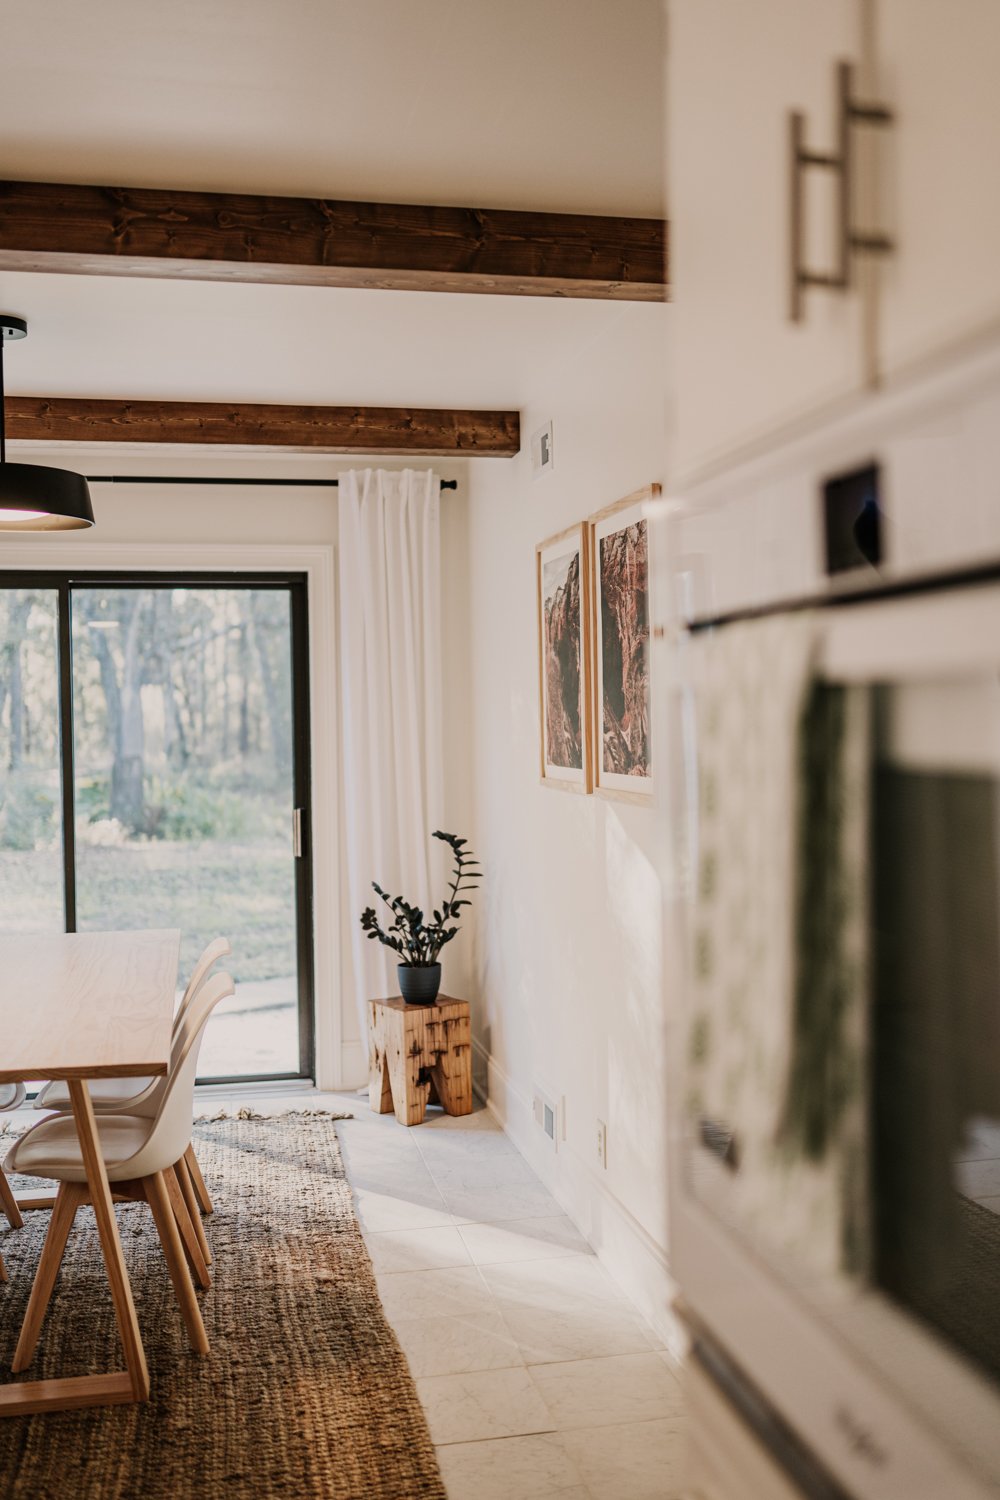
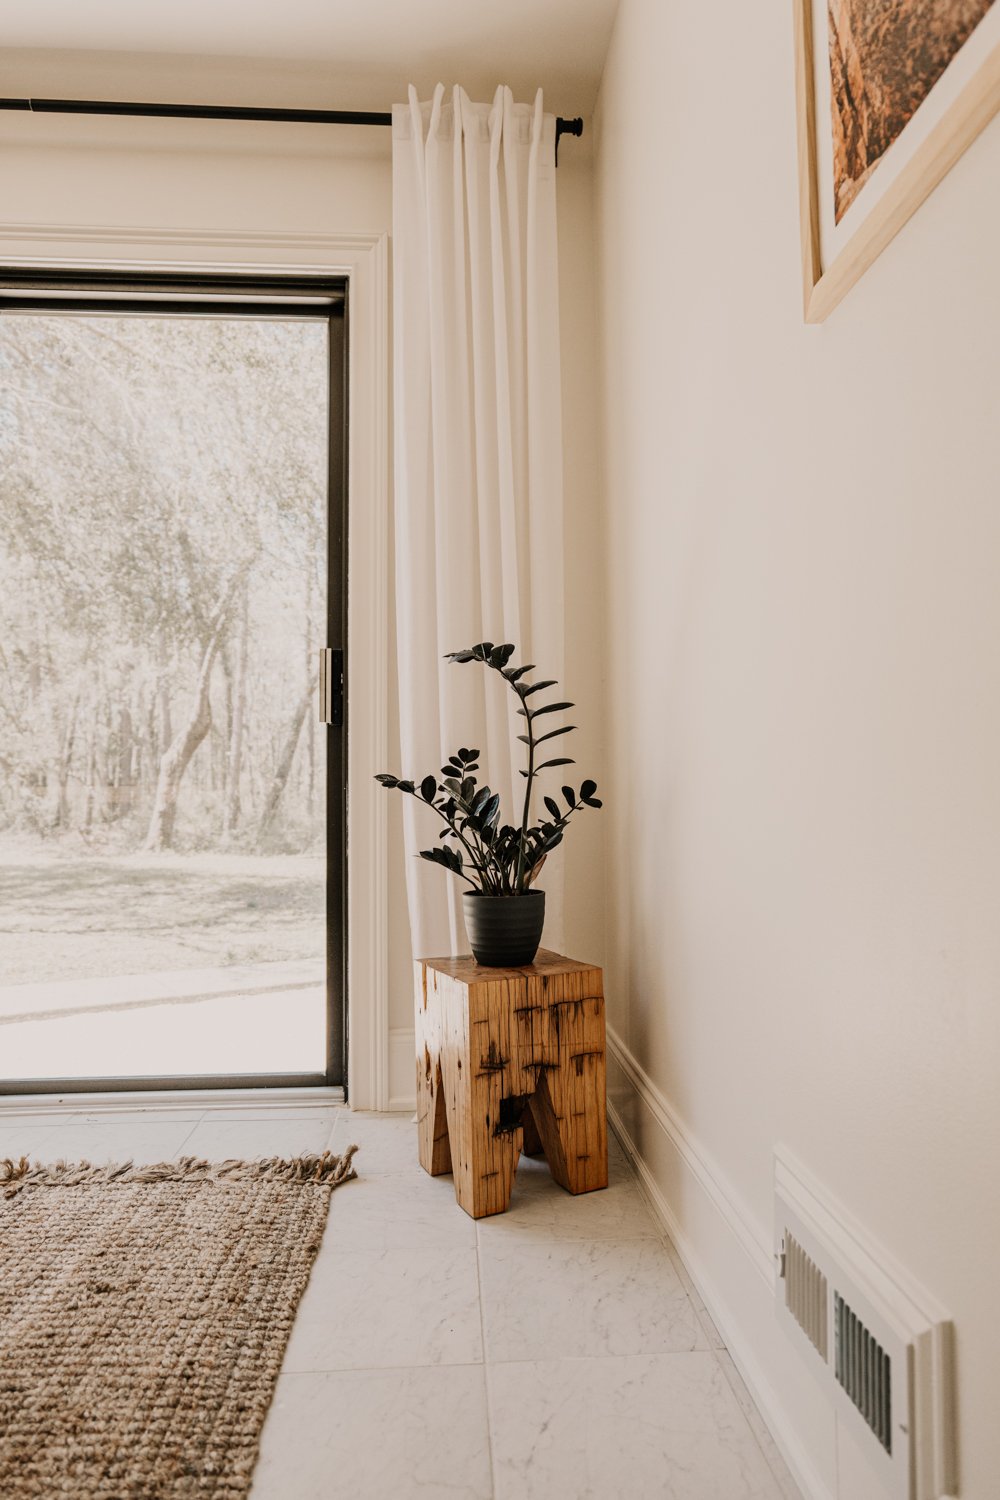
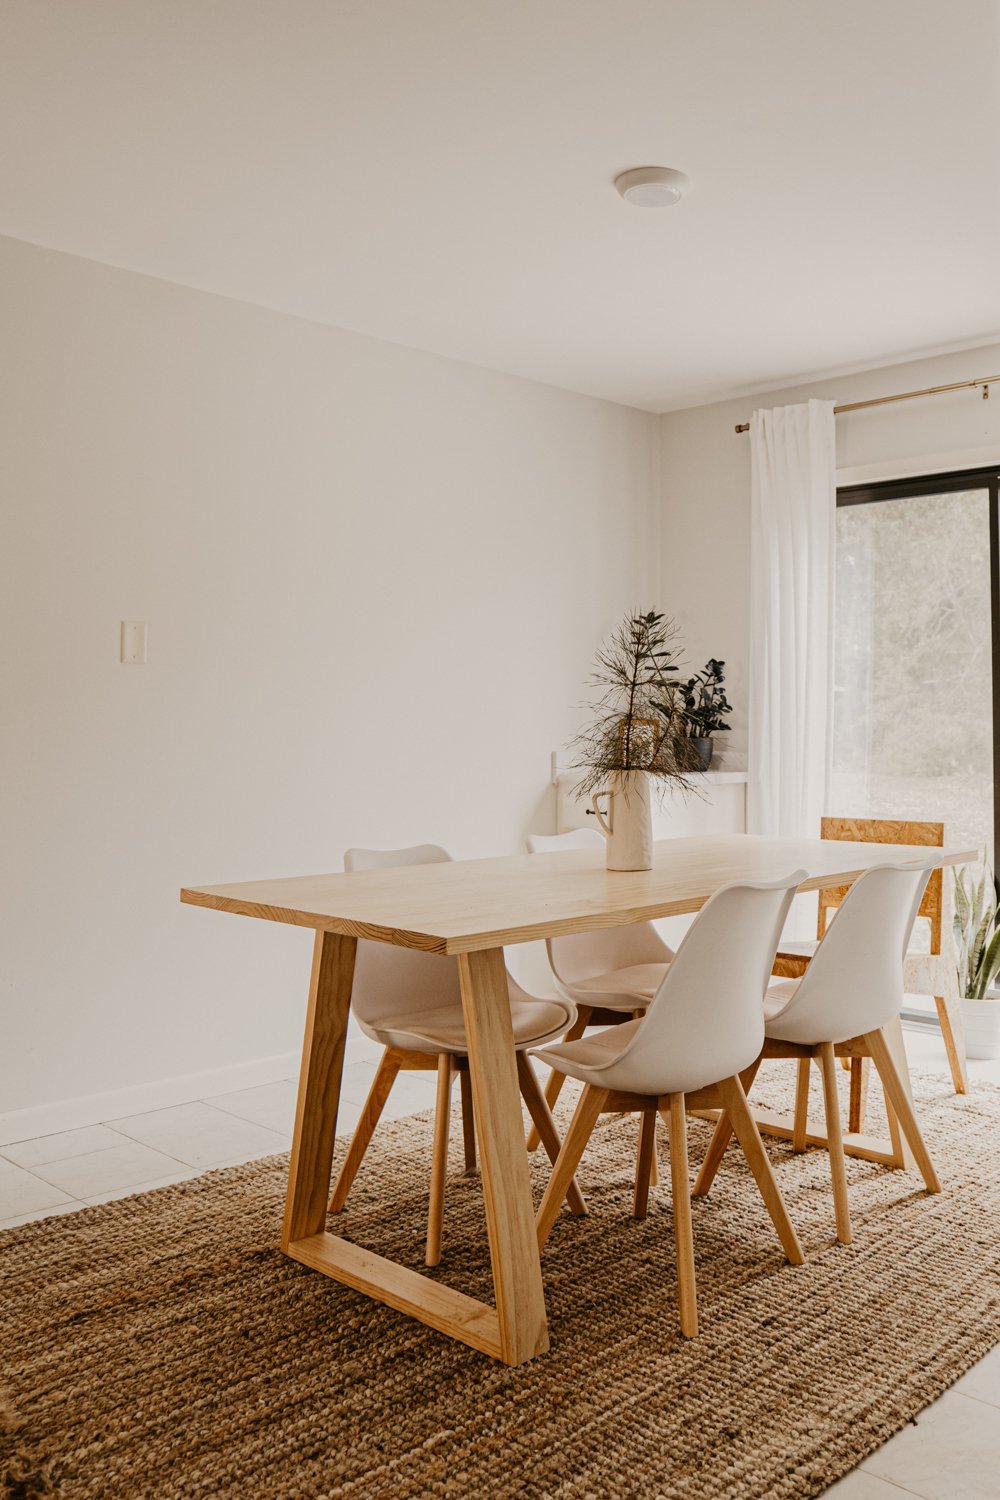
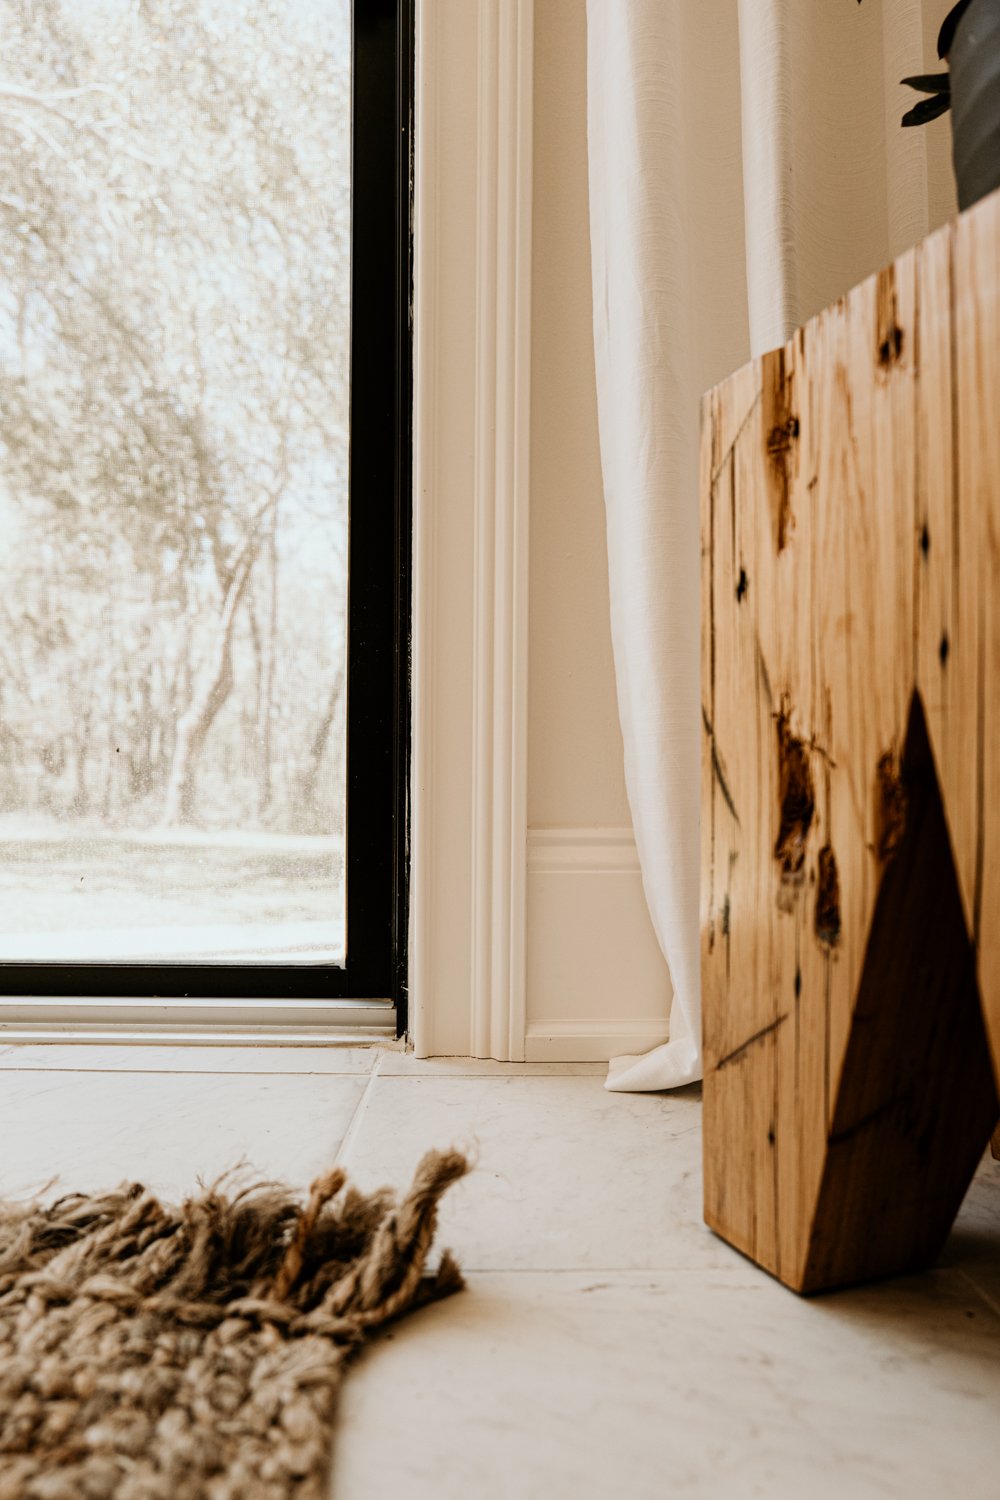
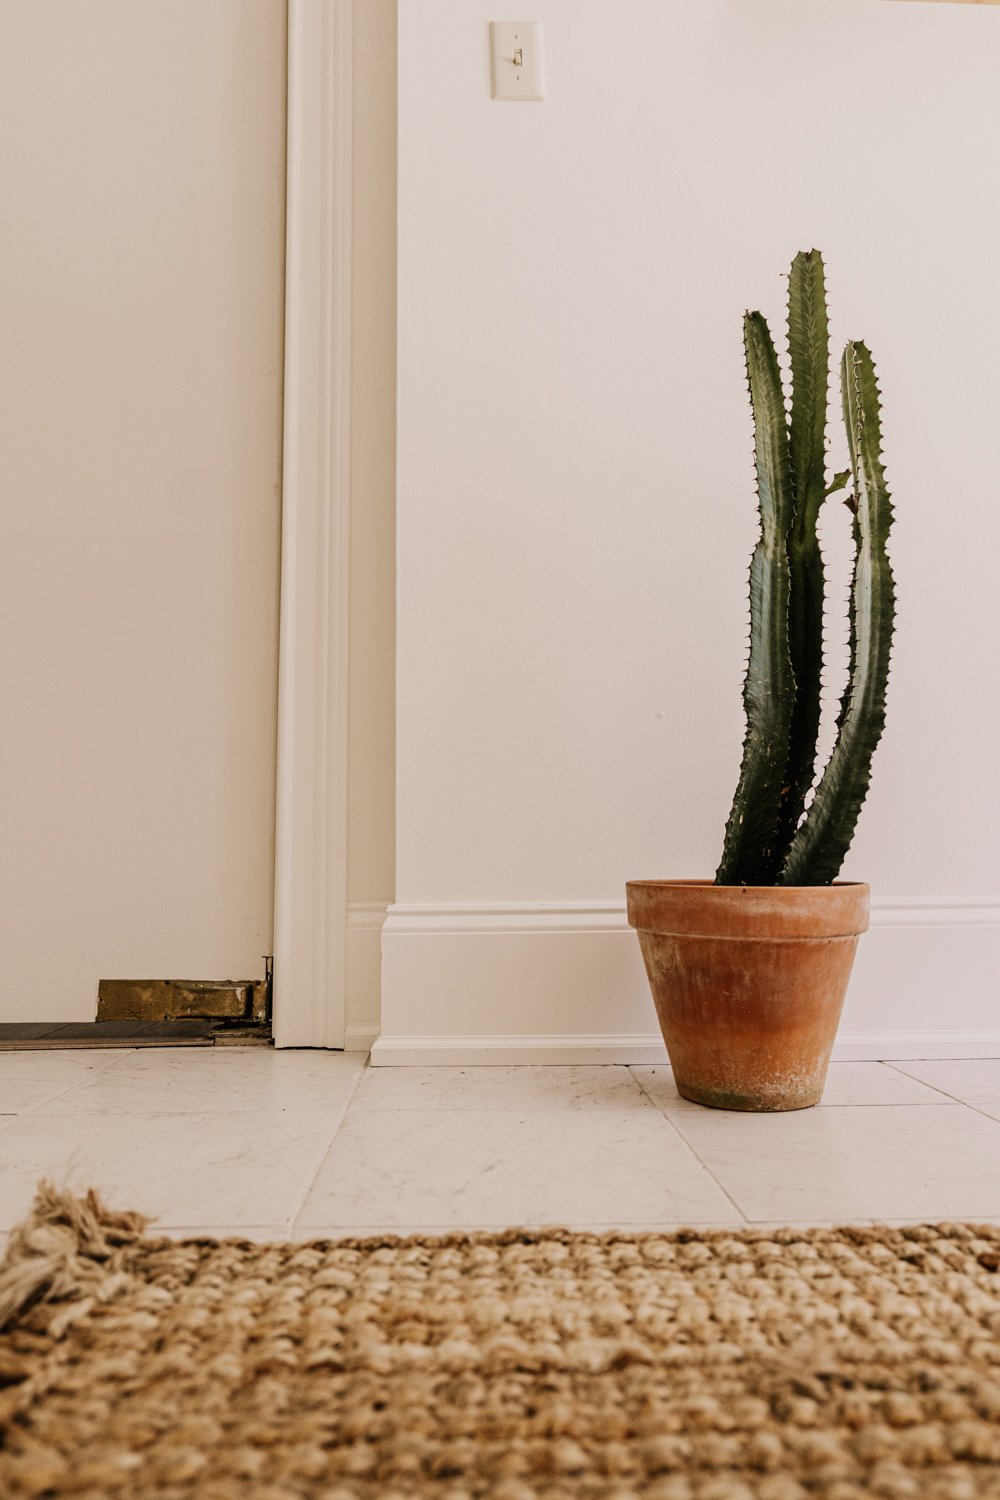
Last, but not least was to decorate! I hung photos I have taken from Zion National Park on the wall, added in my Z plant in the corner, and hung curtains. The decor on the shelf was either thrifted, given to me, or artifacts from my grandmother and we love how this dining room turned out!