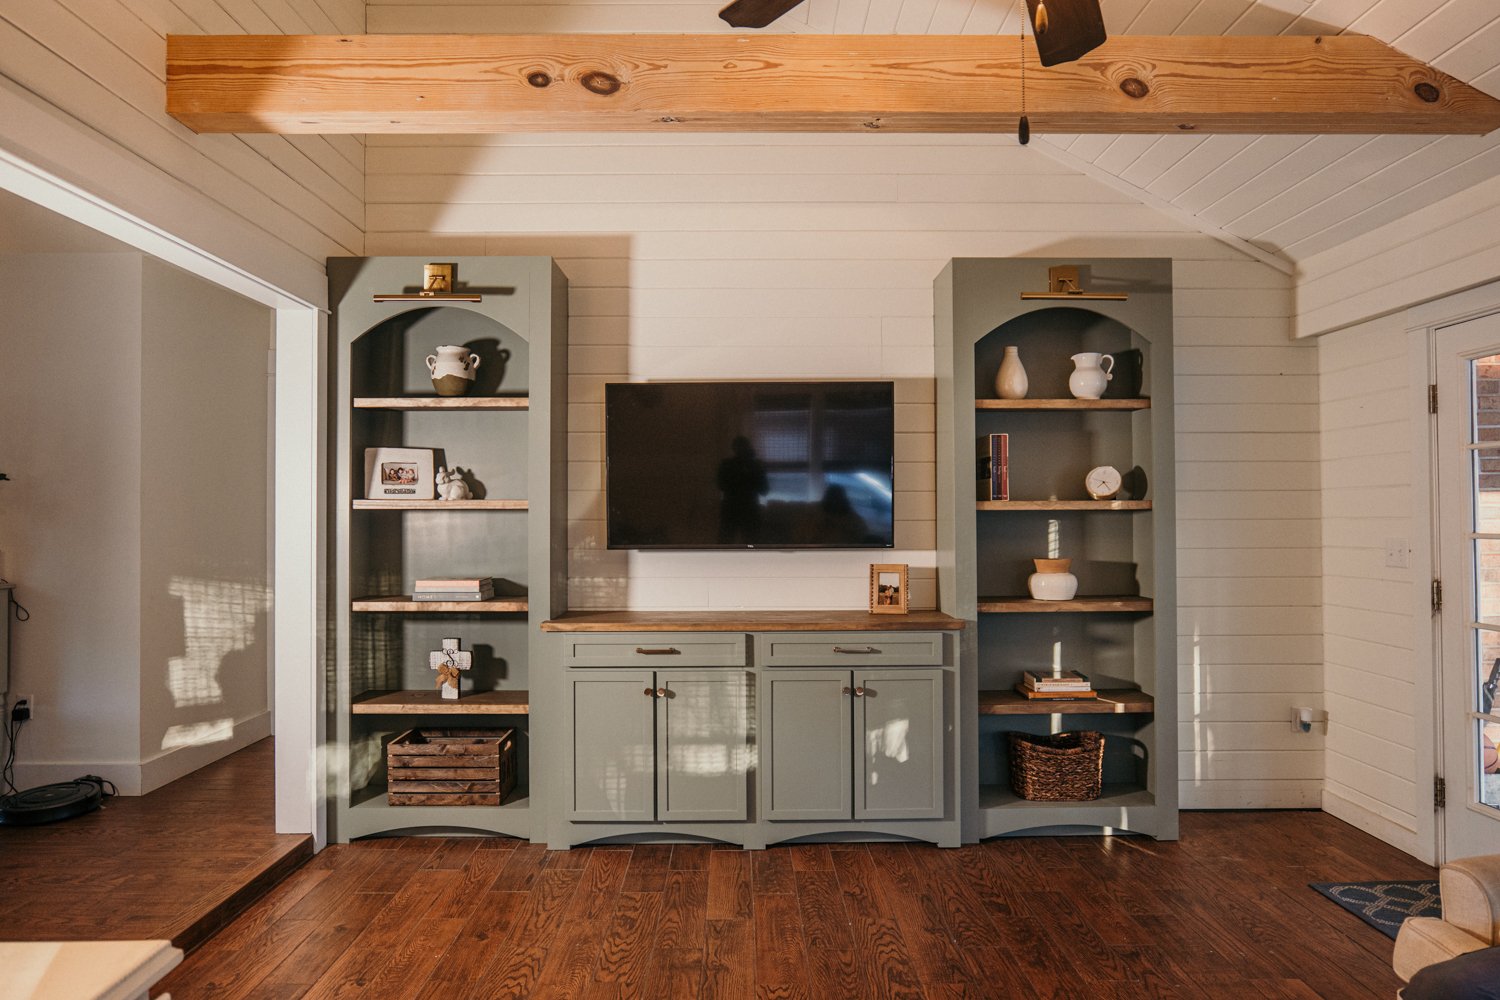
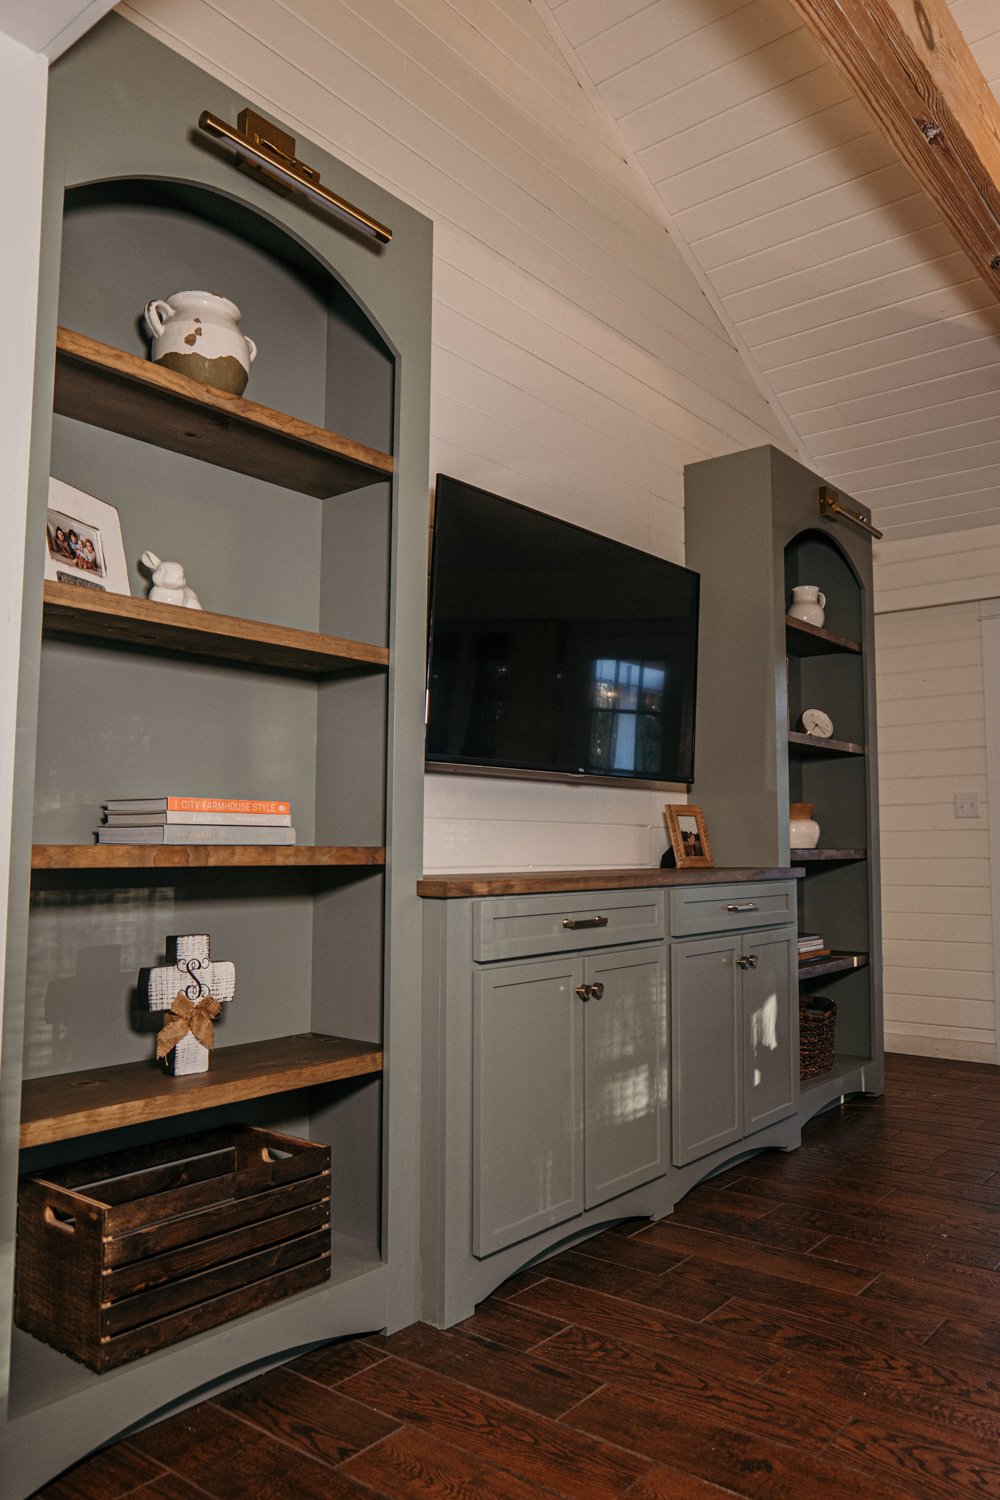
Modern Farmhouse Entertainment Center with Built Ins
Did you know that one of our first projects was a Barn Door Media Center? We actually ended up building three of the media consoles and then a huge built-in Barn Door Entertainment Center! Let’s bring it a full circle and modernize that early project into a Modern Farmhouse Entertainment Center!
We want to mention real quick that we have a FULL set of build plans available! There are digital plans or we can print and ship the plans straight to your door if you like to have physical instructions in front of you!
Digital Version: https://bit.ly/MFMC-Digital
Physical Version: https://bit.ly/MFMC-Physical
Materials:
Fasteners:
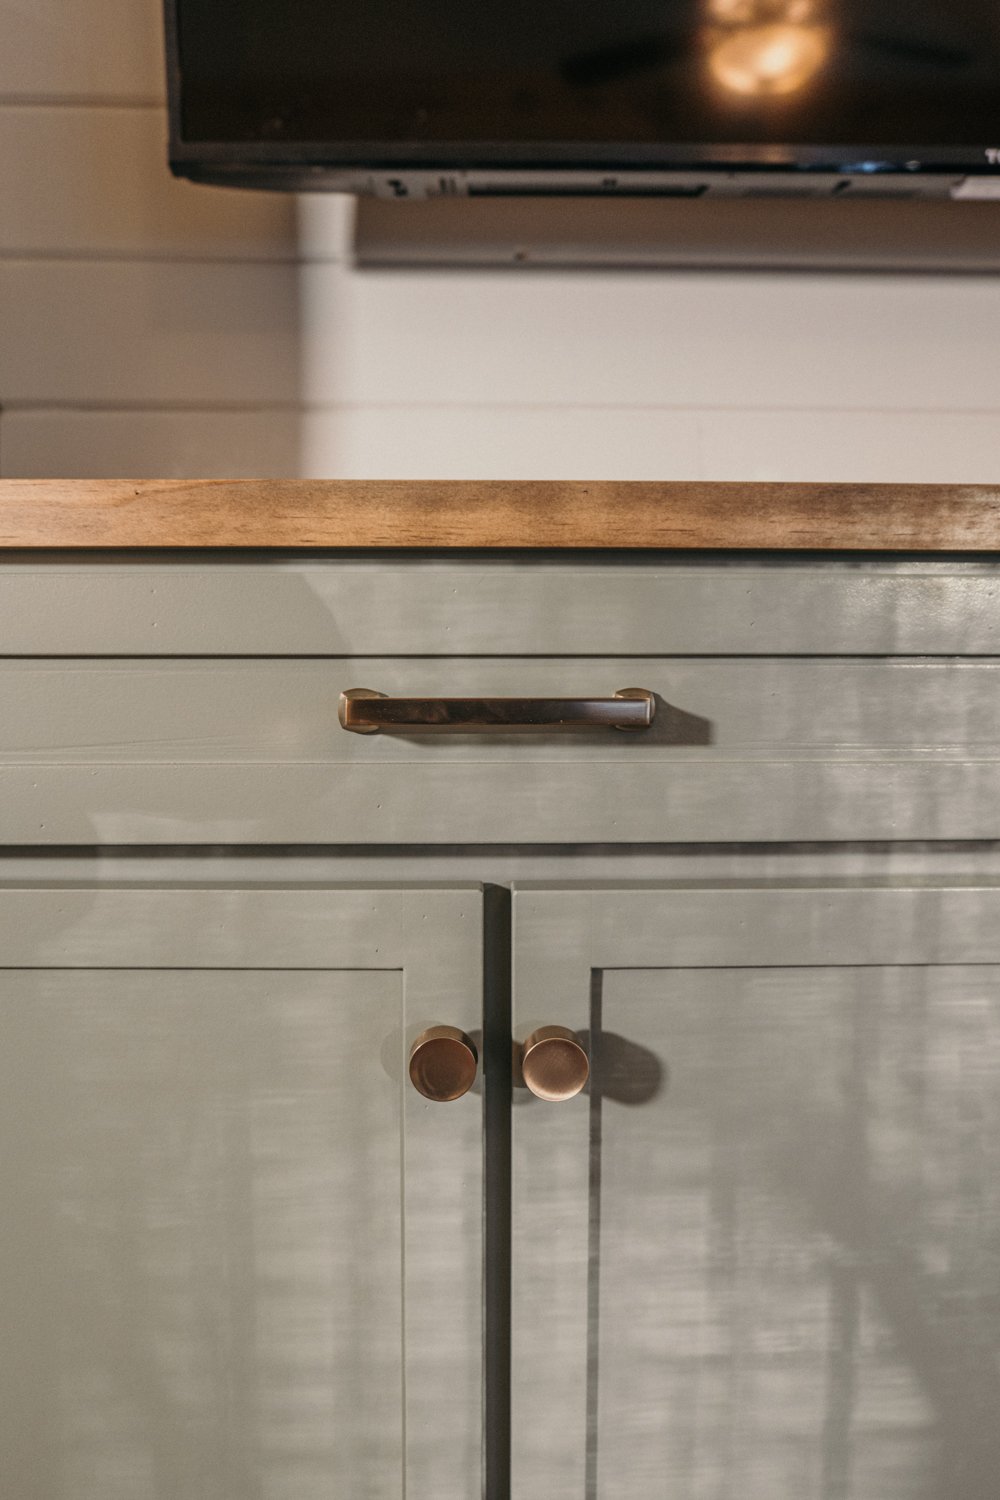
Hardware:

Paint and Finish:
1 Gallon Primer (any none water based primers work great on MDF)
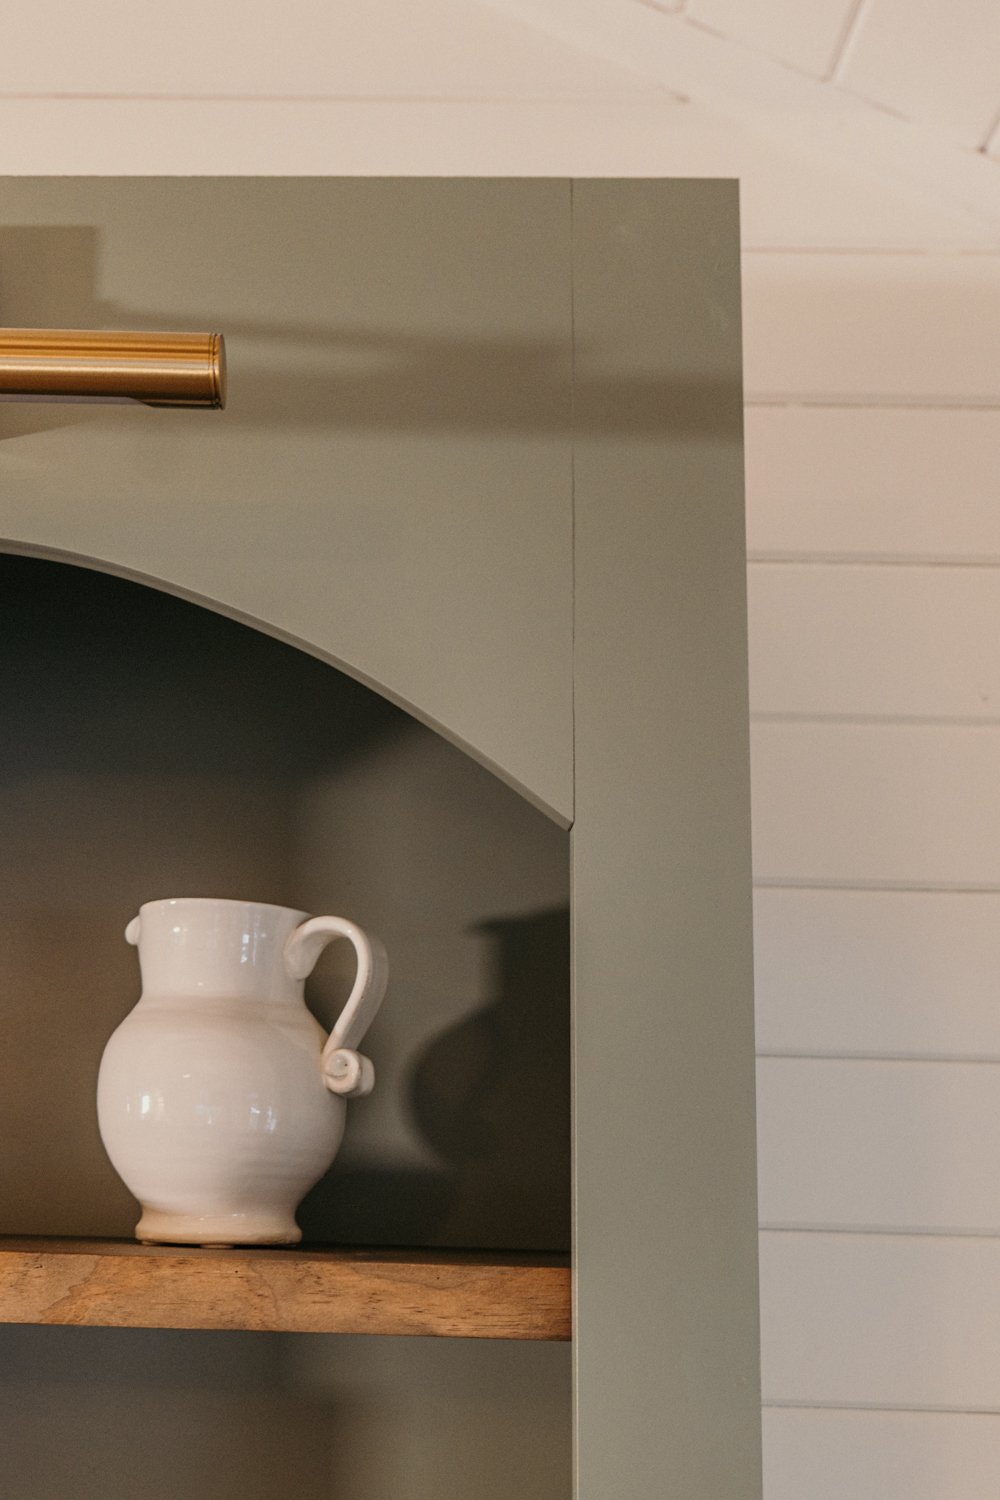
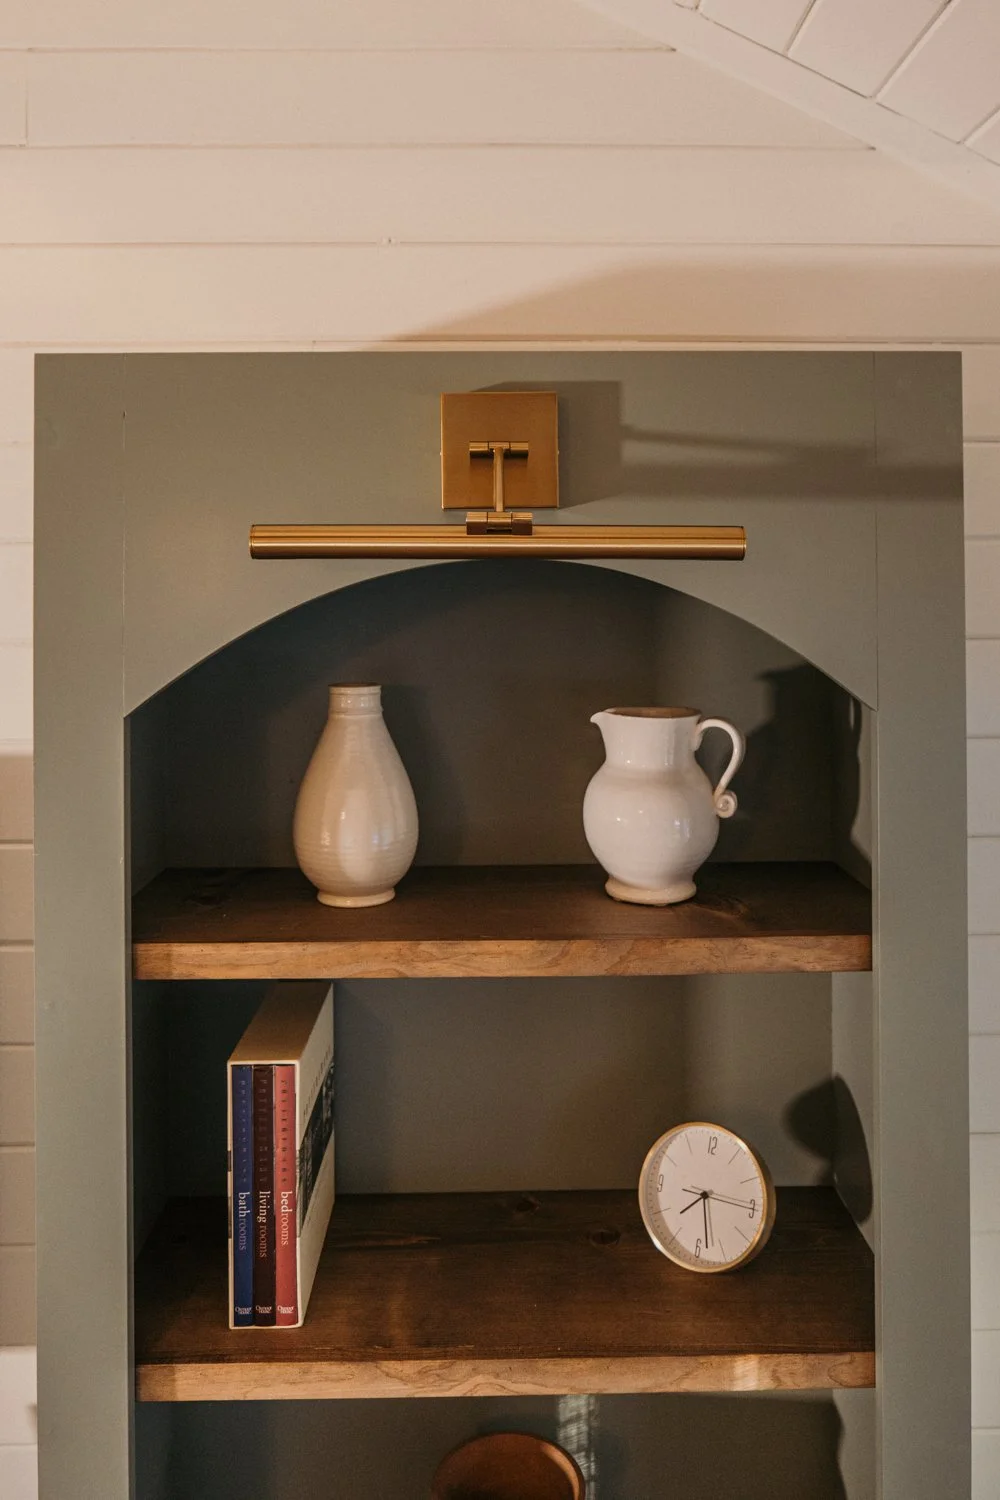
1 Gallon Paint (Color: Evergreen Fog by Sherwin Williams in Behr Paint)
Pre Stain Conditioner (helps within a more even stain on pine.
Stain (Custom Mixed Color: 1:4 mixture 1 Part Dark Walnut 4 Parts Weathered Gray)
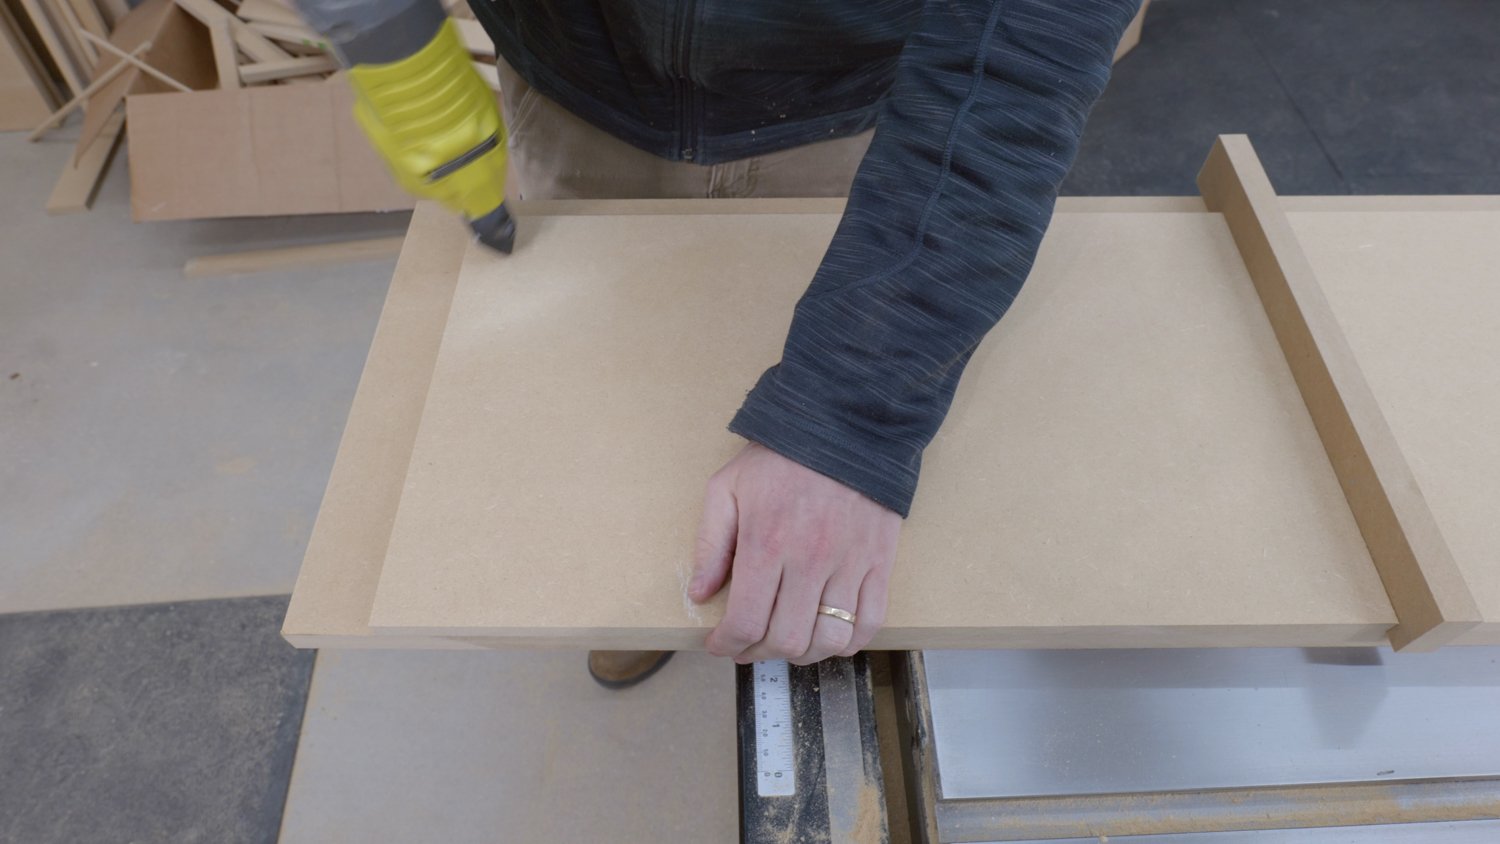
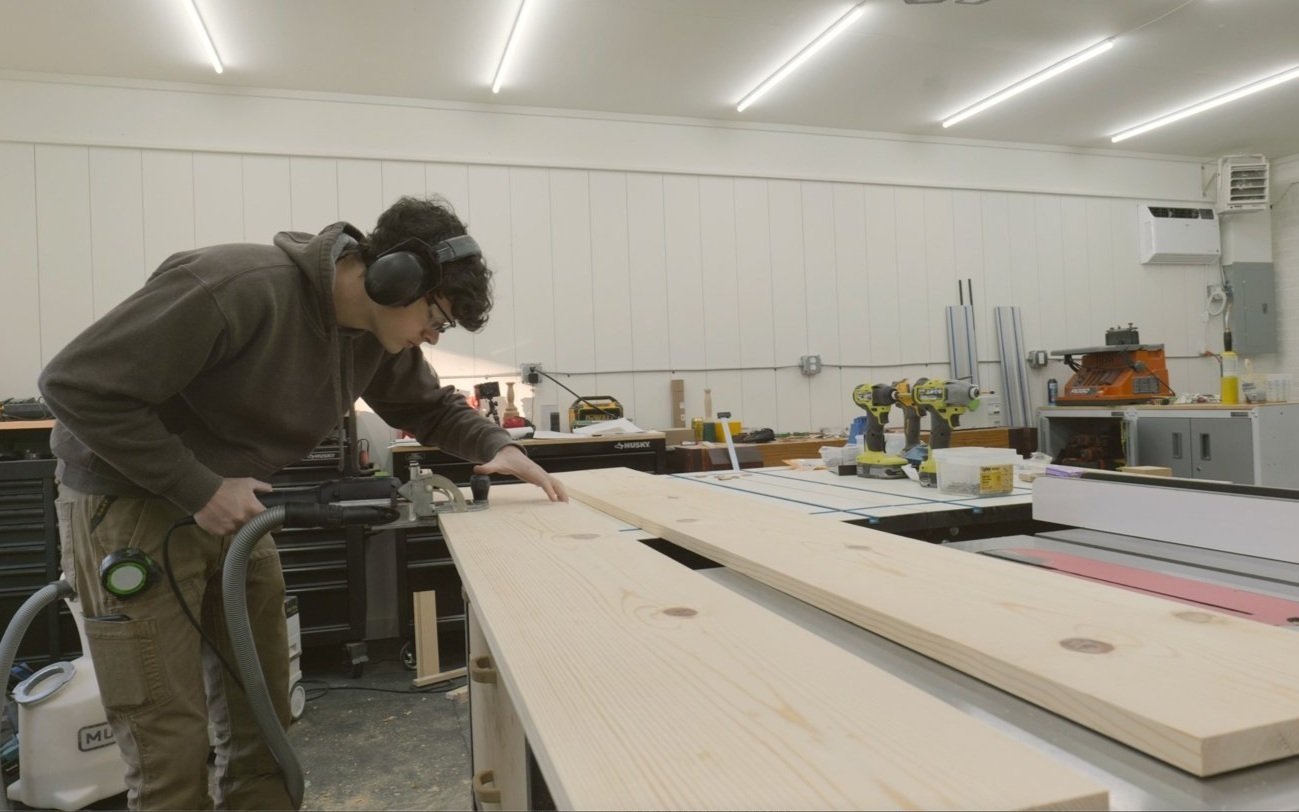
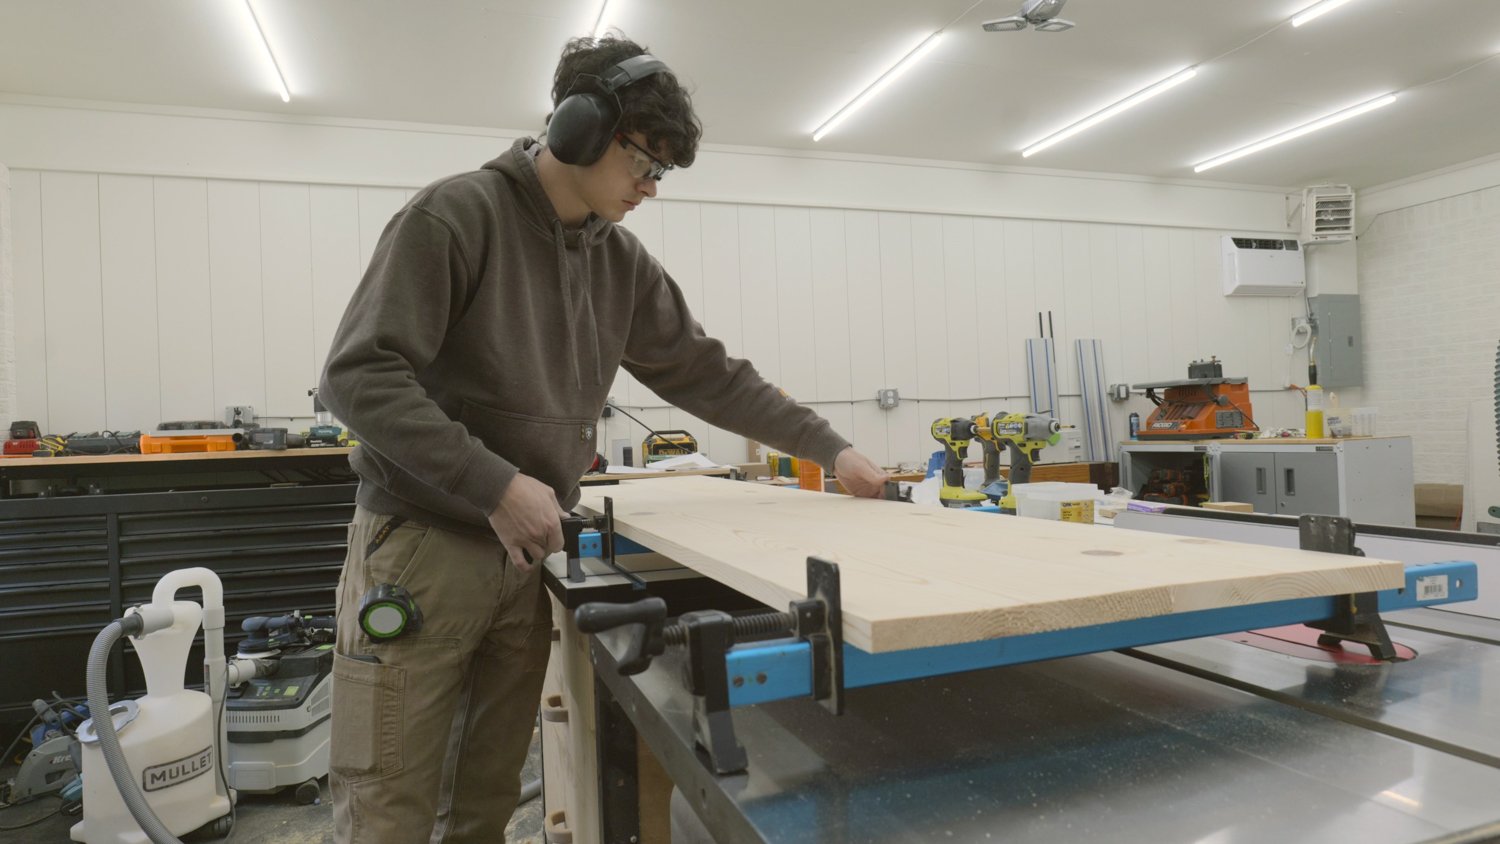
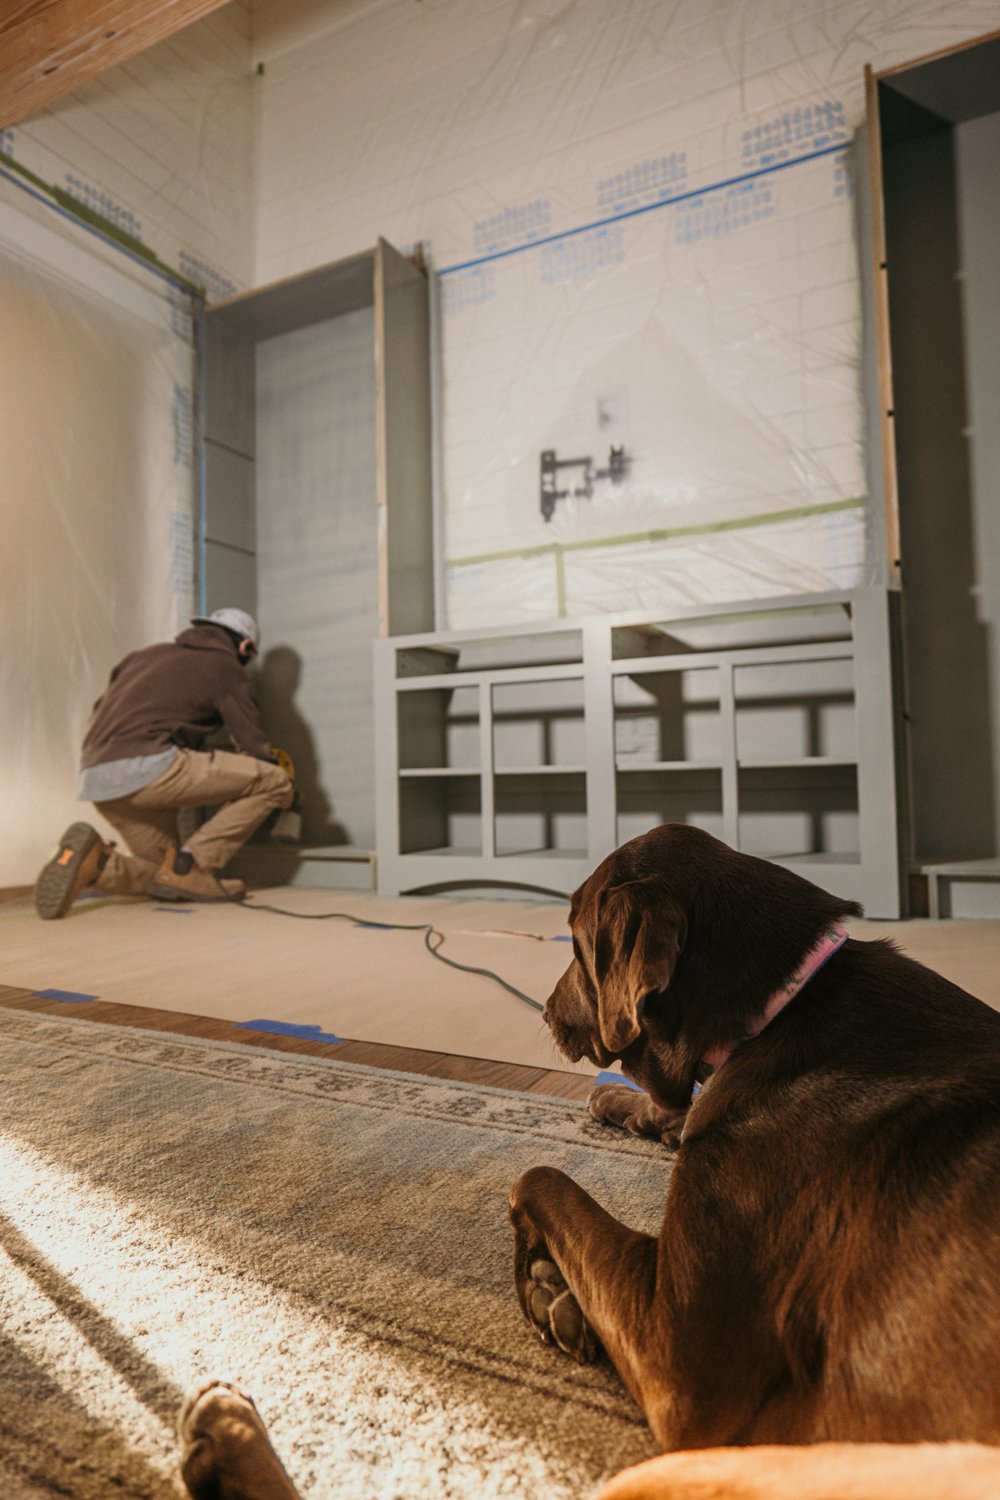
Cut Material to Length:
Cutting all material to length and width. We used a combination of a track saw, miter saw, and table saw for this step. YOU DO NOT HAVE TO HAVE EVERY TOOL! If you only have a circular saw, fantastic! You can get this step done with that!

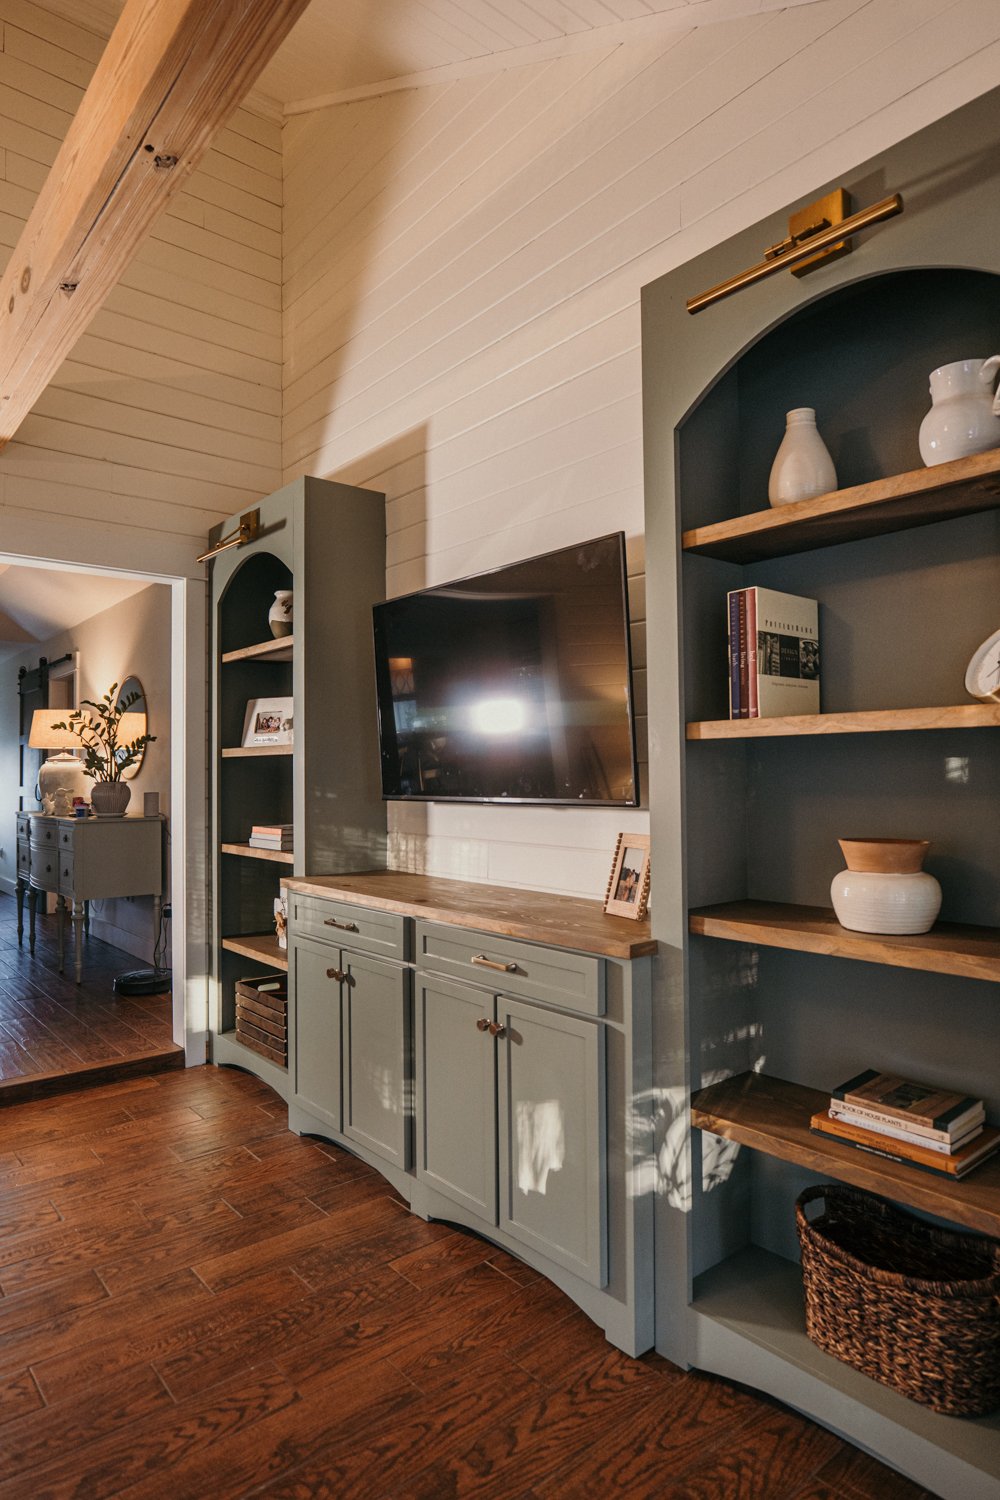
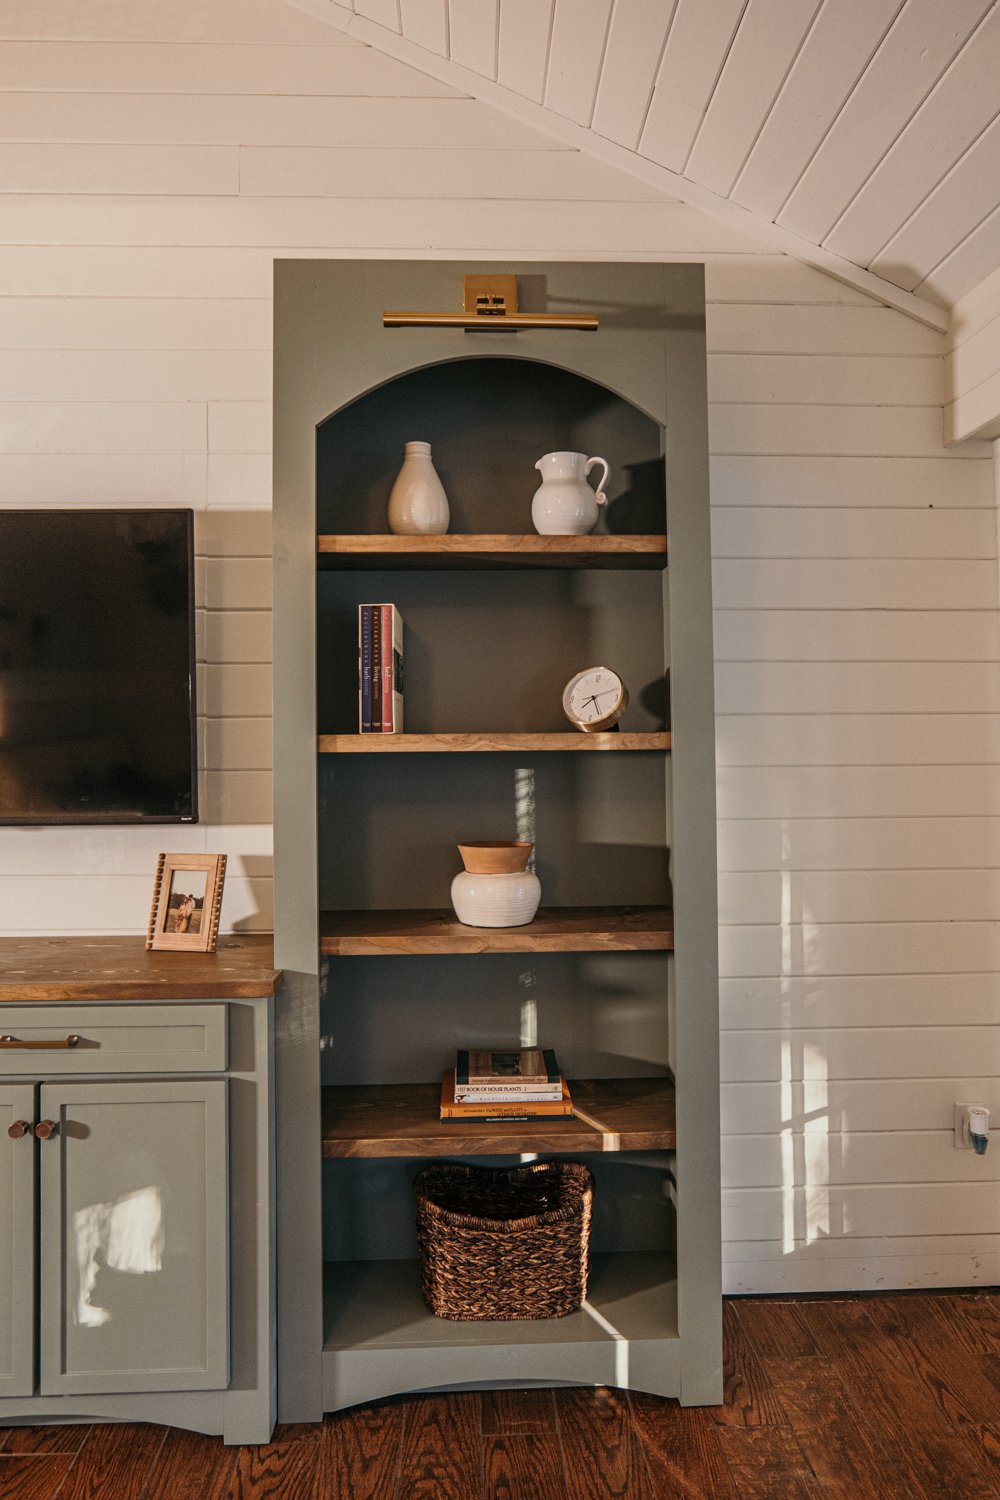
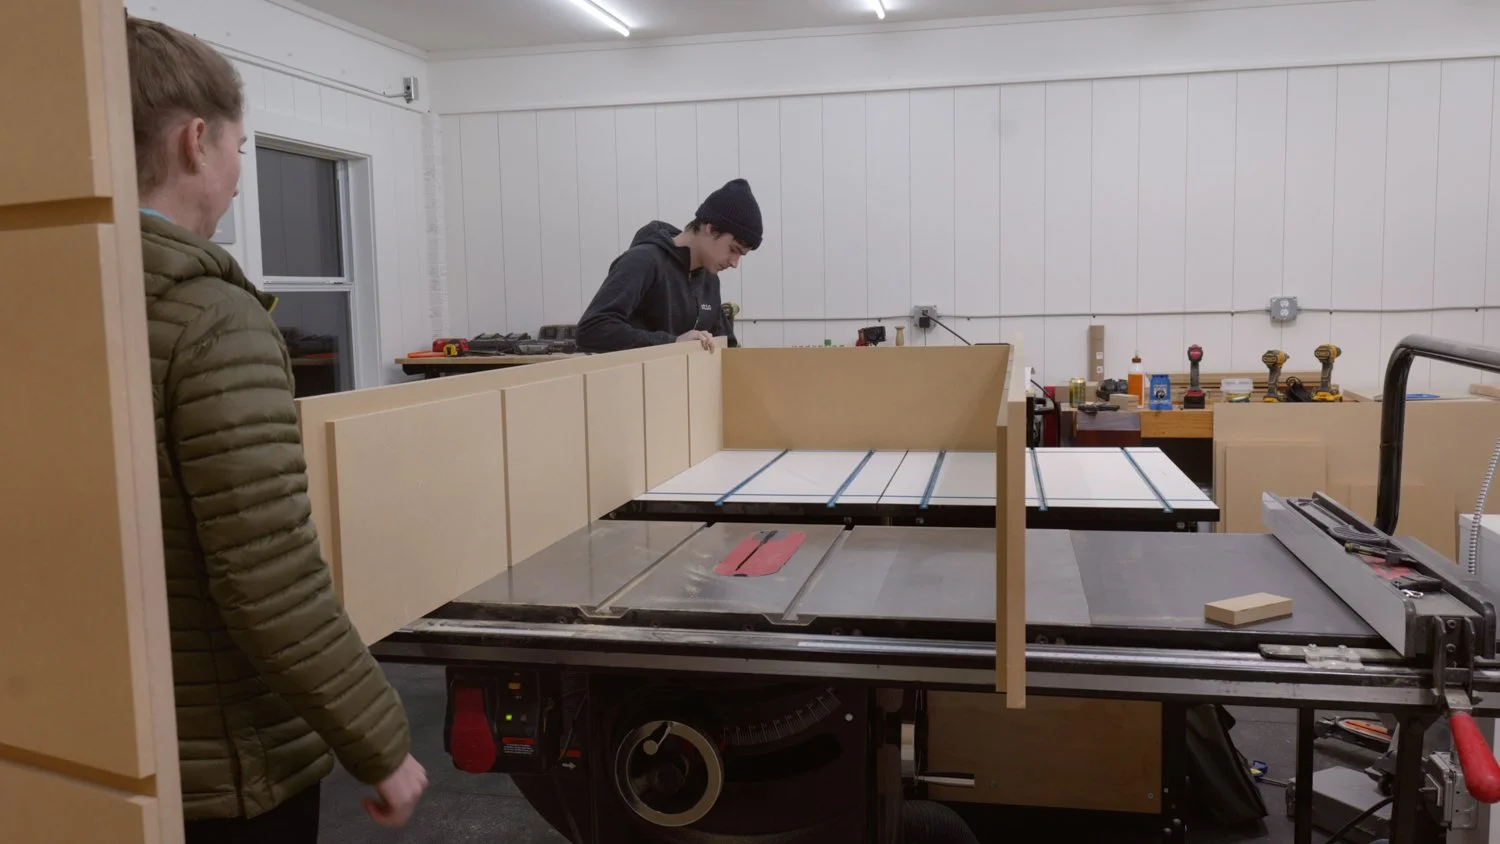
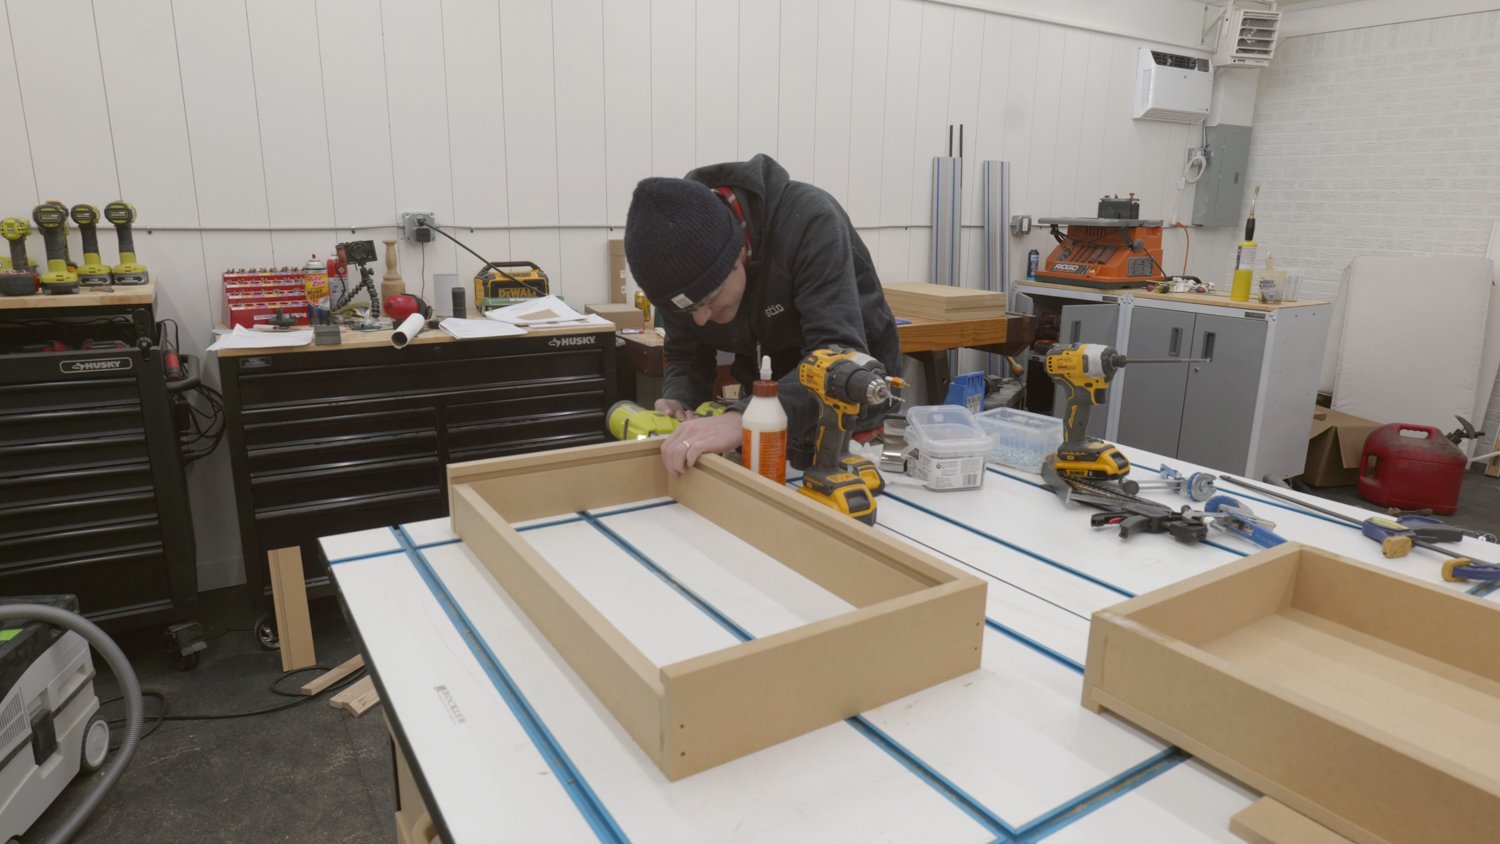
Assemble Bookshelves
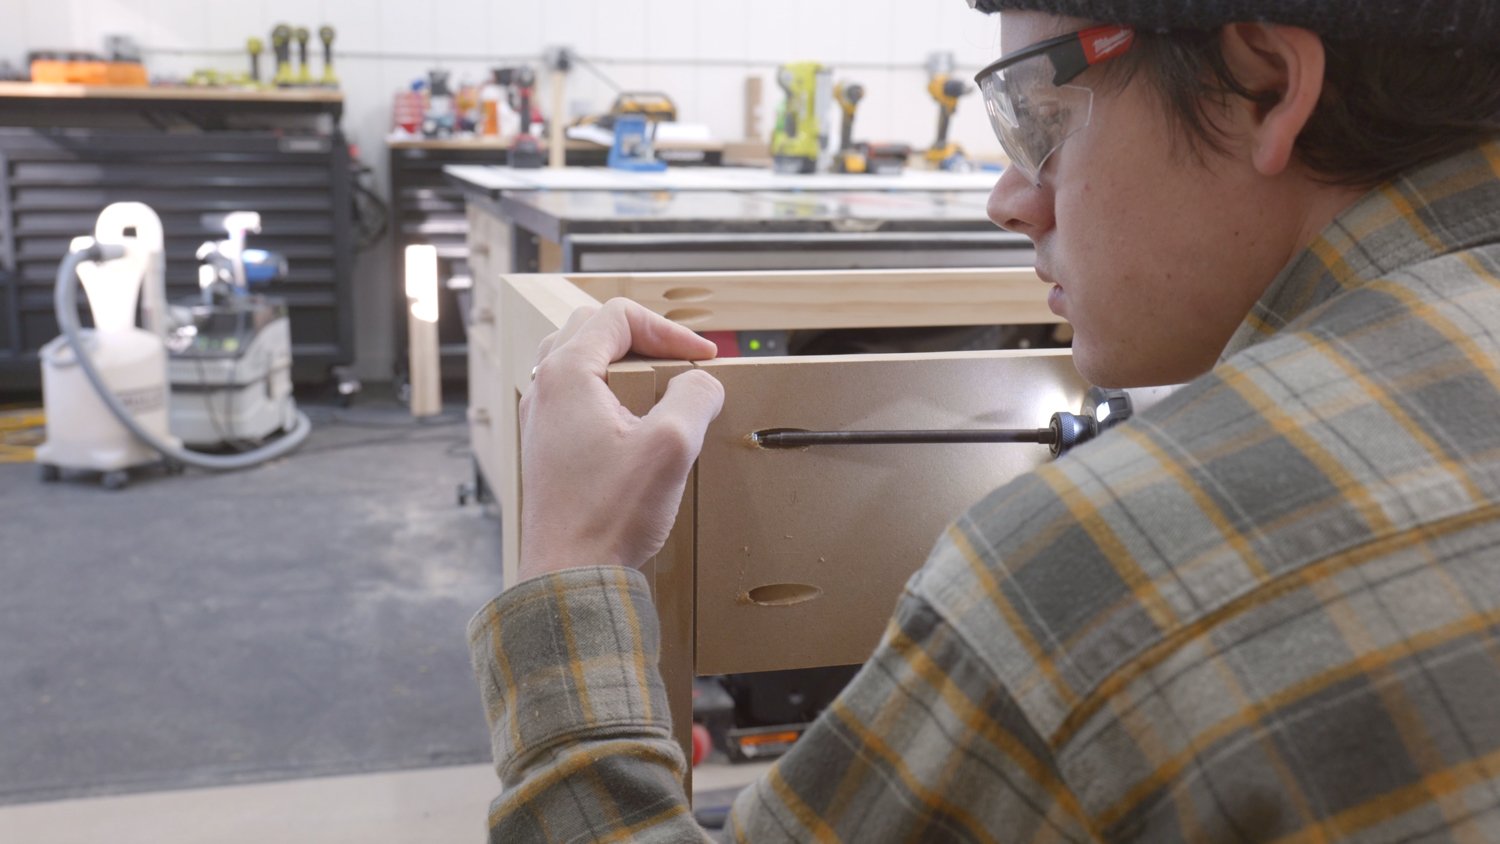
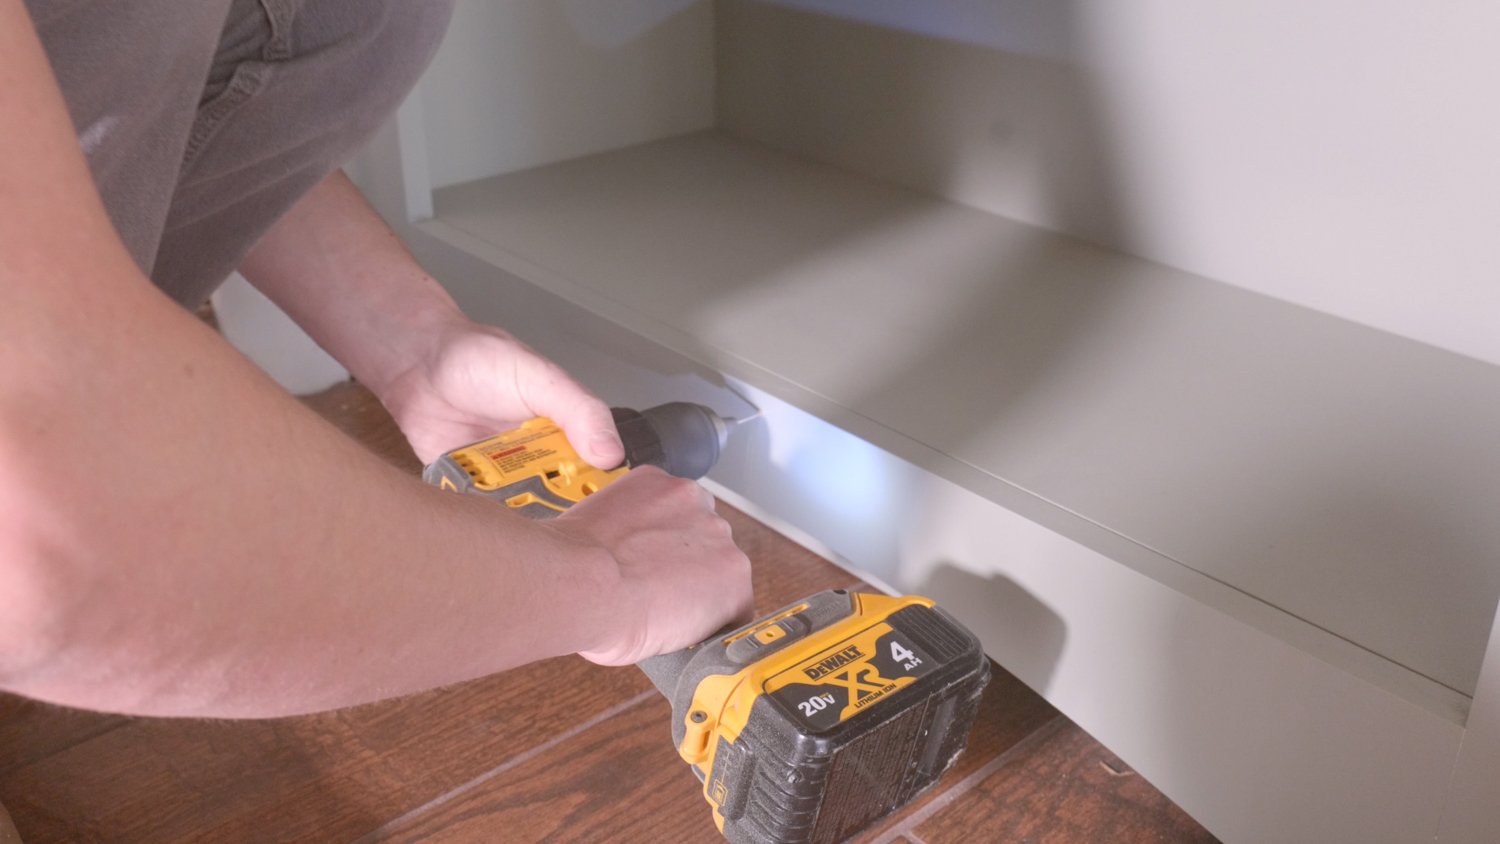
Because we are using MDF we can get straight into assembly. If you are going to use plywood or any other material, sand now! It’ll be much easier when the parts are separate. We started assembling the bookshelves first. Grab some glue and your pin nailer and assemble all the sides first, leaving room in between for the shelves. You will have 4 sides when done because there are 2 bookshelves.
Set up 2 sides and attach the top and bottom pieces with pocket hole screws. Then attach the back with glue and finish head screws.
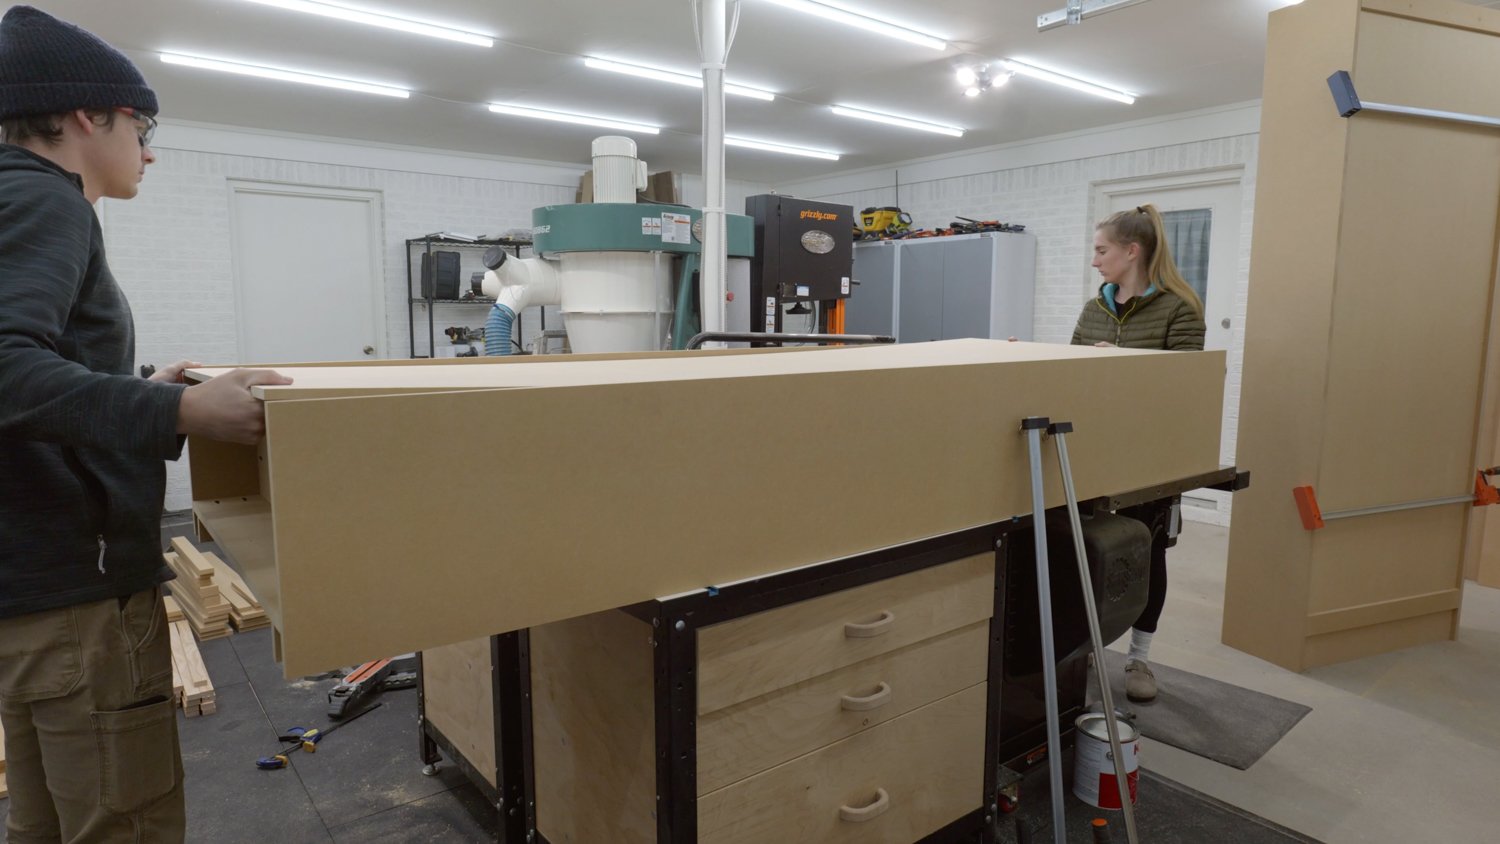
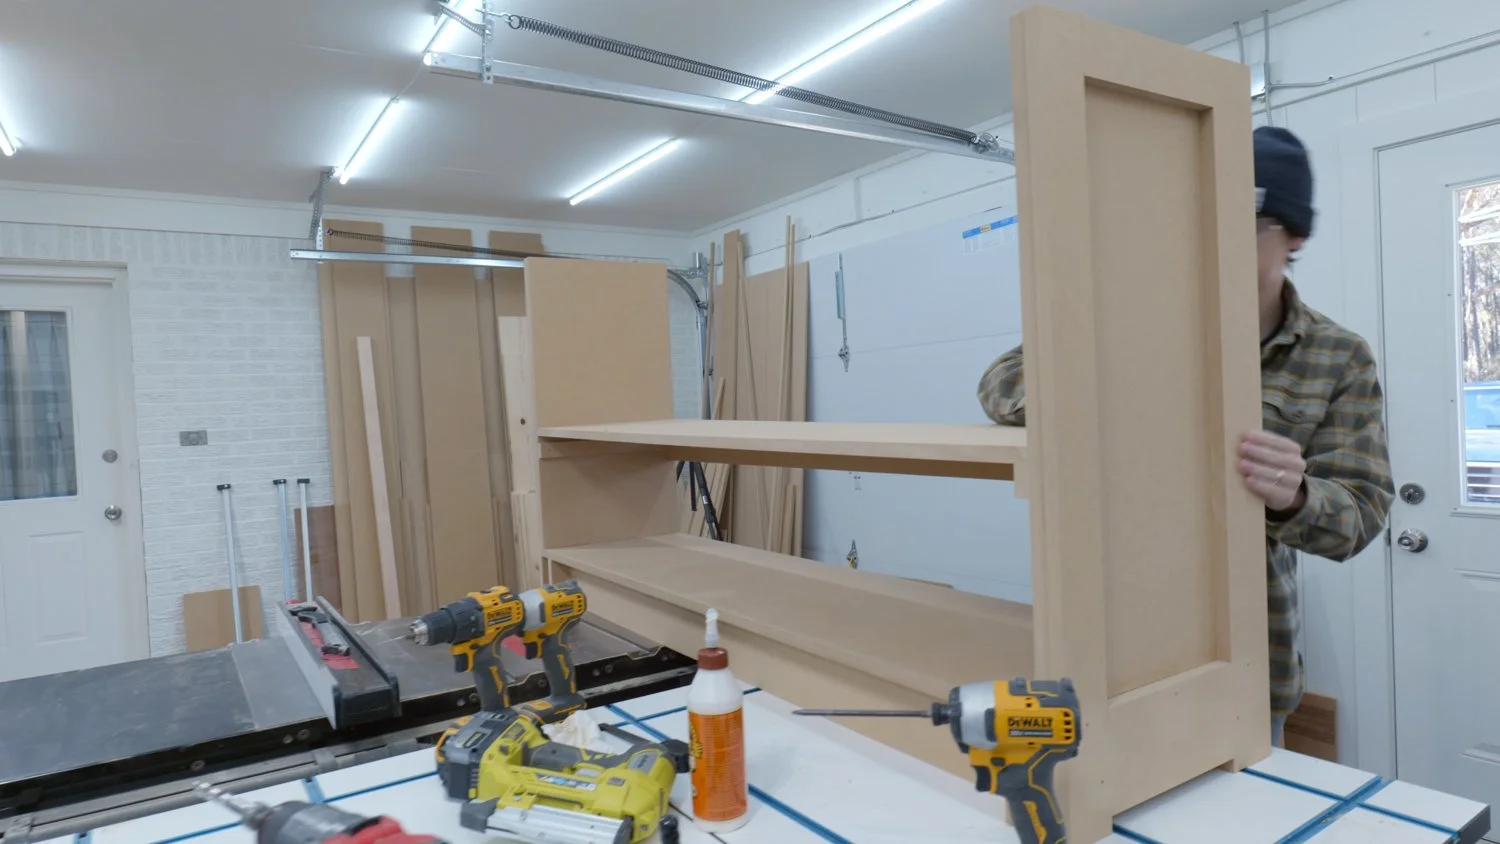
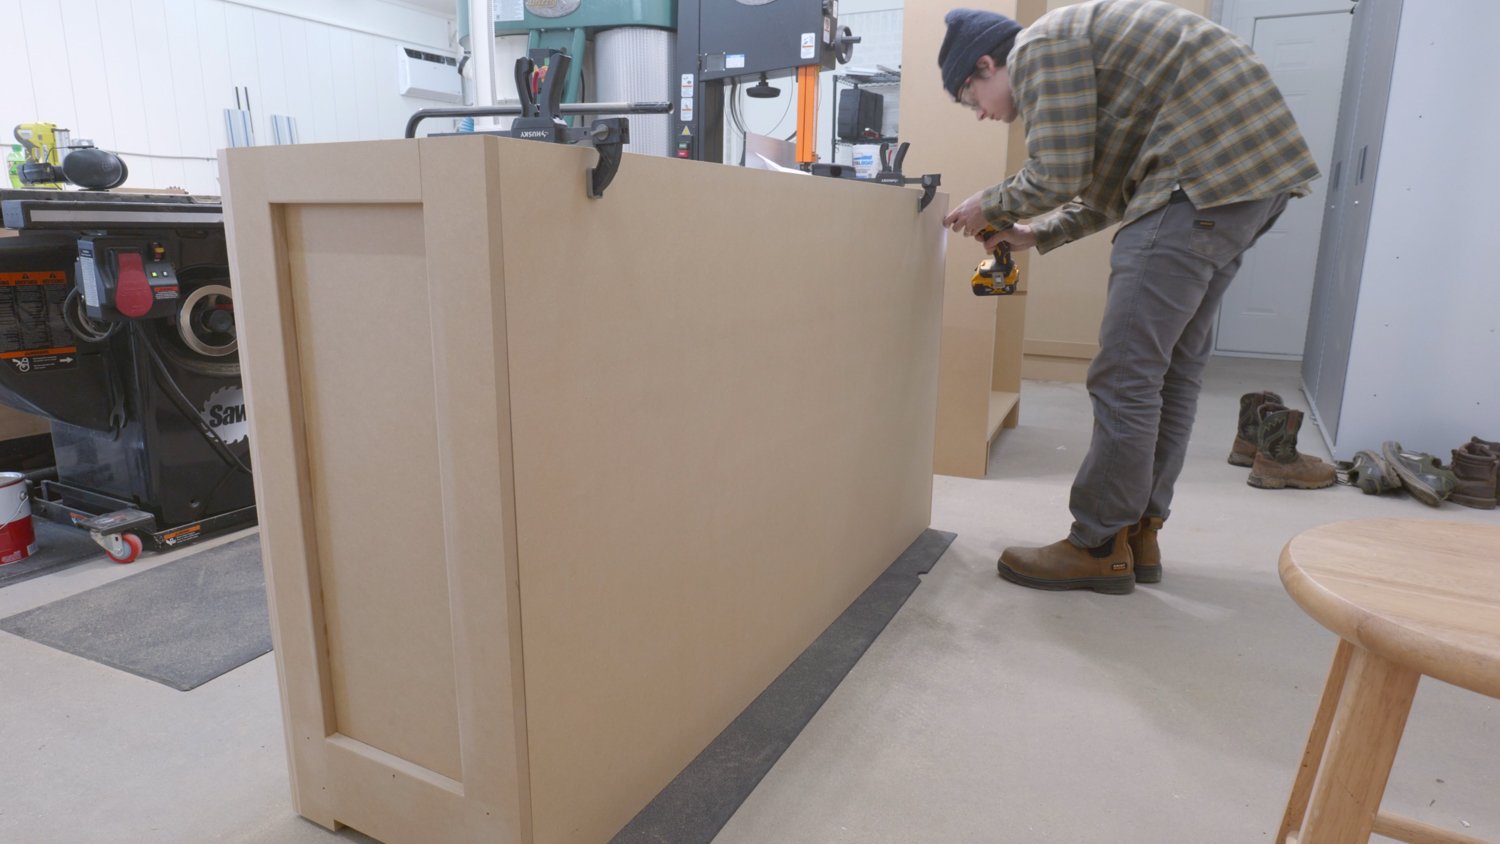
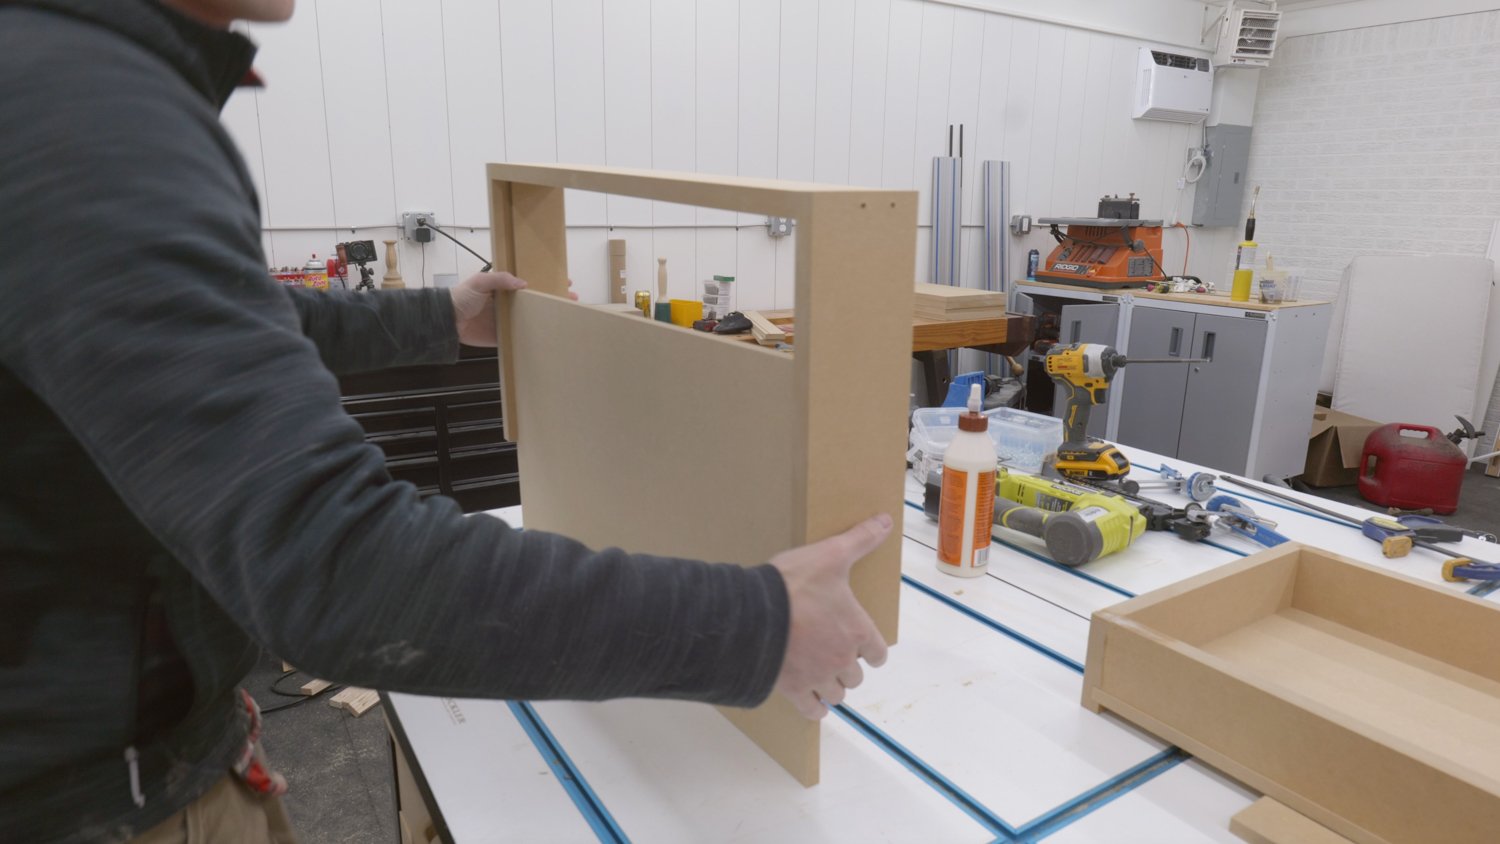
Assemble Console Cabinet
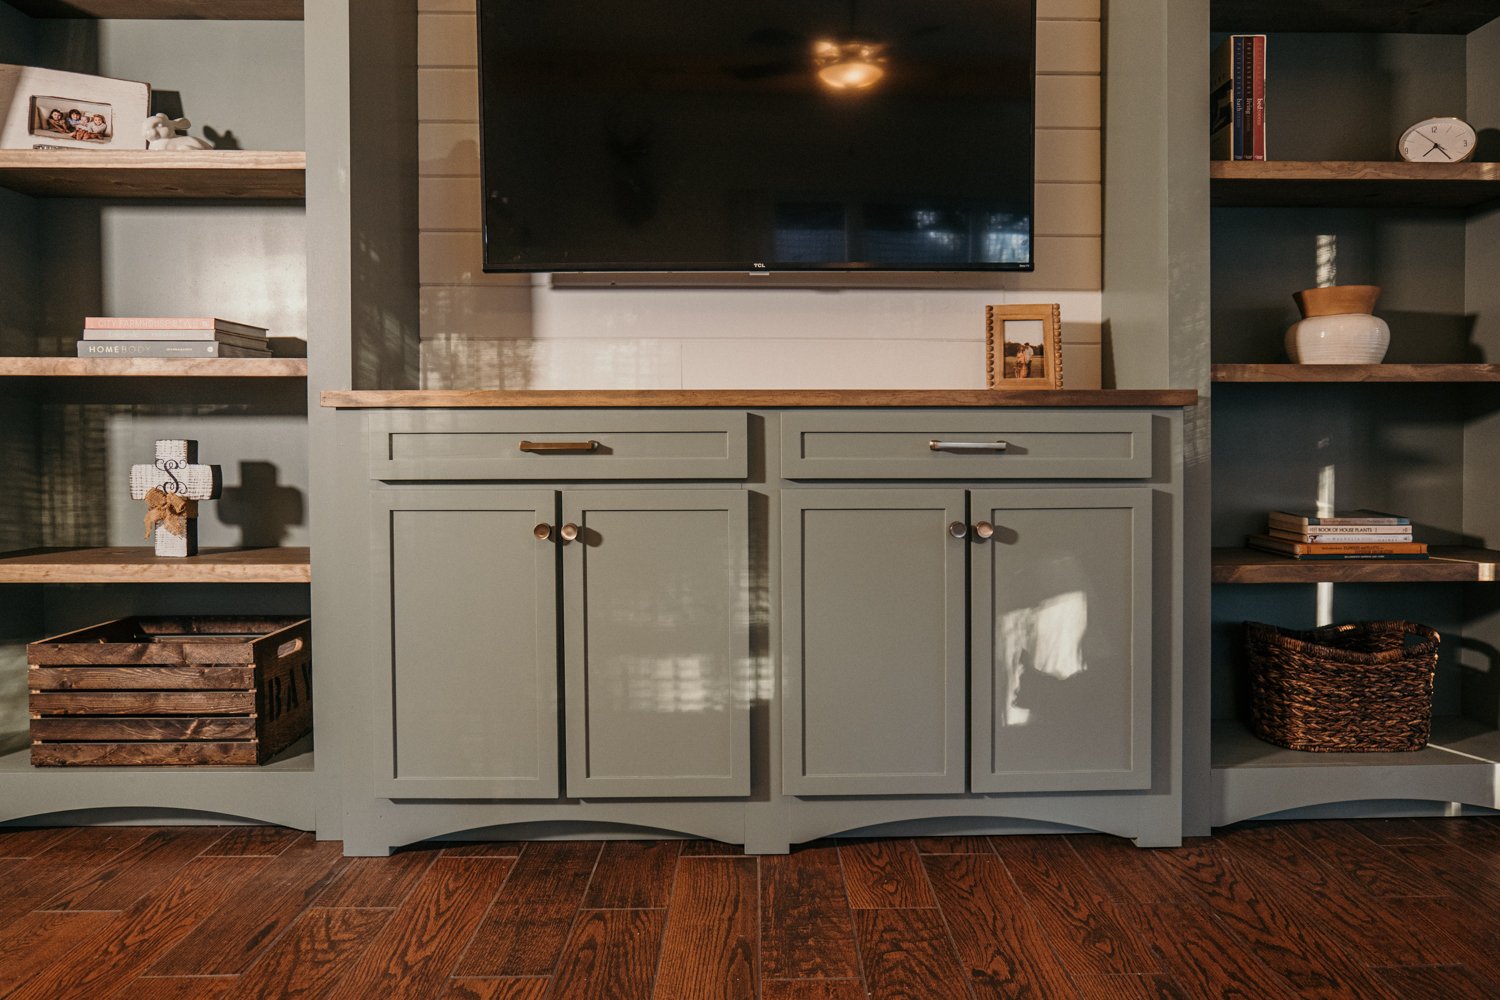
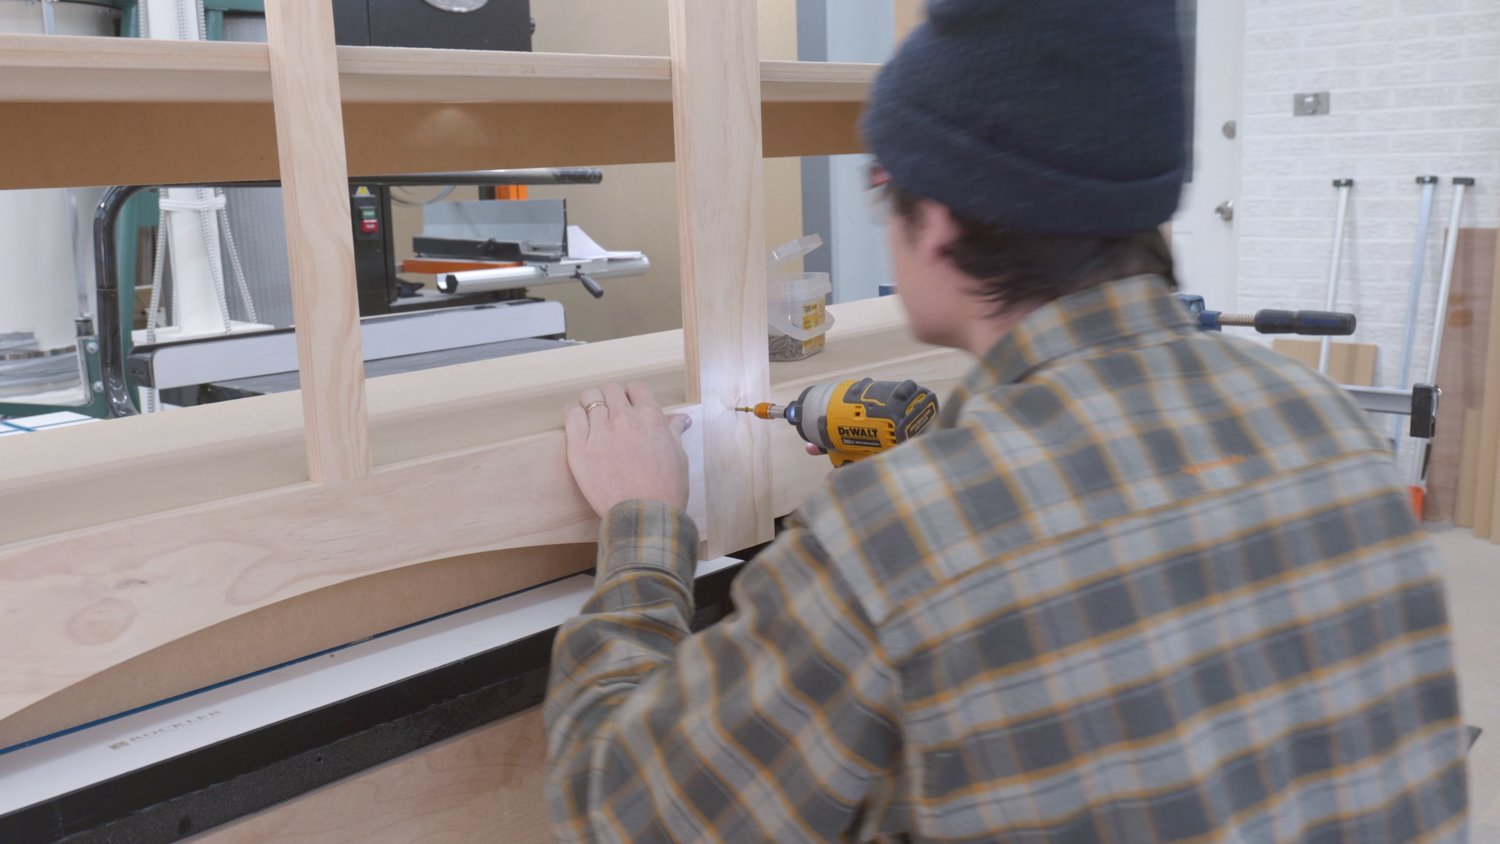
Let’s put the console together! Build the base first, then make the sides with the extra cute detailing and screw those together. Attach the back stretcher and eventually you can add in that middle shelf!

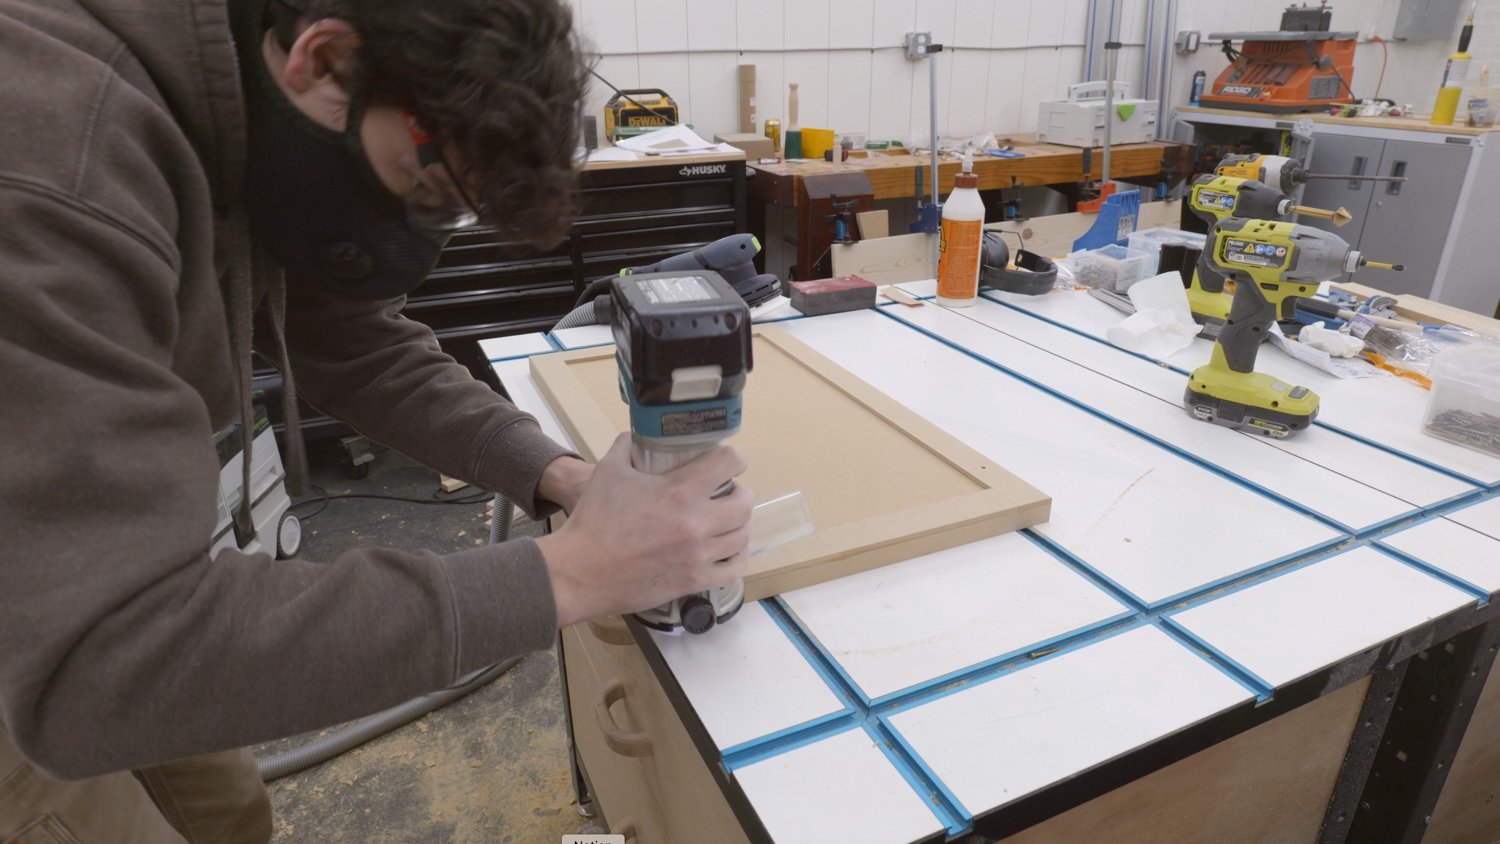
Round Over Edges
We went the extra mile and used a slight round-over bit on all the edges with a palm router. Feel free to use just sandpaper! Use code “WOODBREW15” on https://bitsbits.com/ref/6206/to get 15% off!
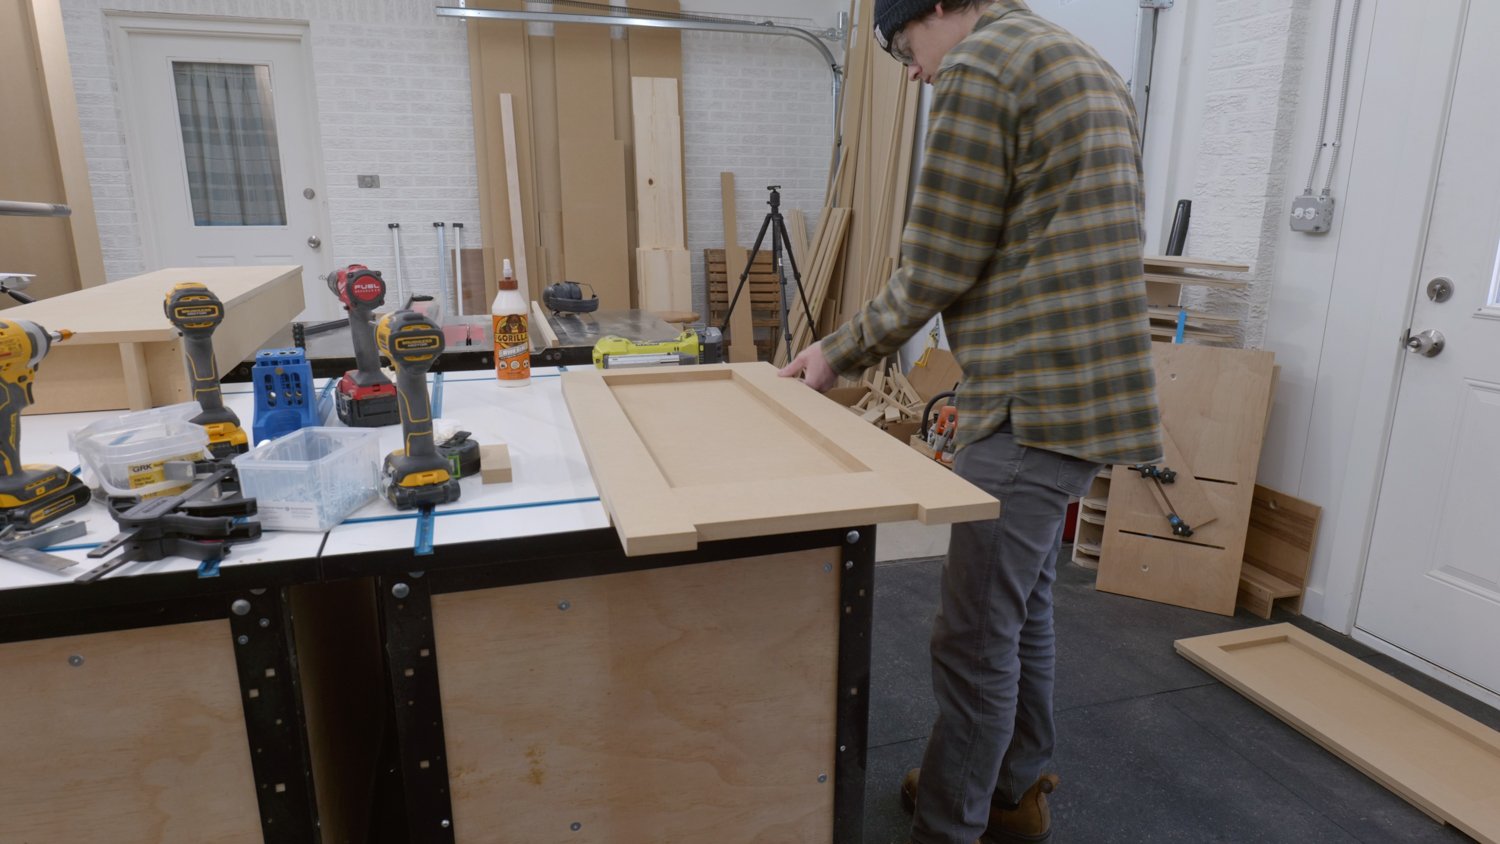
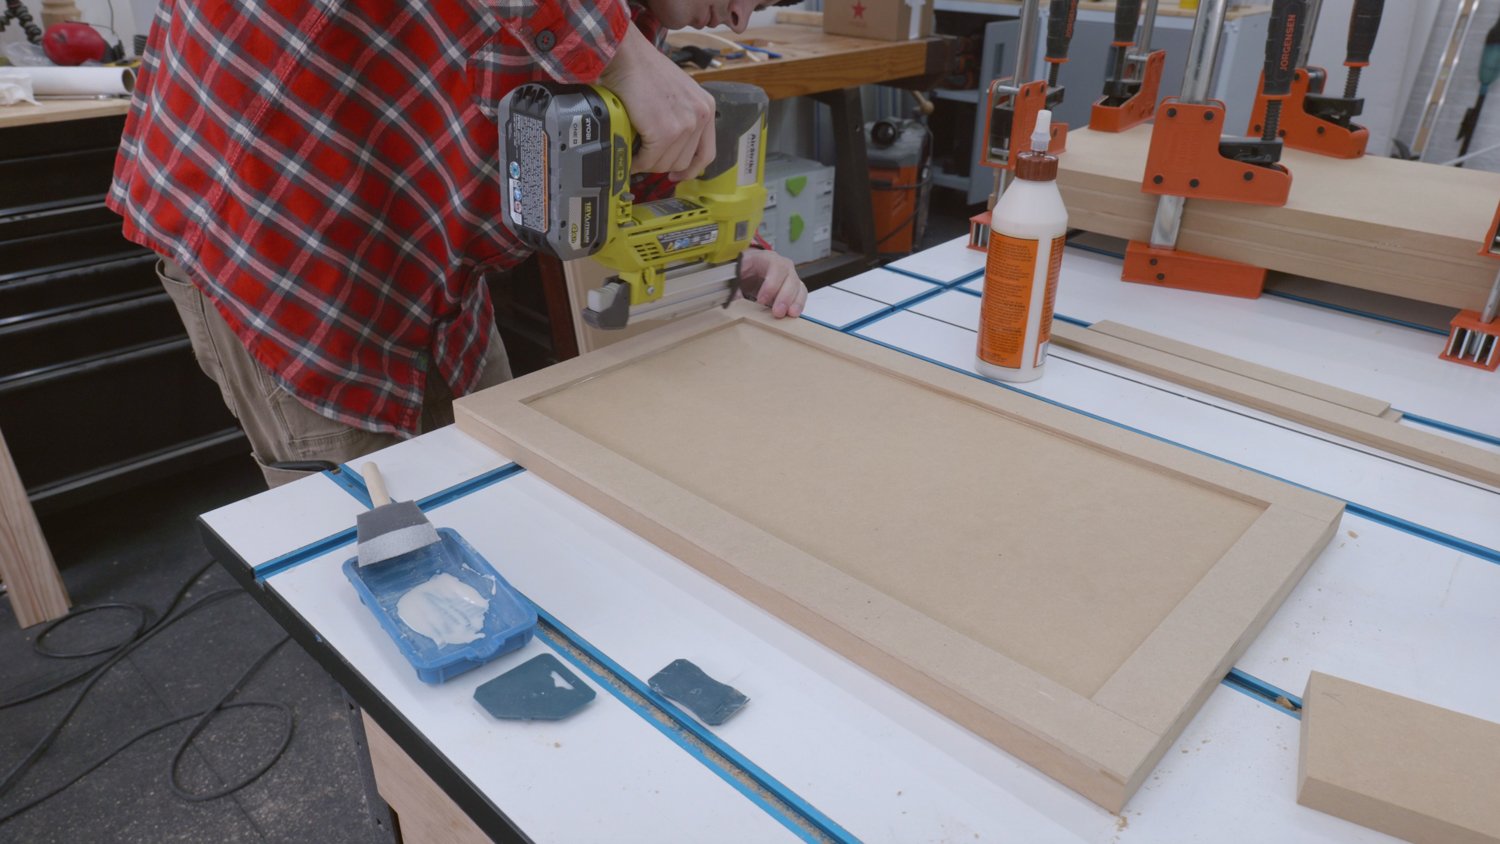
Build Face Frames
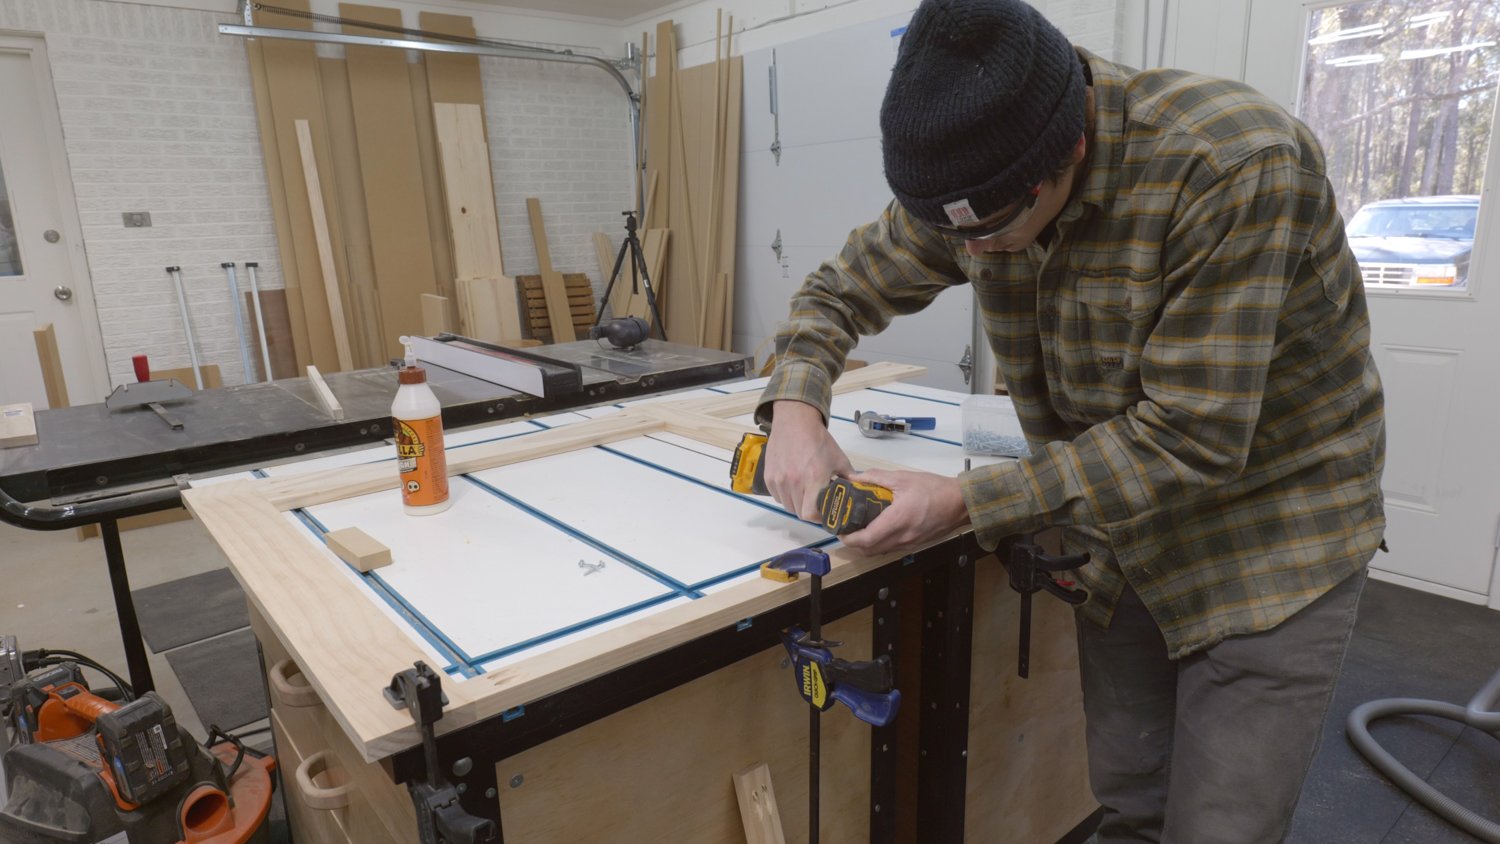
Let’s move on to making those face frames! We used a jig saw to make the detail arches for the bottom of the console and for the top and bottom of the bookshelves. Attach that face frame to the console when you’re done with trim head screws.

Add Back Panel
Add the back panel to the console and you’re ready for doors!
Build Drawers
Now the tricky part, building drawers. I would HIGHLY recommend the plans for super detailed instructions on how to make these drawers, but honestly, that knowledge will go a long way for any other project in your future with drawers. Again, we used a table saw for this part, but can still be done with a circular saw!
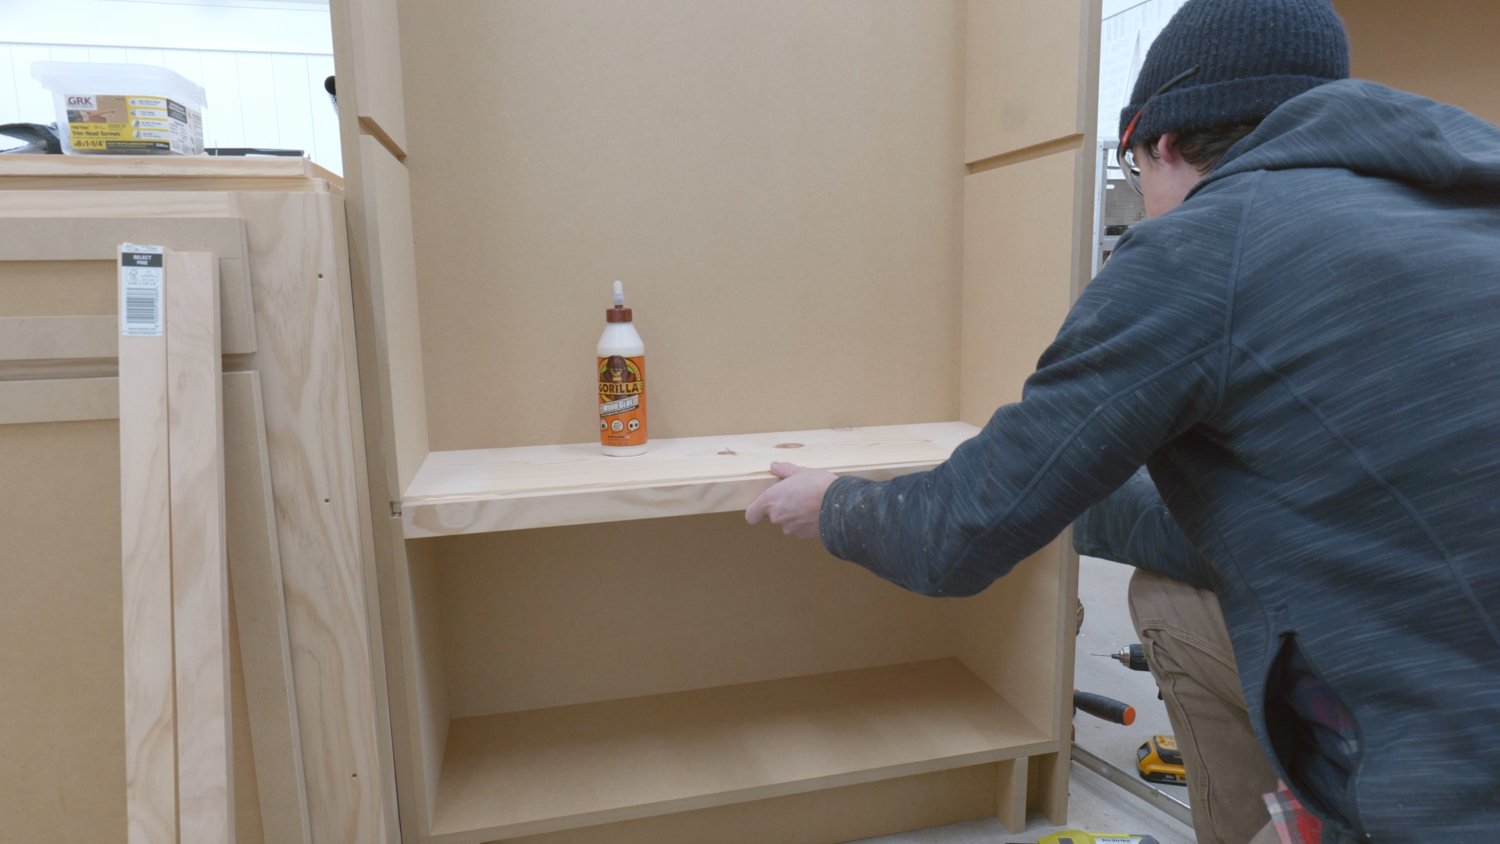
Add in Shelves
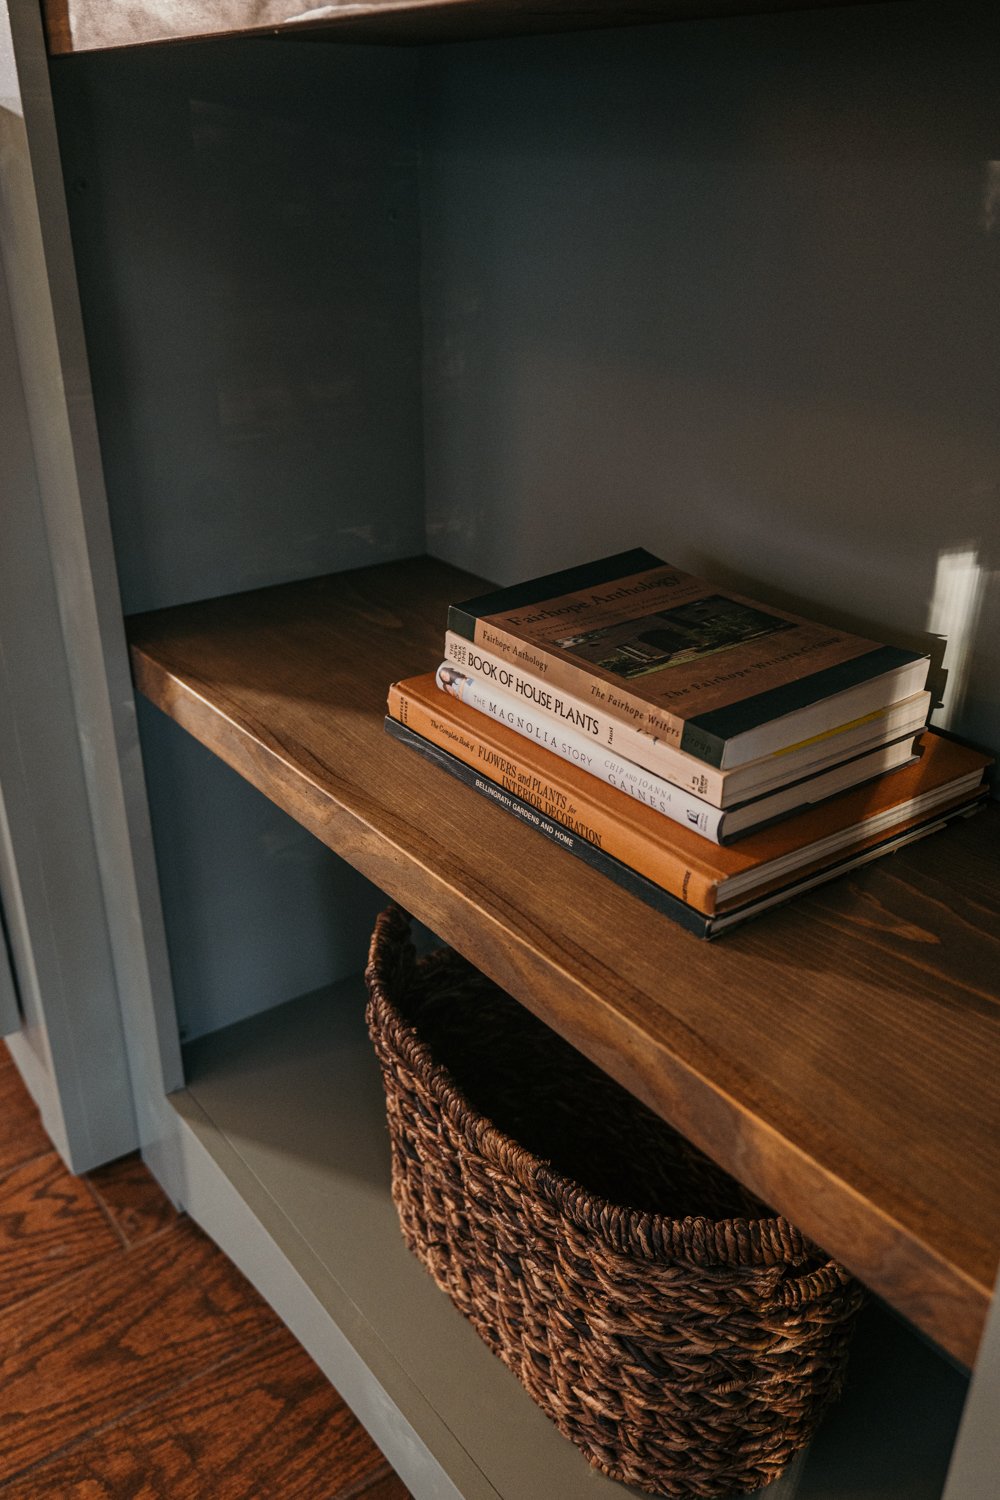
Measure and fit the shelves and then add front trim to them. The trim makes them look thicker without breaking the bank or making the bookshelves heavier than they already are. We won’t install them just yet, so set those aside when done.
Build Console Top
Let’s build a top for the console! We used a tool called a Domino to join two boards together. This can be done and we have done this with a pocket hole jig before! Lots of videos online about how to pocket holes for a table top. Once those boards are glued together and time has passed for the glue to dry, cut that to final length!
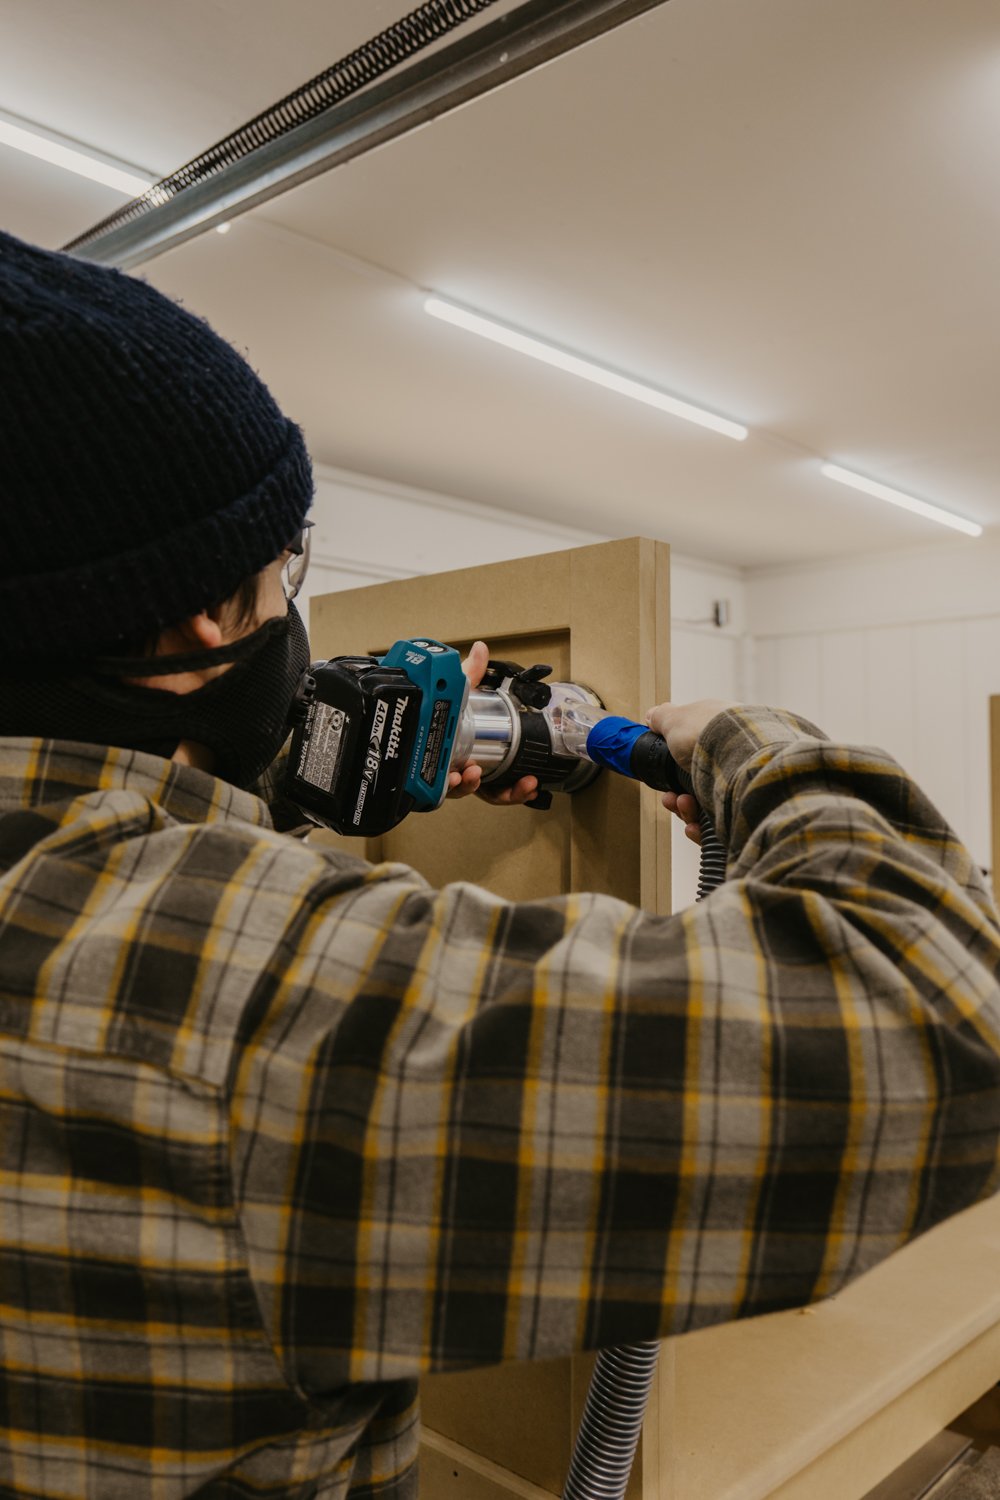
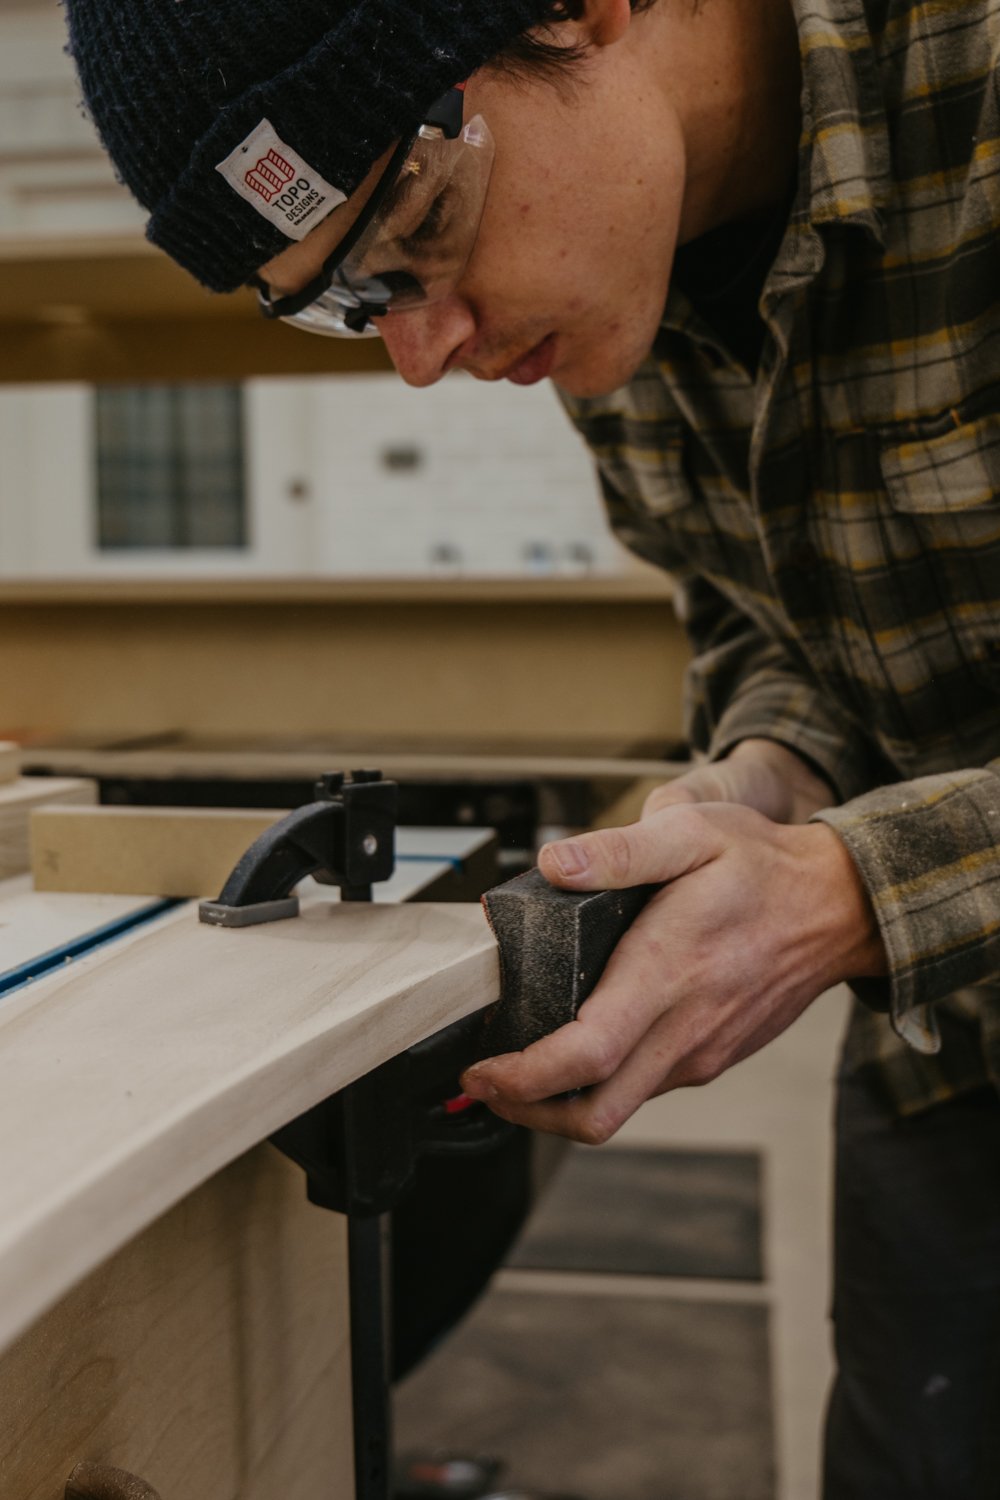
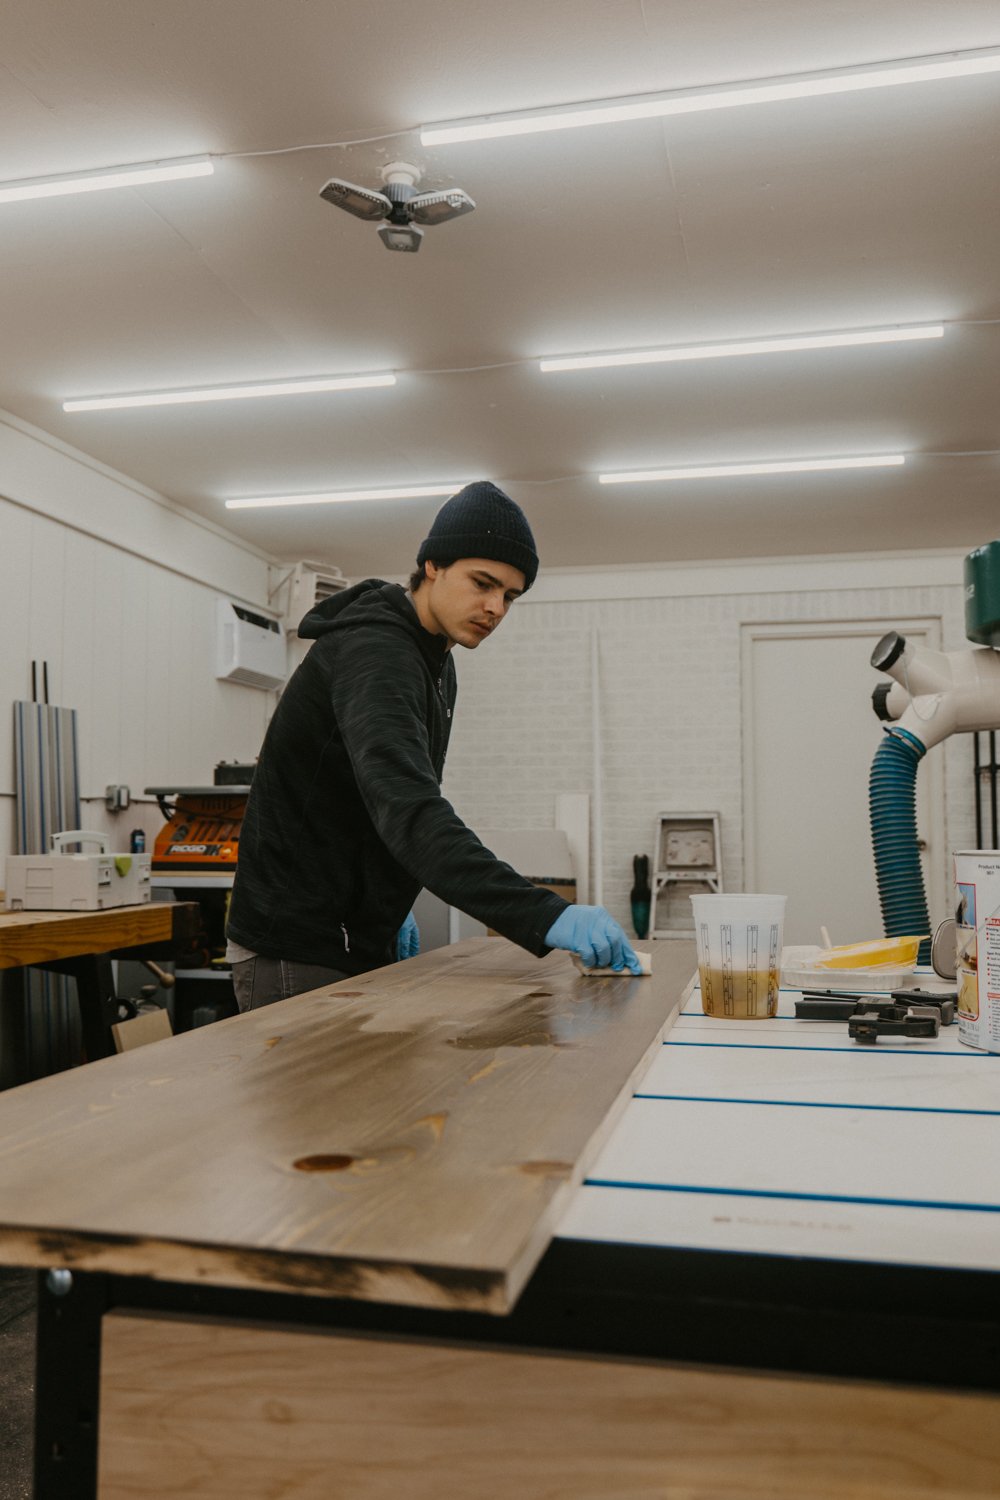
Sand
FINAL SANDING. Make sure to sand everything before primer and stain. We continued to router the edges here too.
Prime
Because MDF is like a sponge, it will absorb a lot of paint. We will be using a cabinet grade paint which is a little pricy, so we don’t want to have to use more than what we need. That’s why we used primer first!
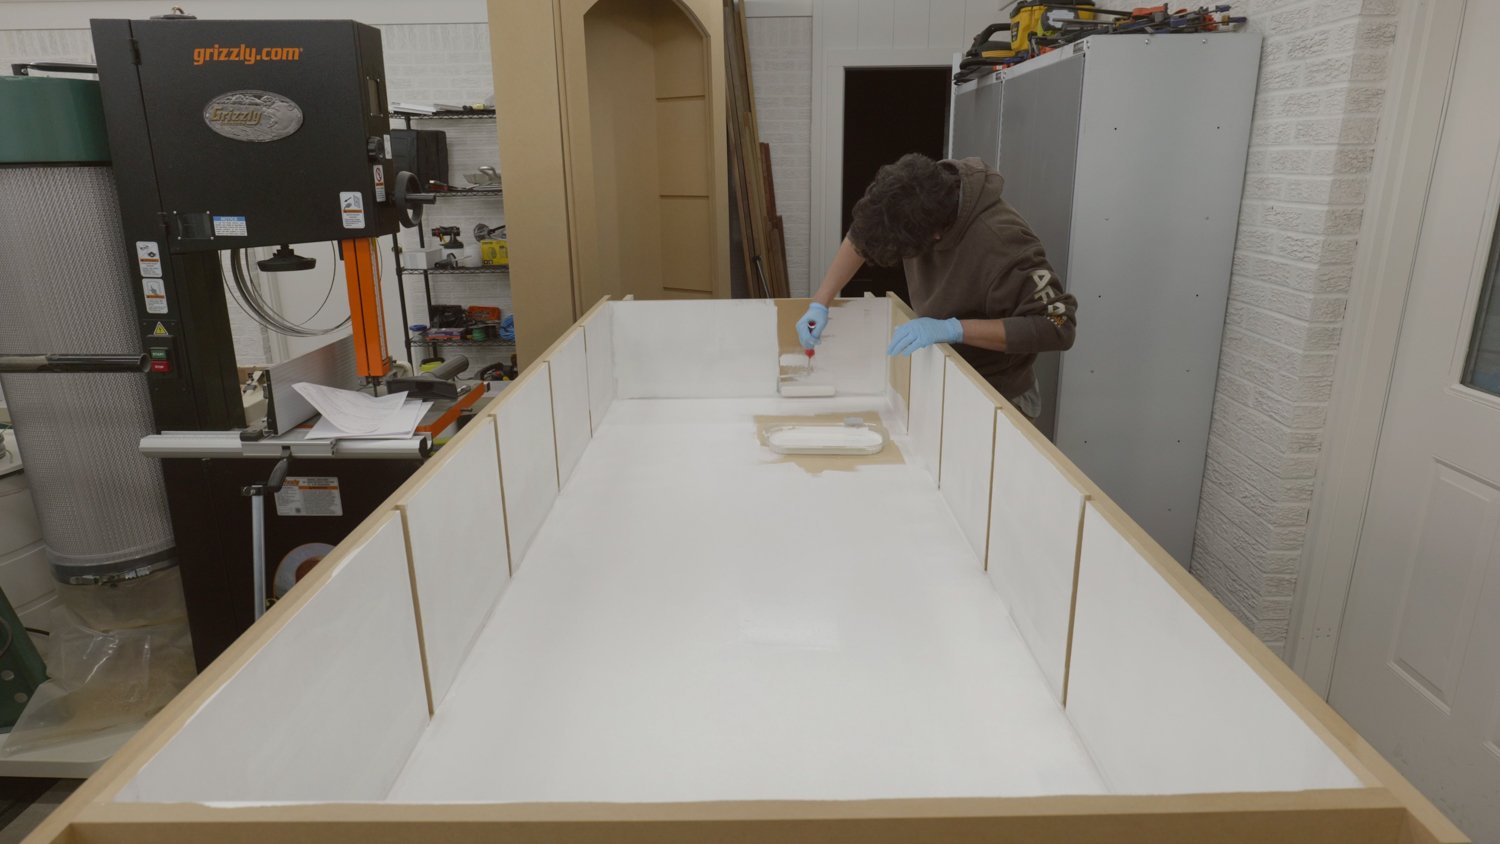
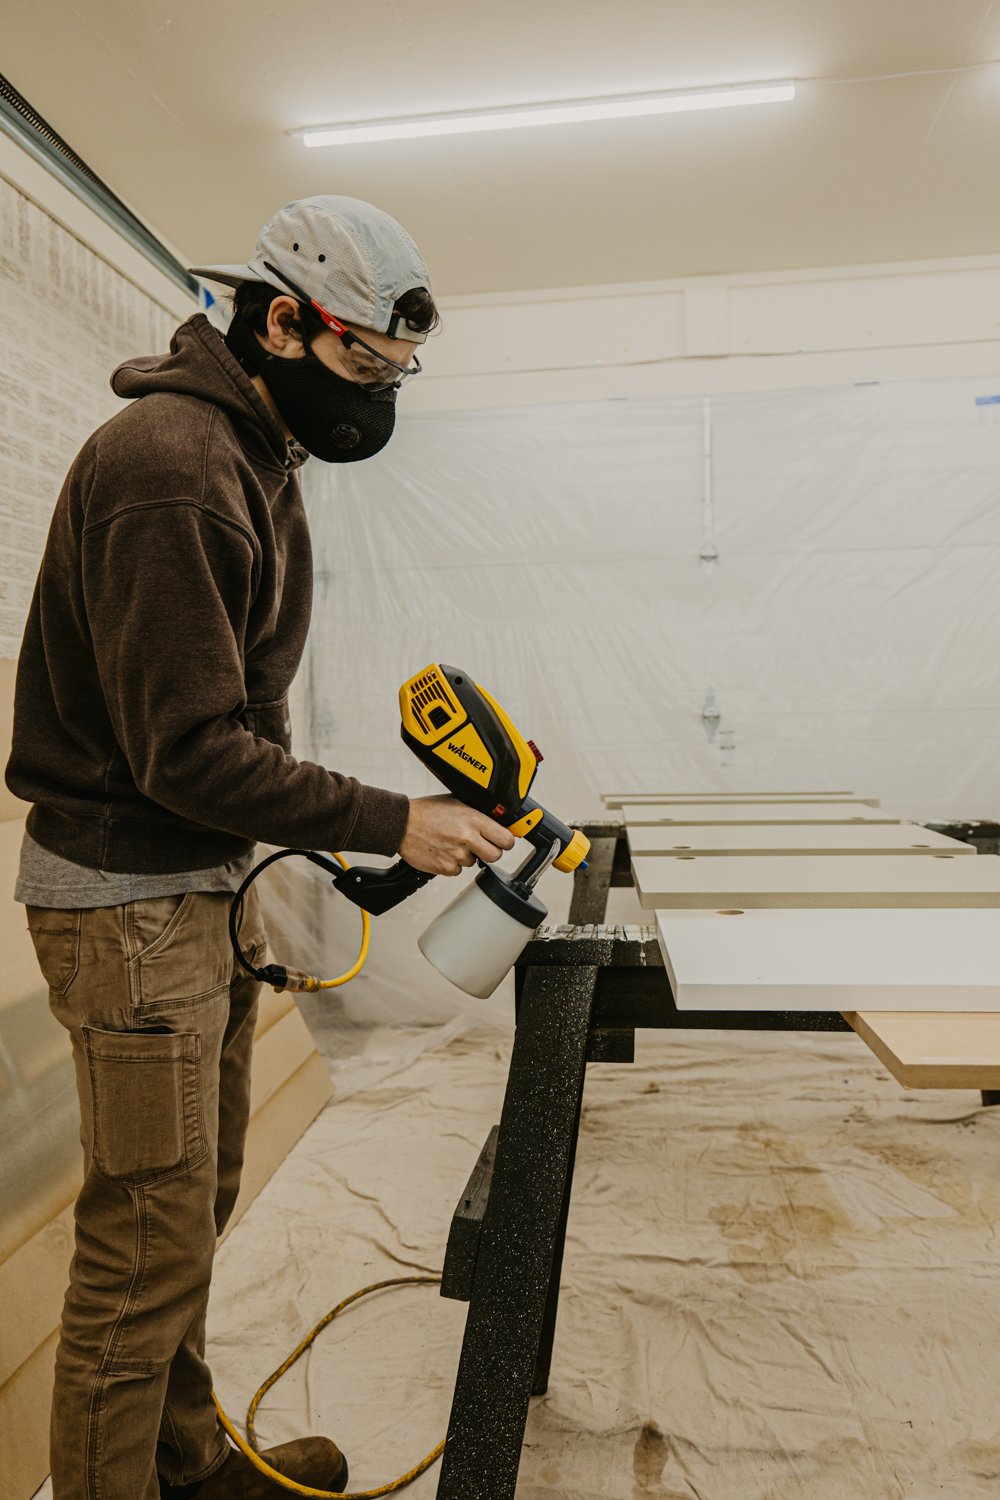
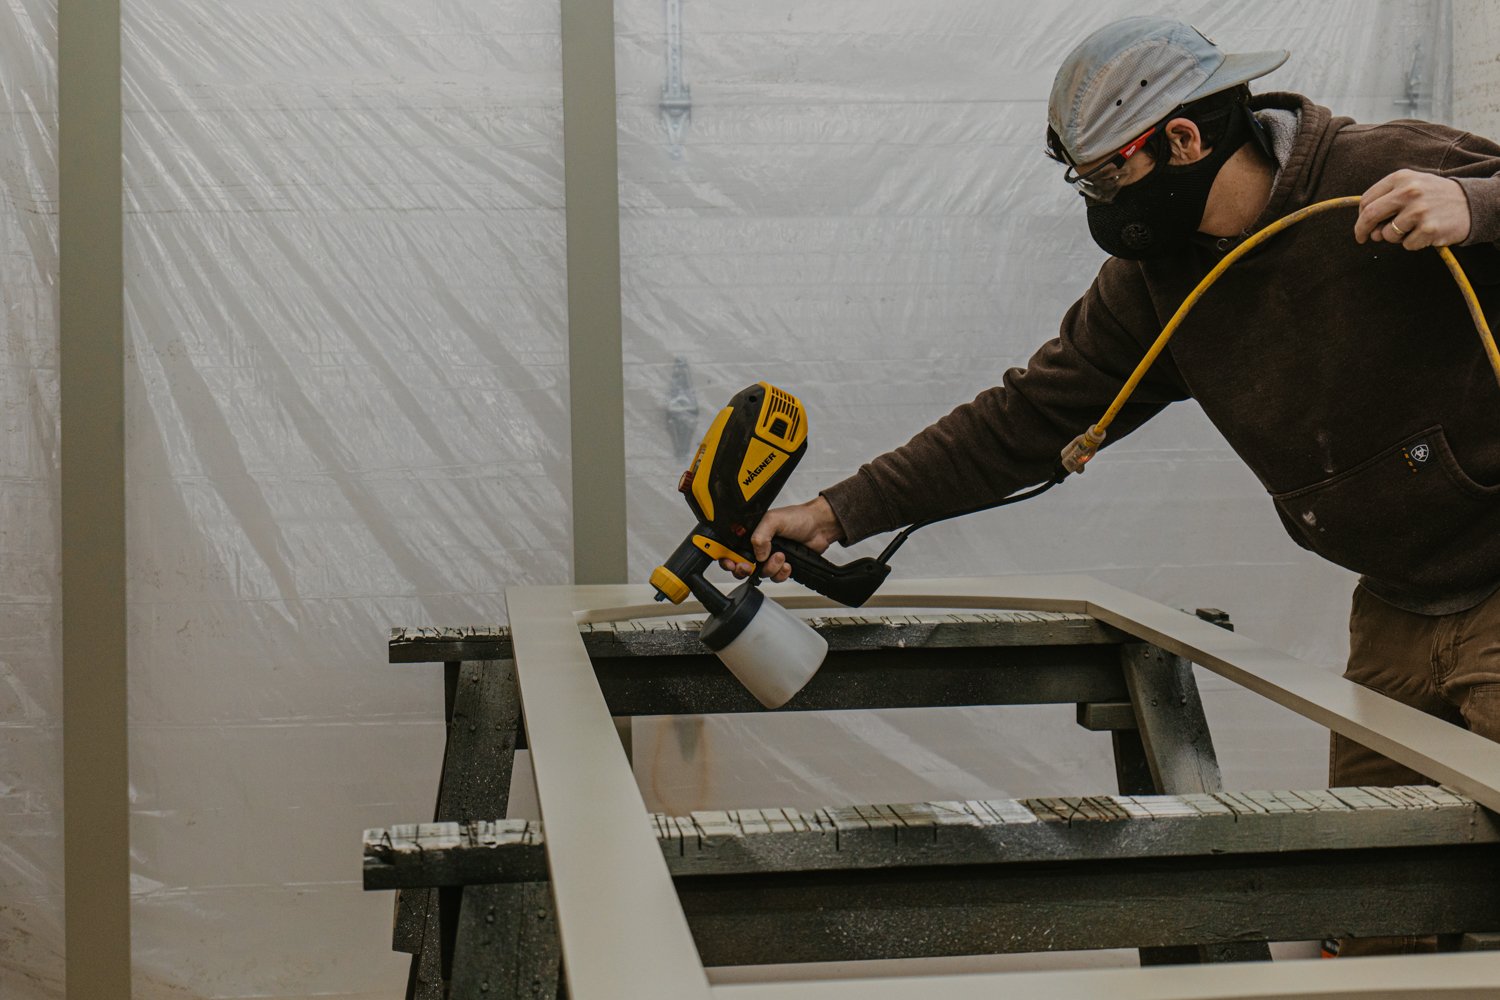
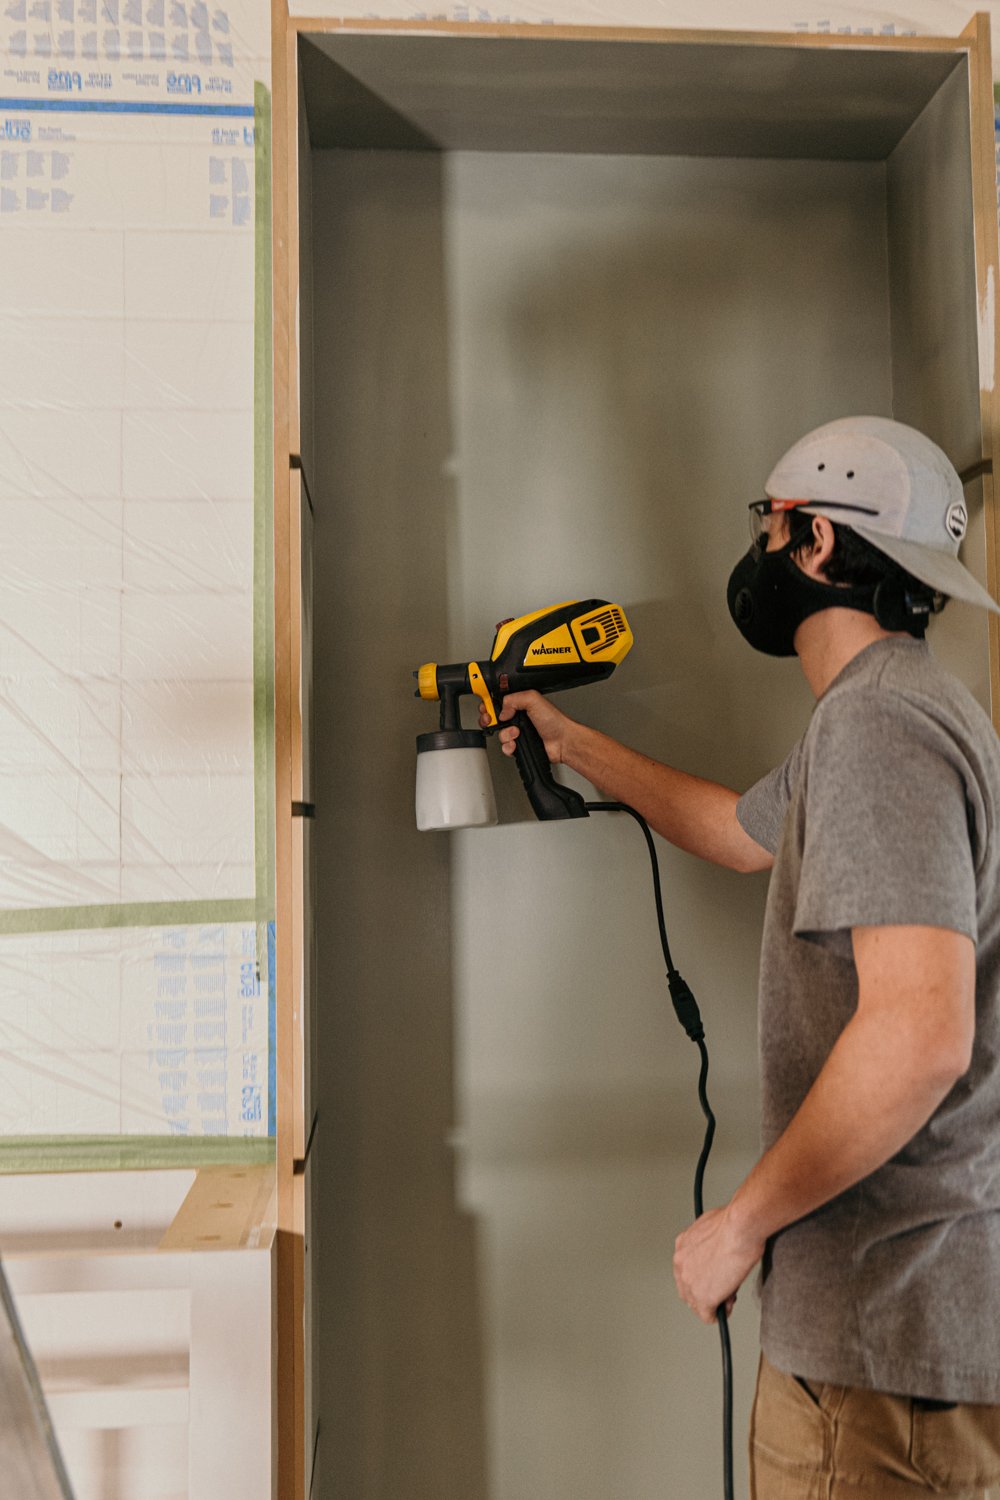
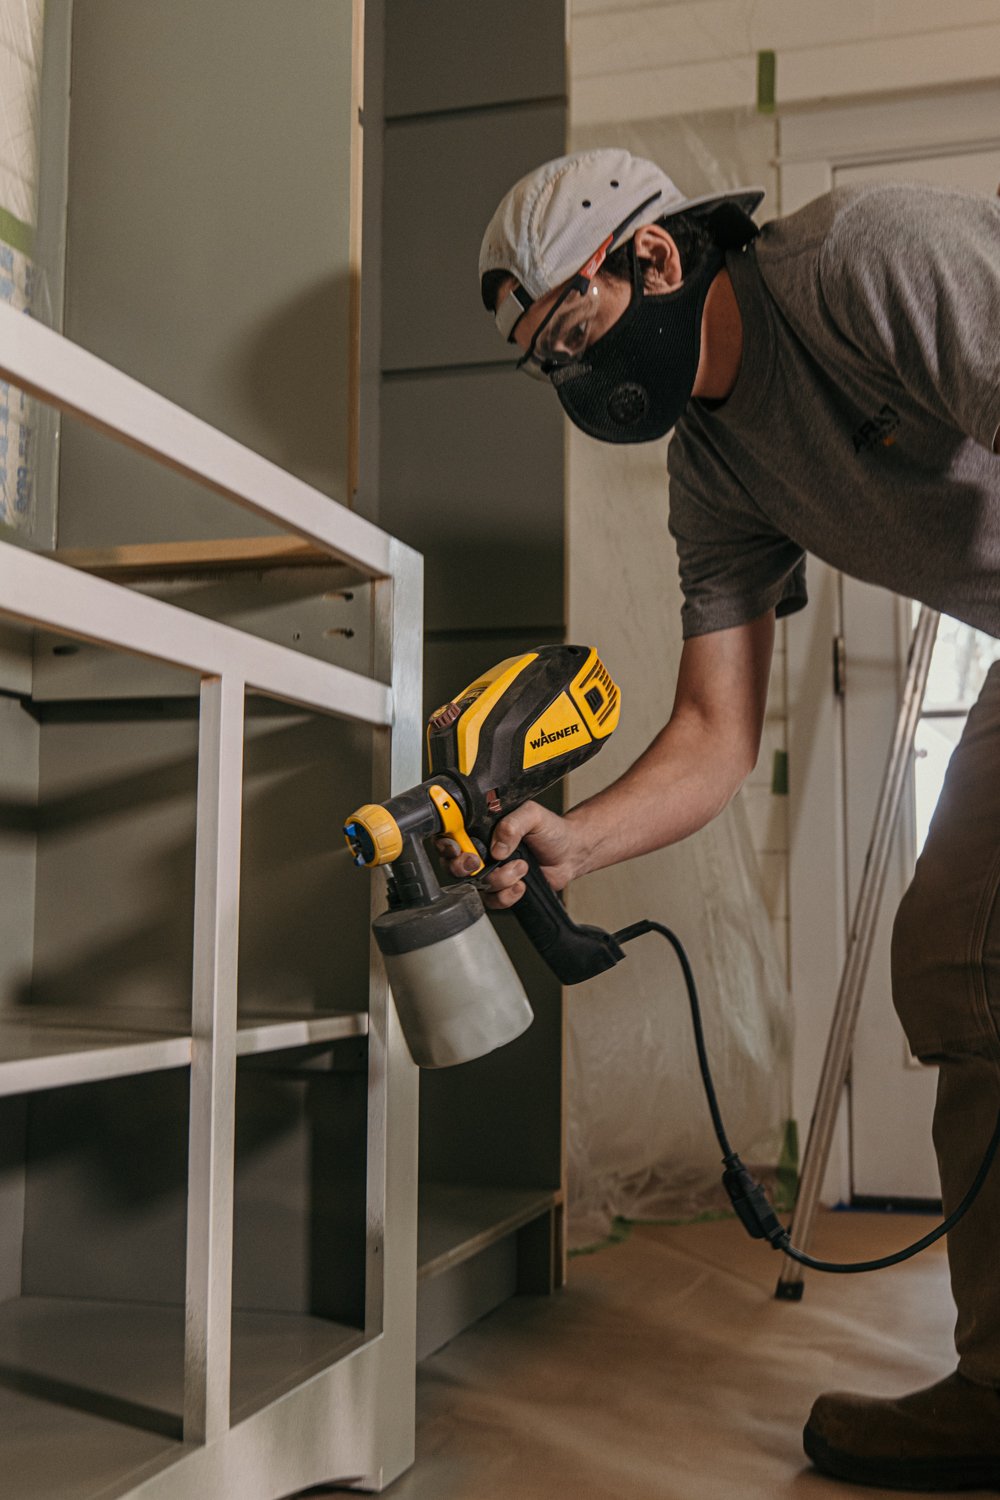
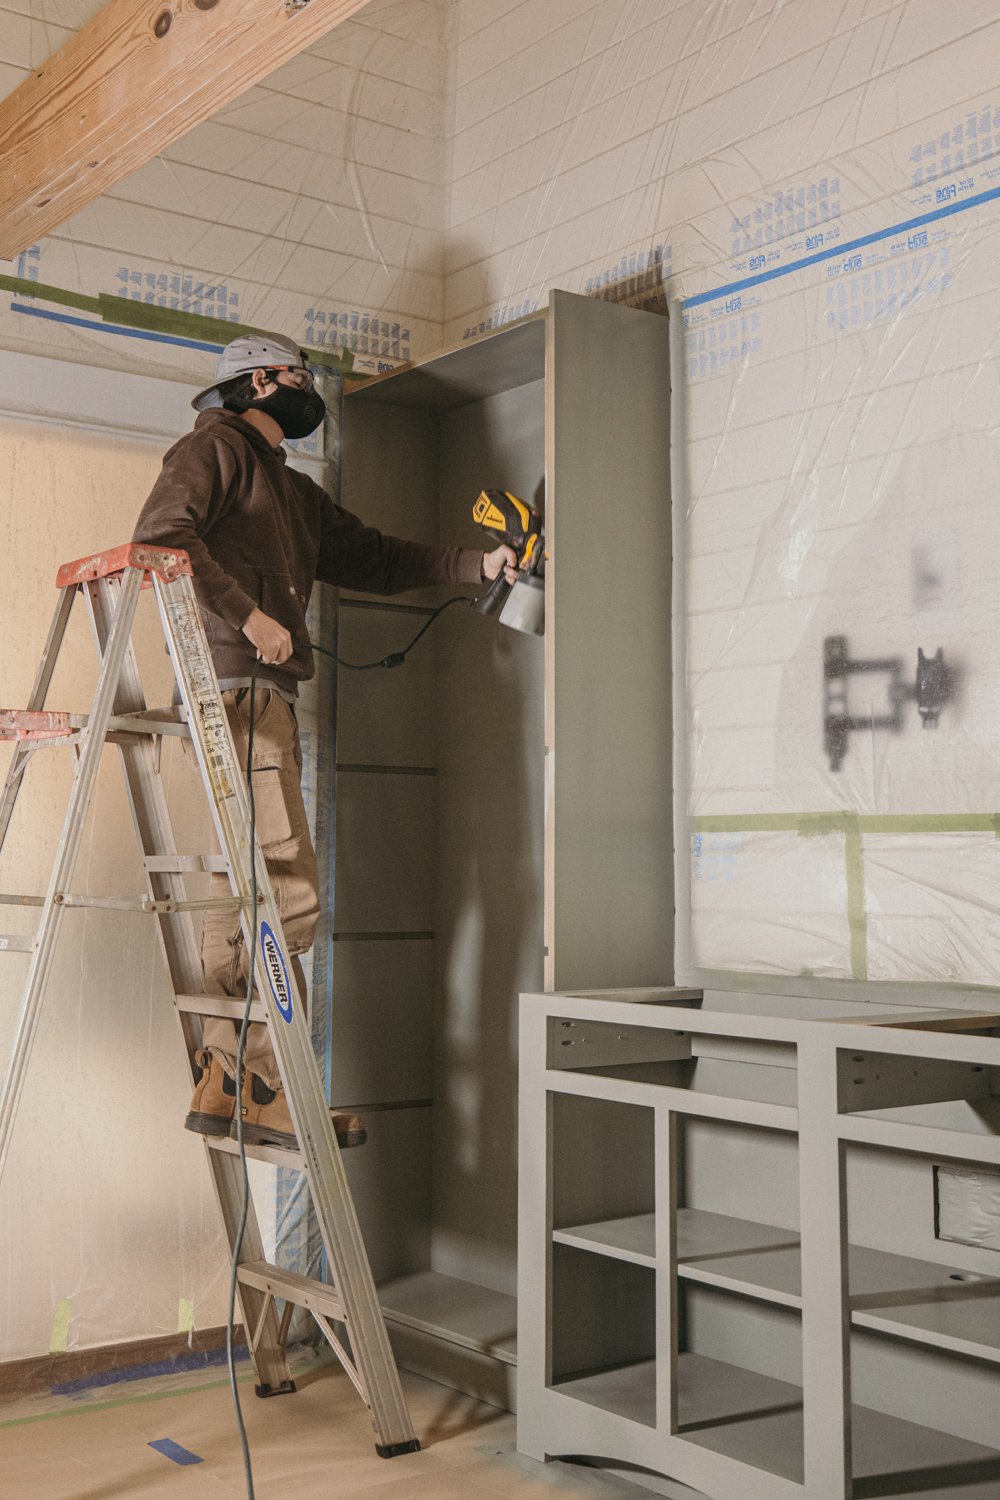
Paint
COLOR. We used our Wagner Flexio 3500 sprayer and Behr’s Cabinet and Trim Enamel in the color Evergreen Fog by Sherwin Williams. Listen. We aren’t huge on color, but let me tell you…you need this color in your life. It’s a green, but ever so slightly green. So much so that I would still consider this a neutral. Also, can’t forget to mention that we sprayed the cabinets without the doors, drawers, and book shelf face frame inside the house! We taped a lot of things off just in case, but the Flexio 3500 did an incredible job for what it’s supposed to do!
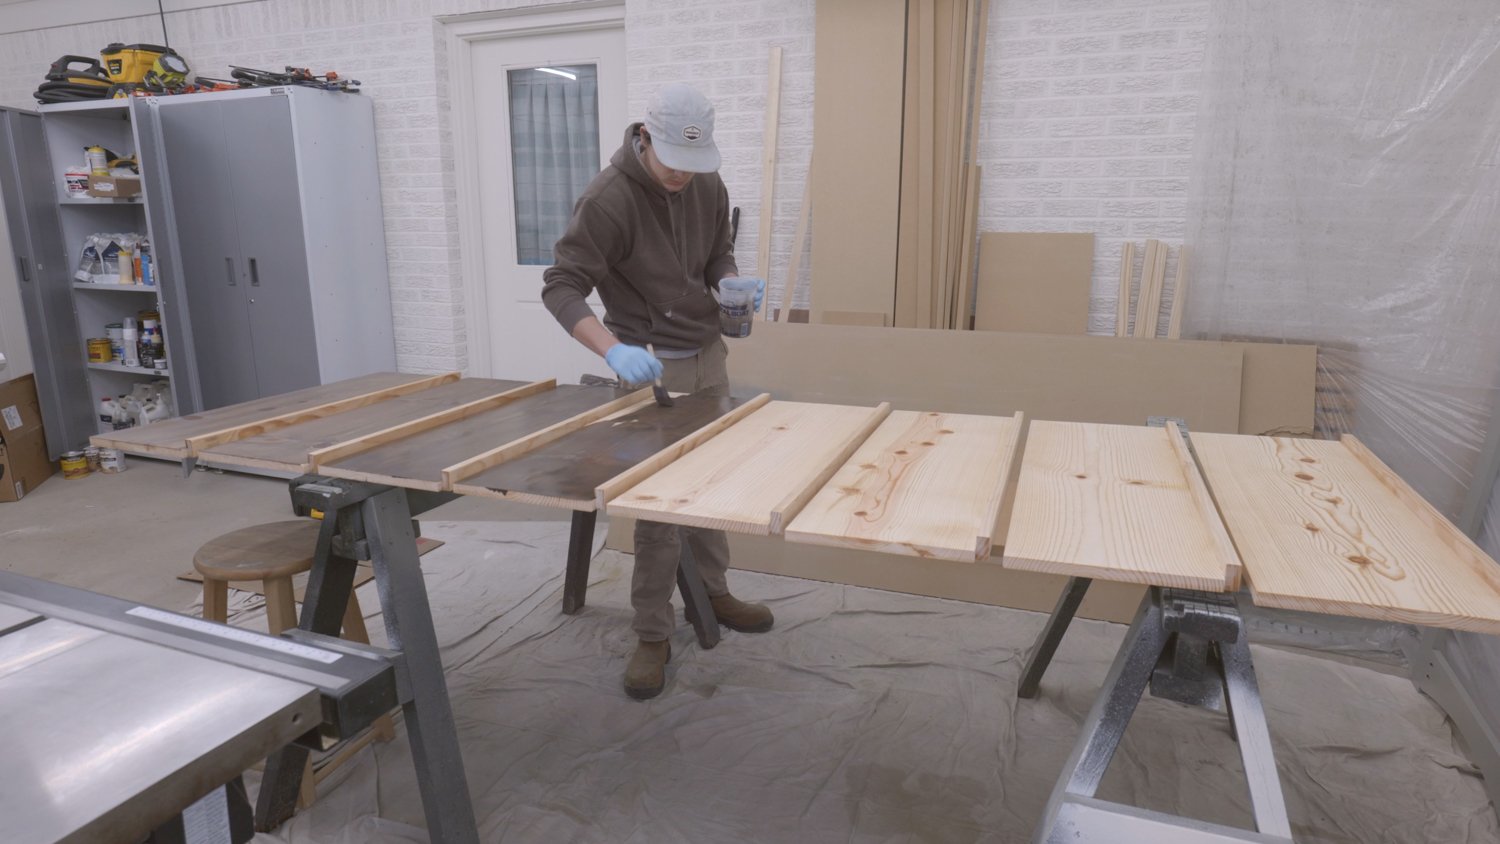
Stain Shelves and Console Top
Stain all your shelves and console top! We made a custom color with 1:4 mixture 1 Part Dark Walnut 4 Parts Weathered Gray. Then seal with a Shellac.
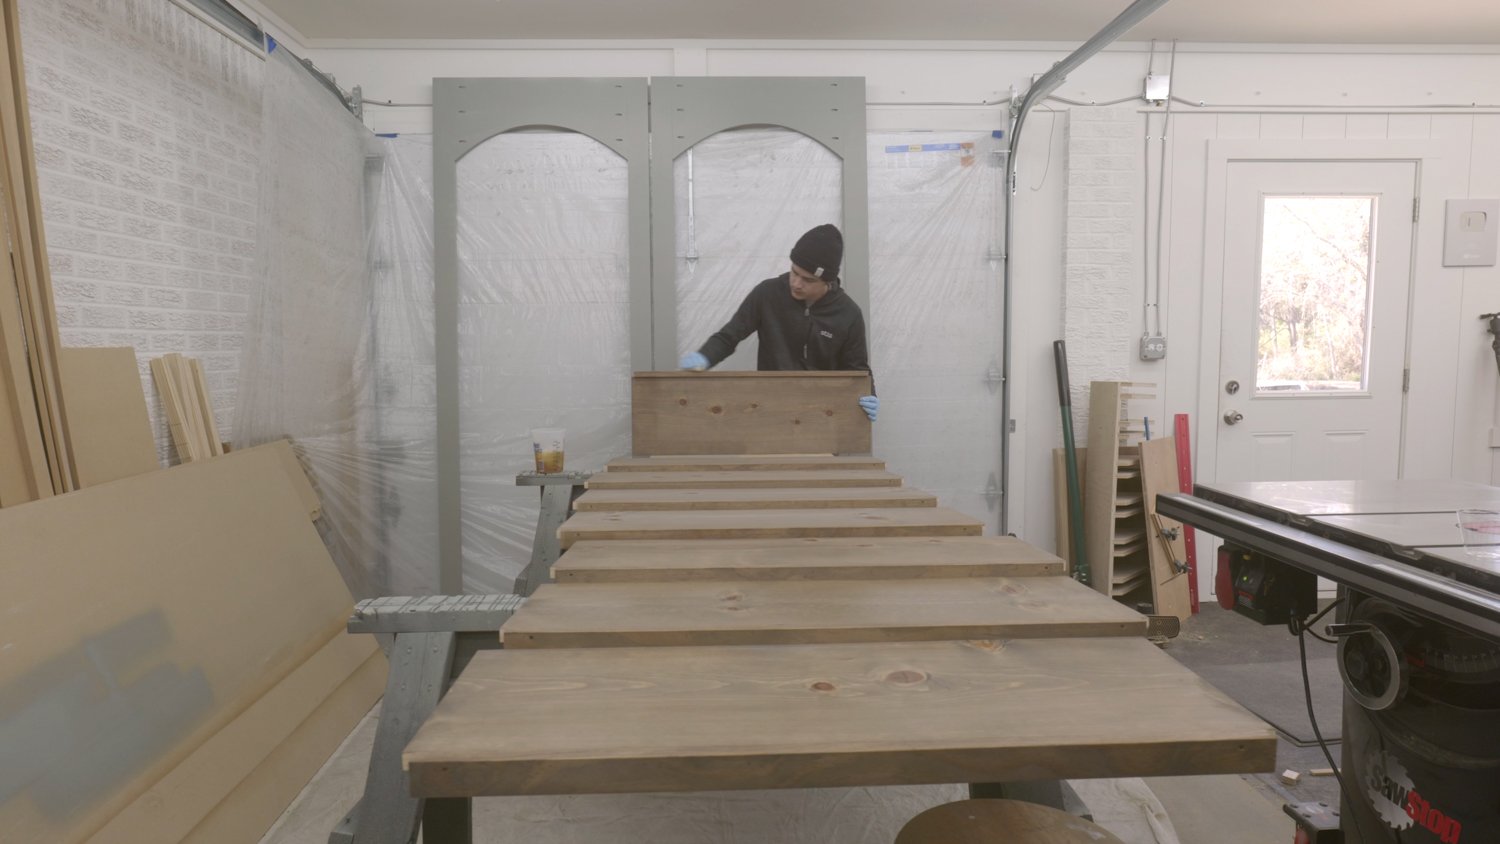
With the shellac, it should dry pretty instantly, but while you wait go ahead and spray or roll on your second coat of paint if you think you need it!
Final Assembly and Touch Up Paint
FINAL ASSEMBLY. Slide in the shelves and console top, then attach the bookshelf face frames on with trim head screws. You can fill in those holes with some wood filler and then sand and paint over.
Decorate and you are done!!