DIY Modern Outdoor Kitchen
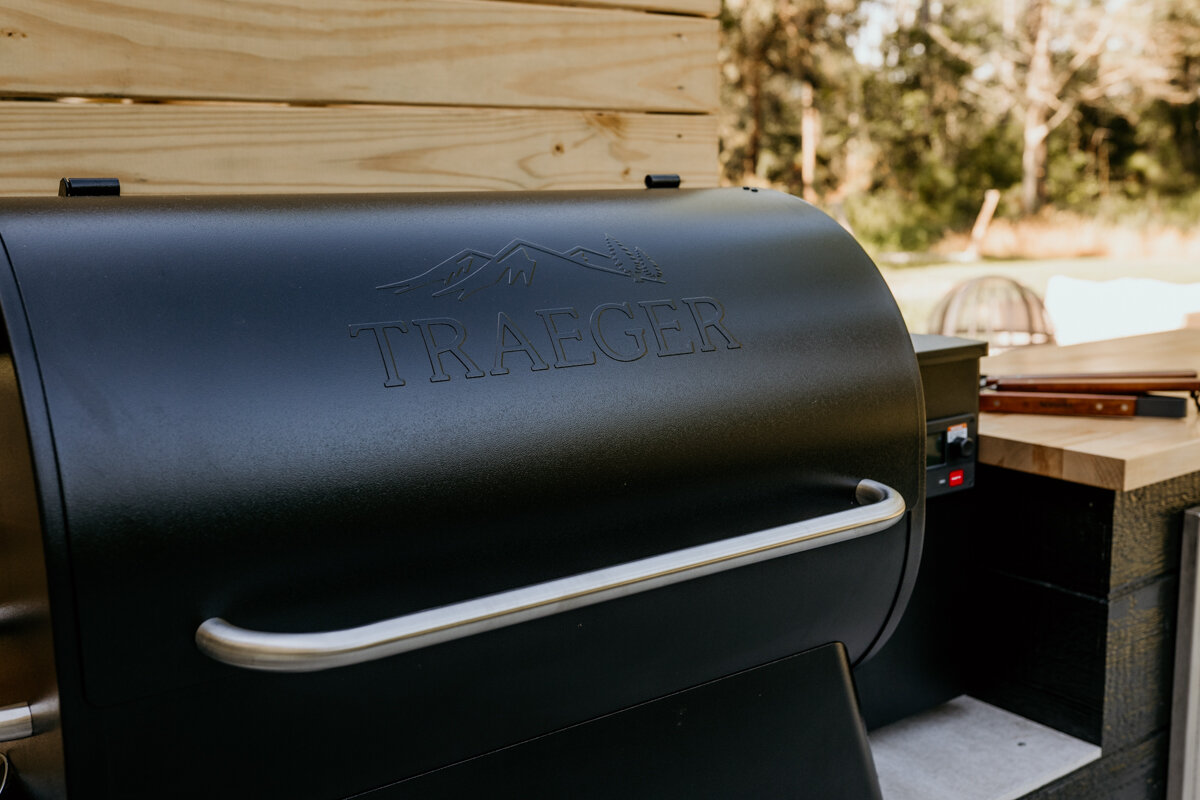
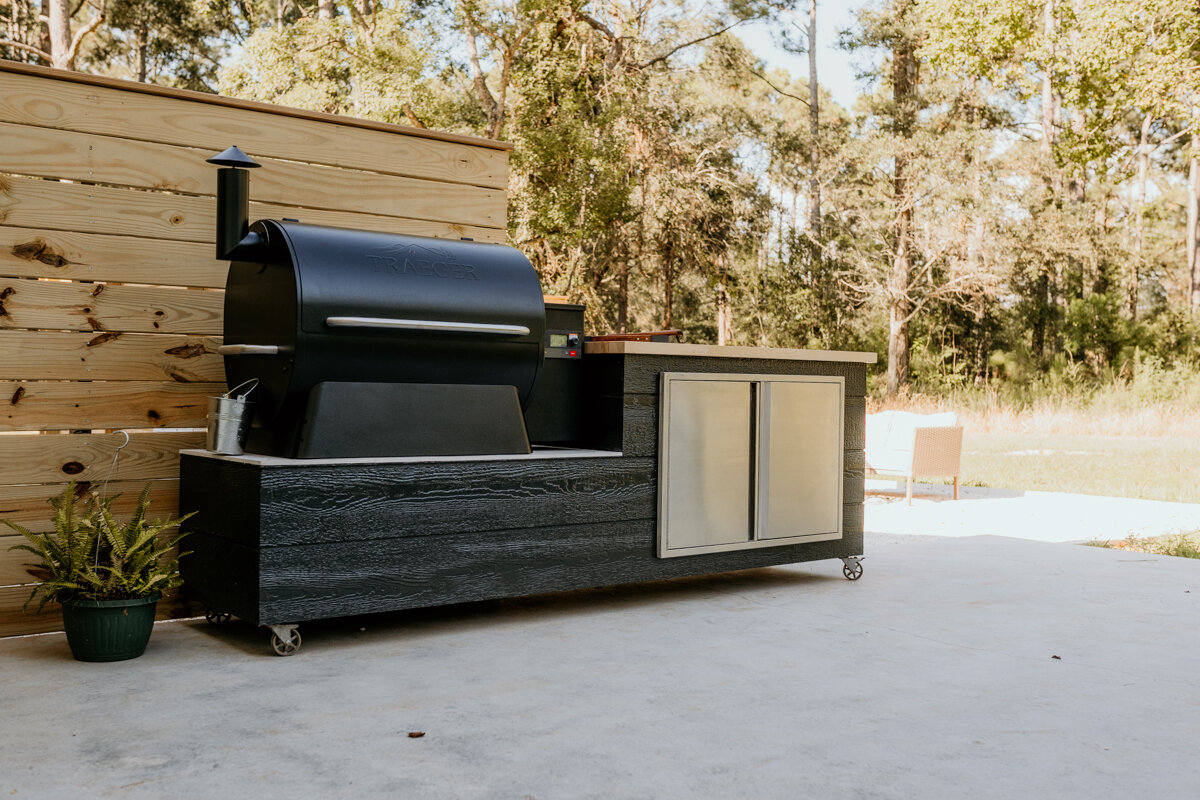
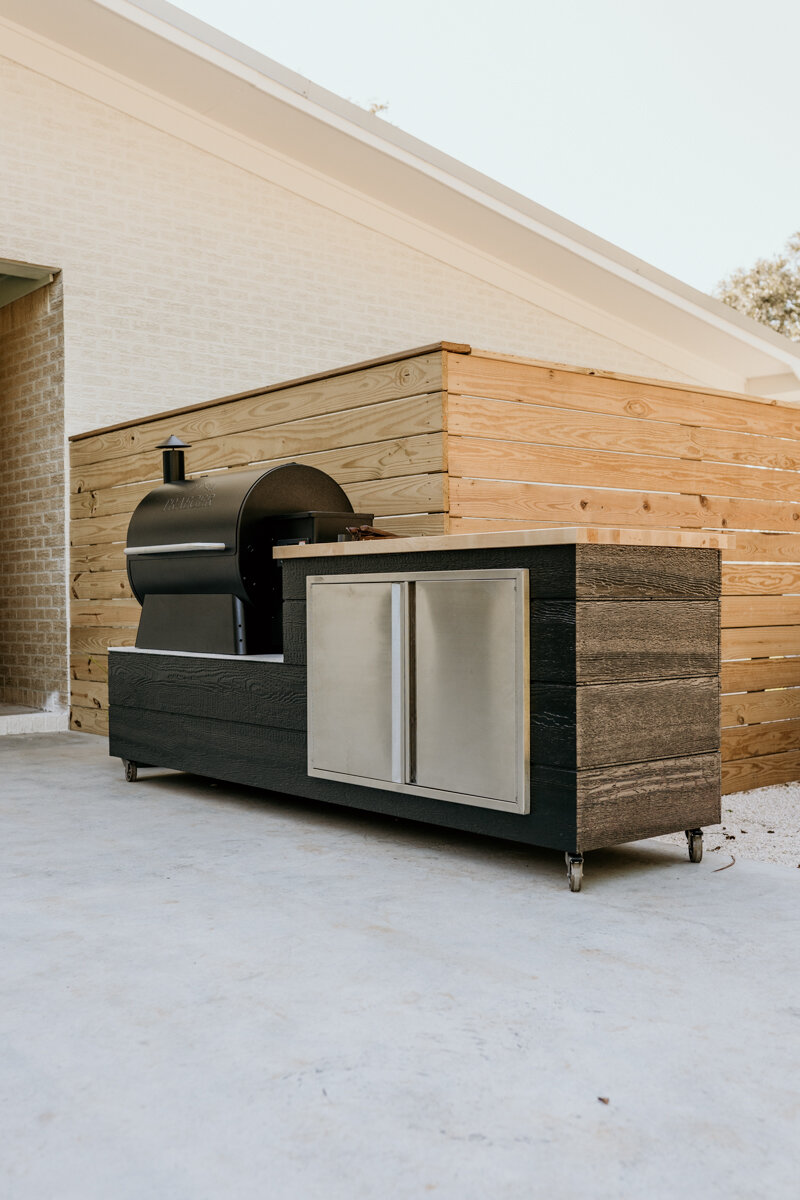
We are building a super fun project and this will really bring the entire back patio together. No back patio is fully complete without a grill station or outdoor kitchen, so I am walking you through this really exciting build. We have this Traeger grill and I really want to make it a focal point of our back patio. For the design of this outdoor kitchen, there are a few things that are important to me to have, a prep station, storage, and have the grill be a part of the build and structure and not free-standing. As much as I love the color white and lighter tones, this outdoor kitchen needs a bit of contrast from the house and other things we have out on the patio, so painting it black is a major plus. I handed off my ideas to Dylan and he came up with an awesome design, so now we can get to building.
Materials:
• (10) 2x4x8: https://homedepot.sjv.io/x92gYO
• (1) 4x8 Plywood: https://homedepot.sjv.io/mgXPWy
• Pocket Hole Screws: https://amzn.to/3AHOijf
• (4) 4x8 Primed T1-11: https://homedepot.sjv.io/LPxMb3
• Trim Head Screws: https://homedepot.sjv.io/DVbvXG
• Casters: https://amzn.to/37Gfbb1
• Bits&Bits Flush Cut Bit: https://bitsbits.com/product/rftd2100-down-cut/ref/6206/ (Use code “WOODBREW15” for 15% off!)
• Caulk: https://homedepot.sjv.io/DJqXd
• Black Paint: https://homedepot.sjv.io/XxLM7M
• Wagner Control Pro 130: https://bit.ly/3kFFzaD
• Butcher Block Top: https://homedepot.sjv.io/7mGvjV
• Halcyon Clear Gloss Varnish: https://www.totalboat.com/products/halcyon-water-based-varnish?variant=43199624708320&sca_ref=3441955.CvWkTwgJnC
• Wagner Flexio 4300 Sprayer: https://amzn.to/3pJobVS
• Metal L Brackets: https://homedepot.sjv.io/KeqMnv
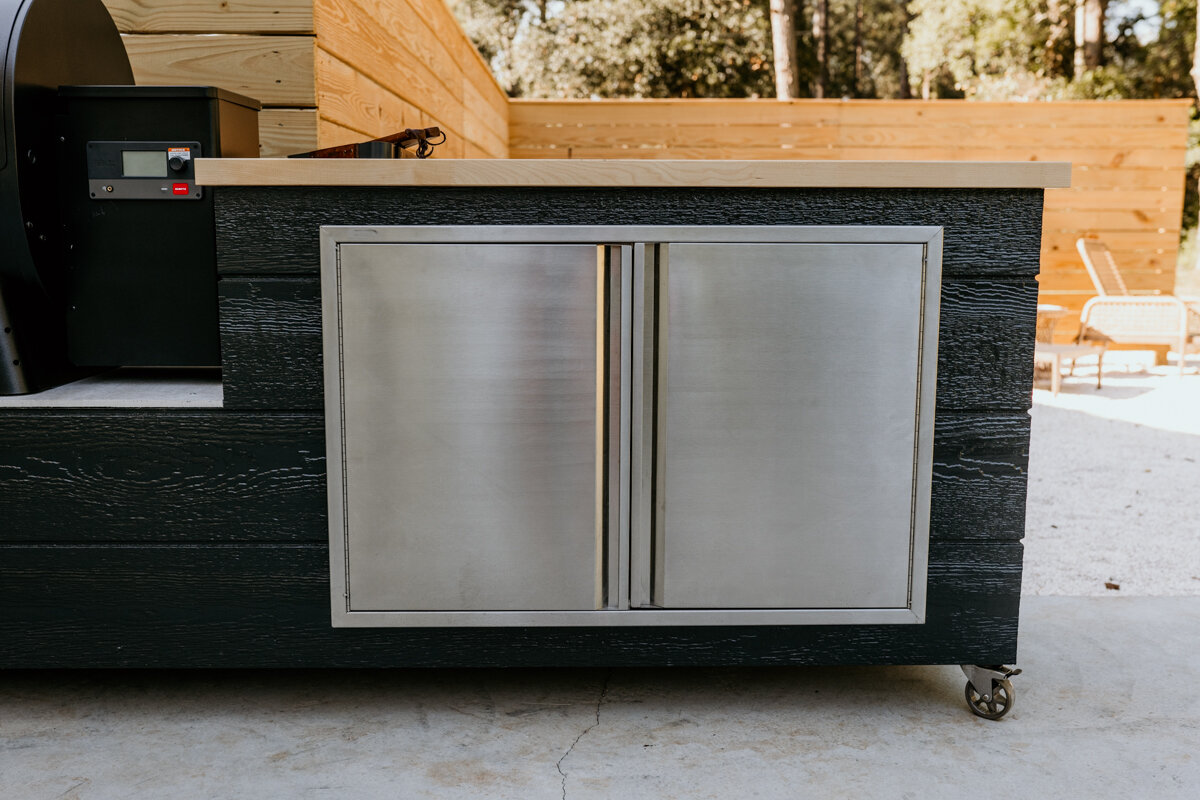
• Stainless Steel Doors: https://amzn.to/37Jyq3s
• (1) 3x5 Hardie Board: https://homedepot.sjv.io/jWn9Ya
• Traeger Grill: https://homedepot.sjv.io/WD4bmn
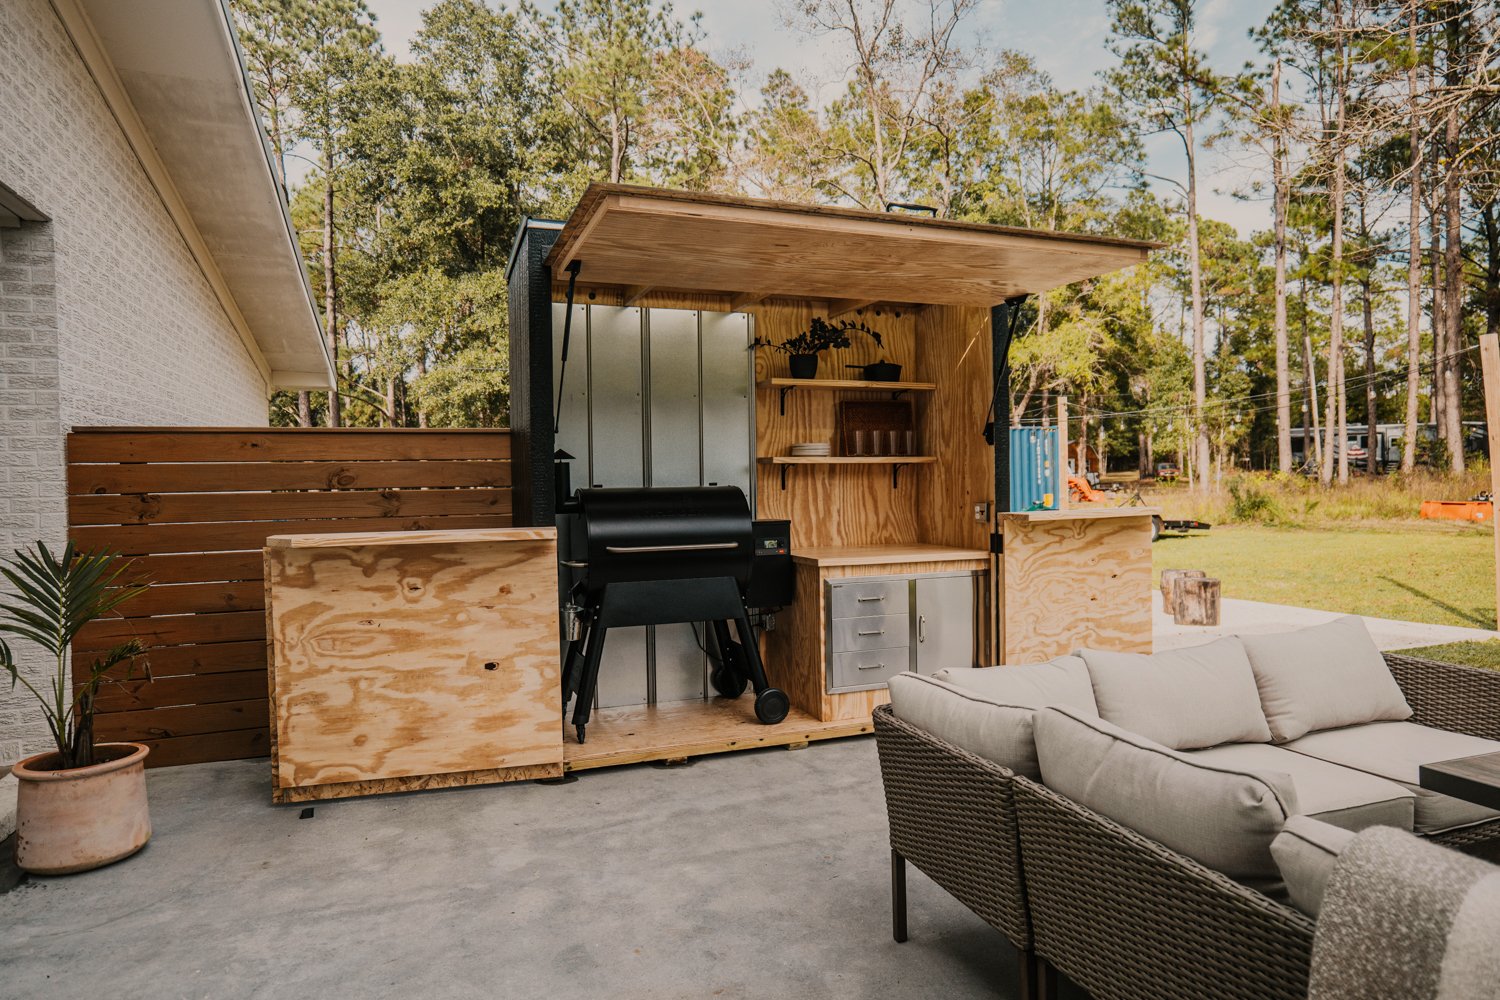
Here’s another Grill Station that we built that is the same style, but IT CLOSES! Yup. You can put your grill in there and have a covered area for your prep station and storage cabinet. Grill in the shed, or pull it out, but now you have the option to keep your grill away from the elements especially if you don’t have a covered patio like we do.
Break Materials Down
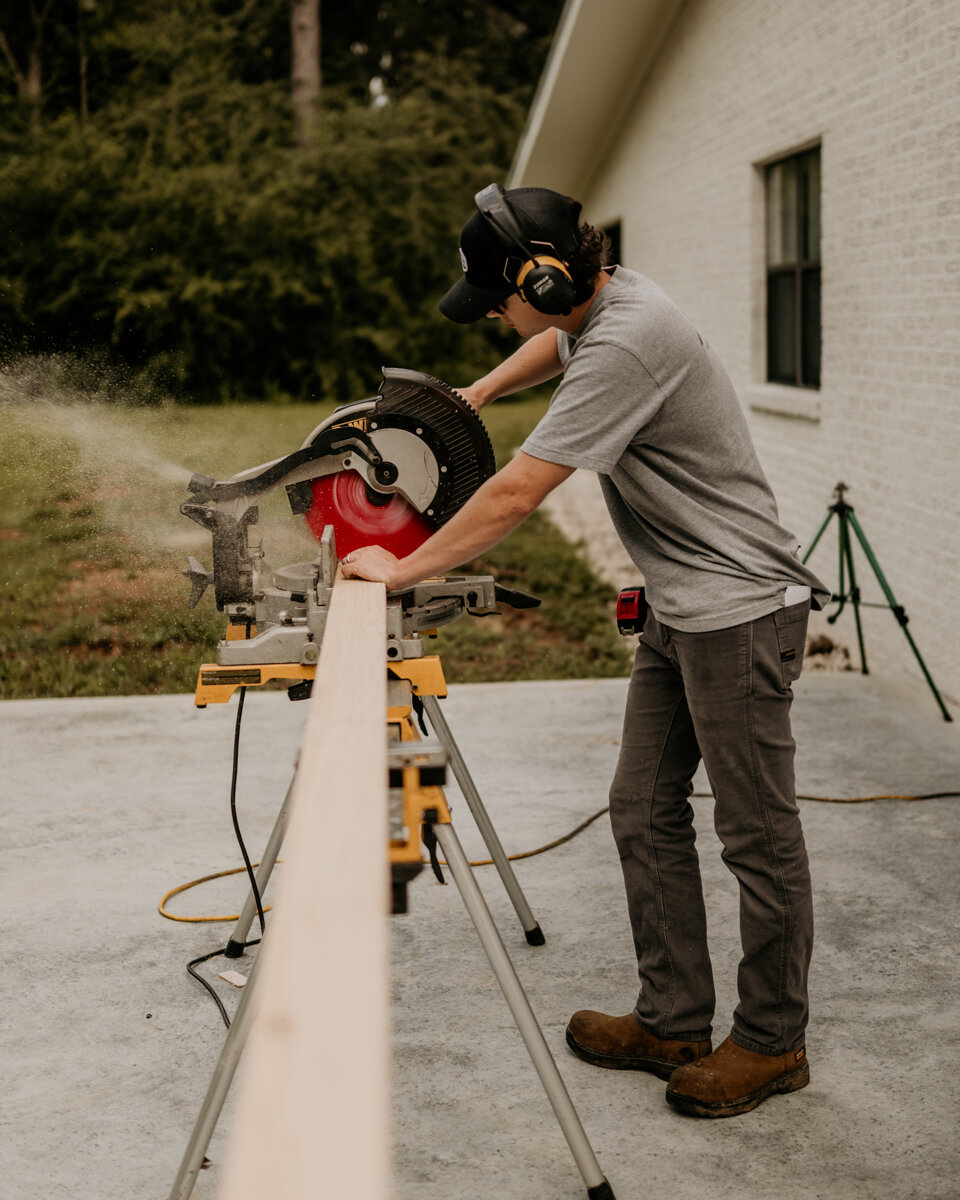
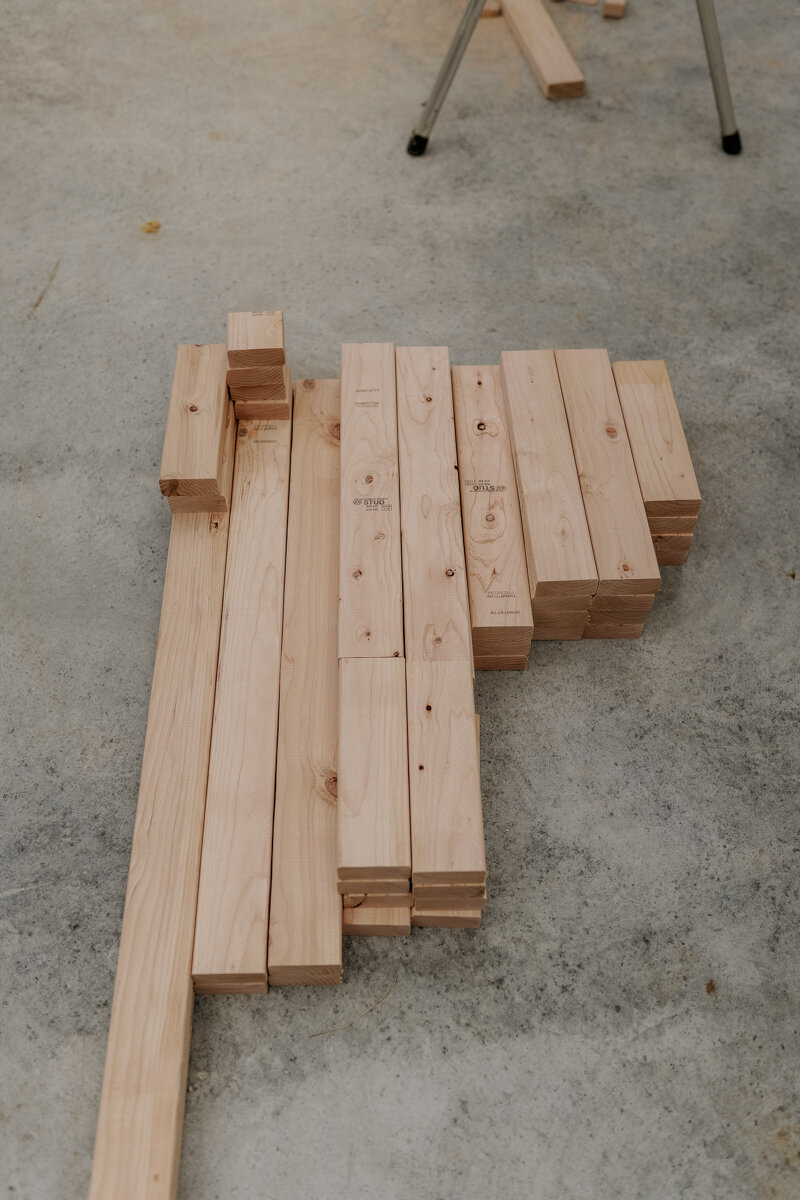
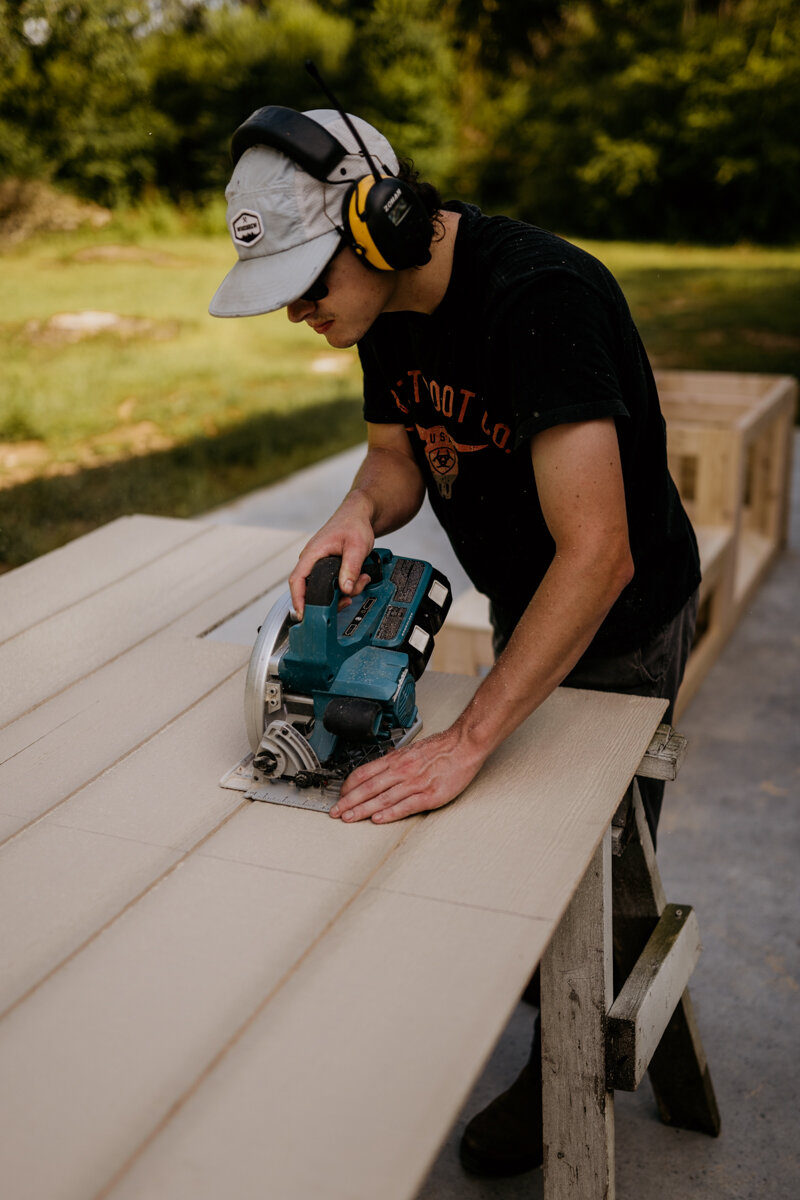
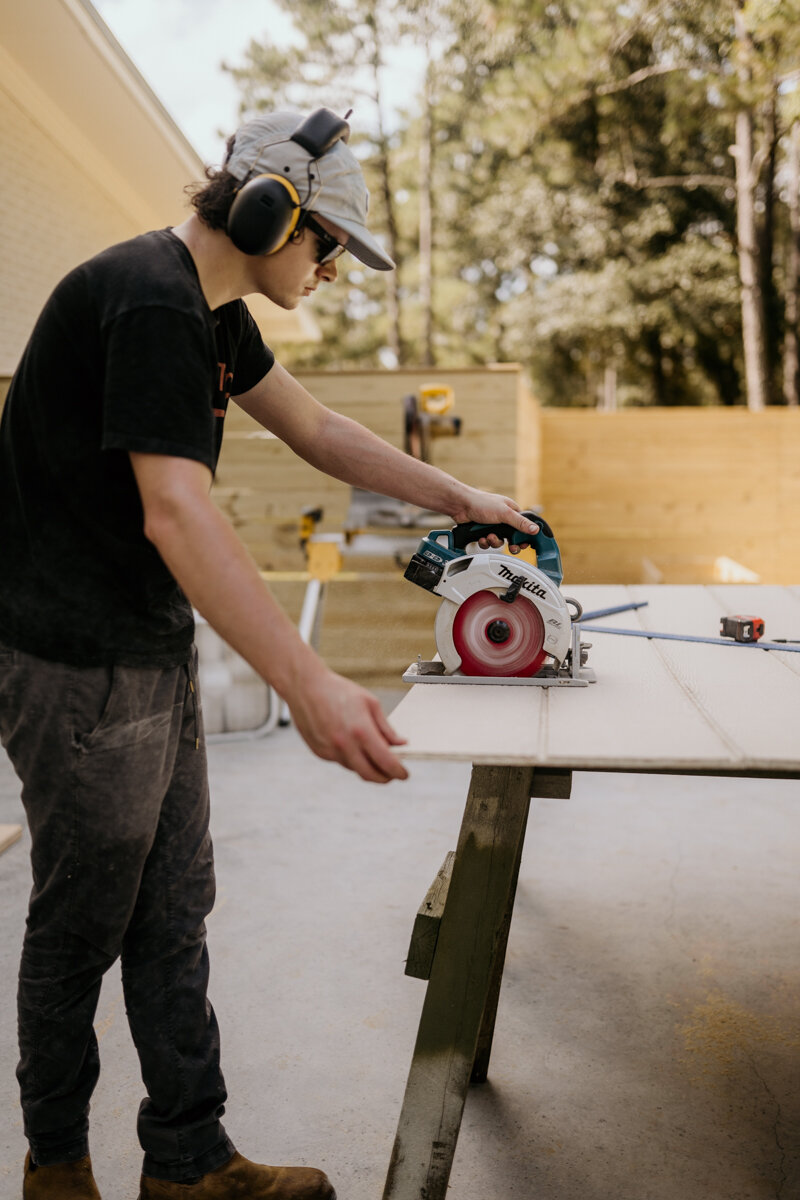
This build starts off with 10 2x4's. The first step is breaking all these down to all the different lengths we need. We do have plans available for this project with the material list, cut list, and detailed instructions, so check those out here or visit our Store page.
Drill Pocket Holes and Assemble the Frame
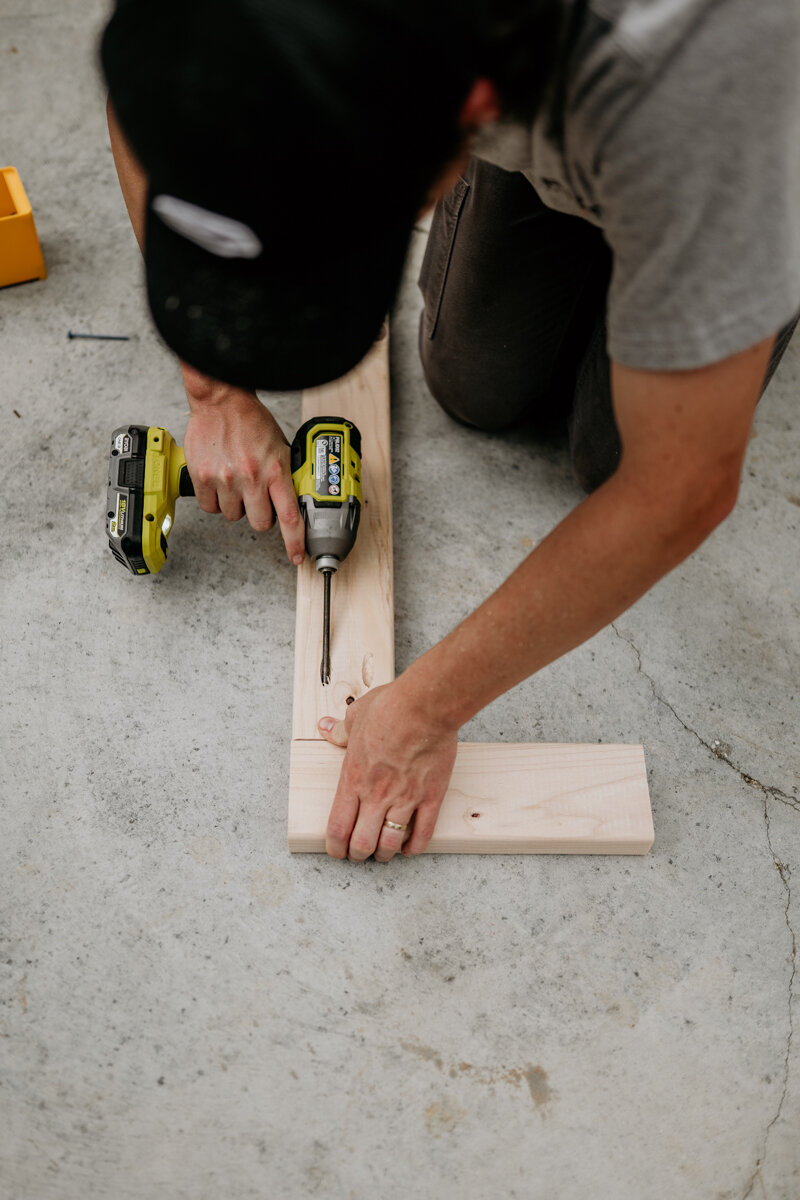
Once all the 2x4s are cut to length, the next step is drilling pocket holes to put together the frame the grill will sit on top of.
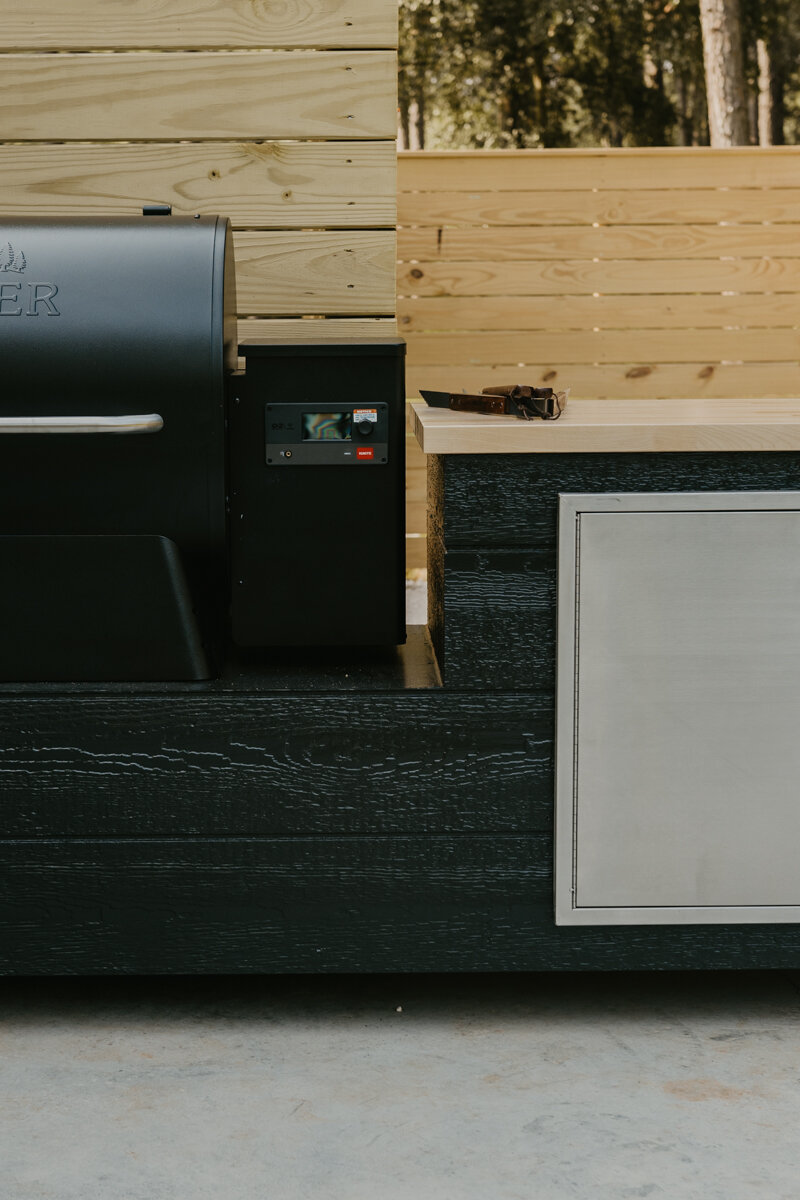
So essentially there are two frames, one for the grill to sit on and another one that is taller with a countertop and stainless steel cabinet doors underneath.
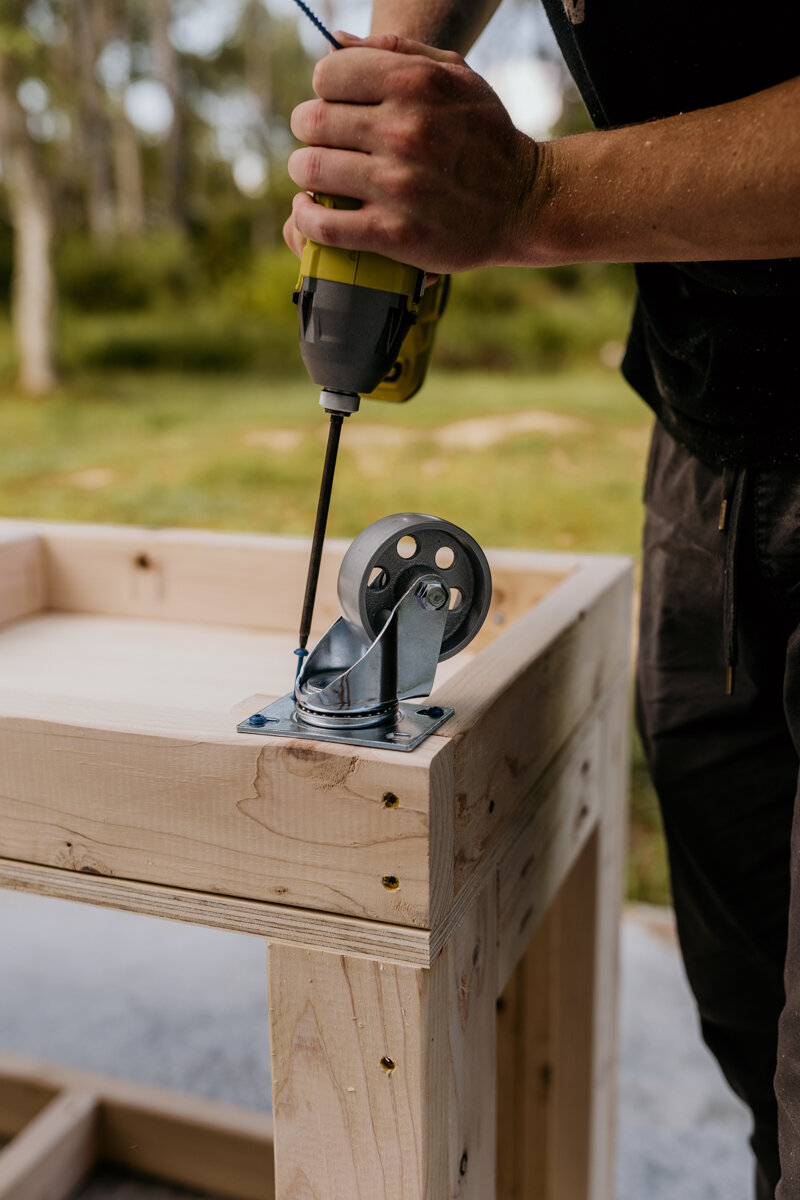
Now with the two frames are built, we need a base to sit them on and that's just a basic rectangle with support pieces in between.
Small pieces are added in each corner so we can attach some casters for easy mobility. The casters in the above photo aren’t the ones we ended up going with. They didn’t have a brake and we didn’t realize it until we put them on.
Next, we are using 3/4" Pine plywood for the top of the grill frame and the bottom of the cabinet frame. When that is put into place and screwed down, each box can get attached to the base with pocket hole screws as well and then finally attached to each other.
Attach Siding
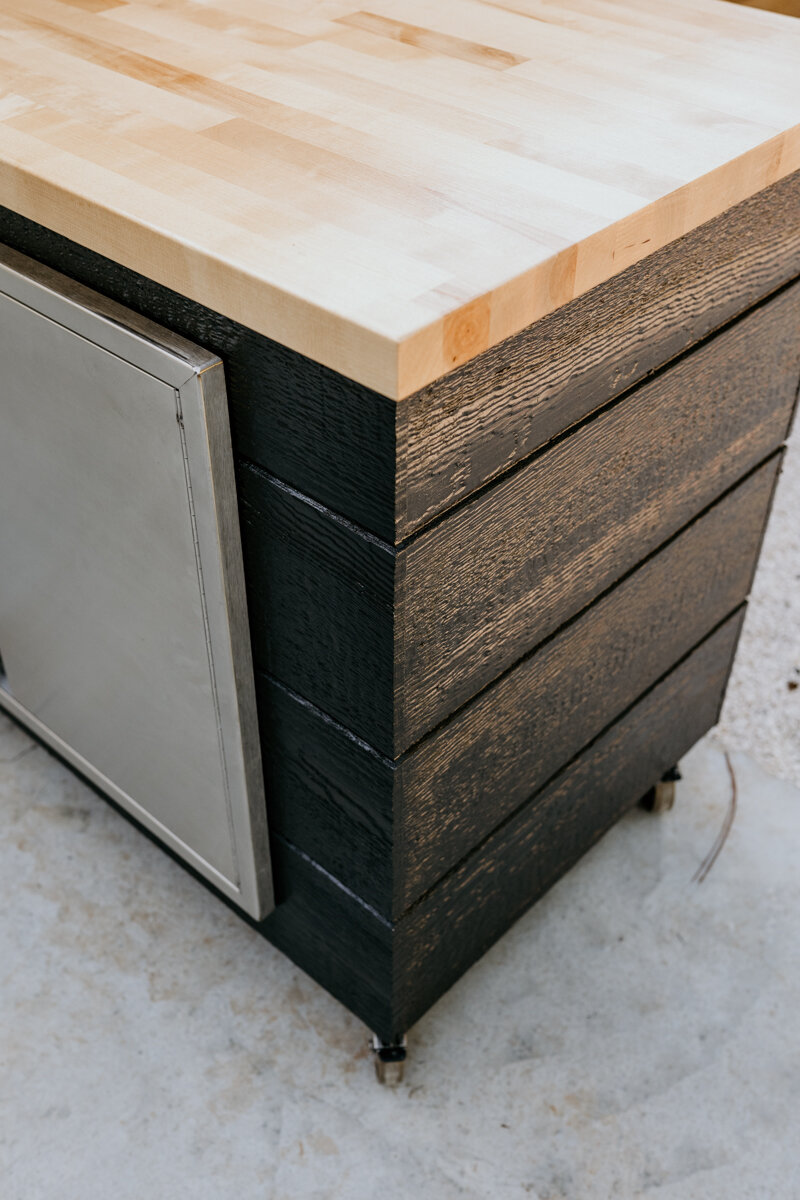
For the sides of the grill station, we are using primed T1-11 siding and we've had our eye on this stuff for so long and are excited to use this in a project. First, Dylan cut out one side so then we can reference that to match up the seams everywhere else and used trim head screws to attach to the cabinet.
I know this is a little difficult to see on the video, but Dylan drew out the measurements for the entire front of the cabinet and carefully cut out the opening for stainless steel doors.
He used our Ryobi multi tool to finish off the cuts because of the round circular saw blade once on the cabinet and that made it a lot easier to just pop out.
We moved the cabinet out to get ready for the finishing stages, but first, the siding was flush trimmed all the way around with the Bits and Bits flush trim router bit. This bit is such a staple tool in our shop and useful for so many things. We also routed out the thinner sections of the panels at the corners to make it look seamless all the way around.
Dylan added paintable waterproof caulking over every edge to make sure this thing is watertight. We will have a cover over this grill station most of the time, but the caulk will also clean everything up nicely.
Add Finish and Paint
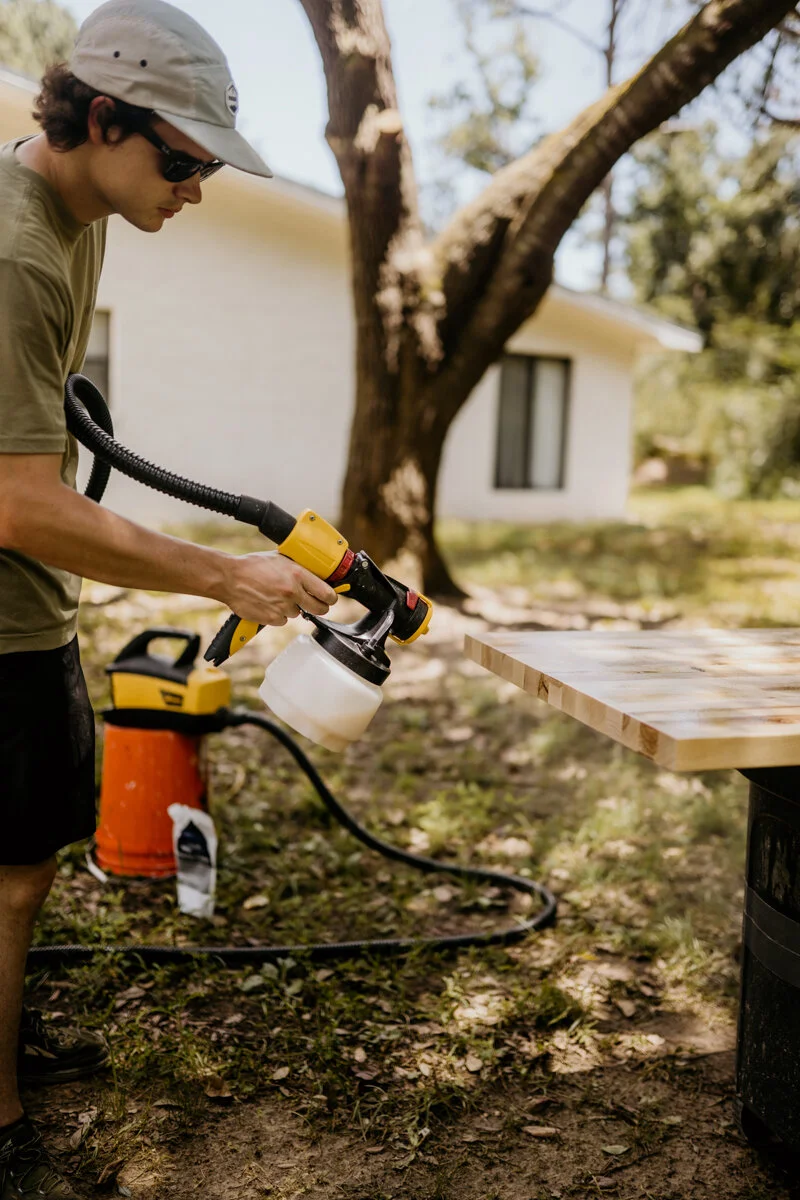
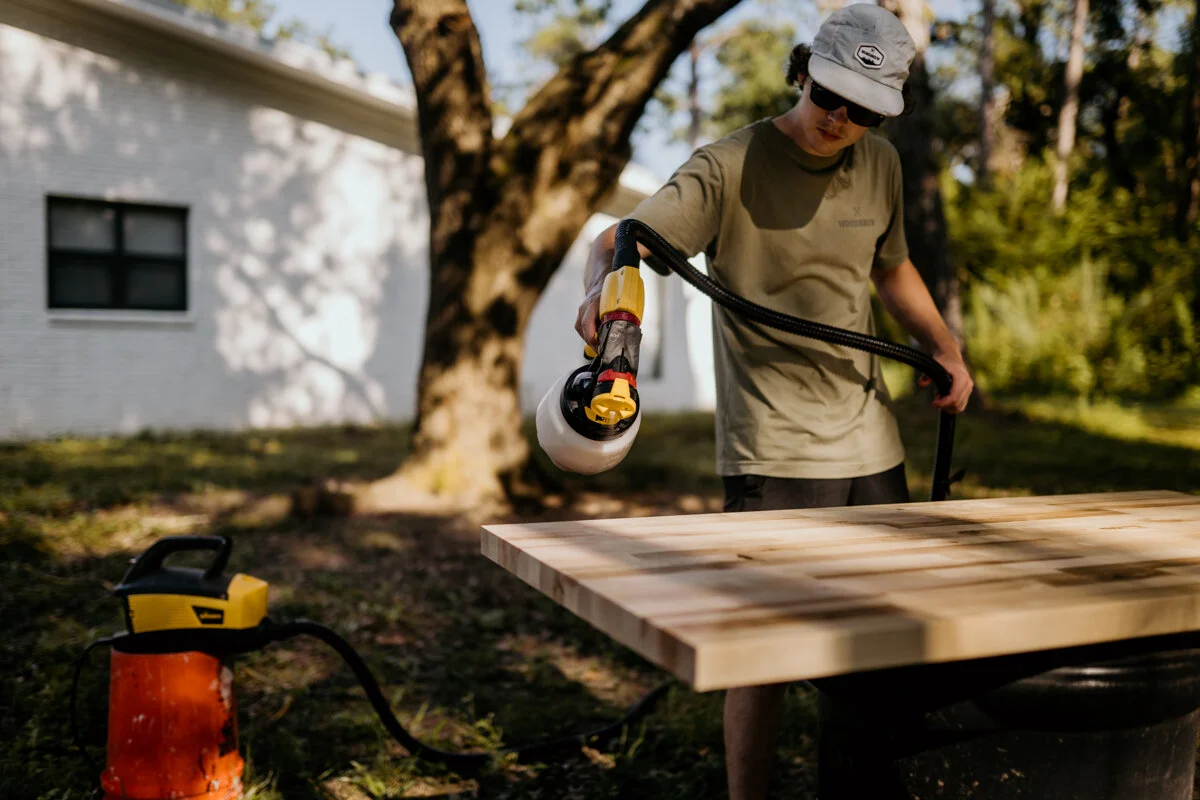
While that dried, we grabbed our butcher block countertop for the prep area of the grill station. This is a premade countertop from The HomeDepot and comes already the exact size we need. Wood and water don't go together, but actually, the sun can do just as much or more damage than water. To protect this countertop from the elements we grabbed our trusty Total Boat clear gloss halcyon varnish and Wagner sprayer. The Halcyon is such a durable finish that it's made to be outside in the elements, so it'll be a great finish for this outdoor counter. The Halcyon finish is one of our favorites because it's water-based, meaning clean-up is easy, but also because it's very easy to apply. We did 3-4 coats using the Wagner Flexio 4300 sprayer. This sprayer is super versatile and affordable. The X-Boost turbine allows you to spray unthinned paints, stains, and sealers and the hose is 15 feet so really 30' of working area if you were spraying interior walls. It is a fantastic all-around sprayer.
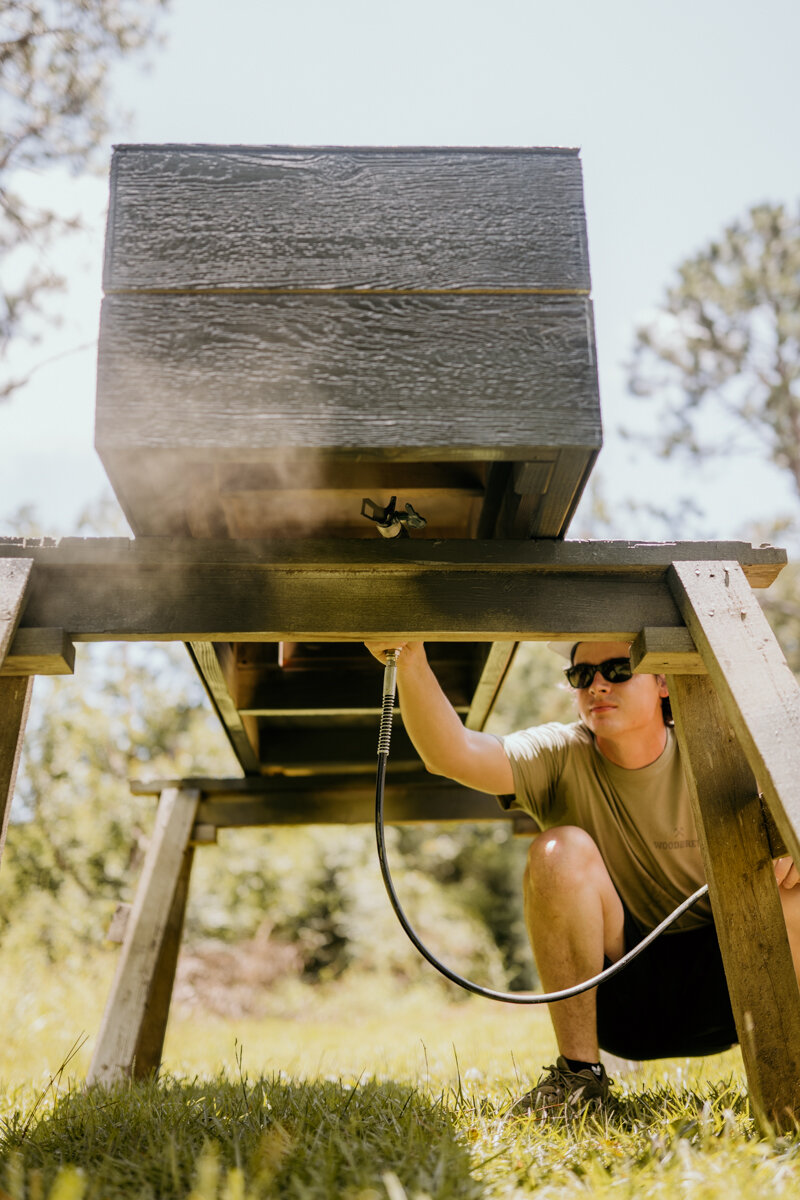
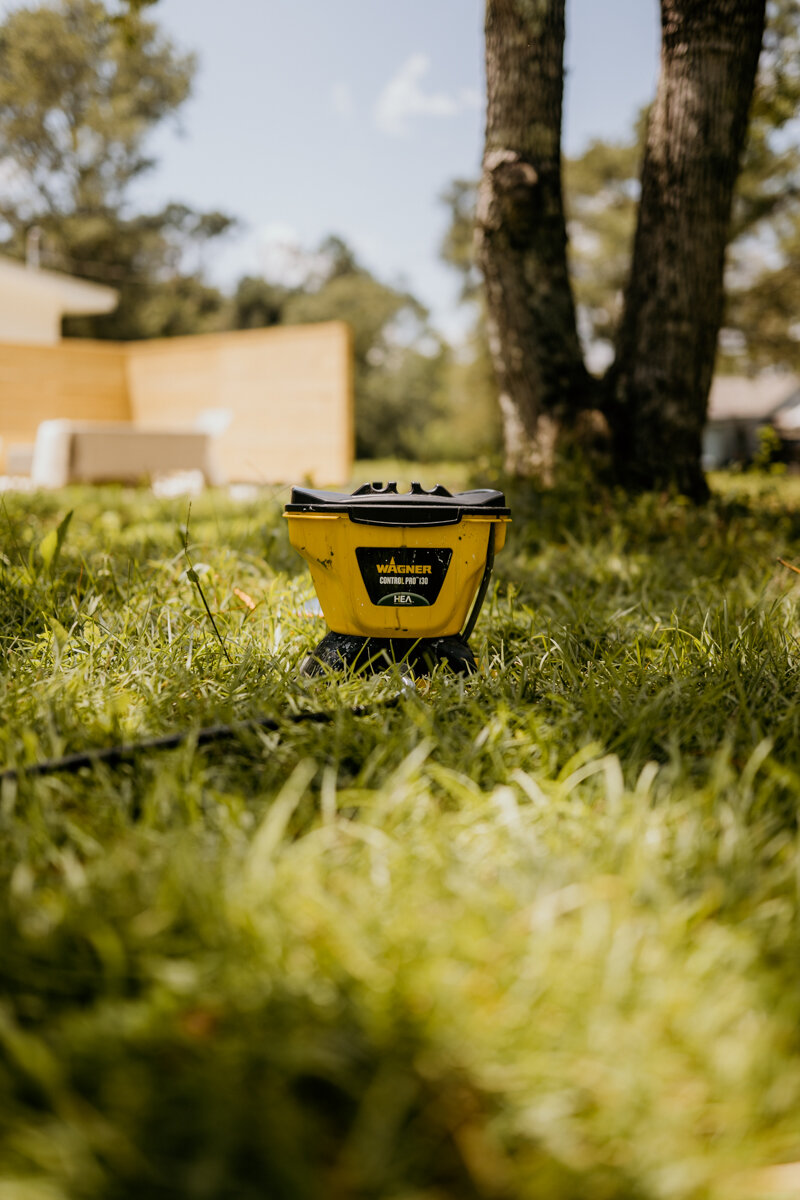
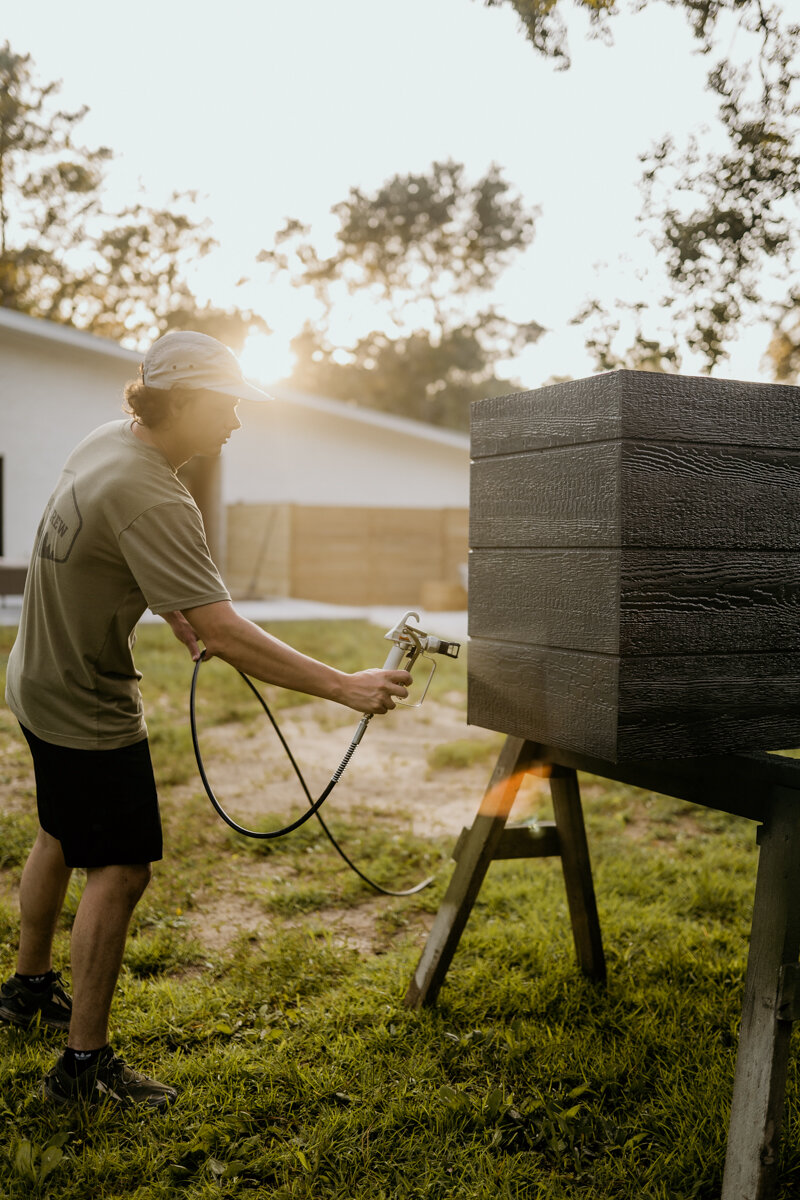
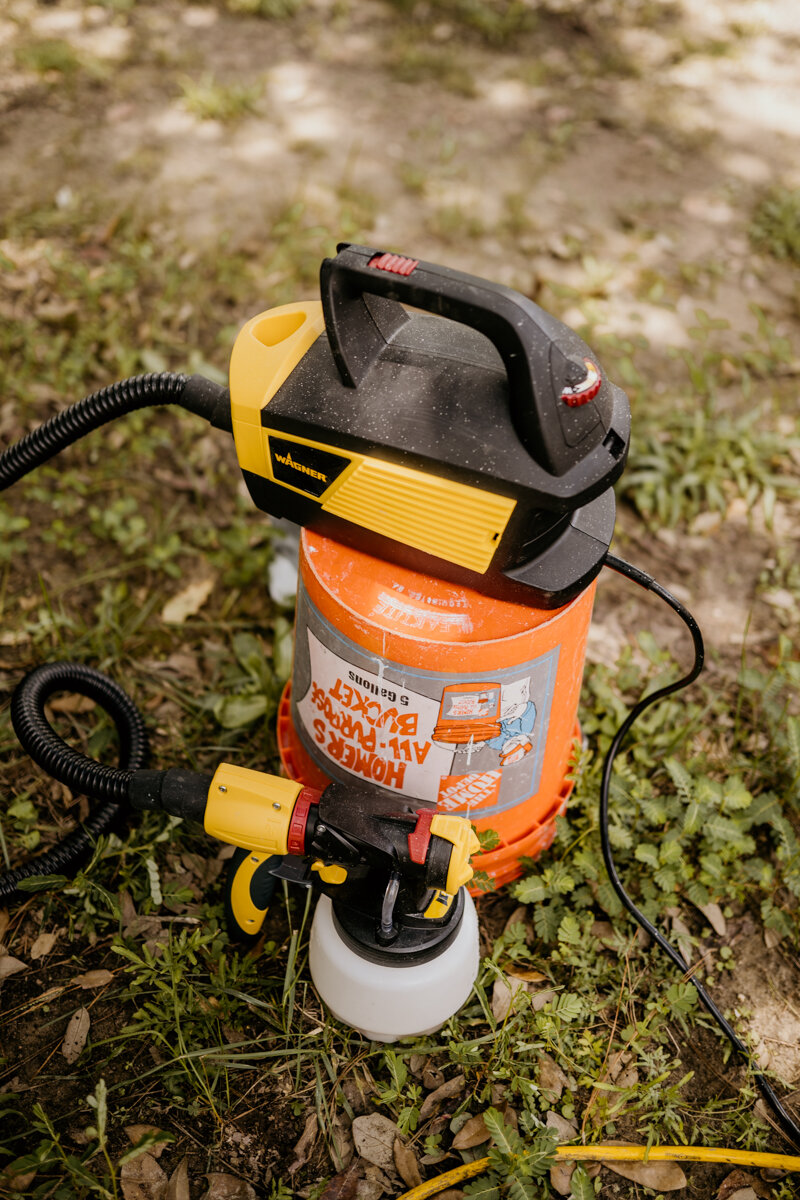
And again, while that dries, we moved back to the cabinet and prepped for spraying our paint with our Wagner Control Pro 130. This is an airless sprayer and so easy to set up and use. This sprayer actually produces 55% less overspray than other airless sprayers, so that means less paint or finish usage. Wagner has tons of sprayer options and we wanted to show you just a couple of our favorites today. You can check the link in the description to find out more about these two sprayers.

We chose black paint so that it'll match the back door and other furniture on the patio, but honestly you can't go wrong with such a classic color to make a project feel a little more luxurious.
Heat Protection
We used a sheet of hardie board to put where the grill will sit and this will get screwed directly to the base.
Attach Butcher Block Top
For the butcher block top, we added little brackets to the base then we can set the top on and attach it to the base from inside the cabinet.
Done!
This project turned out so good and we loved the contrast of the black next to wood and the white house. The texture of the siding looks amazing, the stainless steel doors match the handles on the grill perfectly. We cannot wait to have friends and family out here for a good cookout!