How To Use a Jointer
Let’s first establish why you might be interested in getting a jointer and how to use one. If you look at what you typically get at a home center, those boards have already been planed, flattened, trimmed on both sides and down to the correct thickness. That is awesome, but it comes at a cost. A simple 1x6 at a home center where we live is $4.86 per linear foot. An 8ft board with tax is almost $40.
If we look at the equivalent in rough-cut form, which is oversized in all dimensions, costs us about $15…for the entire board. So, yes there is some work involved in getting it to look like the board from the home center, it saves a ton of money especially if you are planning to get a jointer for your business.
How a Jointer Works
Let’s dive into how a jointer works because once you have an understanding of the way it’s actually working, it makes everything else so much easier.

A jointer has 3 important faces, the in-feed side of the table, the out-feed, and the jointer fence. It is very important that the in-feed and out-feed tables are both flat and on the same plane (parallel) with one another. That is something you don’t typically have to worry about because most jointers are going to come set up that way already. The fence, however, is adjustable and we do want to make sure that the fence is square to the bed. We will get to that later in the blog.
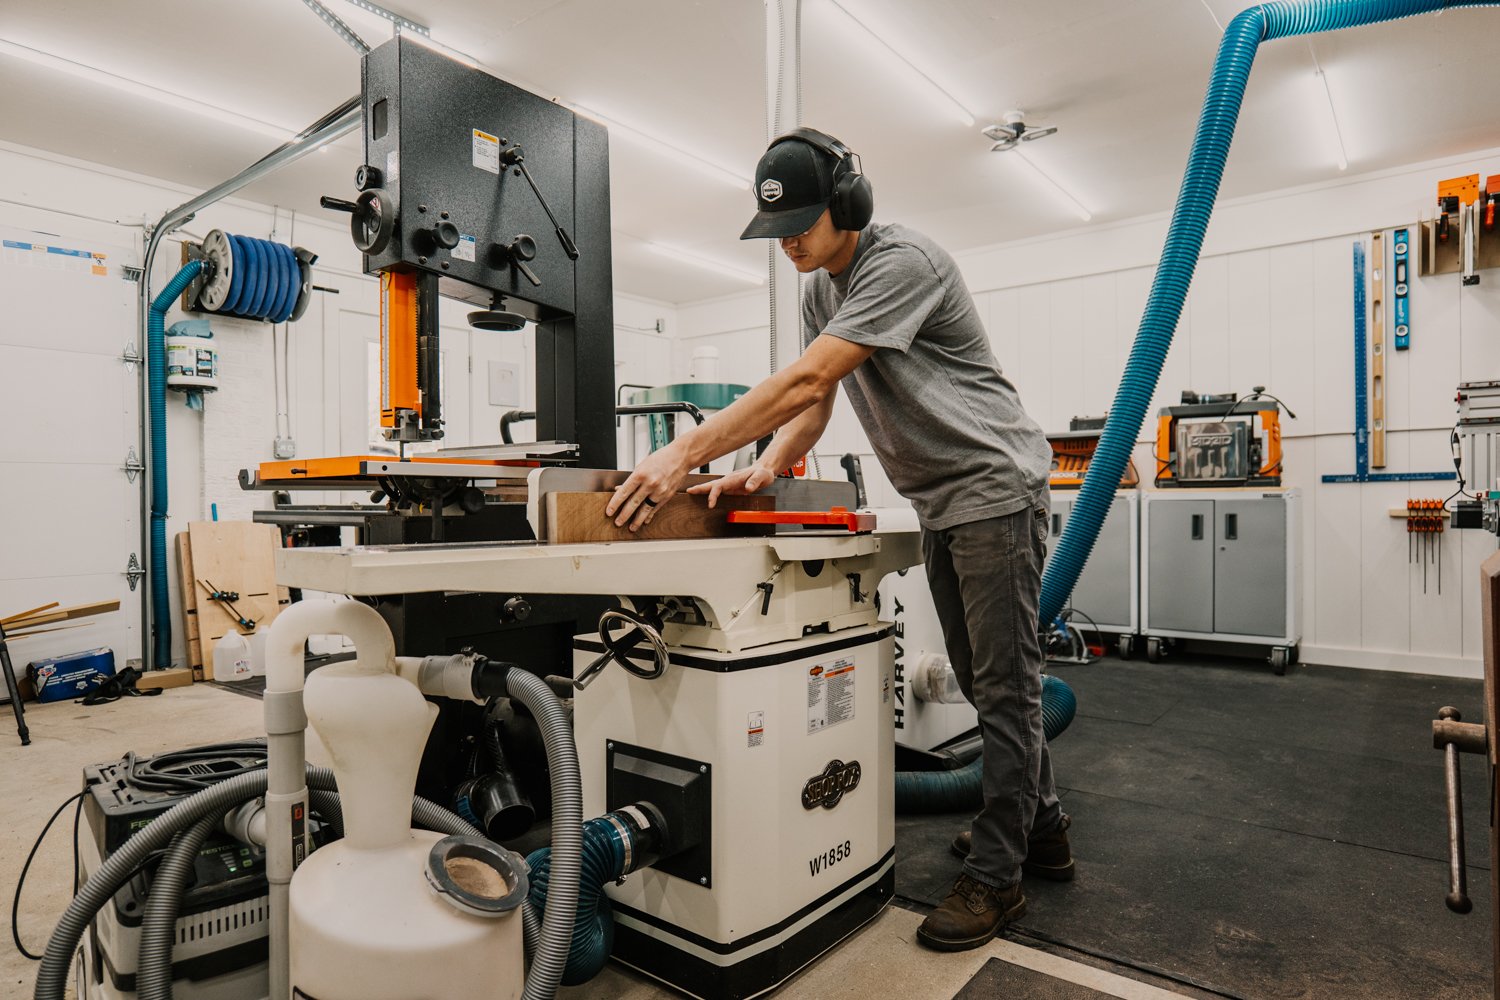
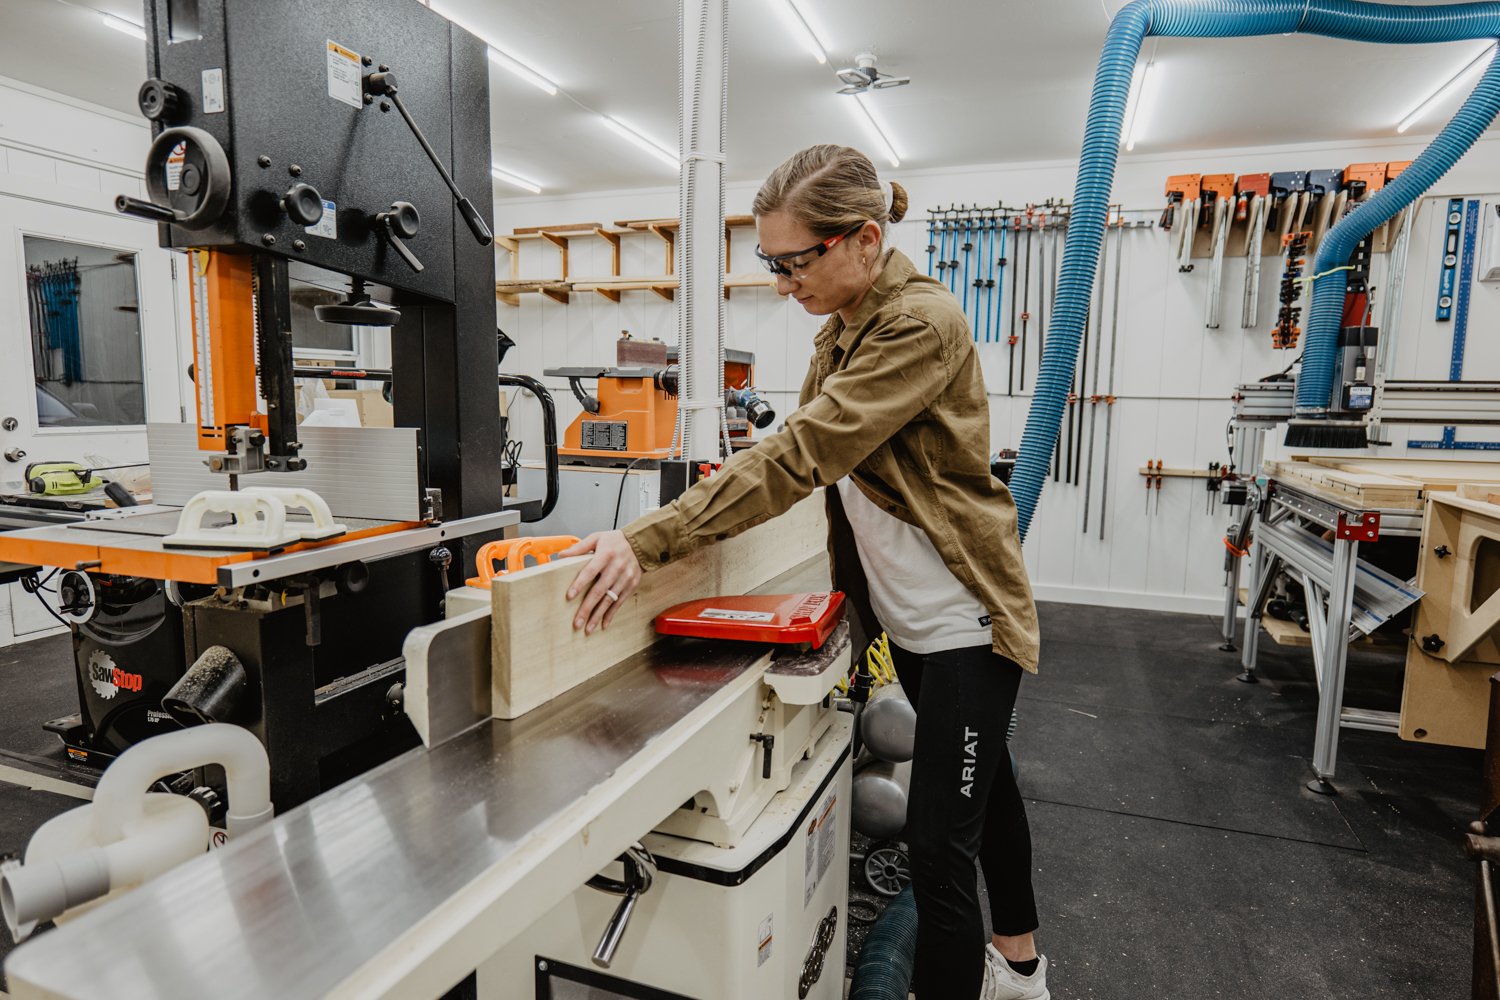
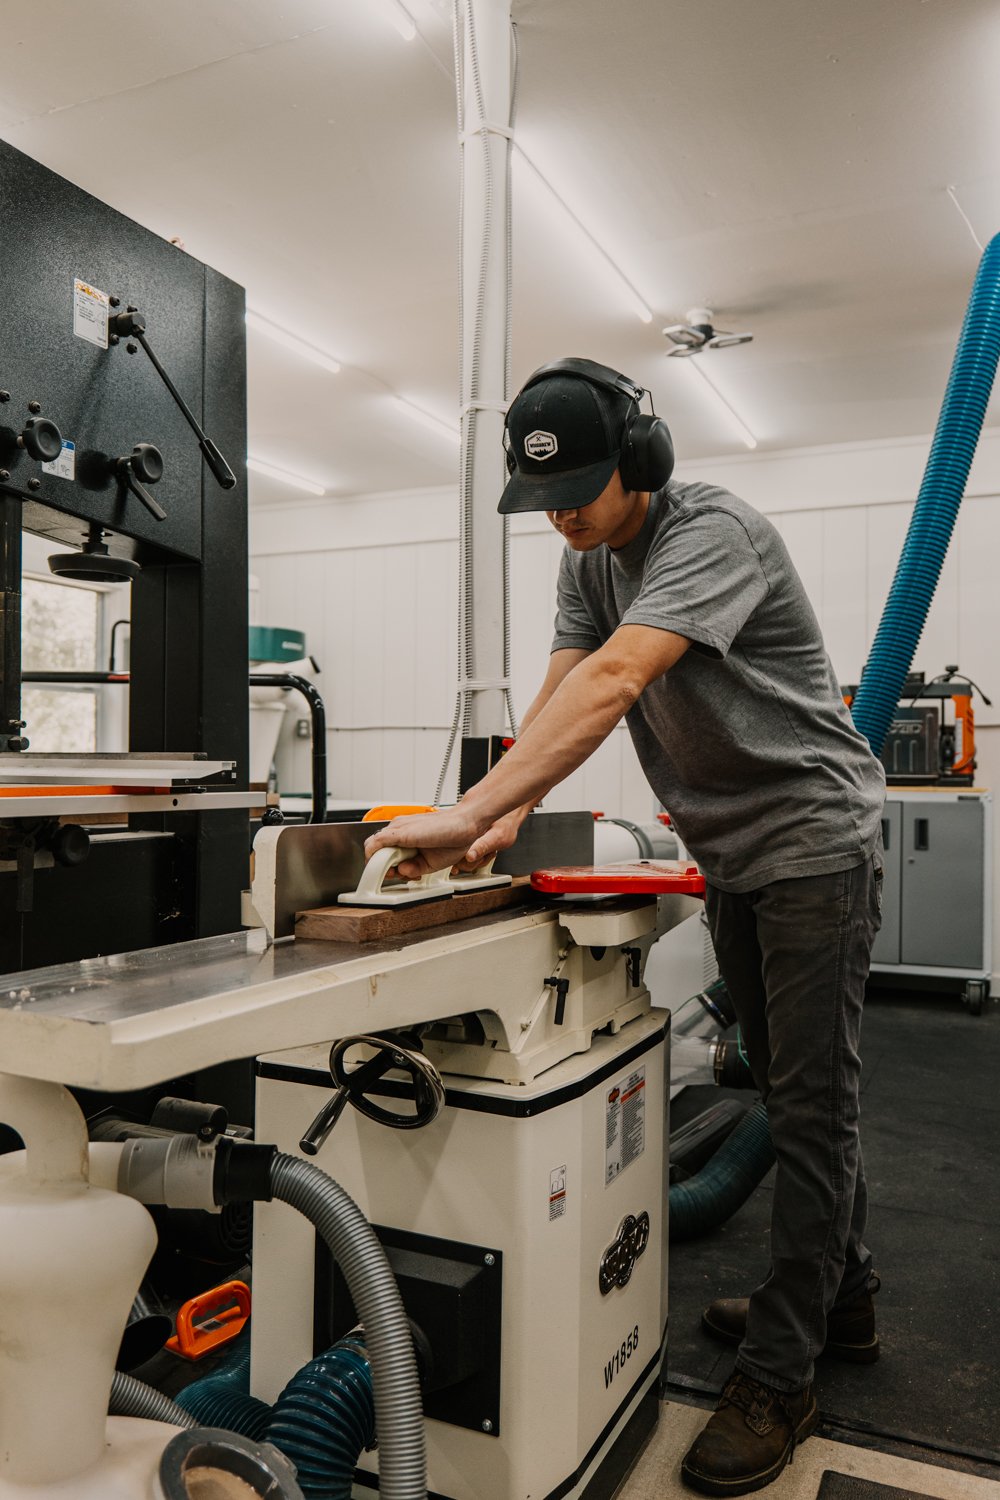
The purpose of a jointer is to create a flat edge and a flat face. When you run a board through jointer with the face down, you are flattening the face and when you run the edge of the board through, you are flattening the edge of the board, but you are also making the edge square to the face.

The way a jointer actually makes a board flat is by using a cutter head. Highly recommend getting a spiral cutter head because they make a much higher quality cut and last much longer. The cutter head is at the exact same height as the out-feed table, while the in-feed table is often much lower than the out-feed table. “Much lower” refers to how much of the board you are actually cutting off. When you want to change how much you are cutting off, you raise and lower the in-feed table. You can take off as little as 1/32” to as much as 1/4”.

The in-feed side of your table is simply a way to get your board lined up and ready to be referenced off of the out-feed. When you are creating a flat surface, the only thing that matters is that the board is riding flat on the out-feed. The in-feed is there just to support the material and get it fairly well lined up and in the same plane as the out-feed table. As you push your board through jointer and get to the out-feed side of the table, the force that you are applying to the board needs to be shifted to the out-feed side. The reason for that is that as it takes chunks out of the board, it’s now creating a flat surface that is referencing off the out-feed side and will take out any inconsistencies on the in-feed side and produces a perfectly flat board as you push through. Now, that may take a few passes, however, that is the idea of how a jointer creates a flat board.

How to Set Up a Jointer

Setting up a jointer is incredibly easy. All you want to do is make sure that the out-feed side, again, is the exact same height as your cutter head. You do not want the cutter head to lift your board up. You can check this by making sure the jointer is unplugged and taking a machined square or a flat straight-edge ruler, laying it on the out-feed and moving it back towards the cutter head. If that ruler lifts off the out-feed table, it’s too high.
The other thing that is important is that the fence is square to the table, specifically the out-feed more than the in-feed. Take that square again and set it on the table and see if your fence is square. If not, it’s a simple adjustment with just a lever right behind the fence.
What to Know Before Using a Jointer

Make sure your jointer has a blade guard. Do not recommend using a jointer without one. Also, the jointer fence can move in and out across the table. This is so it reduces the risk of you accidentally coming into contact with the blades and it can help reduce excessive use on one part of your cutter head.
We typically stay around 1/32” when flattening and no more than 1/16”. This is because you want to reduce the thickness of the boards as little as possible by getting it flat without removing too much material. The more material you remove, the less overall width the board will be, and in turn, the less thick as well.
Jointing a Board

Always start with the face of the board because you will use the face of the board to reference against the fence the you move on to the edge. You also want to look for the flattest side, so flip the board over a few times and determine which face is the flattest. Remember to move the fence to the correct distance on the table depending on your board and to shift your weight to the out-feed side when pushing the board through.
Why You Need Other Tools than Just a Jointer
The jointer only gets one face and one edge square. Now you will need a planer to flatten the opposite face by referencing the face you ran through the jointer. Then, you can use a table saw to get the opposite edge square.
More Woodworking Blog Posts!