
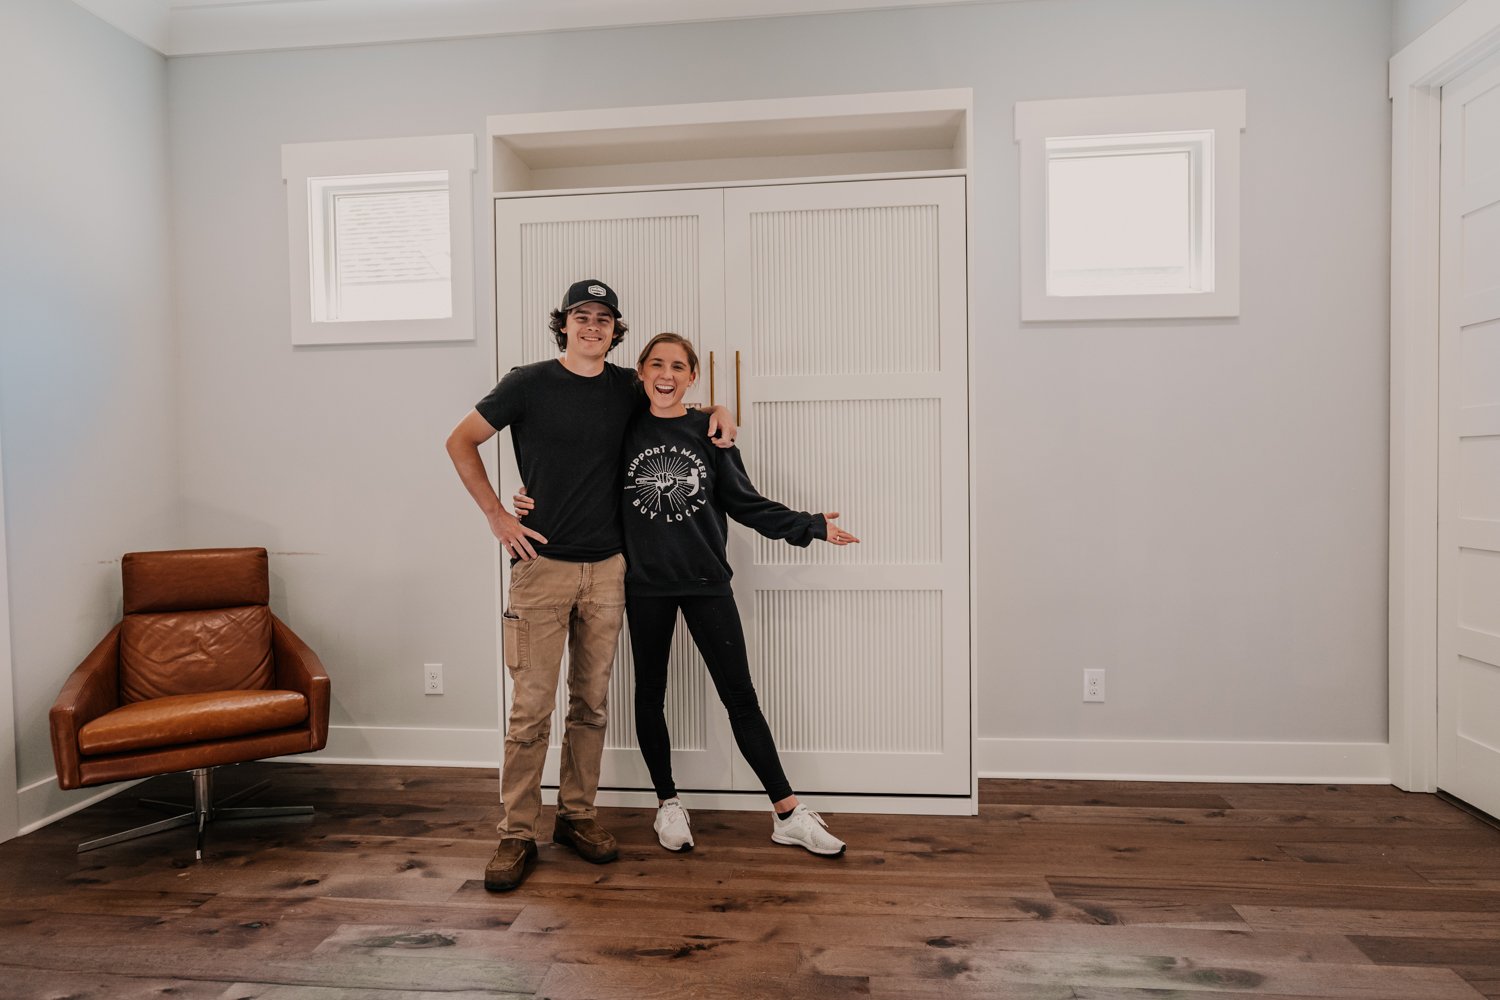
Building a Space-Saving Murphy Bed
In the realm of interior design, few furniture pieces can match the ingenious combination of style and space-saving functionality quite like a Murphy bed. The allure of seamlessly transforming a room from day to night, while adding a touch of sophistication, has captivated homeowners for generations. In this blog post, we take you on a captivating journey through the creation of a contemporary Murphy Bed with exquisite fluted panels and a little top shelf for some storage. From the meticulous craftsmanship behind achieving a flawless finish to the step-by-step process of assembling and installing this Murphy Bed.
Murphy Bed Build Series
Materials
Poplar
MDF Sheets
Paint (We used Benjamin Moore Advance)
Tools
Table Saw
Brad Nailer
Clamps
Router with Flush Trim Bit and Round Over Bit
Break Down Materials
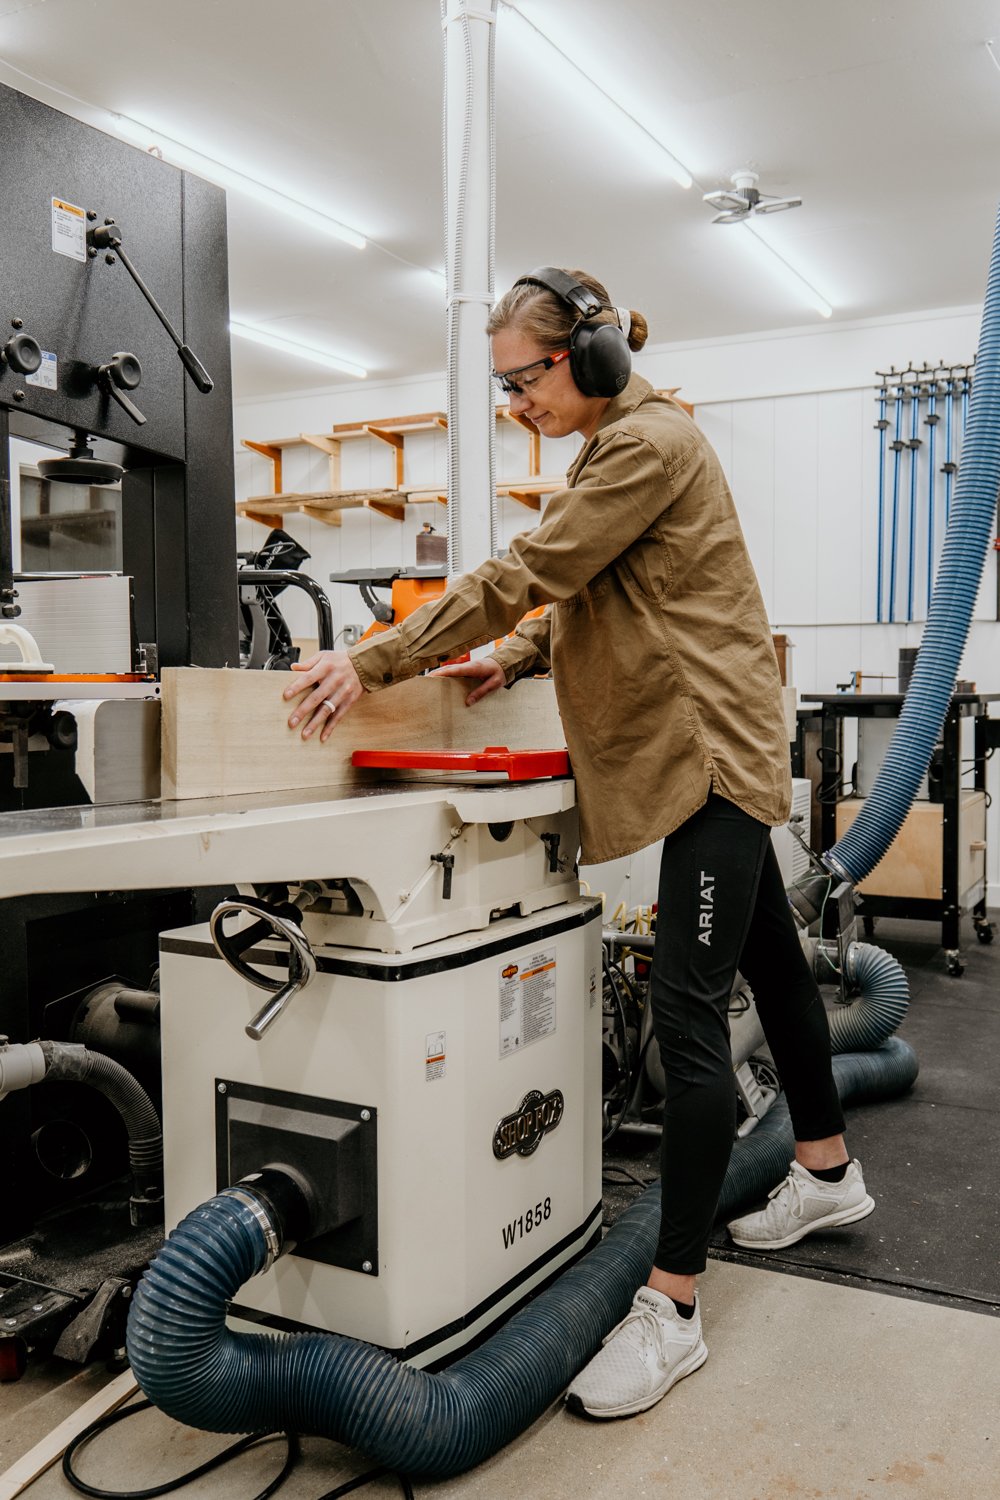
We chose to get rough-cut poplar for the front framing of the bed because of how much cheaper it is to purchase rough-cut than pre-surfaced from the big box stores. Obviously, we have the equipment to surface these boards ourselves with the planer and jointer, but if you don’t have these tools you can get the milled poplar boards or choose a different material.
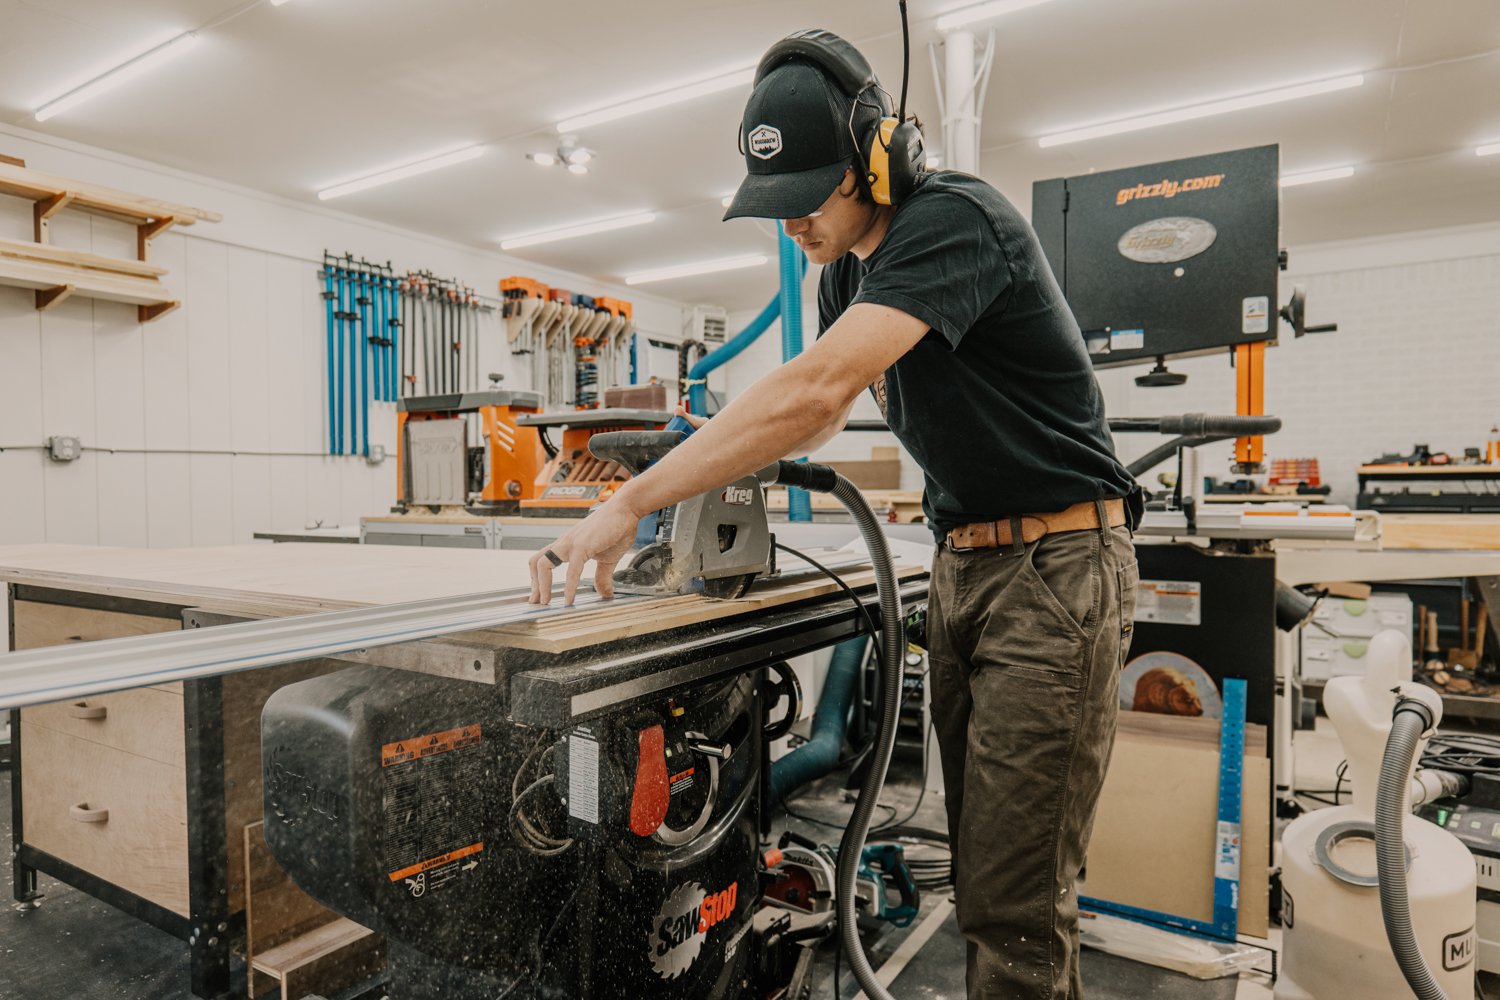
After milling those poplar boards, we cut them down to length and width along with the rest of the materials like the MDF and plywood. We used a combination of the table saw, miter saw, and track saw, but a circular saw alone can get this job done as well.
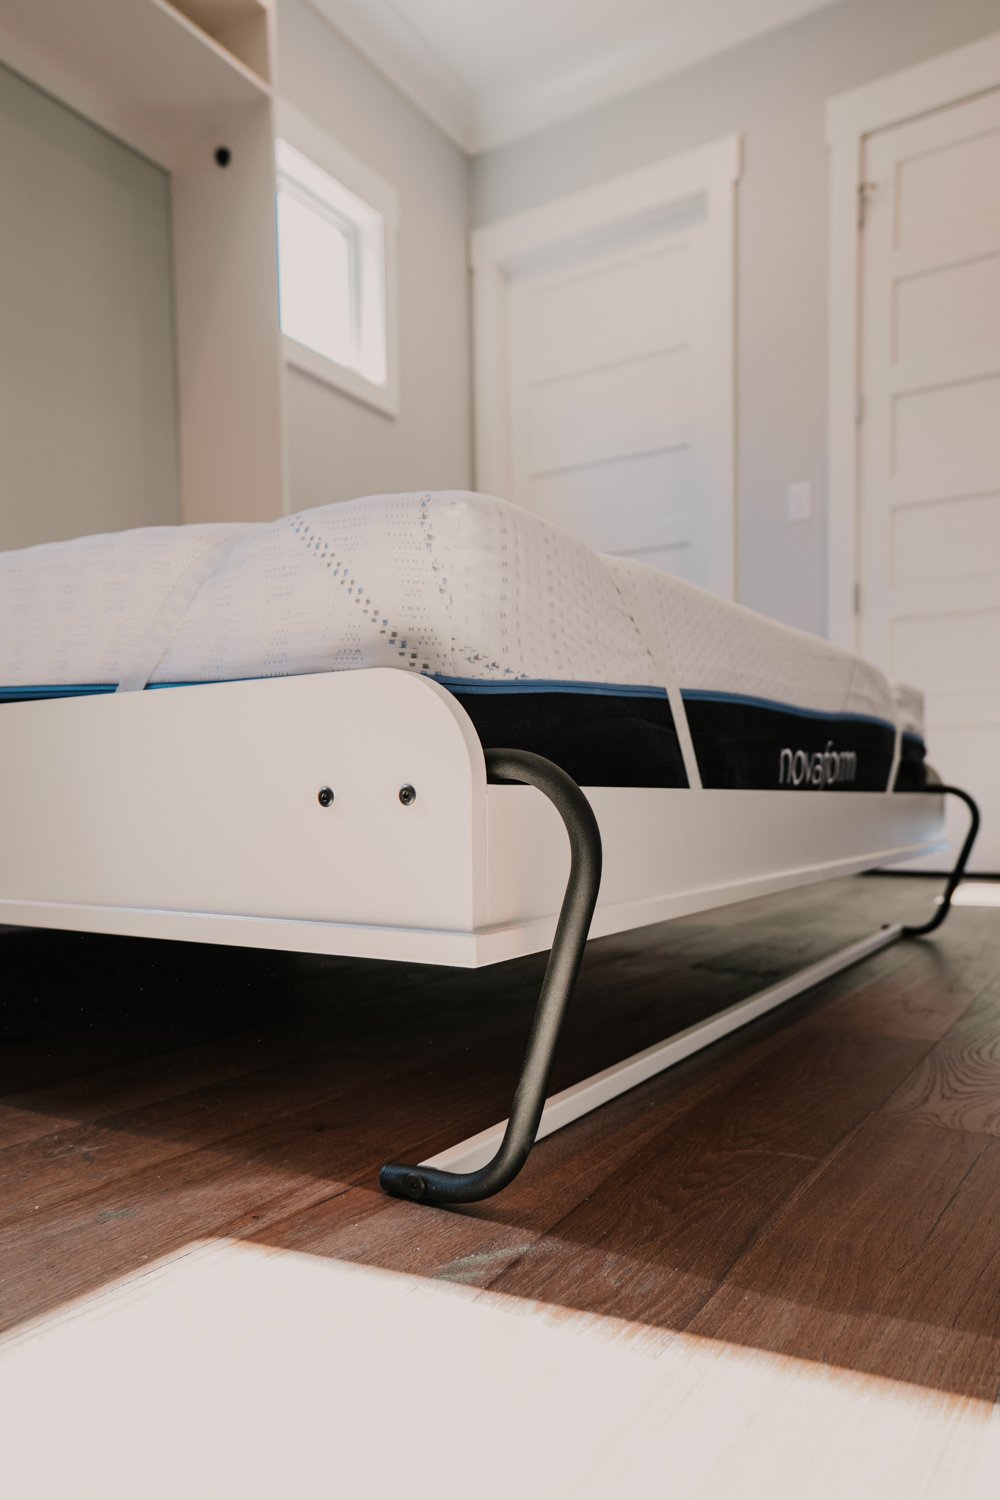
Assemble the Bed Frame
With the majority of all the cutting out of the way, we can get to assembling the parts for the bed. This process is in Part 2 of our build series. This includes assembling the bed frame (where the mattress lays), the side rails of the bed, and the pretty fluted panels that we chose to put on the front of the bed.
Things to think about
Are there outlets that the bed will cover? If so, take measurements so you can cut an opening in the bed cabinet before assembling that next.
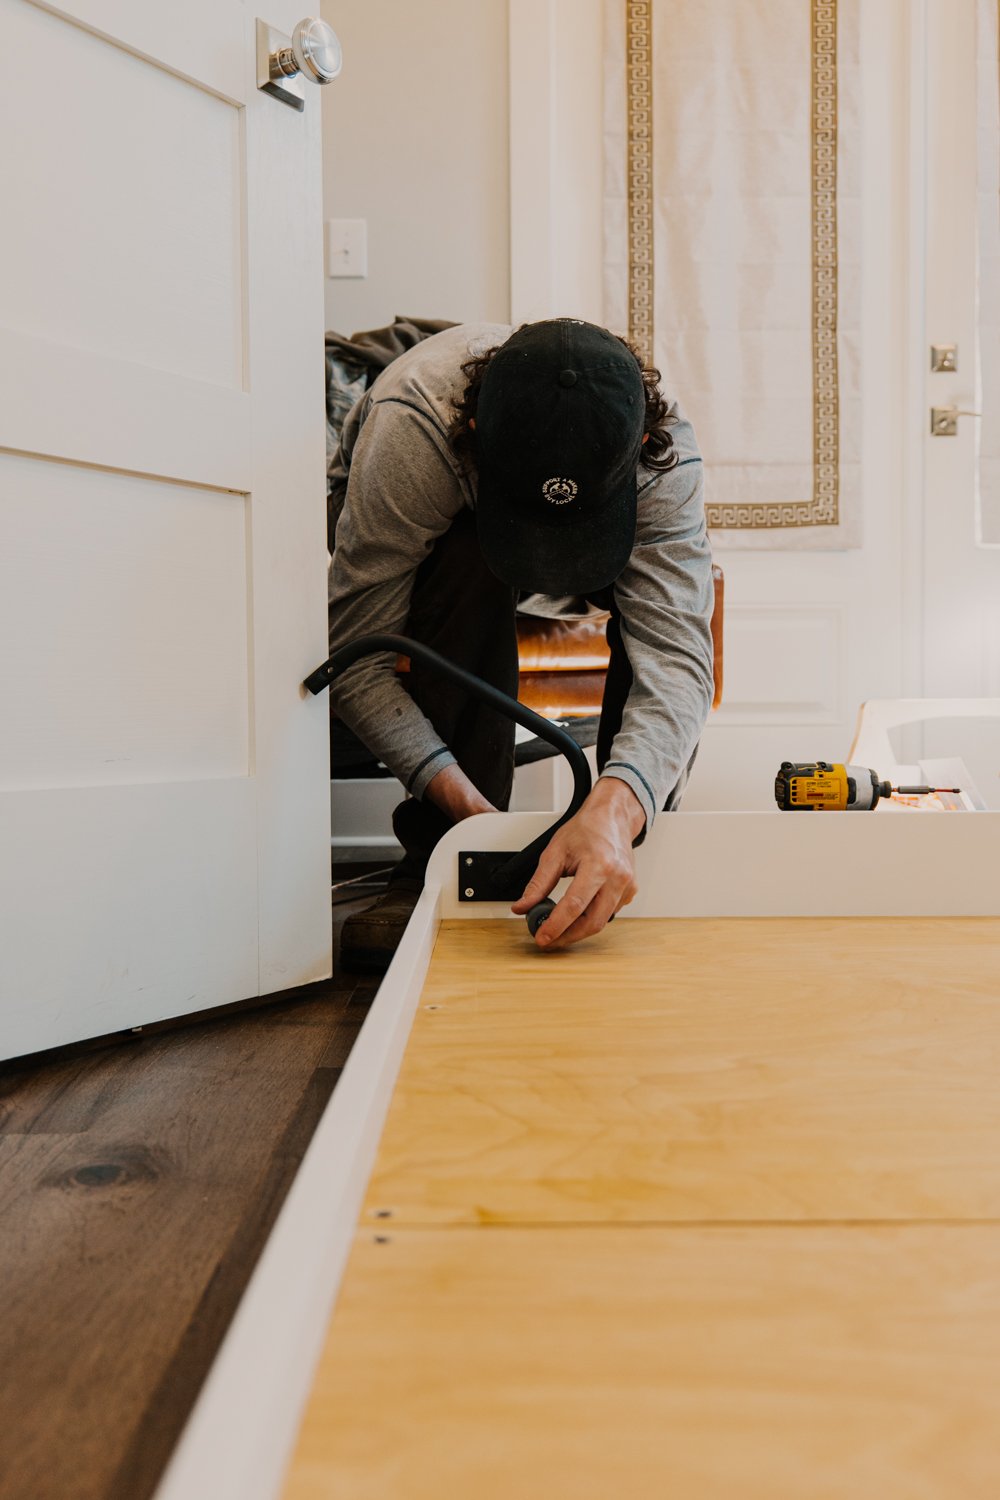
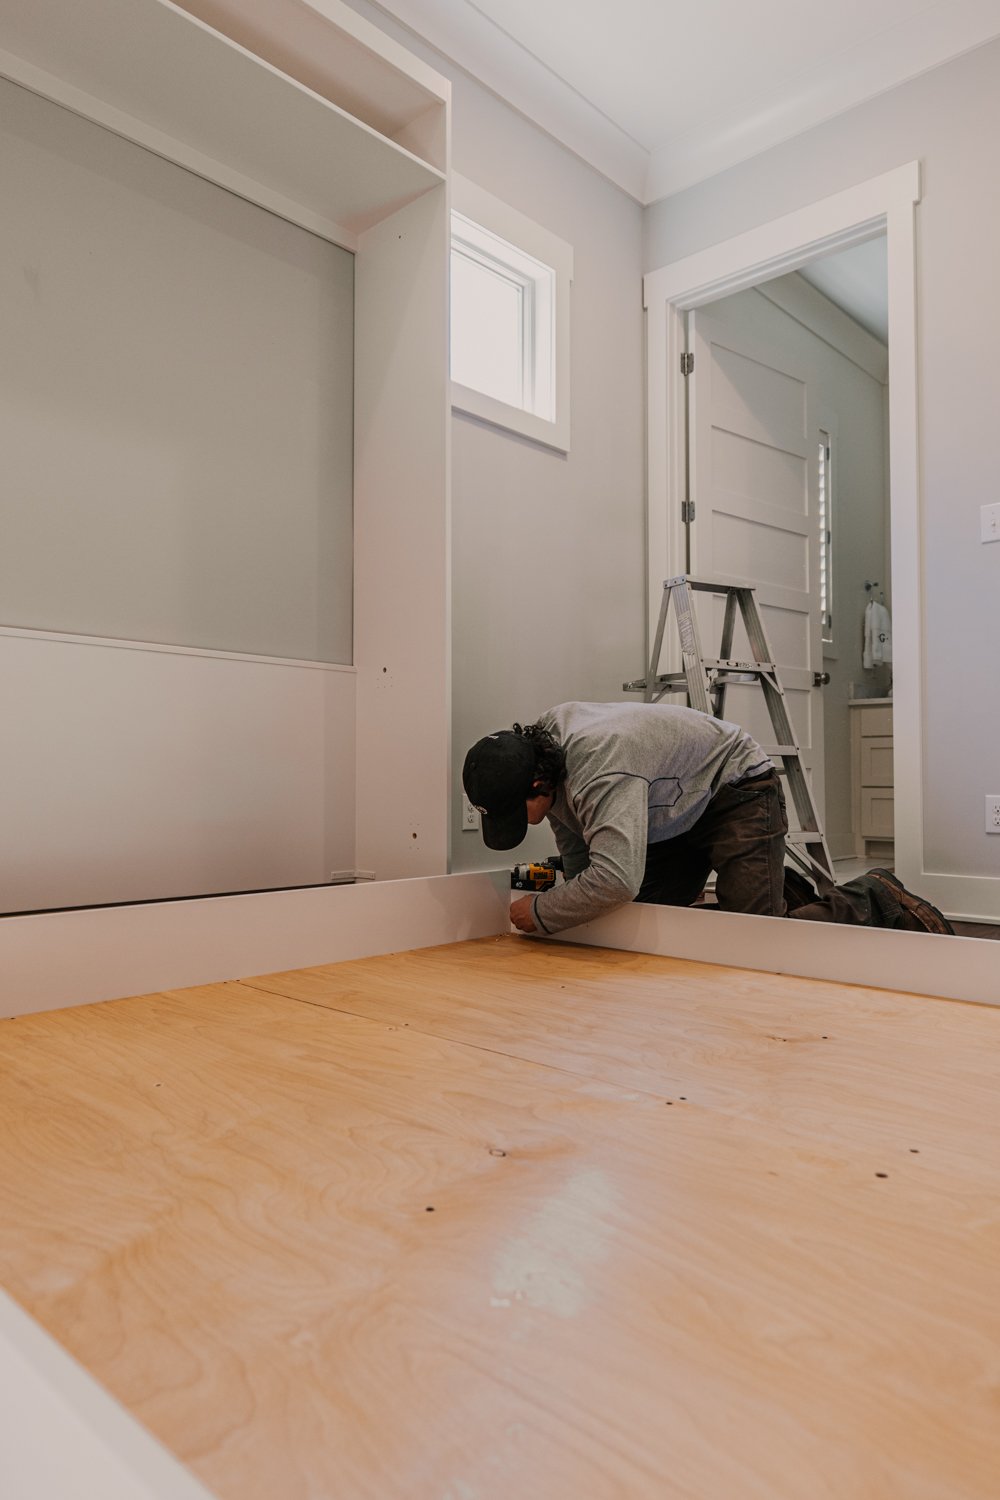
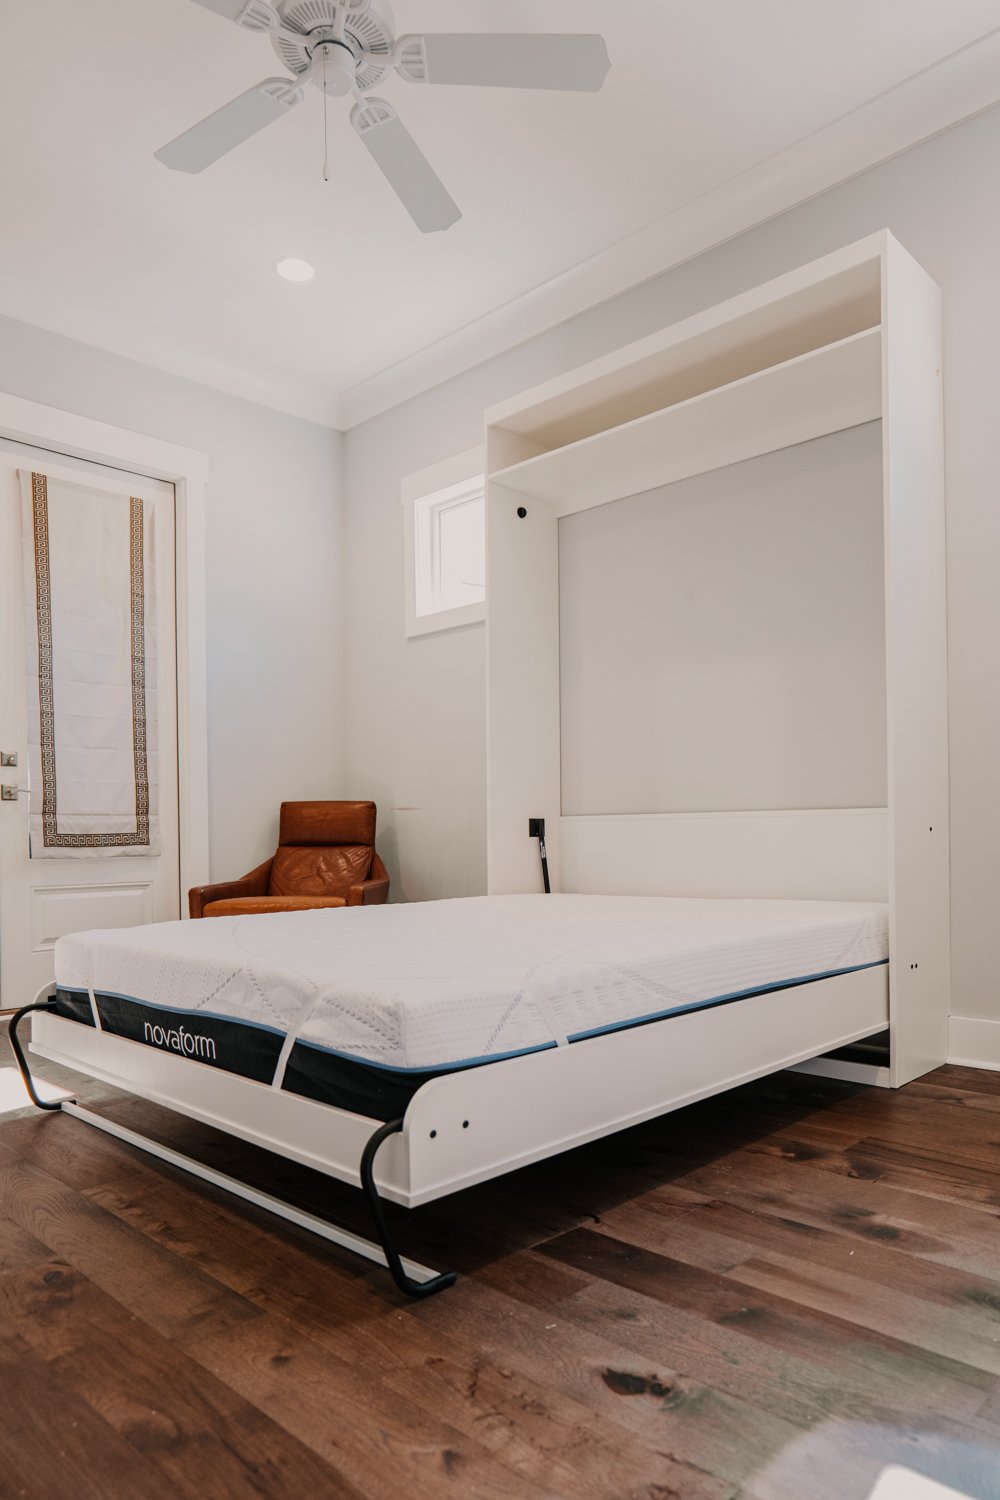
Assemble the Bed Cabinet

Dylan managed to completely assemble the bed cabinet on his own by putting it together as if it were lying on its side. Hope that made sense. Basically, put the side panel of the cabinet down first, then the top of the cabinet vertically, and so on until the other side was on top horizontally.
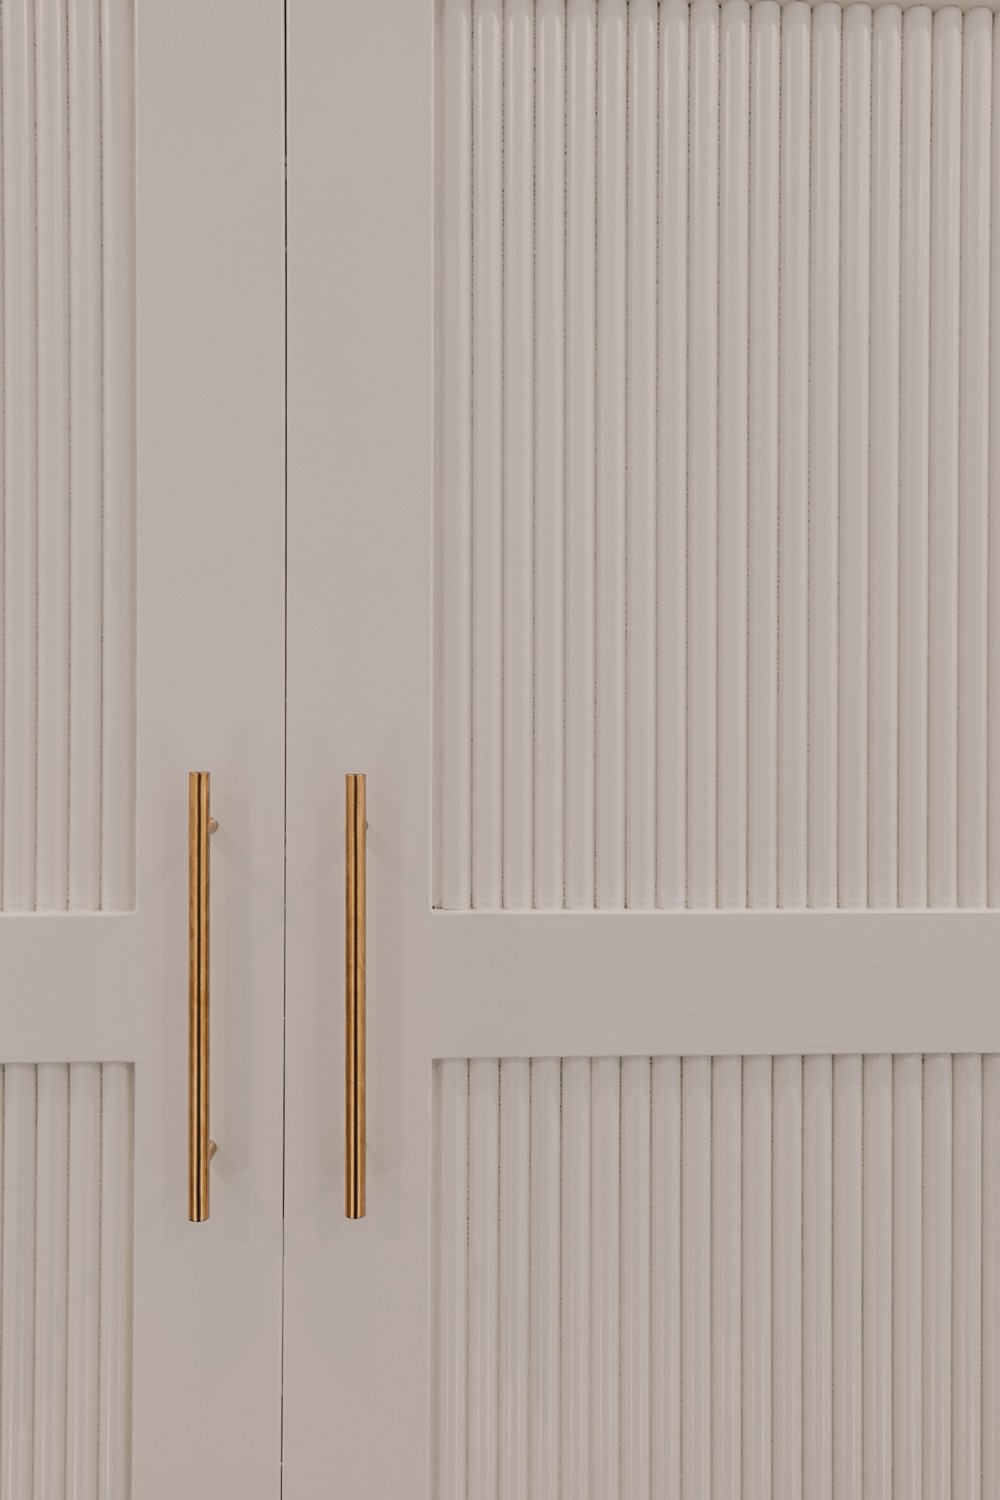
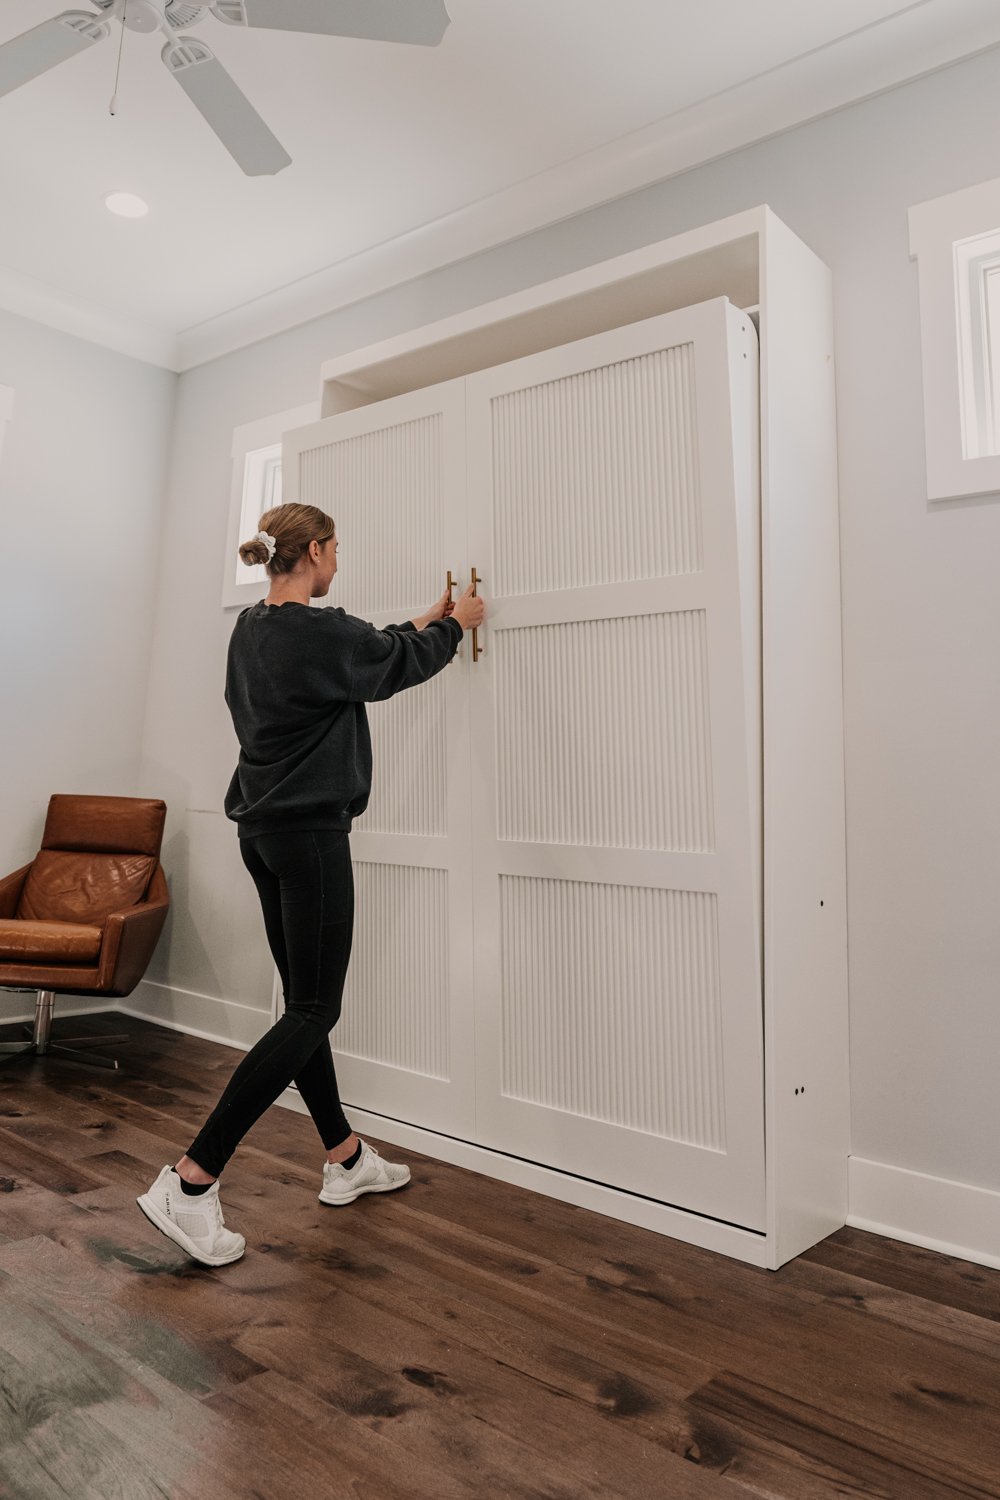
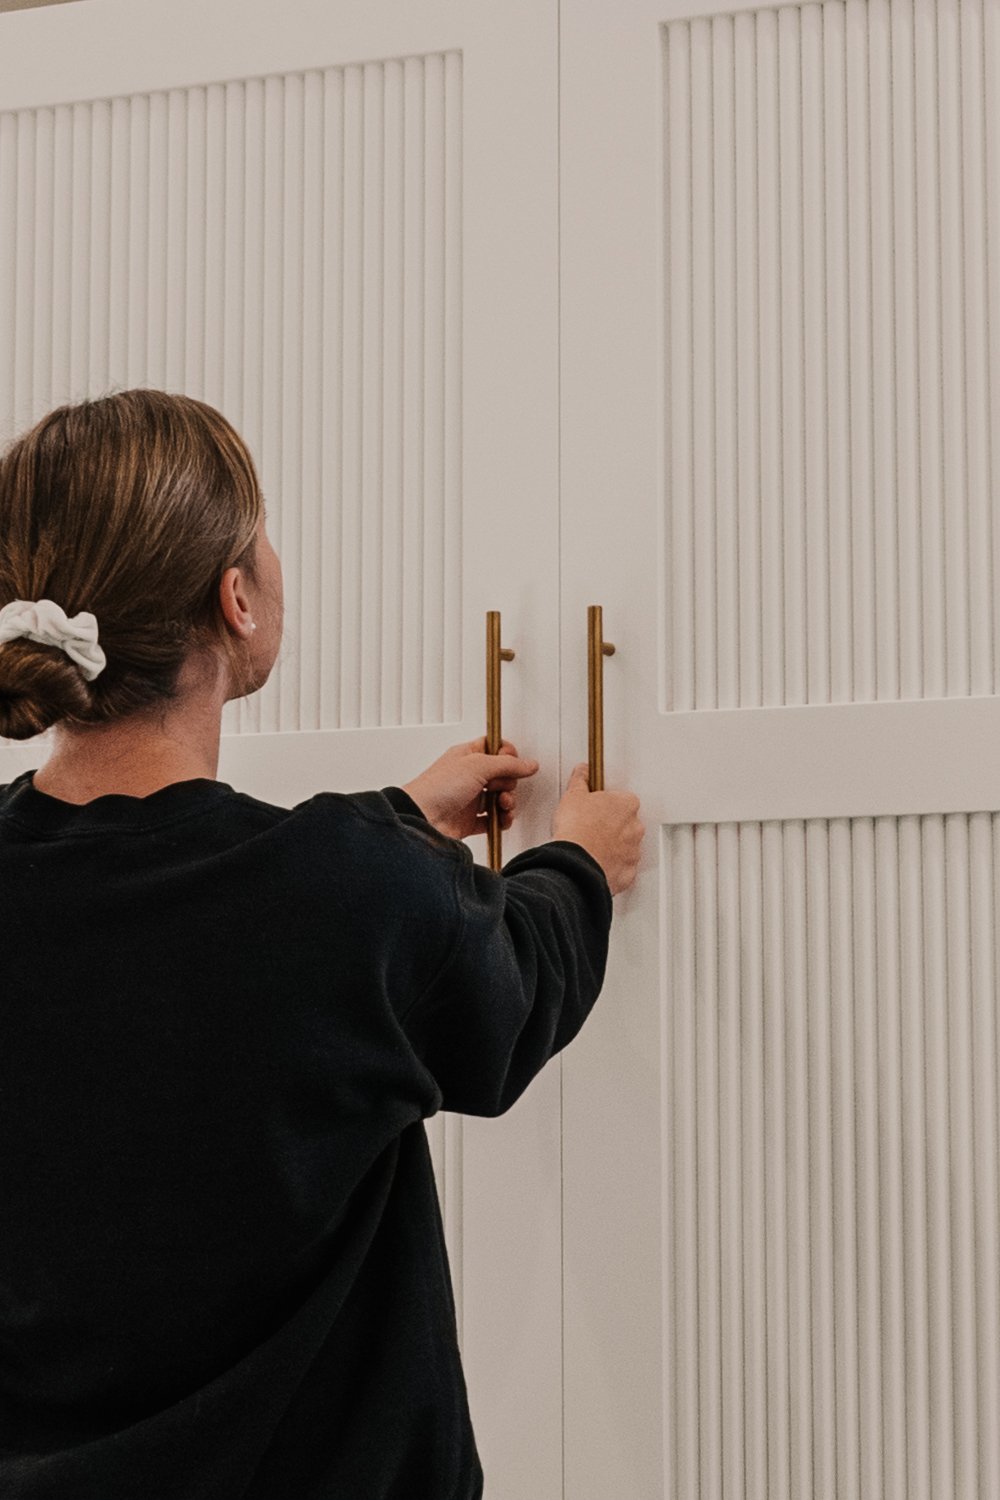
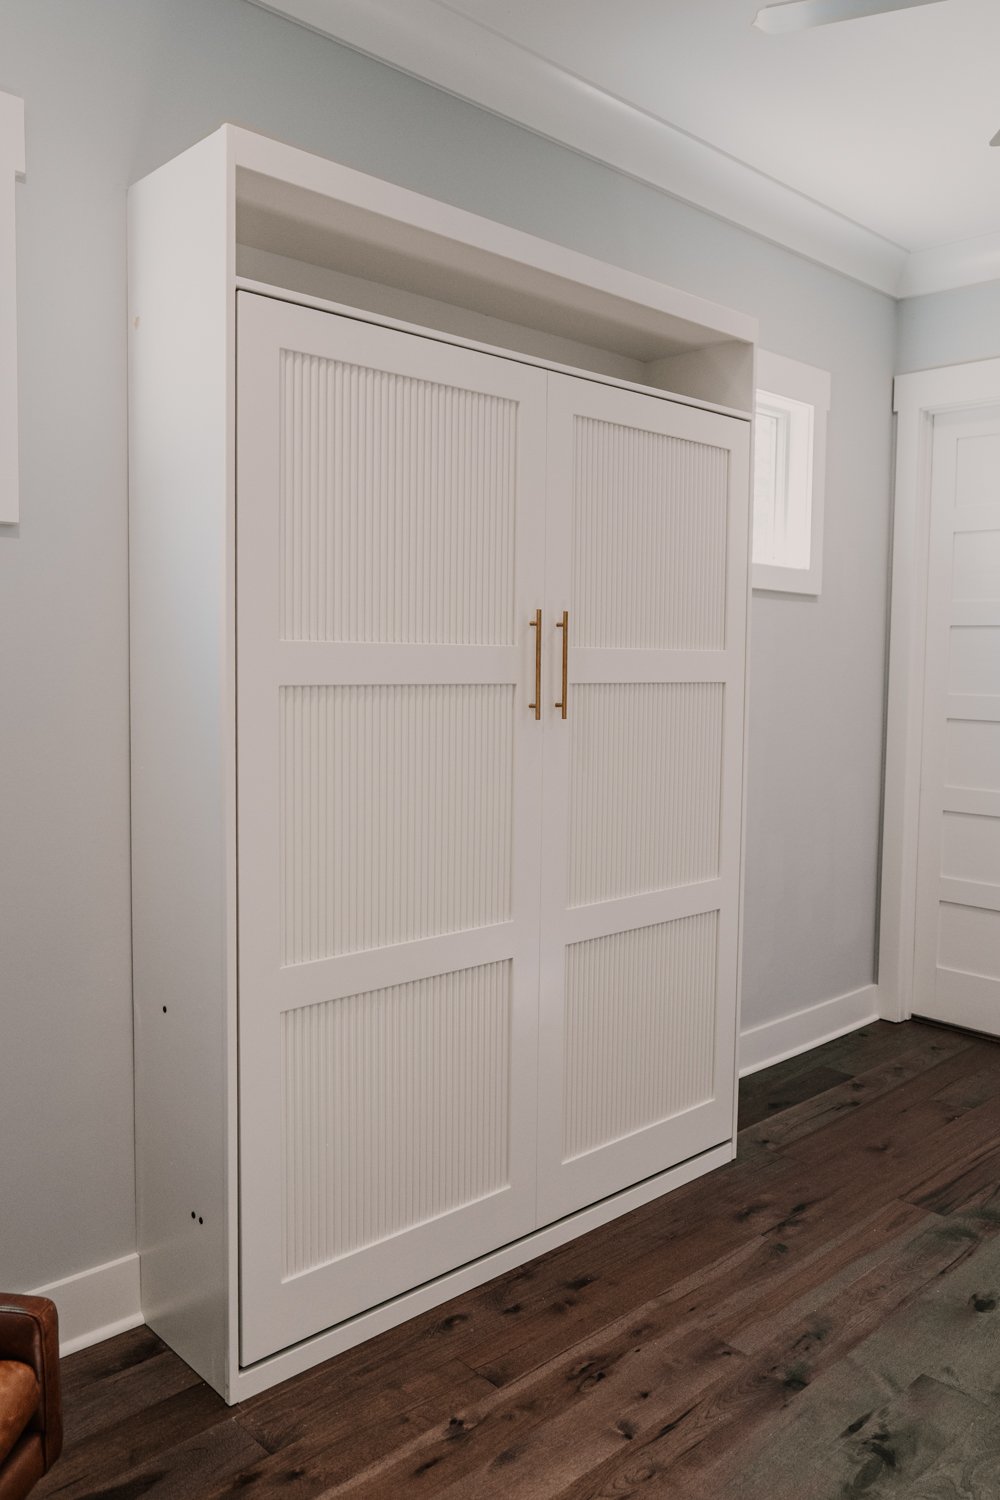
The Fluted Panels
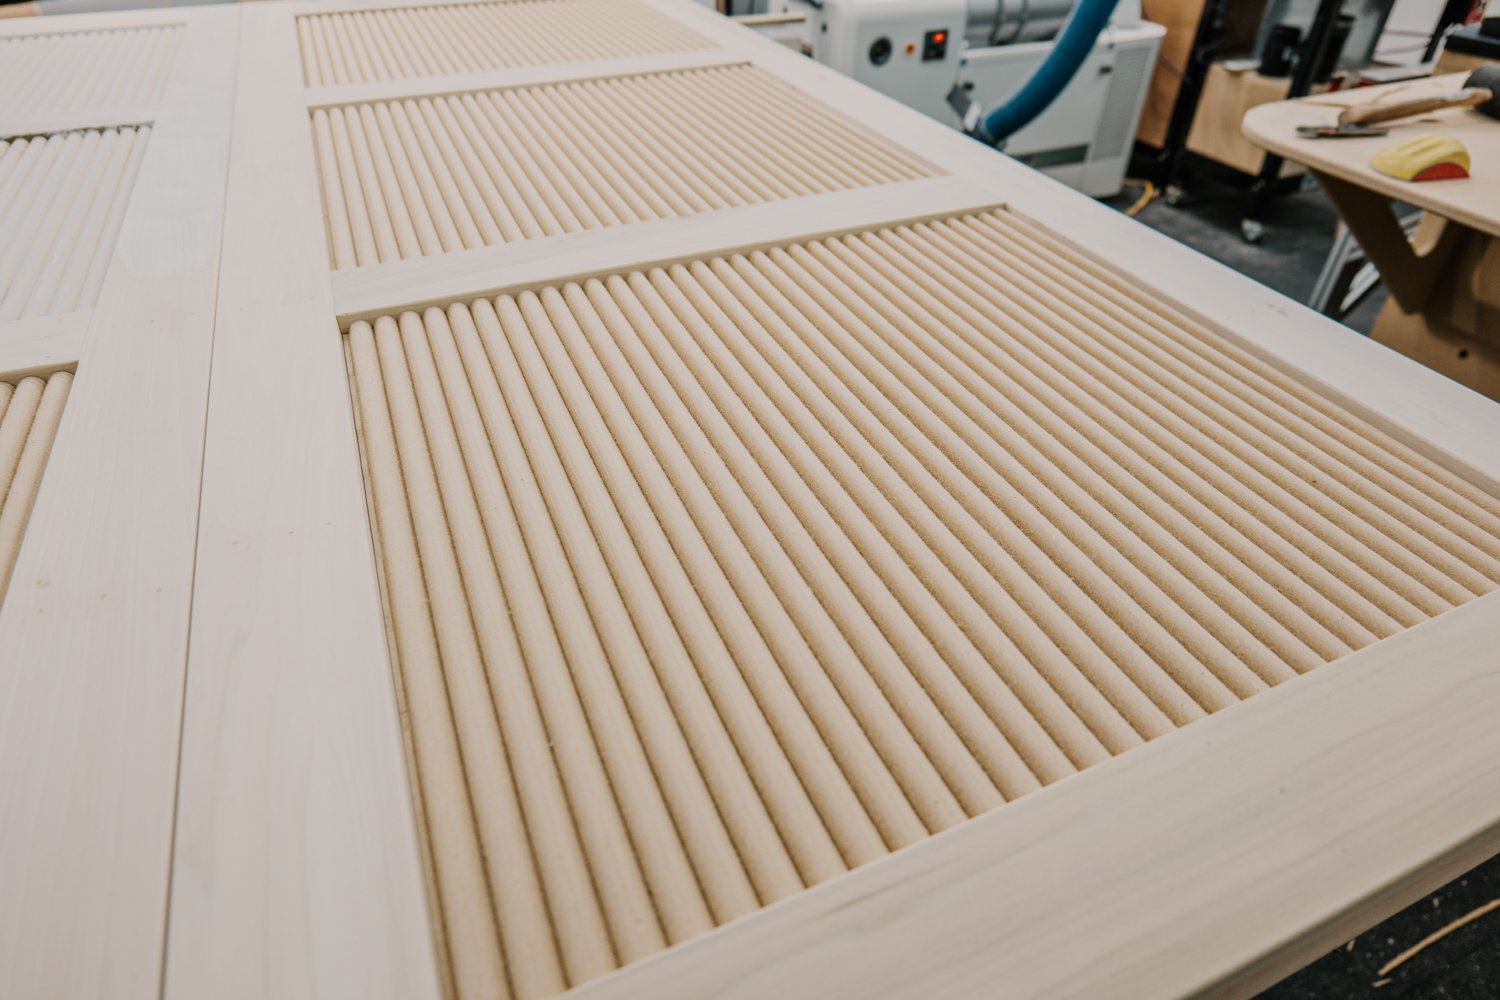
Central to the allure of our Murphy Bed is the incorporation of fluted panels. These distinctive vertical grooves lend an air of elegance and timeless charm to the piece. Achieving this stunning effect requires a blend of artistry and precision woodworking. Our journey begins with selecting premium wood and meticulously carving out each groove, paying heed to the spacing and depth that defines the fluted pattern. The end result? A visual symphony that adds depth and character to the bed, making it a focal point in any space it graces.
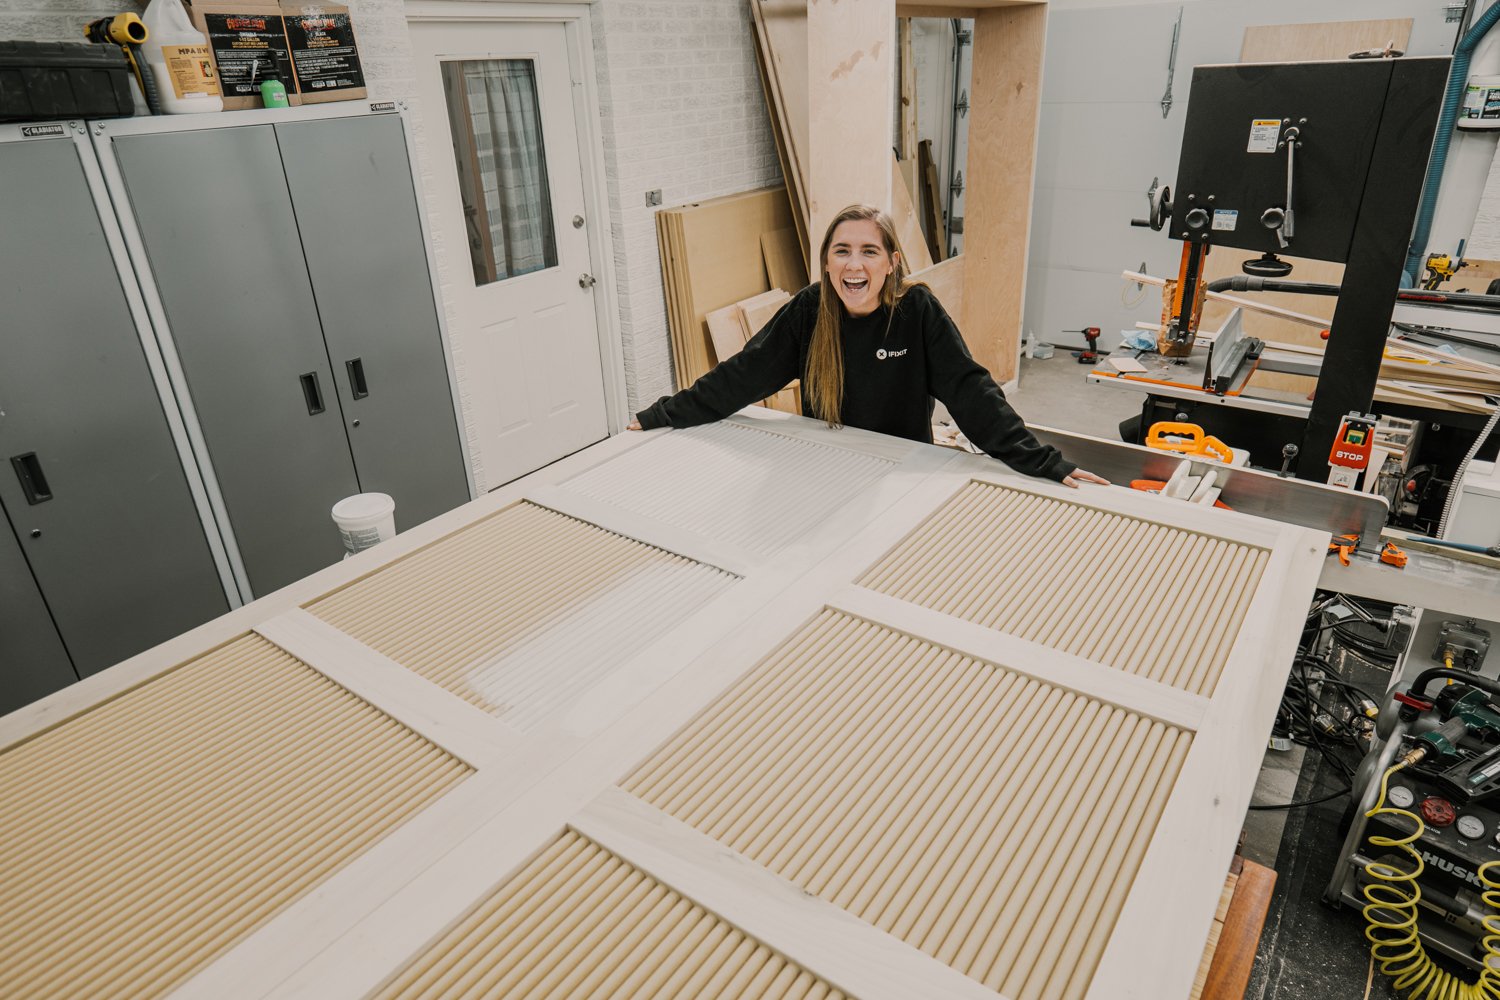
The goal was to create the illusion of an actual cabinet with two doors that would swing open like a wardrobe. The handle placement is just right to pull down the bed, while also a good height for pulling out those “two doors”. Oh, and put pre-drill for those handles before you put the 1/4” plywood in the bed part. Refer to Part 3 of our build series for that!

Paint

A wow factor of any furniture piece is the flawless finish that elevates professionalism. Our Murphy bed is no exception. We delve into the art of achieving a smooth, luxurious finish that not only protects the wood but also enhances its natural beauty. Our YouTube video takes you through the painting process on how to get a professional-looking paint finish.
I will mention here though that when using MDF you MUST use primer. It’s a good idea to use a primer everywhere, but especially on MDF because of how porous this material is. If you don’t use a primer, the MDF will soak up so much of your paint and if you haven’t noticed, a good quality cabinet paint is not cheap.

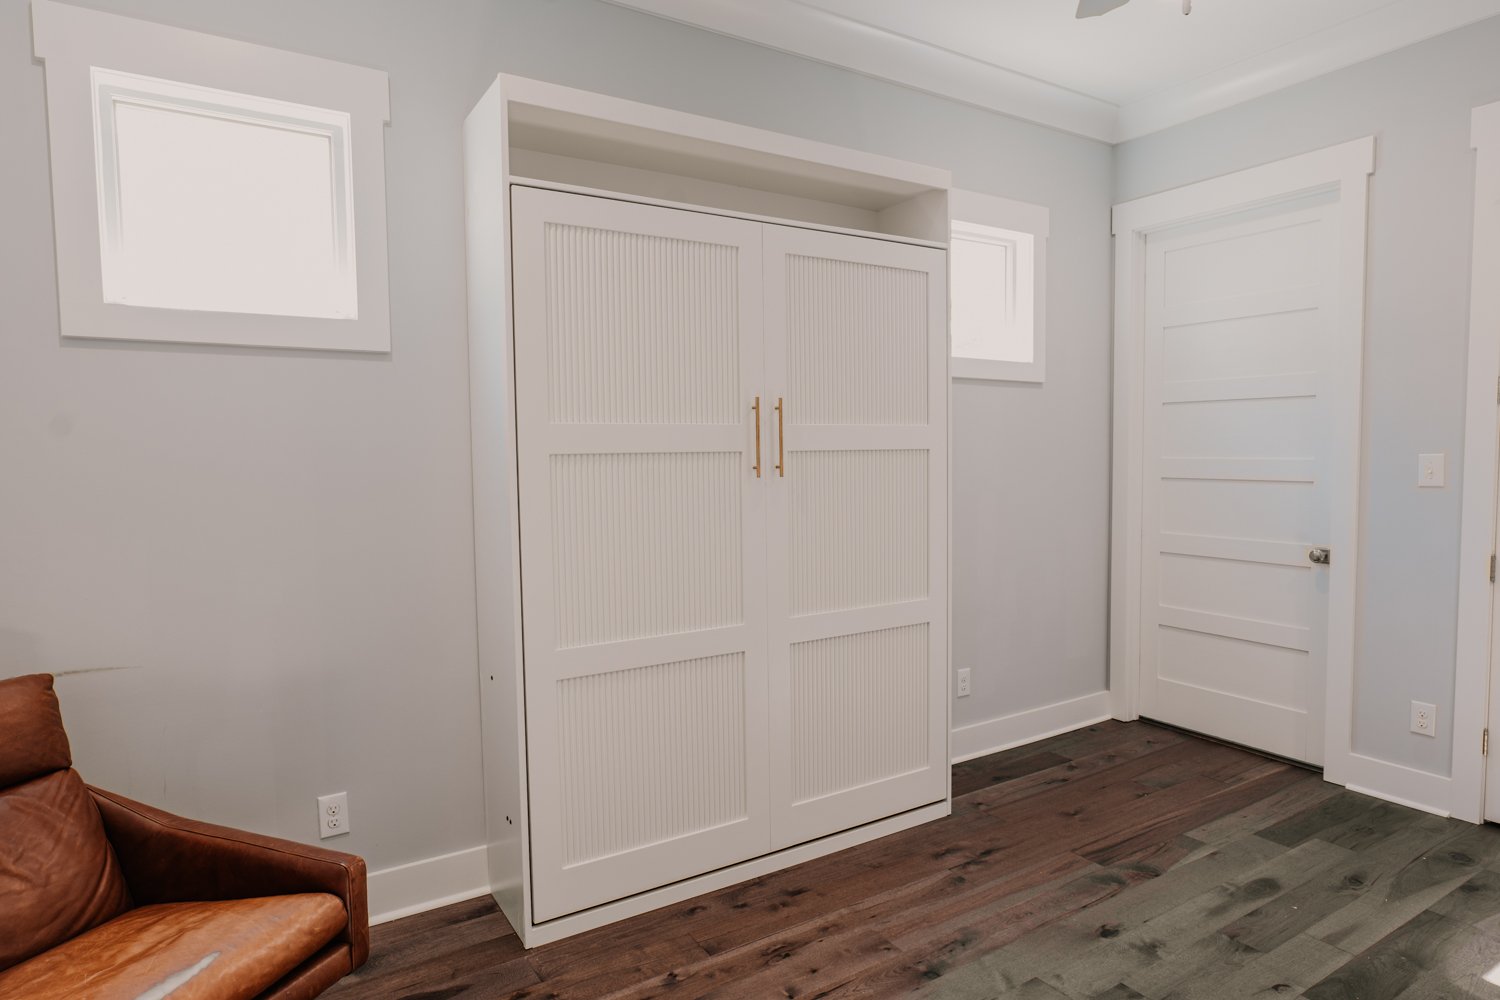
Install
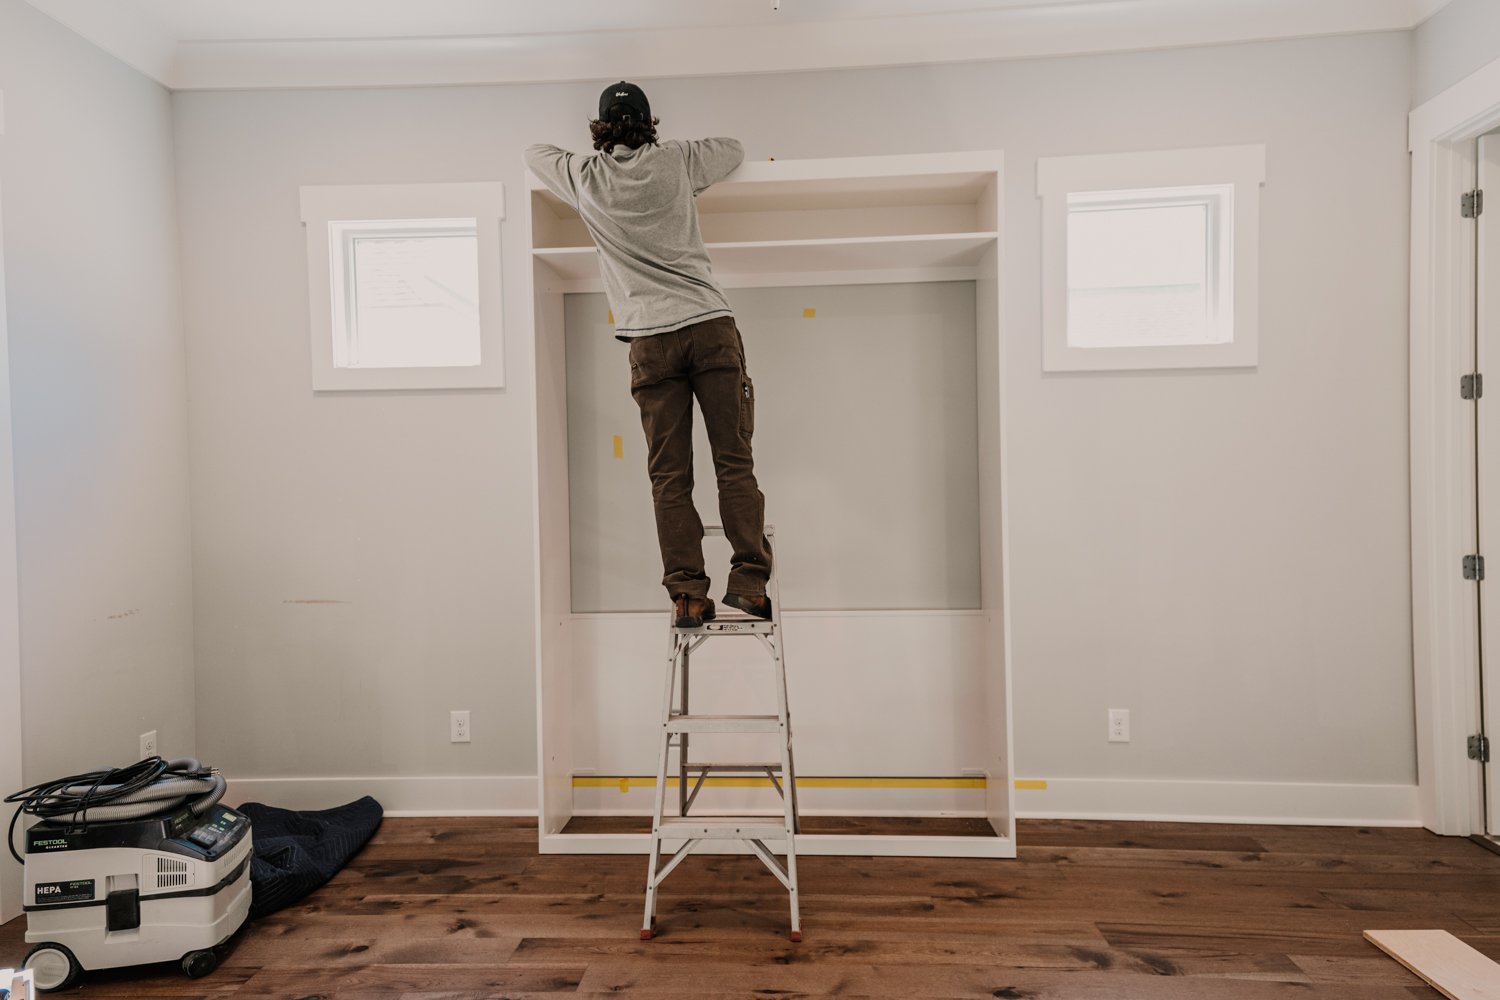
DO YOUR RESEARCH BEFOREHAND. What I mean by that is, looking at the wall we were installing on, there was just an ethernet outlet and a regular home plug-in outlet. When we did our walkthrough before even starting this build, this wall is an exterior wall and there is a water line and a gas line. Luckily for us, there are windows in this room, so we measured from the outside where those lines are and then we can come back inside and measure from the windows again and mark our measurements to ensure we don’t hit those lines.
Another pro tip is to find the true center of your stud. We took a small drill bit to find the edge of a stud and then we could figure out where the exact middle is. This bed is massive and extremely heavy, so this needs to be mounted correctly. That means take that drill bit all the way down and find every stud. Don’t just measure out when you find one. Builders aren’t rocket scientists or perfectionists, so studs aren’t always perfectly centered at 16”.
Now, all of your install instructions will come with the Murphy Bed hardware, but it’s best to install the hardware before you put the cabinet sides on. Don’t ask how we know…we learned the hard way.
Touch Ups and DONE
Most likely you will have a little bit of touch-up paint to do and that isn’t a huge deal. If you watched our build series you saw that we had a ton of touch-up work to do because the floor wasn’t level which meant we had to move that top shelf up a bit so the bed would close. It was an ordeal, but nothing a little filler and paint couldn’t fix. Hopefully, you won’t have that problem, but if you do, you’re not alone!
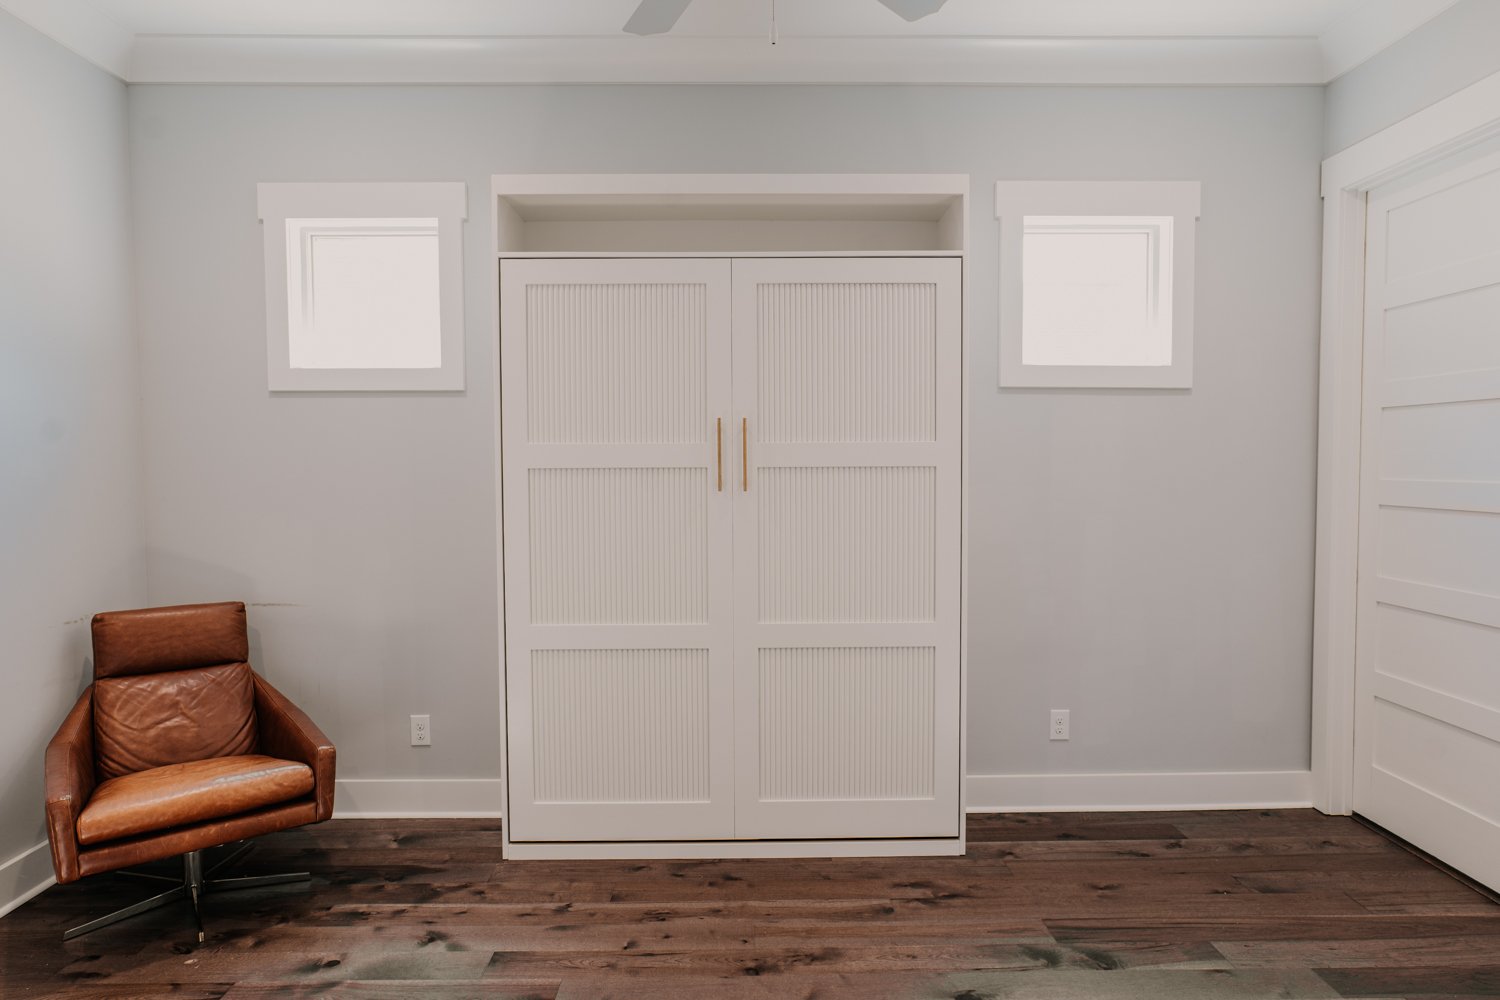
The Top Shelf
Beyond its captivating appearance, our Murphy Bed boasts an added touch of functionality – a tasteful top shelf. This shelf serves as an ideal spot for showcasing cherished décor pieces, extra bedding, or even a potted plant that breathes life into the room. Discover the design considerations and construction techniques that ensure this shelf seamlessly integrates into the bed's overall design, further enhancing its utility and appeal.
The journey from conceptualization to the finished product is a tale worth sharing. Our YouTube channel has been abuzz with videos that detail every step of this remarkable project. Watch as we guide you through the intricate process of creating the fluted panels, offer insights into achieving a perfect finish, and provide a firsthand glimpse into the installation of this masterpiece within a client's home. Join us as we relive the challenges, triumphs, and moments of inspiration that breathed life into our modern Murphy bed creation.
As our journey through the creation of a Contemporary Murphy Bed comes to a close, we invite you to consider the endless possibilities that bespoke furniture crafting offers. The fusion of form and function, artistry and utility, showcased in this project is a testament to the boundless creativity that can transform a mere room into a haven of style and comfort. Whether you're a woodworking enthusiast, an interior design aficionado, or simply seeking ingenious ways to optimize your living spaces, our Murphy bed tale is sure to inspire and captivate.